Cut a Mortise by Hand in Minutes
Drill out the waste, then use a unique chiseling technique to handle the rest of the mortise.
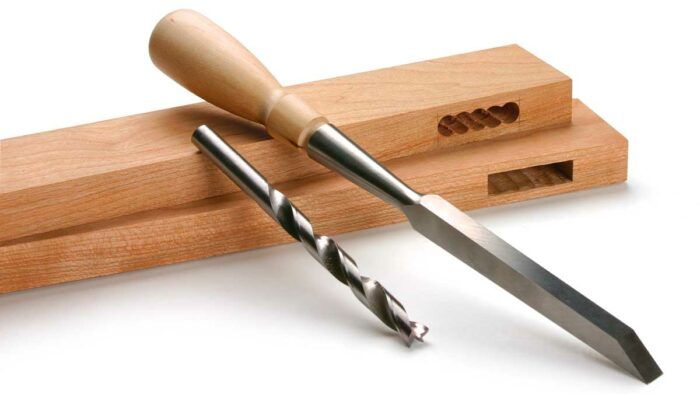
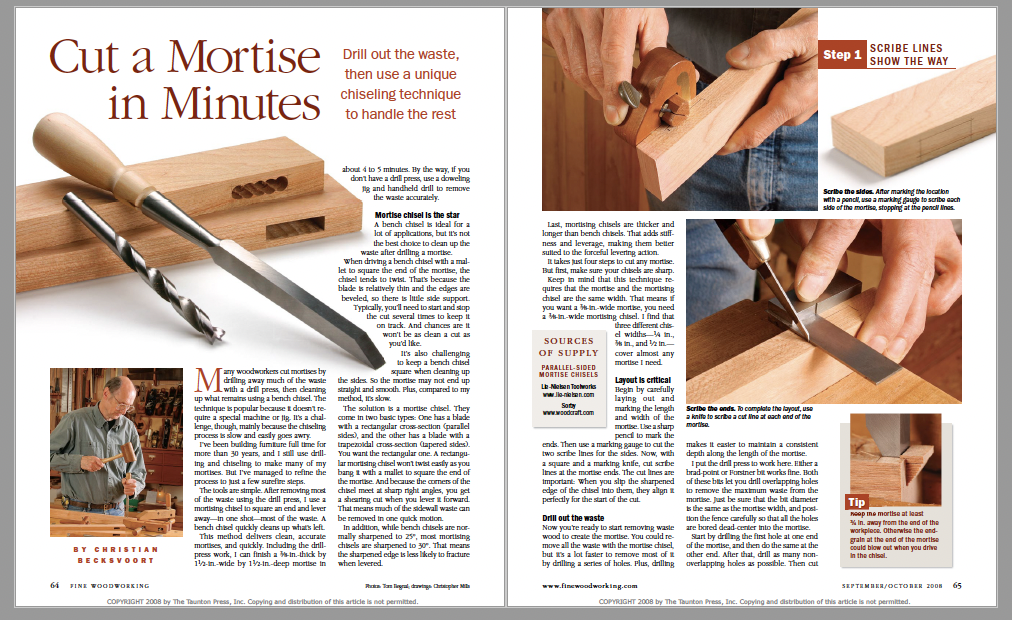
Synopsis: The time-honored practice of cutting mortises with a drill and chisel can be frustrating, mainly because the process of chiseling out the waste between drilled holes takes time and can easily go awry. Furniture maker Christian Becksvoort has refined the technique over the years to a four-step process that delivers clean, accurate mortises in no time at all. He begins with careful layout, then drills out the waste. Third-and this is key-he uses a mortising chisel and an unconventional technique to lever out most of the waste. And finally, he cleans up the mortise with a bench chisel. Simple, effective, and consistent.
Many woodworkers cut mortises by drilling away much of the waste with a drill press, then cleaning up what remains using a bench chisel. The technique is popular because it doesn’t require a special machine or jig. It’s a challenge, though, mainly because the chiseling process is slow and easily goes awry.
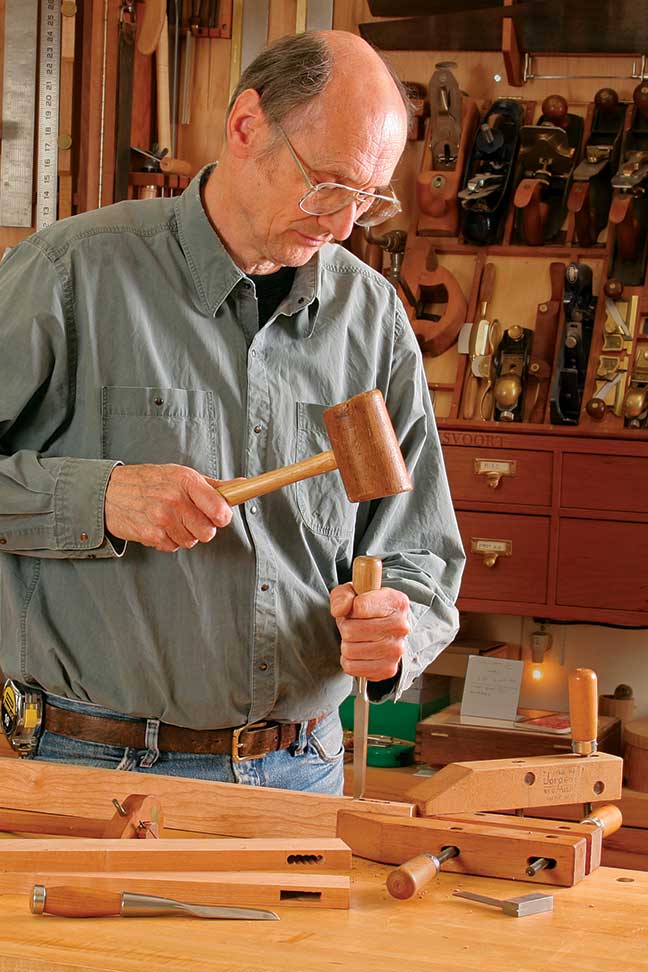
I’ve been building furniture full time for more than 30 years, and I still use drilling and chiseling to make many of my mortises. But I’ve managed to refine the process to just a few surefire steps.
The tools are simple. After removing most of the waste using the drill press, I use a mortising chisel to square an end and lever away—in one shot—most of the waste. A bench chisel quickly cleans up what’s left.
This method delivers clean, accurate mortises, and quickly. Including the drill-press work, I can finish a 3⁄8-in.-thick by 11⁄2-in.-wide by 11⁄2-in.-deep mortise in about 4 to 5 minutes. By the way, if you don’t have a drill press, use a doweling jig and handheld drill to remove the waste accurately.
Mortise chisel is the star
A bench chisel is ideal for a lot of applications, but it’s not the best choice to clean up the waste after drilling a mortise.
When driving a bench chisel with a mallet to square the end of the mortise, the chisel tends to twist. That’s because the blade is relatively thin and the edges are beveled, so there is little side support. Typically, you’ll need to start and stop the cut several times to keep it on track. And chances are it won’t be as clean a cut as you’d like.
It’s also challenging to keep a bench chisel square when cleaning up the sides. So the mortise may not end up straight and smooth. Plus, compared to my method, it’s slow.
The solution is a mortise chisel. They come in two basic types: One has a blade with a rectangular cross-section (parallel sides), and the other has a blade with a trapezoidal cross-section (tapered sides). You want the rectangular one. A rectangular mortising chisel won’t twist easily as you bang it with a mallet to square the end of the mortise. And because the corners of the chisel meet at sharp right angles, you get a shearing cut when you lever it forward. That means much of the sidewall waste can be removed in one quick motion.
In addition, while bench chisels are normally sharpened to 25°, most mortising chisels are sharpened to 30°. That means the sharpened edge is less likely to fracture when levered.
Last, mortising chisels are thicker and longer than bench chisels. That adds stiffness and leverage, making them better suited to the forceful levering action.
It takes just four steps to cut any mortise. But first, make sure your chisels are sharp.
Keep in mind that this technique requires that the mortise and the mortising chisel are the same width. That means if you want a 3⁄8-in.-wide mortise, you need a 3⁄8-in.-wide mortising chisel. I find that three different chisel widths—1⁄4 in., 3⁄8 in., and 1⁄2 in.—cover almost any mortise I need.
Layout is critical
Begin by carefully laying out and marking the length and width of the mortise. Use a sharp pencil to mark the ends. Then use a marking gauge to cut the two scribe lines for the sides. Now, with a square and a marking knife, cut scribe lines at the mortise ends. The cut lines are important: When you slip the sharpened edge of the chisel into them, they align it perfectly for the start of the cut.
Step 1: Scribe lines show the way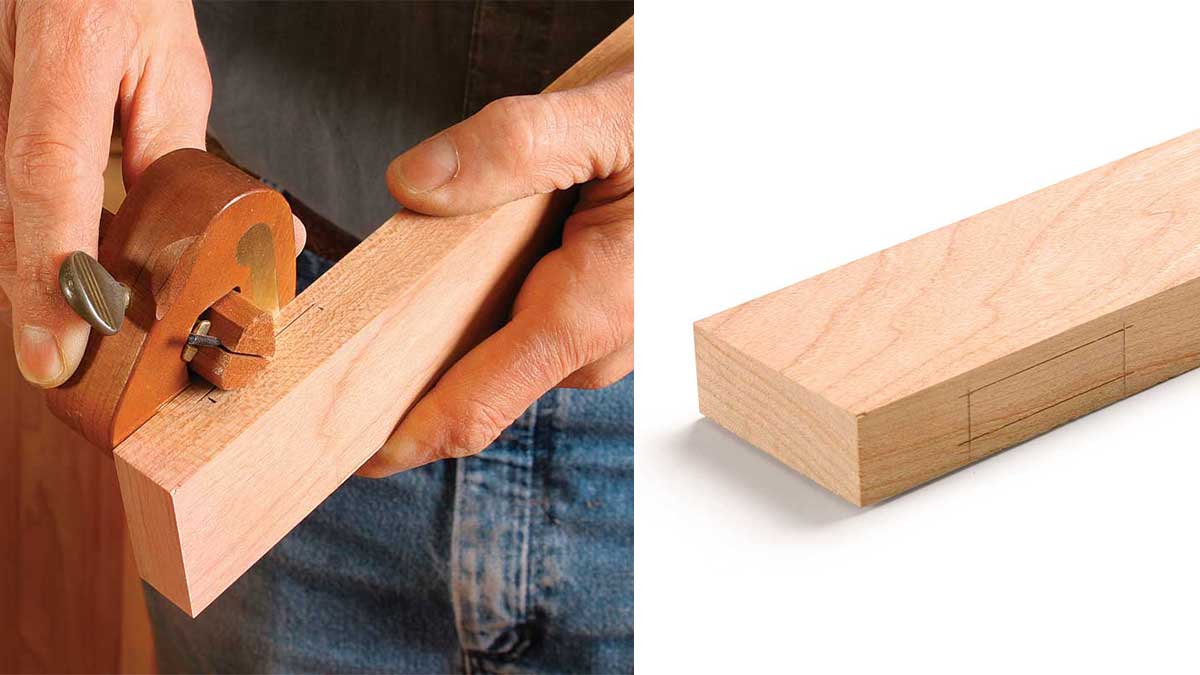 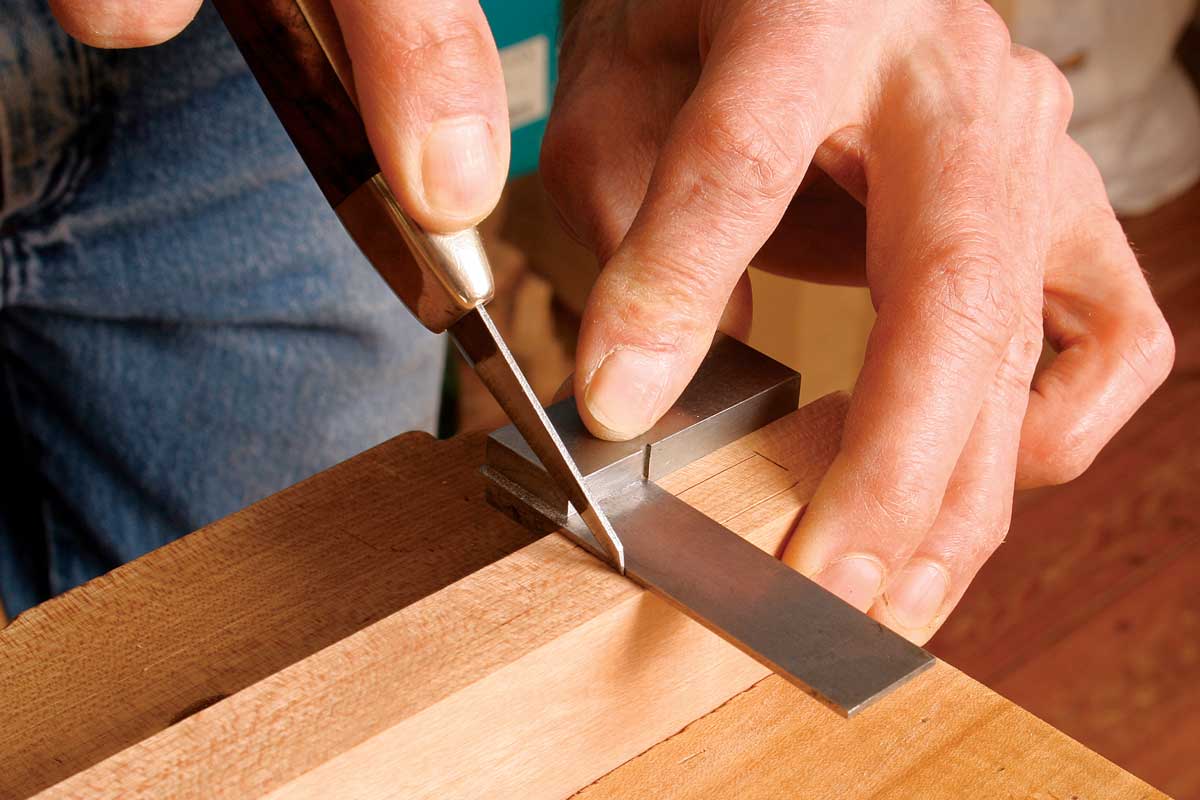 |
Drill out the waste
Now you’re ready to start removing waste wood to create the mortise. You could remove all the waste with the mortise chisel, but it’s a lot faster to remove most of it by drilling a series of holes. Plus, drilling makes it easier to maintain a consistent depth along the length of the mortise.
 From Fine Woodworking #200
For the full article, download the PDF below:
Fine Woodworking Recommended Products

Leigh D4R Pro

Marking knife: Hock Double-Bevel Violin Knife, 3/4 in.
Pfiel Chip Carving Knife


Log in or create an account to post a comment.
Sign up Log in