Hang It Up
What goes on the wall stays on the wall with these tips for anchoring your work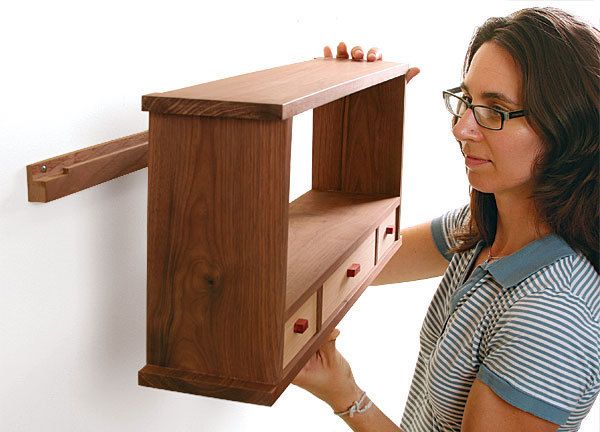
Synopsis: Planning ahead pays big dividends when it comes to hanging a wall cabinet or shelf. It’s best to consider how you plan to hang your work even before you start construction. There are lots of options, ranging from shopmade to store-bought. This article focuses on those that are essentially invisible and leave the piece flush against the wall. The easiest and strongest way is to build the hanging element, such as a cleat or hanging rail, into the piece. Other effective methods include keyhole slots, hardware, and manufactured hangers.
From Fine Woodworking #201
It’s common to build a wall cabinet or wall shelf and not give a thought about how to hang it on the wall until it’s finished. But planning ahead can give you faster, easier, sturdier, and better-looking ways to hang it up. There are lots of options, ranging from shopmade to store-bought, but in this article I am concerned only with the ones that are invisible (or nearly so) and, just as important, leave the piece flush against the wall.
The easiest and strongest way to hang things is to build the hanging element, such as a cleat or hanging rail, into the piece.
There also are a number of methods that are implemented after construction, such as keyhole slots, hardware, or various manufactured hangers. Often, these methods are fussier because they force you to work awkwardly on a finished piece.
Either way, whether built-in or add-on, it’s important to consider the hanging method prior to cutting the first piece of wood because it can influence the thickness of parts, the construction, and the overall design. The following tips for hanging projects are the best I’ve picked up in my travels as a Fine Woodworking editor.
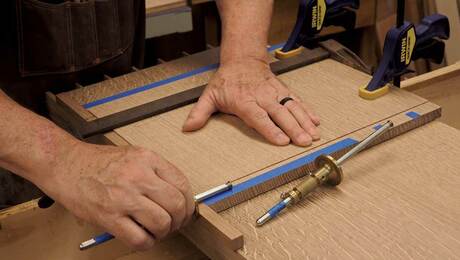
FRENCH CLEATS ARE STRONG AND EASY A French cleat is simply two pieces of interlocking material, one mounted on the wall and one attached to the furniture. For heavier casework like wall cabinets or closed-back shelves, this is one of the best methods there is. A French cleat can be shopmade or bought (there are extruded-aluminum options on the market); either way the concept is the same. A downside of this method is that you will lose a bit of depth to hide the cleat and keep the piece mounted flush against the wall. You may be tempted to skimp on the thickness of the cleat, but I wouldn’t go much less than ¼ in. thick for a smaller piece and ¾ in. thick for larger, heavier work.
For the full article, download the PDF below:
Fine Woodworking Recommended Products
Bessey EKH Trigger Clamps

Estwing Dead-Blow Mallet







Log in or create an account to post a comment.
Sign up Log in