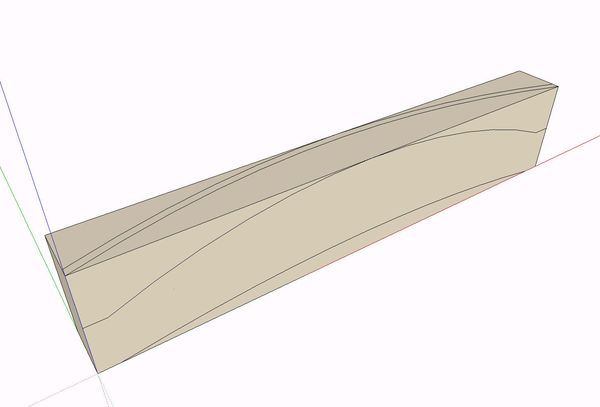
One of our readers suggested that I demonstrate how to draw a component that has some complex curves. His example was a slat for the back of a shaker ladder back chair. He also asked Tim about this so we’ve both covered the subject.
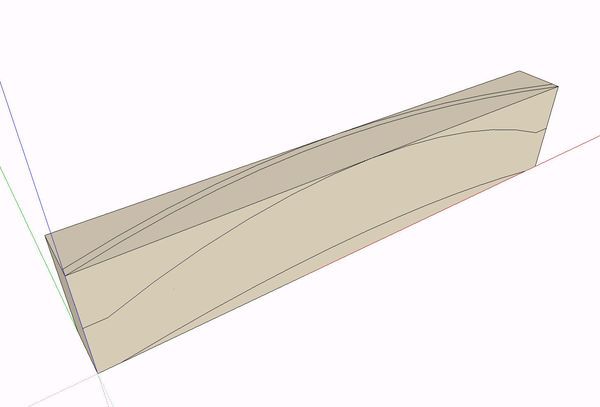
I generally find it easiest to think in woodworking terms when approaching this sort of drawing task. If I was making this part in wood, I would probably start with a thick blank, layout the front view profile as well as the top and then go to the bandsaw and cut away the waste. We can do the same in SketchUp. To start, I drew a box to represent the blank. On one face I drew the front profile and on the adjacent top face, I drew the curve of the slat.
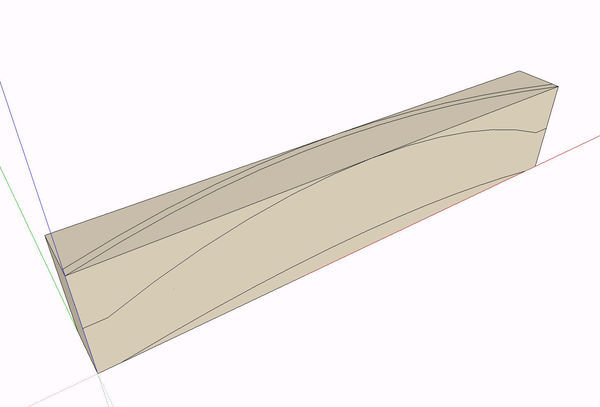
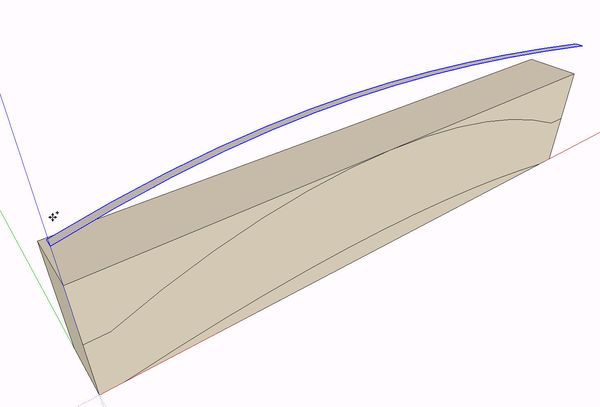
If we were doing this in wood, we might saw the upper curve and then tape the waste back on so we can cut in the opposite plane. There’s no tape in SketchUp so we’ll approach the next step a bit differently. I double clicked on the face of the curve on the top face and copied it up a little bit above the surface. I used Ctrl+Move for this. The actual distance isn’t critical at all. The reason for this step is that Push/Pull won’t work on the opper waste sections because of the arc on the top face.
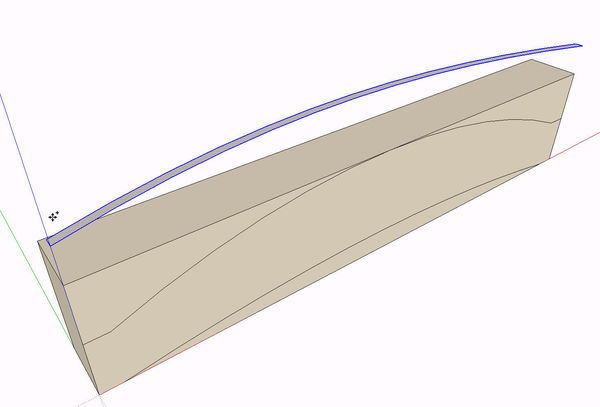
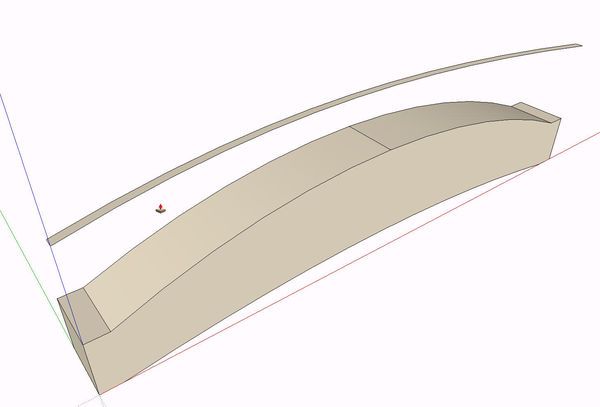
Then I deleted the original arcs on the top. Push/Pull from the front gets rid of the waste.
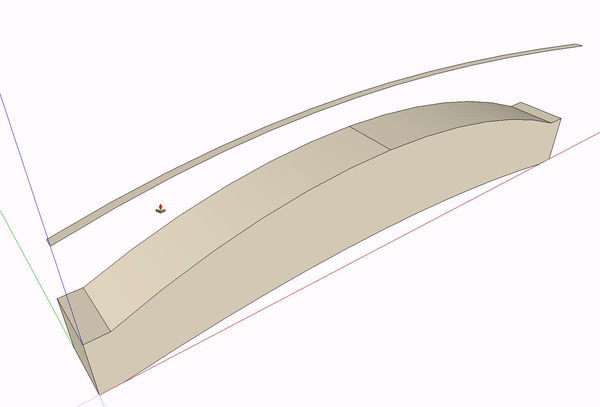
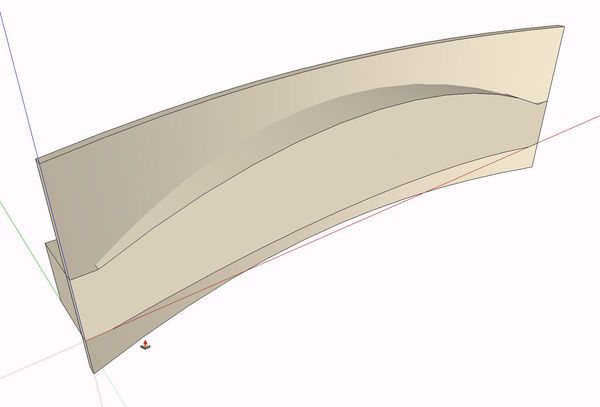
Then the arc profile is Pushed through from the top down.
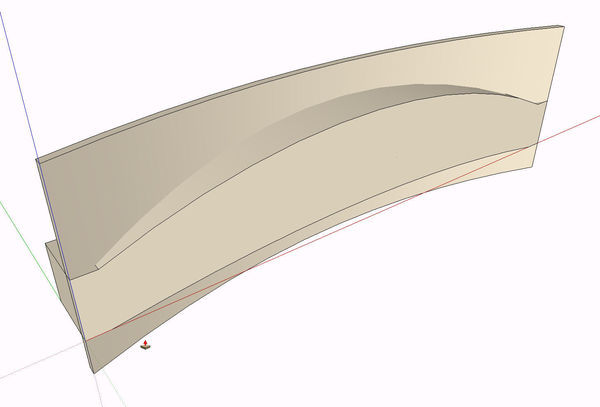
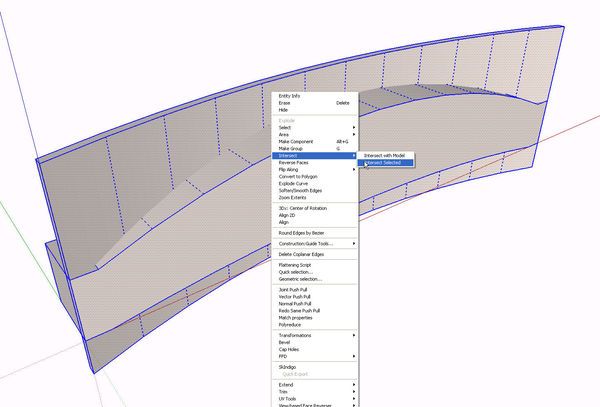
Notice that there is no black edges at the seam between the two shapes. We still need to create the intersection of them. To do that we select all of the geometry, right click and choose Intersect>With selected.
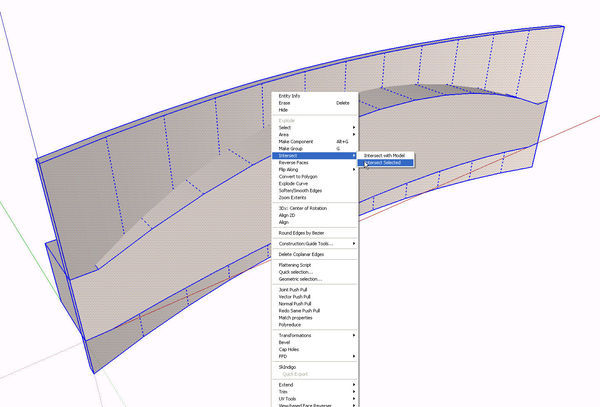
I used Intersect with selected instead of Intersect with model although in this example, either one would give the same results. If there had been other components touching this component when I was drawing it, Intersect with model might have given some unwanted intersections. For that reason I prefer to intersect only what I’ve selected.
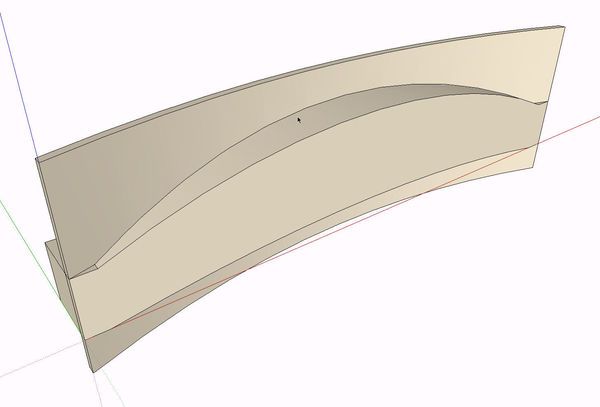
Now that the intersection is completed, you can see there are black edges at the seams.
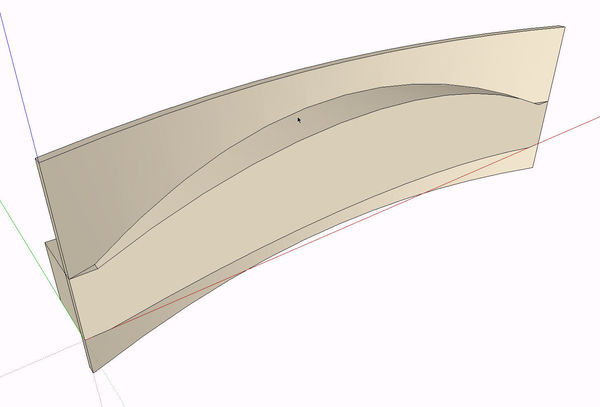
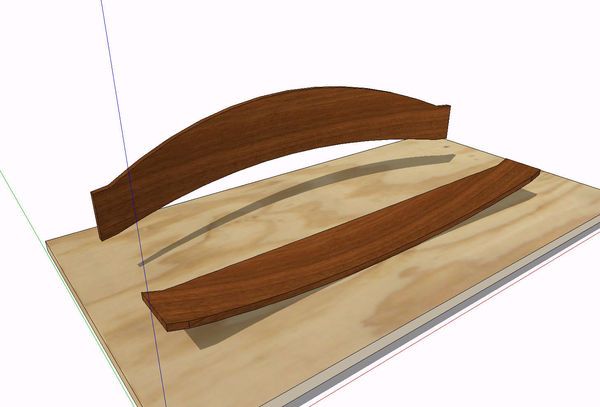
All that remains is to delete the rest of the waste leaving the finished slat. Make it a component and move on to the next part. You may find as you orbit around the slat some edges that need to be softened. You can hit them with the eraser tool while holding the Ctrl key (option on Mac).
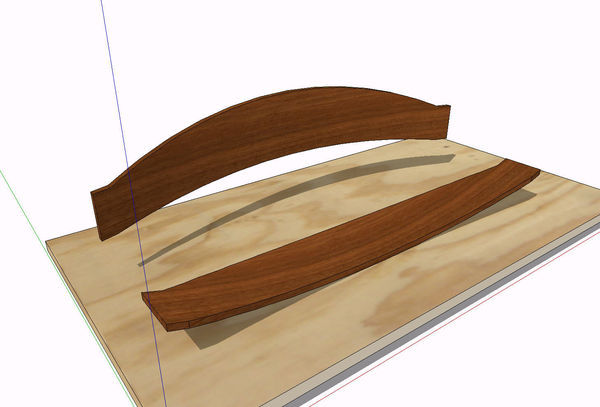
Many drawing tasks in SketchUp can be approached differently. There is a different approach to the start of this slat. You could hit Ctrl before running the Push/Pull tool to get it to run on those front faces without copying and removing the arcs on top. I don’t think it’s really any faster; just different. the end result is the same.
As always, if you have questions, feel free to drop me a note.






Comments
David,
Absolutely a great piece. Your timing was impeccable... I was in the middle of drawing dining room chairs.... thanks!
Now,,,, how about in the future "pointers" on trimming crown molding???? I'm doing an Armoire for someone and I can get the molding drawn and positioned correctly, but just can't get the three intersecting pieces trimmed. My best attempt is finishing with the three pieces "kinda" trimmed and becoming one piece, not three.
I really like SU and what it is allowing me to do. This site is also good!!
BajaMike
Baja Mike, there is a previous archived blog entry on handling miter joints of various kinds. The blog is in the old style archive and the link is:
http://blogs.taunton.com/n/blogs/blog.aspx?nav=main&webtag=fw-designforum&entry=115
Tim
Thanks Mike,
Tim beat me to linking to the archive for info but I did get your e-mail and sent back your file with something to get you started. Hope that helped.
Dave
Log in or create an account to post a comment.
Sign up Log in