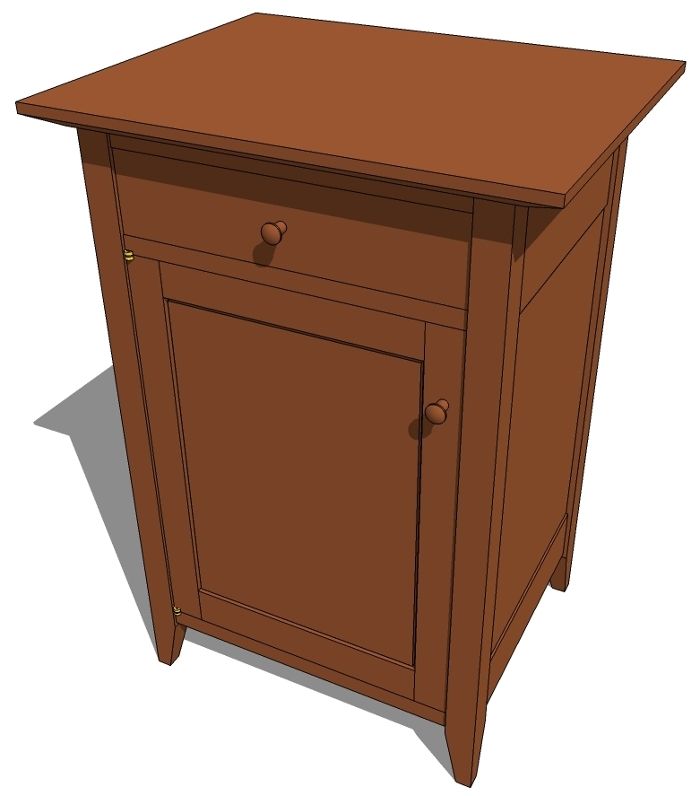
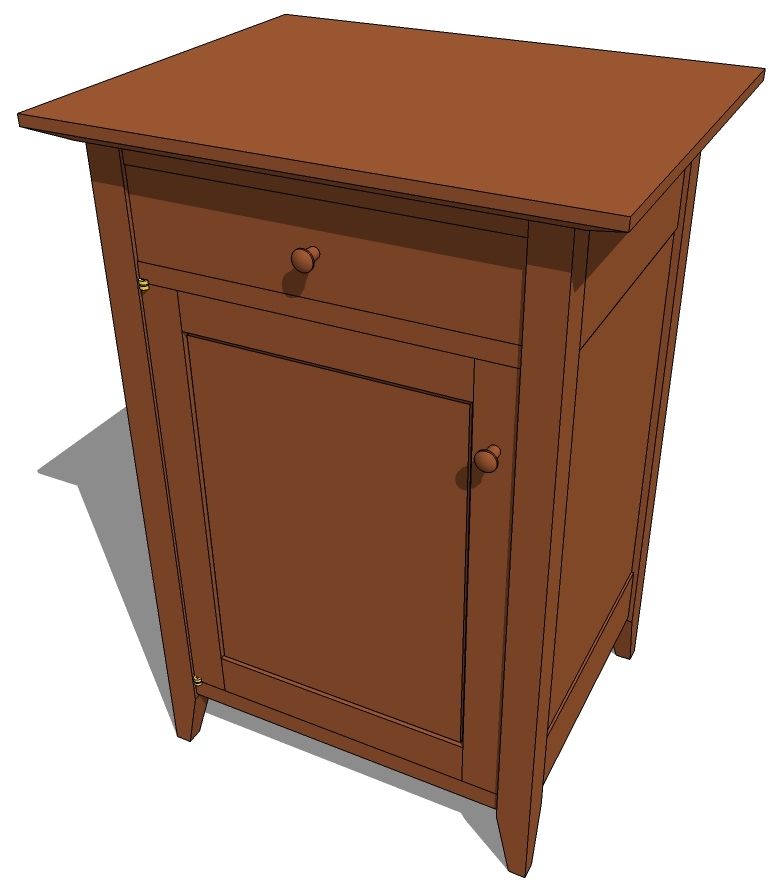
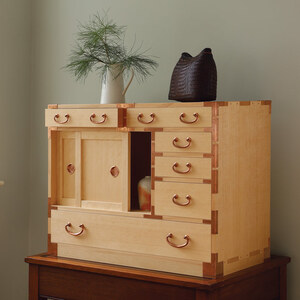
Completed Cabinet

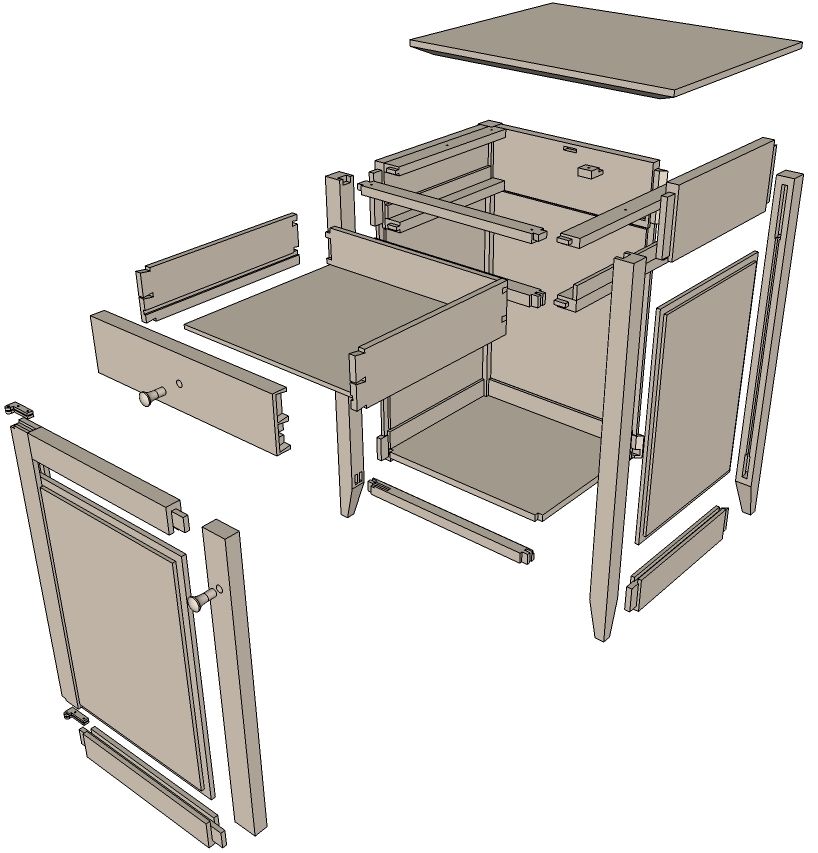
Recently I completed a SketchUp model to go along with Tim Rousseau’s Frame and Panel Cabinet shown in the current Video Workshop. The goal of the model was to create the images for the plan that goes along with the project. I thought I’d show you some of how I went about creating this model.
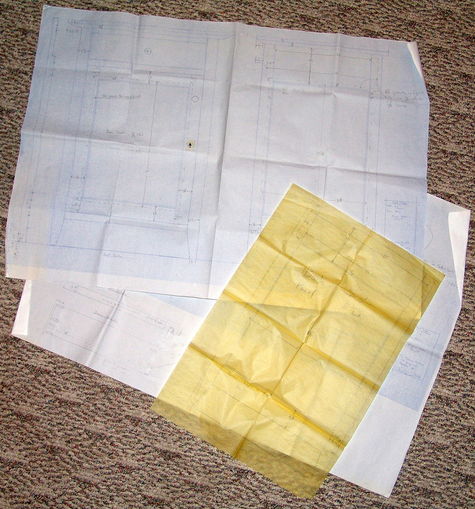
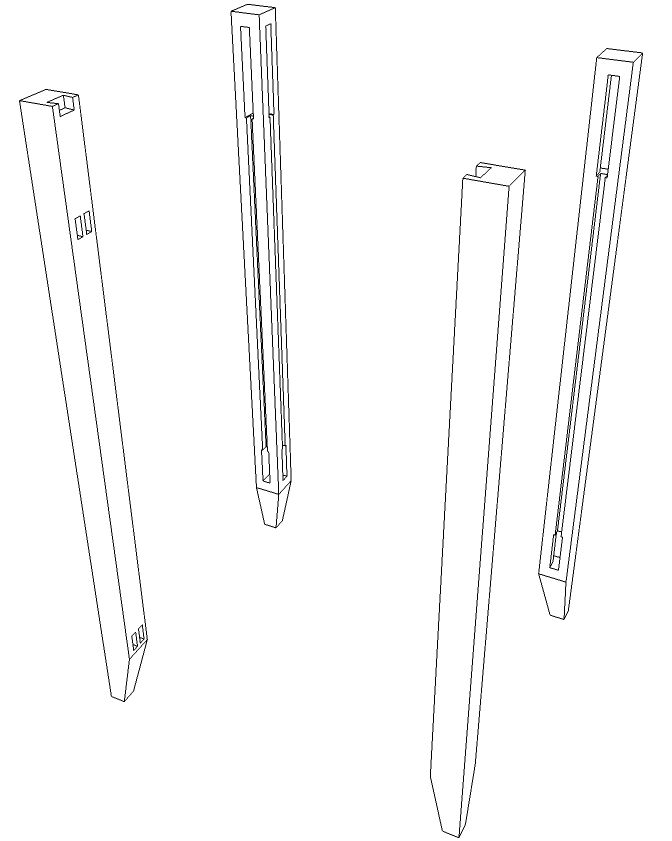
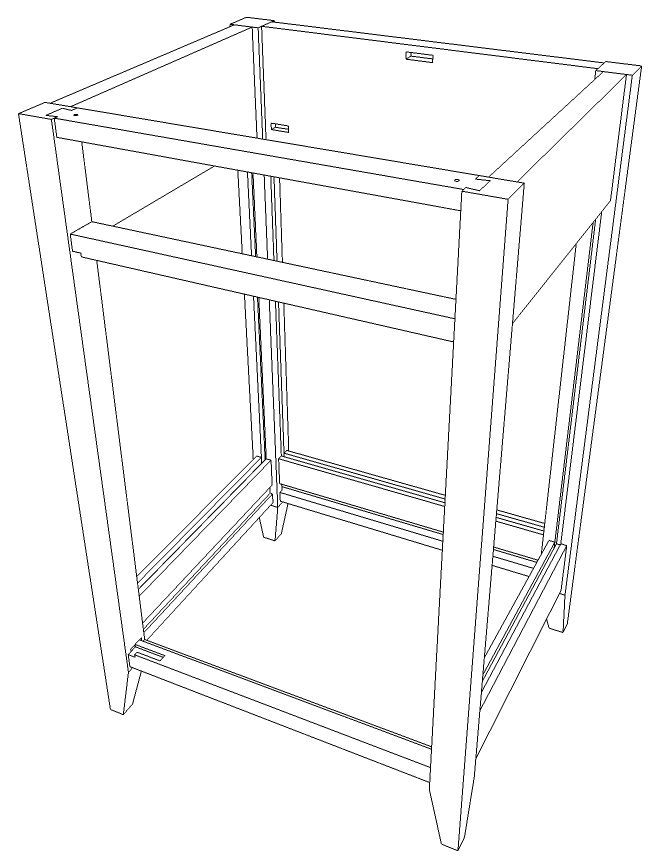
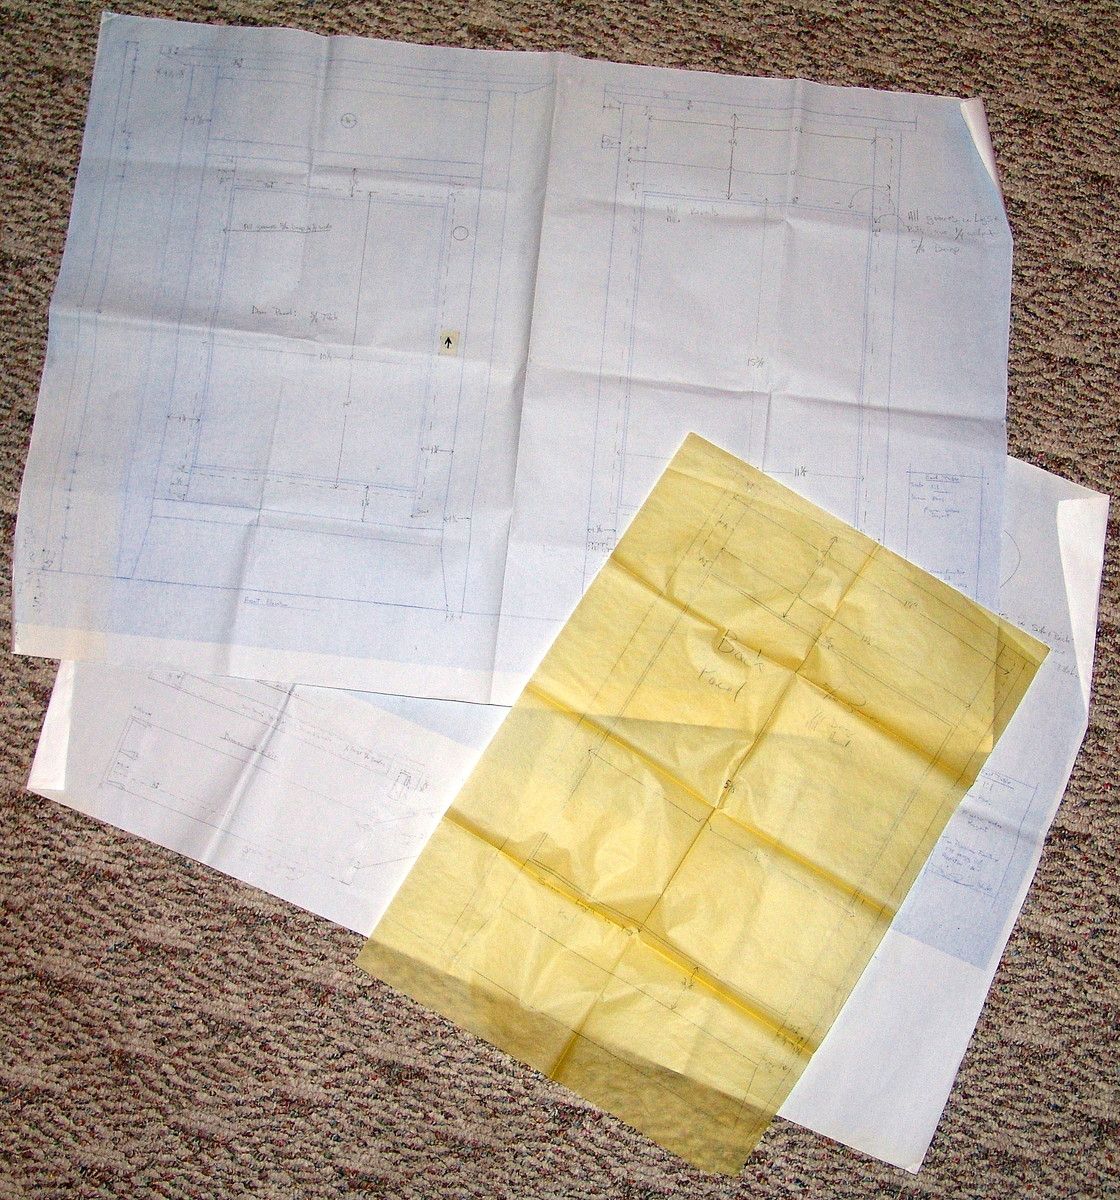
Tim sent along some hand drawn plans. These were drawn full size which made it easy for me to determine dimensions that weren’t specifically called out. Working frrom these, I started by drawing a leg and making it a component. I usually start with the front left leg placing its bottom outside corner on the origin. Then I copy (Ctrl+Move) the leg and the Flip the copy to make the front right leg. Both legs are selected and copied to the back and those copies are flipped. A couple of guidelines helped to define where the legs need to be. The drawing shows the completed legswith their joinery but in this early stage of drawing the model, I don’t bother with that stuff. I just get the basic parts drawn in place. At this point all four legs are still instances of the same component.
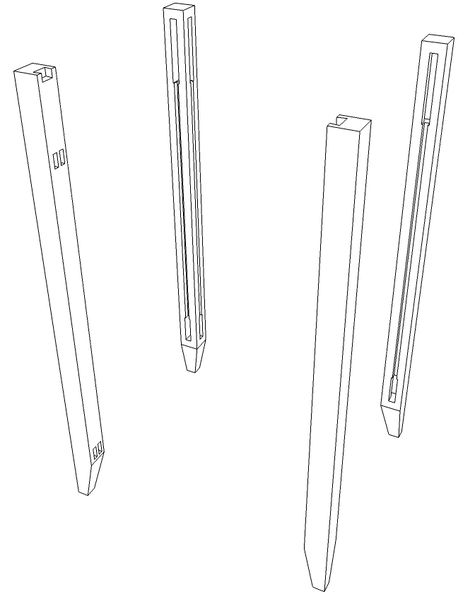
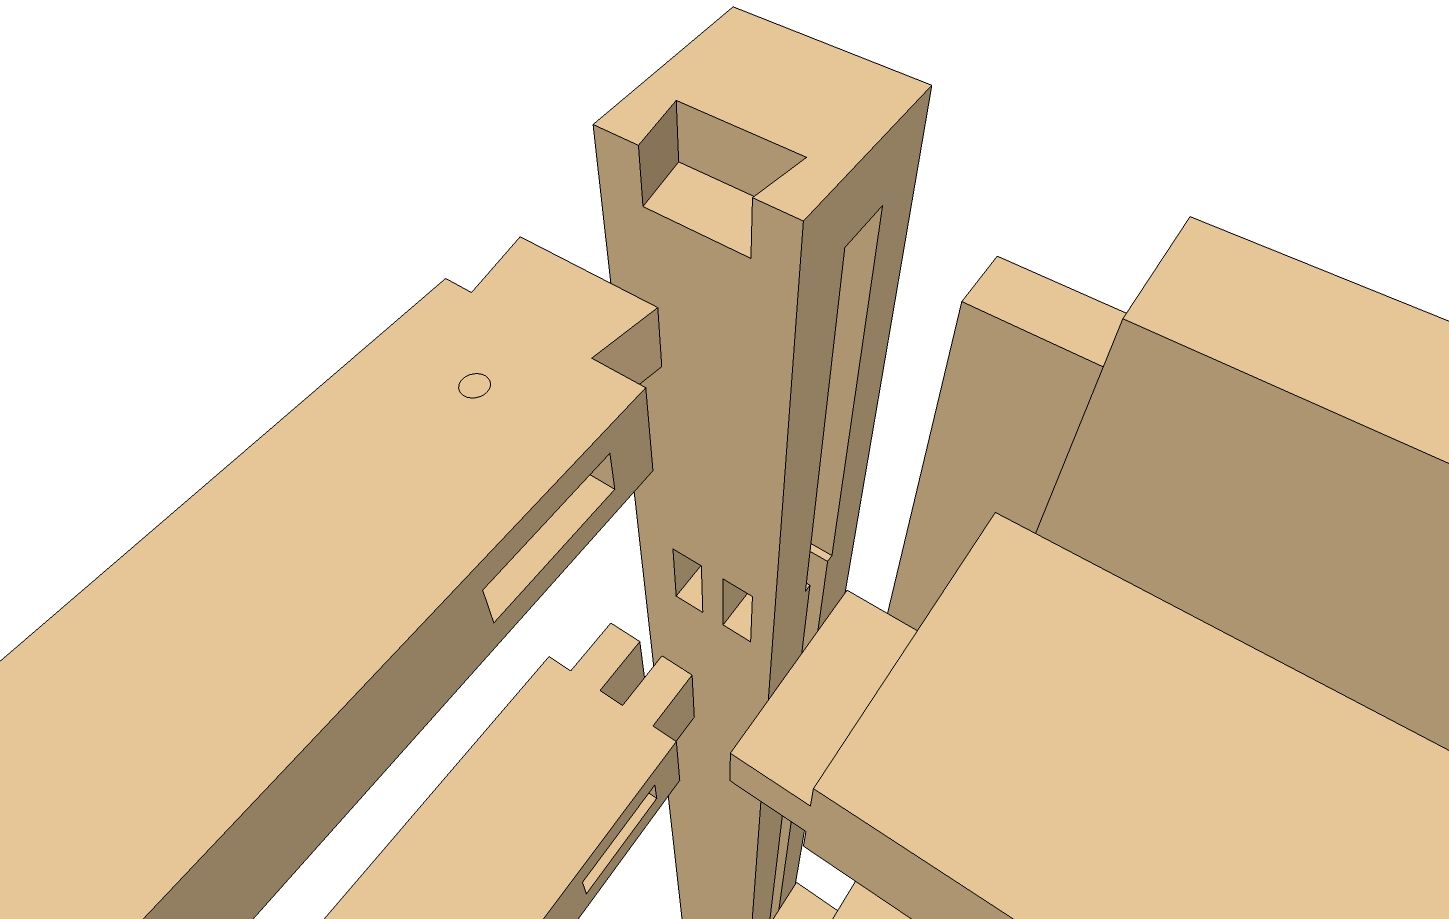
Once all of the parts are drawn in place, I’ll draw in the joinery. Since the mortises and grooves for the side rails and panels will be the same on all of the legs, I’ll draw them first and then select the two rear legs and make them unique to separate them from the front legs. then the joinery for the back rails, panel and the blades can be drawn in.
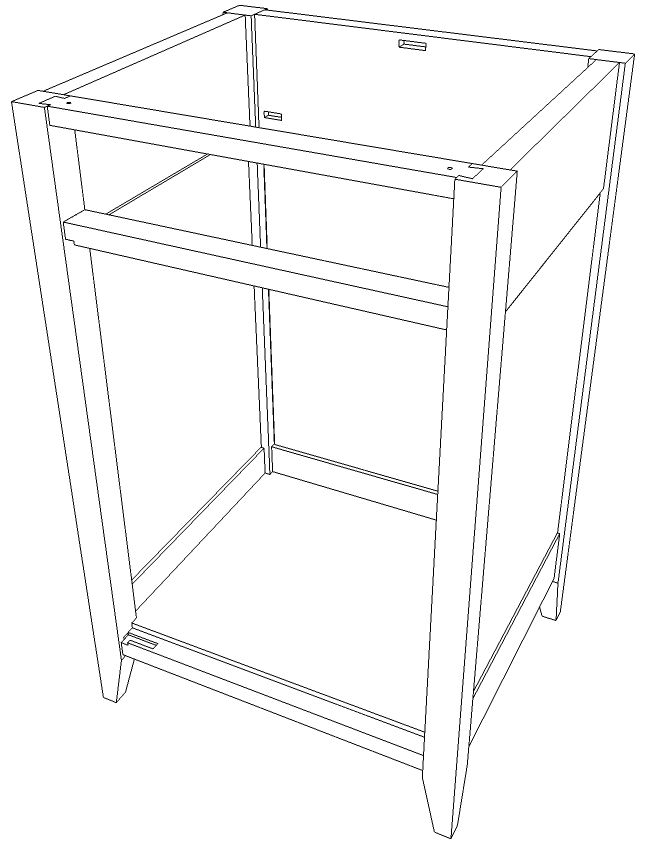
After getting the basic leg component drawn, copied and positioned, I draw in the rails and blades. These start out as simple boxes drawn in place between the legs. I know some users like to draw the parts away from the model and then move them into place. I prefer to work in place since it makes it simple to get the dimensions right. If the legs are drawn and placed correctly, I don’t need to know how long to draw the rails. I just make them to fit.
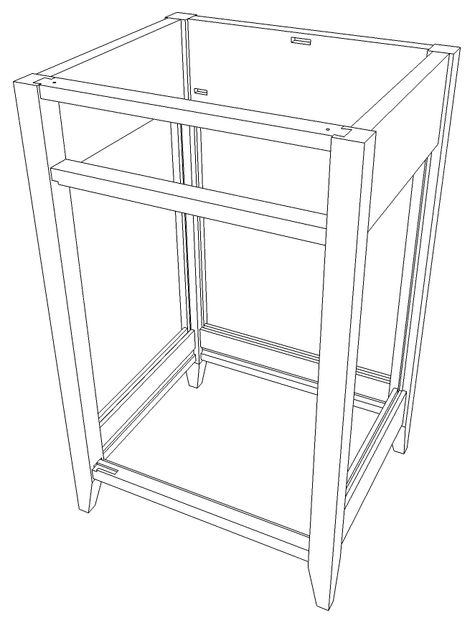
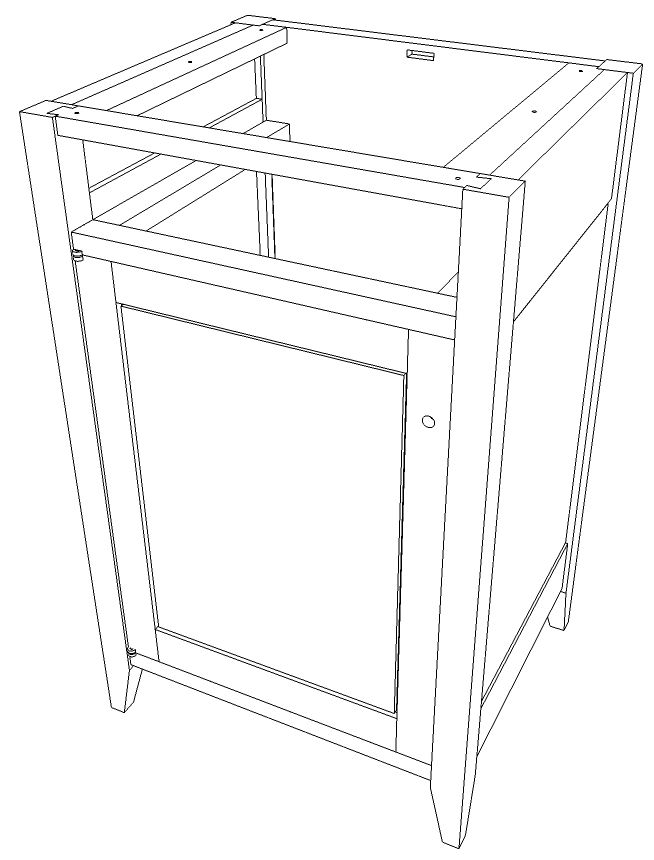
The panels and bottom are drawn in to fit in the openings.
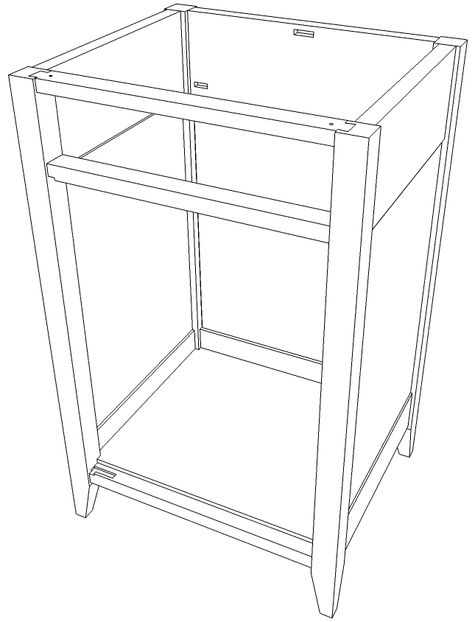
The door is drawn in its opening along with the drawer runners and kickers.
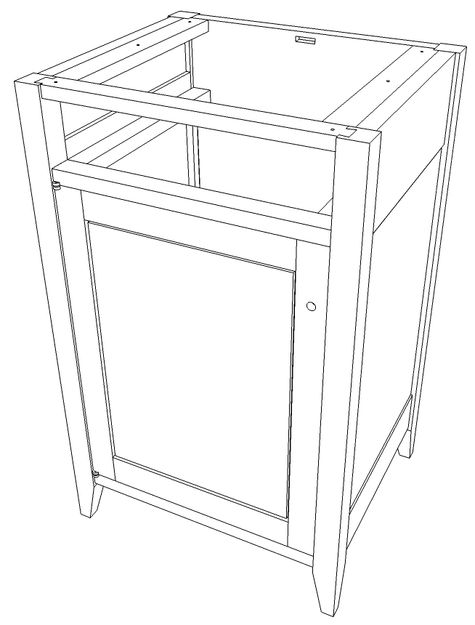
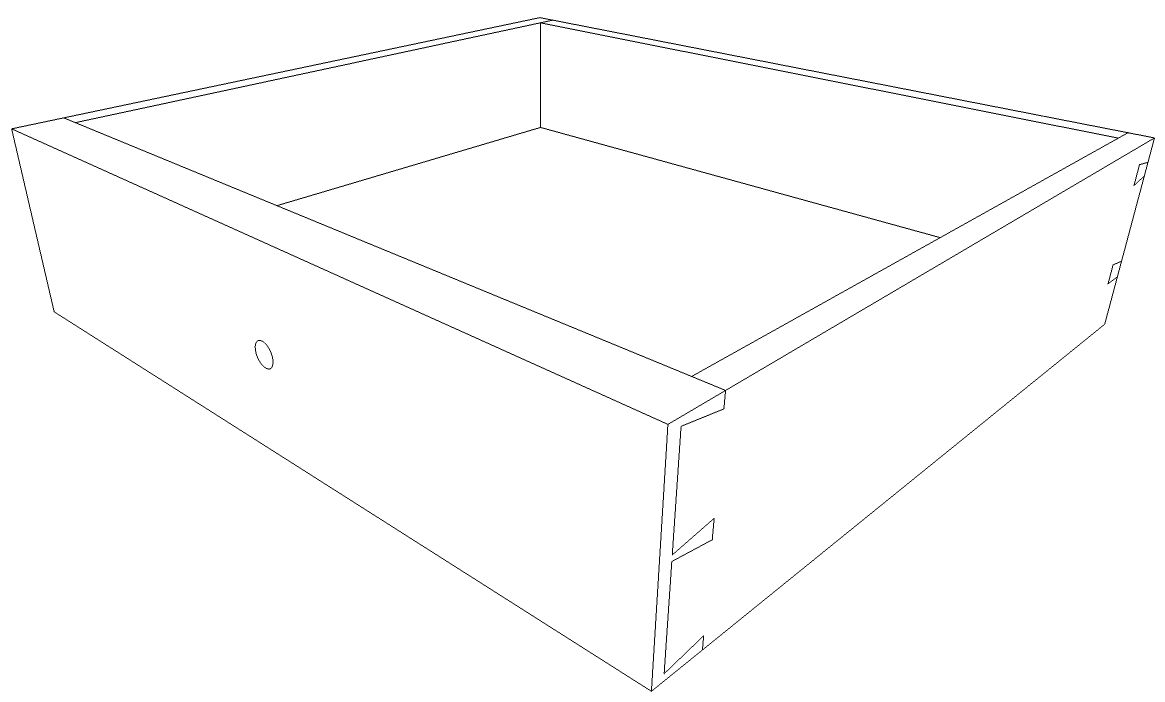
I also added the drawer front and then drew the rest of the parts for the drawer. Every part as it is drawn is made into a component. If there is more than one part or there are left and right counterparts, these are made by copying and if needed, flipping or mirroring them.
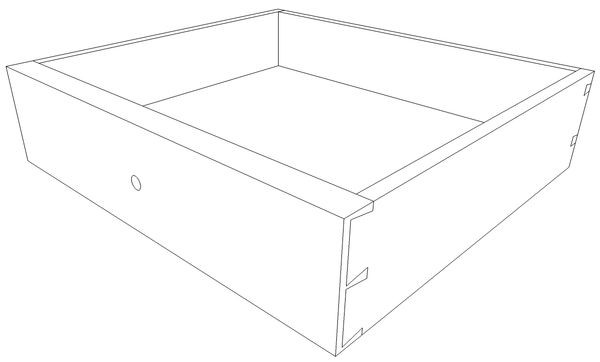
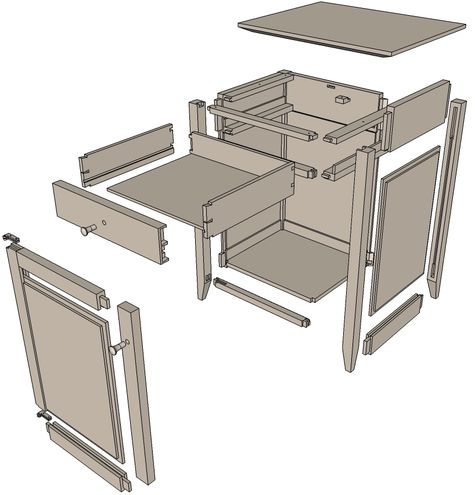
After all of the parts are drawn into place, I start editing the components to add the joinery. I use a collection of techniques while doing this. For example, before editing the drawer components, I copy the entire drawer out away from the model. I work on this copy and since the original components are linked to this copy, all of my editing appears in the drawer in place. For this cabinet, I used that copy of the drawer to make an exploded view which appears in a scene of its own.
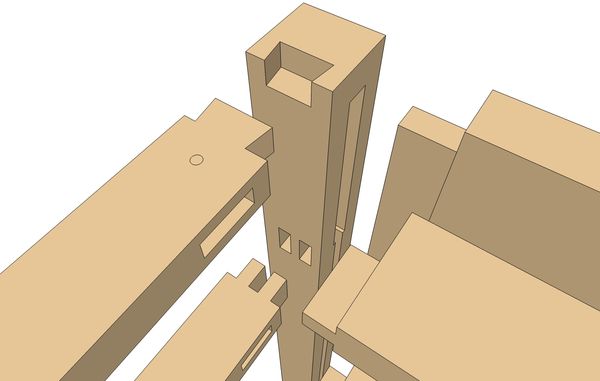
The tenons on the rails and blades in this cabinet are long enough to conflict with each other. This is a detail that might not be easily discovered if the components are copied away from the model so for those, I temporarily hid the leg and drew the tenons on the adjoining rails. After the tenons were drawn, I trimmed them to eliminate the overlap. This is very much the way Tim trimmed the tenons on the real thing.
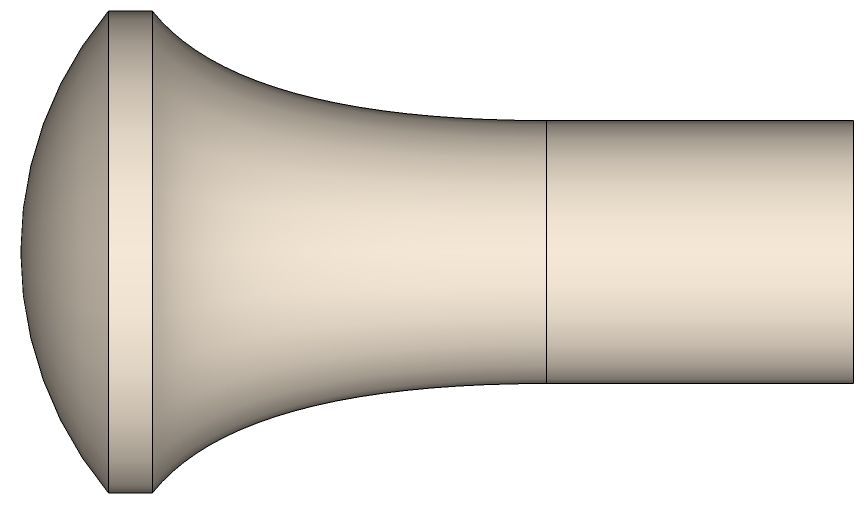
I just keep plugging away adding the joinery details throughout the model. Once that is complete I move on to making scenes that show the various details. The idea is that these scenes can be exported as images to be used in the plan. I make copies of the cabinet model or some of its components as needed. Some of these copies are used to create the exploded views as well as dimensioned part views.
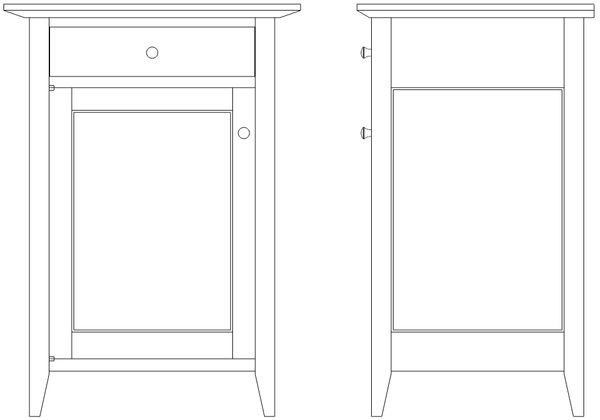
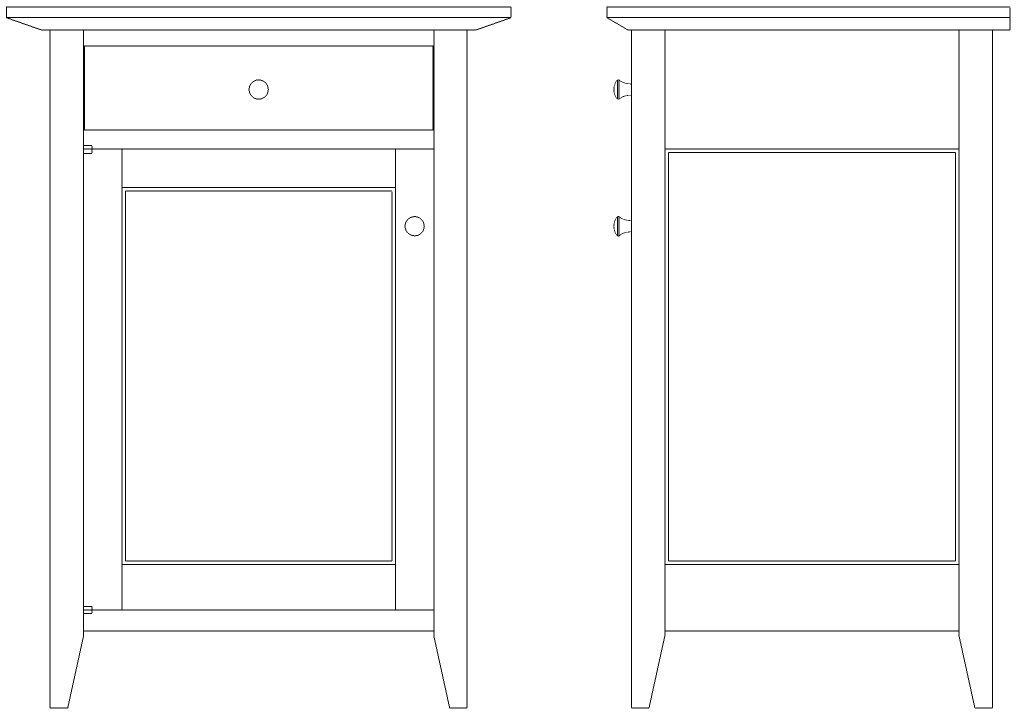
Some scenes are displayed with the camera set to Parallel Projection rather than Perspective. The elevation view below was created by making a copy of the entire cabinet and rotating that copy to show the side.
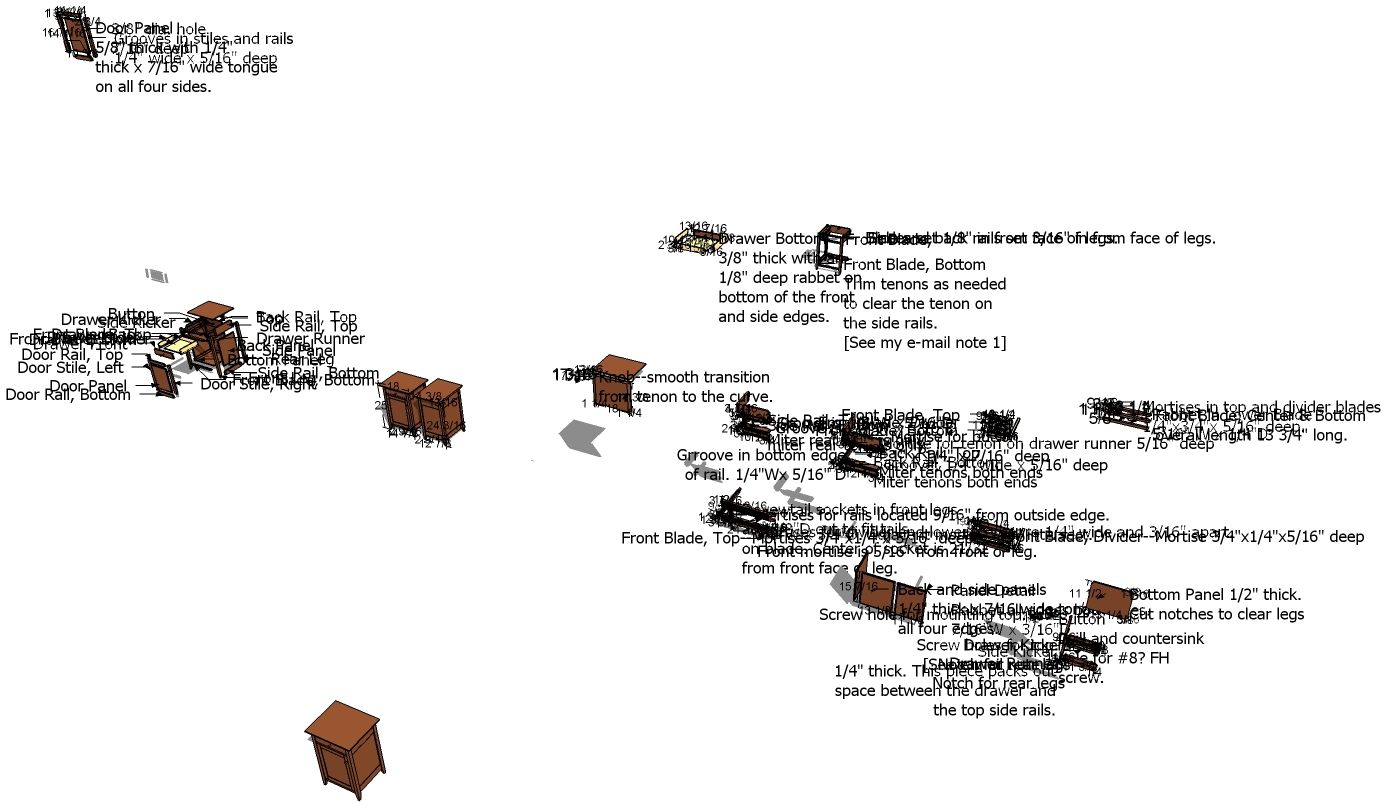
These scenes could be placed directly into Layout, which is included with the pro version of SketchUp. The plan for this project was created in a different application. This could be done without the pro version of SketchUp. For this model I ended up with 29 scenes. If I was drawing this for my own use, I wouldn’t make that many scenes.When working with scenes I disable Scene Transitions so I don’t have to wait for them when switching between scenes.
After all the scenes are created and dimensions and text are added, the overall view of the model looks like a mess. Normally though there’d be no need to see it like this.
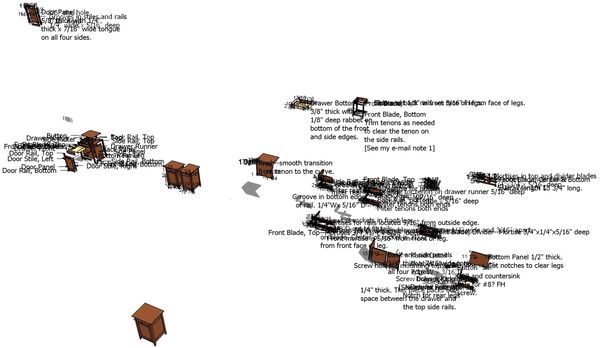
Some folks like to make separate SketchUp files for each of the views they need but I find it too difficult to keep track of what I’ve done and what I have yet to do. I find it much easier to jump from scene to scene as needed. There is an added benefit to doing this. That is changes made in the model are reflected throughout. For example the mortises for the hinges weren’t drawn in until rather late in the process because I didn’t know exactly which hinges were used. Once I got that information, I was able to draw the hinges and put them in place on the original of the model. Then I edited the blades to add the mortises. This was carried through automatically to all copies of the blade components in the model. That wouldn’t happen if there were separate SketchUp files for each part.
It all looks like a lot of work but just as creating a piece of furniture in shop a methodical approach helps to make it manageable. If you take the time to work through a project this way in SketchUp, there’ll be no surprises when you get into the shop. You should have a pretty good idea of what you need to do and in what order. This will improve your efficiency and reduce waste.





Comments
Hi Dave,
When I do scenes like these I use separate layers for each scene. Often I also have some layers that are common to more than one scene, containing the stuff which does not change between them. Is there any reason you don't do them this way?
Nick
Nick, I use layers, too. In fact there are about a dozen layers in this model. I didn't end up using them throughout the scenes on this drawing as much as I do on others because of the way I was adding and modifying scenes. I found it easier just to copy the components I wanted off to the side.
I did manipulate layer visibility for some of the close up views. I should have mentioned that too.
Using layers is a good way to control which elements are visible in your scenes.
Thanks for catching that.
Dave
I have been trying to use Layout for the first time, I wanted to get multiple pages with a scene per page.I find this can be done by selecting each scene, saving the file before transfer to Layout and then doing the same for all scenes. The process would be quite tedious for a large project so is there a better way
Ted Gibbs
After my question on Layout I found the post by Tim so that answered it for me plus a lot of other useful to go through
TG
PS Why am called teamman?
Ted, I'm glad you got it worked. As to why you're called "teamman" is anyone's guess. Did you add that as your user name or nickname?
Dave
Using the SU7 Design,Click,Build home I cannot get an article to print. Only the 1st page. Ysing the SU6 home when I click print at the bottom of an areticle a neew window opens and the entire article loads. Then all pages will print. Any ideas why SU7 DCB home will not print?
I've been using SketchUP for a while now, and I find it indispensible to my business/efforts. I've often wondered what the $500 Sketch UP Pro version would give me? Any thoughts on this?
Is there any way to create easy cut lists from/in SketchUp?
>rlafferty writes: I've been using SketchUP for a while now, and I find it indispensible to my business/efforts. I've often wondered what the $500 Sketch UP Pro version would give me? Any thoughts on this?< I recently went to SU Pro7 due to a combination of the below mentioned features that I found necessary after using SU in my business for the past year. The printing of construction documents, and design presentation, were simply not satisfactory with the free version. What are your needs with regard to the following areas: "Printing", "Documentation & Presentation", "Exporting and Importing", and the ability to create "Dynamic Components", the latter new in Pro7? IME, if you have no great need for any of the above features, you will notice no functional differences in free versus Pro. Karl ...
rlafferty,
Karl has given you decent advice regarding the difference between the pro version and the free version. As far as what you can draw they are the same.
There is a plugin which will create very nice cutlists. I have linked to it in a previous blog post. The cutlist for the cabinet shown in this blog post took less than 30 seconds to make. You can also use SU7's Report feature to create a CSV file that can be imported into Excel and manipulated into a cutlist.
Dave
thanks dave and karl. regarding the plugin for the cutlist, can you tell me the link again? I think it might be helpful. regarding the features mentioned, I'll have to explore this further - the "dynamic components" sounds interesting. I don't do a lot of printing, and I'm trying to present to clients on laptop.
Again, thanks - I really appreciate your quick responses!
Here's the link to the CutList plugin.
http://tinyurl.com/6bhfge
Dave: How do I get started with using this software for the first time? I am a little intimidated. Do I need to purchase the full blown version?
Douce, no you don't need to purchase the pro version. At least I wouldn't recommend that until you've gotten to the point where you can't do what you want to do with the free version. I expect you won't find a need to buy the pro version at all.
As to how to get started with SketchUp, I would suggest watching the tutorial videos on the SketchUp site itself. Also lok through the blog entries here. Don't forget to look at the archives from the old blog platform. there's a link on the right side of the main Design. Click. Build. page.
Drop me an e-mail if you'd like and I'll set you up with some additional stuff.
This is a question instead of a comment. Recently there was a SketchUp challenge of making a "pyramid" from blocks and then telling how long it took to do that. I cannot find that now and would like to know where it is located.
Dave
I downloaded your cutlist plugin but when I went to find the plugin folder in su8 (free version) I couldn't find it. I run apple. I'm sure I'm being thick but the only files in the su8 folder are the app.
Anyideas.
Charlie
Dave
I downloaded your cutlist plugin but when I went to find the plugin folder in su8 (free version) I couldn't find it. I run apple. I'm sure I'm being thick but the only files in the su8 folder are the app.
Anyideas.
Charlie
Farl, on the Mac the path to the Plugins folder is Macintosh HD/Library/Application Support/Google SketchUp 8/SketchUp/Plugins
And make sure you have the current Cut List plugin to install. See this link: https://www.finewoodworking.com/item/31758/cutlist-411-for-sketchup-released-today
-Dave
Hi Dave,
I read your article and I found that the techniques you wrote about are great. I have some finished designs in Sketchup and I am looking creating some Project Plans. Unfortunately I have not found a nice way to do this without buying the Pro version of Sketchup. I can't justify the $500 expense just to get Layout considering that I know there is a free way to do it. I know that you mentioned you didn't use Layout and I am wondering what you used? How can you copy the images in a particular scale?
Tony.
Hi Tony,
I didn't use Layout for this specific plan because I didn't actually make the document for it. I do use Layout for every plan document I create, however.
If you don't want to spring for the pro version, you could create plans in a word processor program. Set up scenes in SketchUp to show the various things you need to show such as overall and exploded views as well as any details you want to call attention to. Make an image export of each scene and then insert those images into your document. Add your text and you're good to go.
Keep in mind that if you need to modify your SketchUp model after you've made the plan document, you'll need to export the affected scenes and replace them in the document. You'll probably want to do your dimensioning in SketchUp although keep in mind that dimensioning in SketchUp is somewhat limited and the dimension text will be raster image like the rest of the image and won't look quite so nice as normal text. You may find that you'll need to crop some of the images you export from SketchUp so you'll need to deal with that.
Give it a try and see what you think. From my point of view, though, if your time has any value at all, The $500 you'd spend on the pro version of SketchUp would be repaid in fairly short order. And of course it's not just LayOut that you get for the money.
-Dave
Dave,
(I hope you're still responding to old posts.)
I am trying to find an example of a project that includes all the scenes used to create the project plan views. If I purchase one of your or Tim's plans from the store will it include those? Or are the plans only in the PDF file?
Carl, I am still responding. I sent you an e-mail a little bit ago.
-Dave
Hi Dave
Interesting to read at the end of your blog, that;
"These scenes could be placed directly into Layout, which is included with the pro version of SketchUp. The plan for this project was created in a different application. This could be done without the pro version of SketchUp"
I'm wondering what that application might be?
paperspaceman, I don't know what the application is that was used for this plan. I didn't make the actual plan document for this particular project. I only drew the model and created the views. I expect the application used for this probably cost more than buying the pro version of SketchUp. You could probably make acceptable plans using image exports from SketchUp and a text editor such as MSWord. The downside is modifications to the model will require you to export new images and replace the old ones in the text editor.
Since the time this plan was created, I have made all the plans for which I drew the models and used LayOut. If you are interested in creating professional looking plans, I would strongly recommend that you spring for SU Pro and use it with LayOut.
-dave
Hey Dave, it's been awhile since you've written this post but it seems like you still use sketchup. I have a few questions I'm hoping you could answer to help fill a few gaps that I have.
Are you using layout for all dimensions and markup? It seems cleaner than using sketchup itself...
Do you use layout to create a full magazine layout or with the numbered written steps or are you just creating the models and an editor types up the steps in another program?
Thanks a bunch.
Log in or create an account to post a comment.
Sign up Log in