Brighten Your Shop With an Epoxy Floor
Revitalize your old concrete floor with durable, easy-to-apply epoxy paint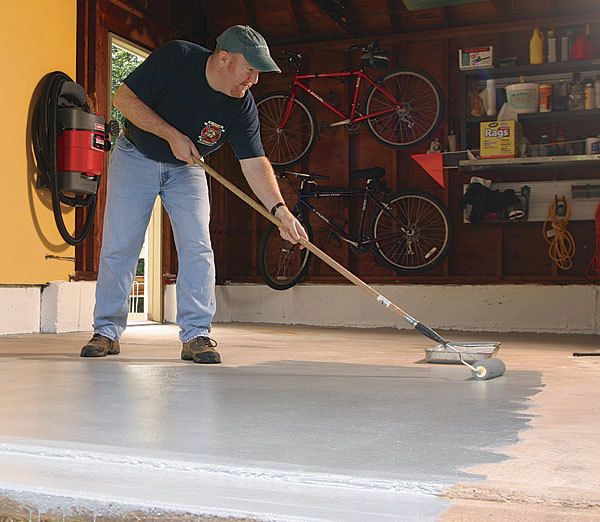
Synopsis: For about 25 cents per square foot, you can give your garage or basement workshop floor a face-lift with two-part, water-based epoxy paint. It’s easy to do with the simple, step-by-step instructions provided here by coatings expert Tim DeKorte. He demonstrates how to prepare the surface, apply the paint, create nonskid work areas, and add pizzazz with colored flakes. When you’re done, the whole shop will be brighter and you’ll have a floor that resists scuffing and typical shop chemicals.
From Fine Woodworking #202
We all know that concrete is murder on your feet and back. But its aesthetic drawbacks can be significant, too. Left unfinished, concrete has a parasitic tendency to feed on light, making you feel like you’re always working on a cloudy day. And the porosity of the material gives stains a permanent home, so you’ll forever see the scars from chemical and finish spills.
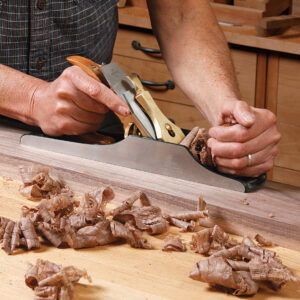
Though it won’t address the physical torments concrete inflicts, you can give your garage or basement floor a face-lift by applying a two-part, water-based epoxy paint. The material goes on easily with brushes and rollers, and once cured, the epoxy provides a light-reflective surface that brightens the entire shop and is very resistant to scuffing and shop chemicals. With this system, it’s also super simple to create nonskid areas to make strenuous tasks like handplaning less like an extreme sport. You also have the option of adding some pizzazz with colored flakes. What’s more, at about 25 to 30 cents per square foot at most home centers, epoxy won’t put a large dent in your wallet.
Clean the surface, then give it some bite: Before applying epoxy to your shop floor, you’ll need to remove all items from the space and fill any noticeable cracks in the floor. You’ll also have to clean the concrete and profile the surface. The floor kits come with a cleaning and etching solution that will eliminate any surface contaminants (like motor oil) that interfere with the paint’s adhesion, and will texture the surface so that it’s easier for the paint to grab and hold. If you are cleaning an interior floor, however, clean the surface with TSP (trisodium phosphate) instead of the cleaning/etching solution, and be sure to follow the directions on the label.
After cleaning the surface, let it dry. In most cases, 24 hours is enough. One simple way to determine if the surface is dry enough is to tape an 18-in. by 18-in., 4-mil clear plastic sheet firmly over the surface for 16 hours. If you see condensation under the sheet at the end of the test, you’ll need to wait a bit or speed up the drying time with fans or a dehumidifier.
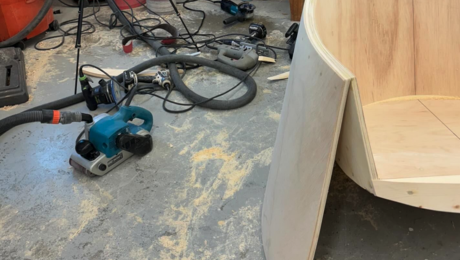
Dealing with painted concrete—If you have a painted floor that’s in good shape, you can skip the etching process and simply clean the surface using an all-purpose cleaner (coating manufacturers will recommend a product). Then you can use a floor sander with rough-grit paper to eliminate any glossy areas and to give the surface some tooth. Clean up the sanding dust thoroughly, and be sure to wear a good-quality dust mask or respirator.
If the existing paint is peeling, you’ll have to remove all of it and start the process from the beginning. In this case, hire a professional shot blaster to remove the old coating and profile the concrete. This could run from $1.50 to $2.50 per square foot, depending on the size of the floor.
For the full article, download the PDF below:






Log in or create an account to post a comment.
Sign up Log in