Pencil and Paper
Work precisely by using these simple tools in unconventional ways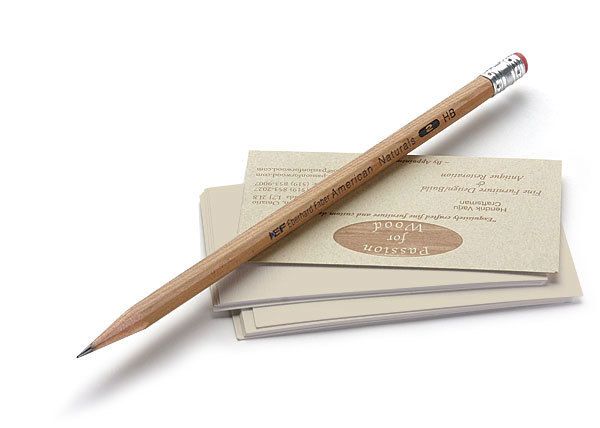
Synopsis: Whether you need to move your tablesaw fence a few thousandths of an inch or craft a perfectly fitted mortise-and-tenon joint, you can see and control nearly invisible differences by using two of the most common and ancient tools around-a pencil and paper. Hendrik Varju demonstrates how to use these tools to get a waterstone truly flat, accurately taper a leg, fit a mortise and tenon, handplane a board flat, set up power tools and grinding equipment, and achieve perfect joints.
From Fine Woodworking #202
You don’t need to be hightech to achieve high precision. Whether you need to move your tablesaw fence a few thousandths of an inch or craft a perfectly fitted mortise-and-tenon joint, you can see and control nearly invisible differences by using two of the most common and ancient tools around—a pencil and paper. The next time you want to dial in a higher level of accuracy, don’t reach for your credit card to buy the latest alignment gadget. Instead, pull a few business cards from your wallet and a pencil from your tool belt.
Pencil strokes highlight your progress: Whether sharpening, planing, or routing, sometimes the amount that needs to be removed is so little it’s hard to see with the naked eye. Drawing pencil lines on the workpiece or the tool can make your progress easily visible.
Get a waterstone truly flat: A waterstone needs to be perfectly flat to work well, but it is hard to tell when this has been achieved. To track your progress, draw light pencil strokes on the face of the stone before flattening it. (A number of abrasives can be used; pictured at right is silicon-carbide lapping grit on glass.) The marks will disappear first on the high points, so keep rubbing until all pencil strokes are gone.
Avoid tapering too far: A jointer or handplane is used to refine tablesawn tapers on a leg, with each pass extending the taper farther up the leg. But stray into the designated flat area, and you’ll see a gap when the apron is attached to the leg. A few pencil strokes near the start of the taper highlight when to stop planning.
See where you’re planing: If you’re flattening a glued-up panel, start by finding all of the high areas using a straightedge and marking them with pencil strokes. This way you can concentrate on the areas that need the most wood removed. You’ll also be able to track any places you missed. Use a different pattern of pencil strokes in the lowest spots as a warning to avoid planing these areas.
For the full article, download the PDF below:
Fine Woodworking Recommended Products
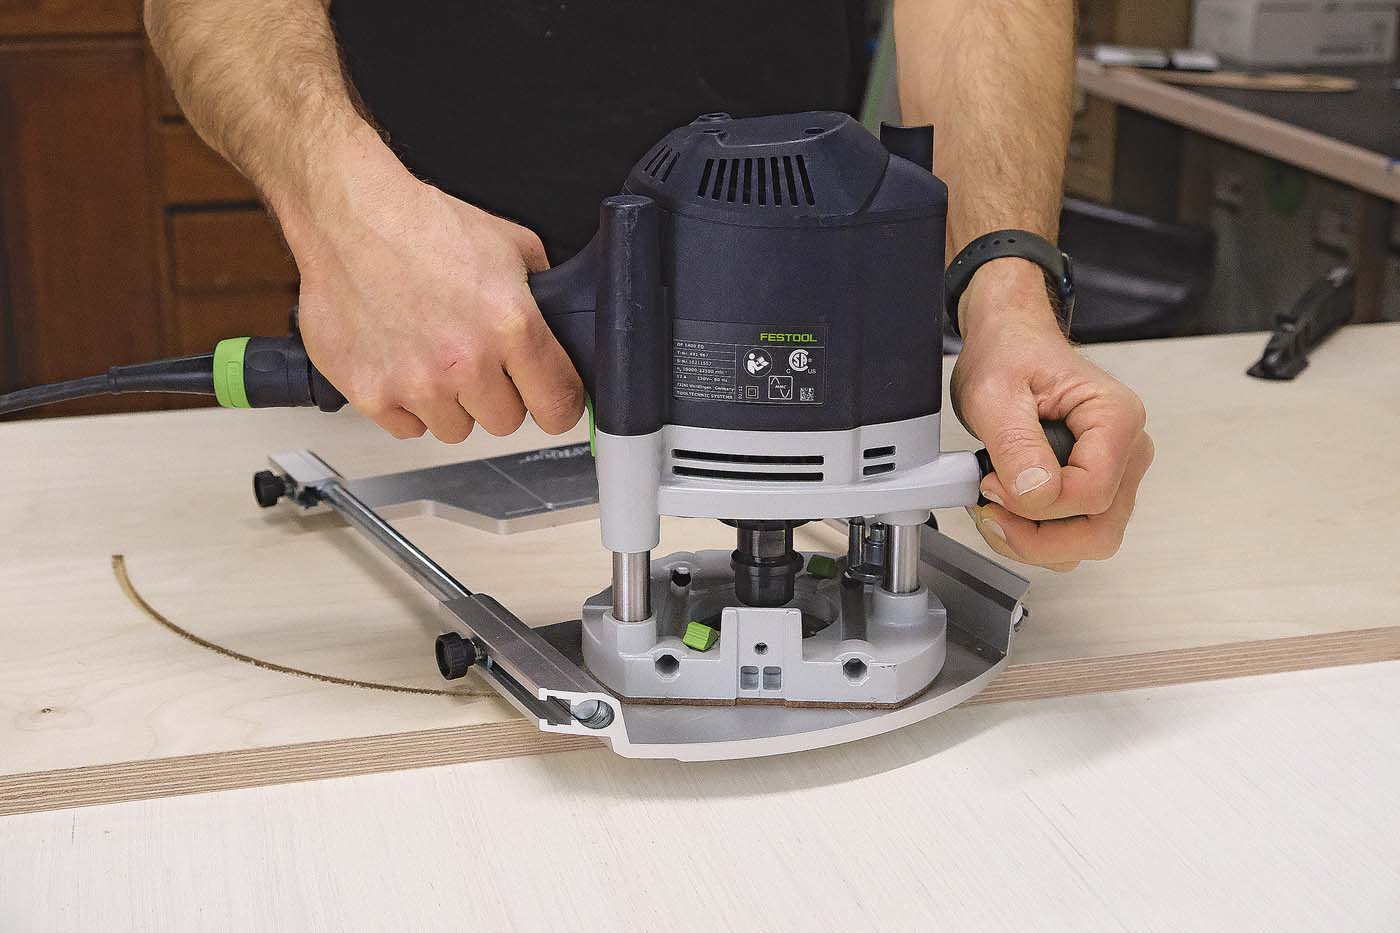
Woodriver Circle Cutting Jig
Incra Miter 1000HD
MicroJig Matchfit dovetail clamps




Log in or create an account to post a comment.
Sign up Log in