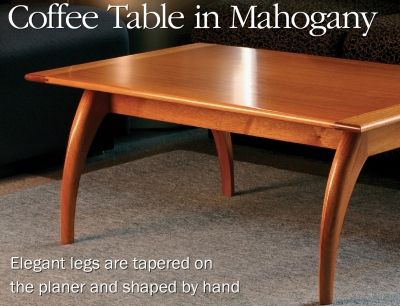
After you’ve worked through creating a complex shape in SketchUp, going to the shop to make it in wood can be another thing entirely. You can, however create profile templates from the SketchUp model to help you shape the wood.
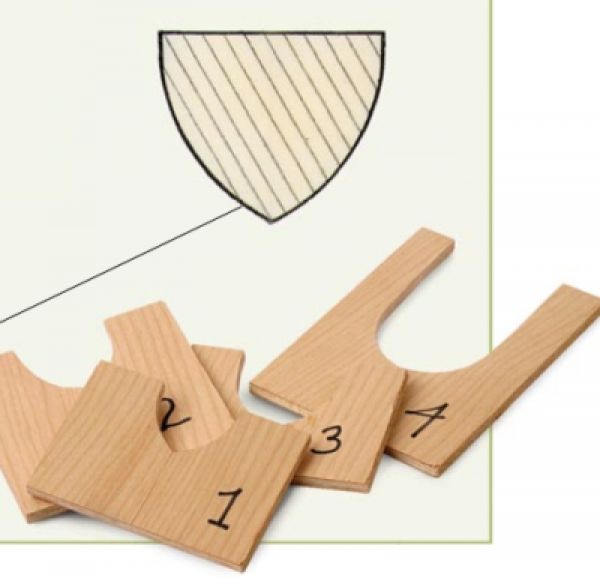
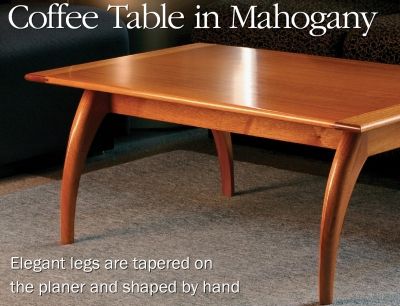
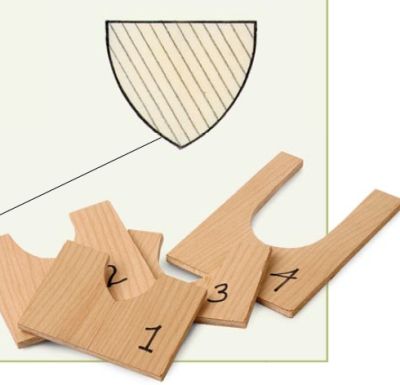
For this example I’m using the leg from Mario Rodriguez’s Coffee Table in Mahogany in FWW182. I already drew this leg for an earlier blog post and now I’m working in reverse. I’m going to use a plugin called ‘Slicer3.rb’ by TIG. Mr. Rodriguez made profile gauges of this sort to allow him to check the shape of this leg as he was working on it.
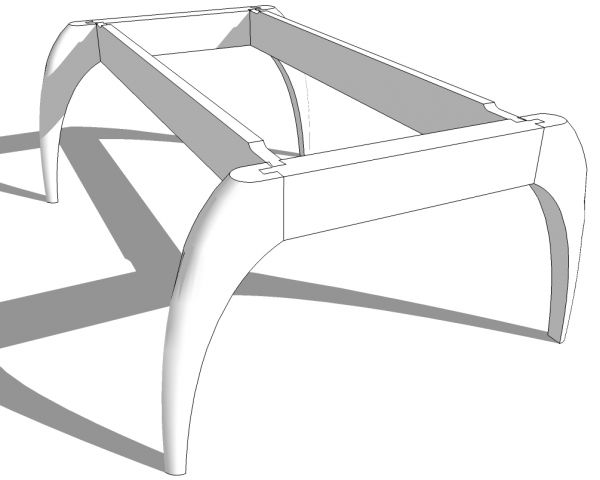
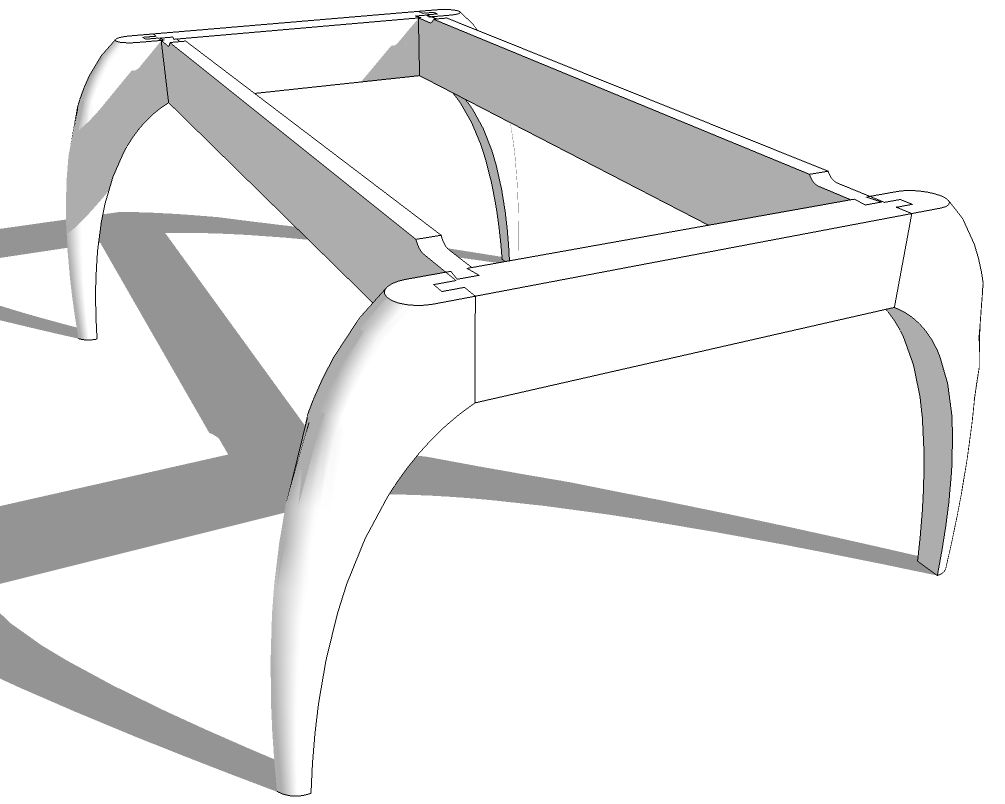
So, here’s the base for the table.
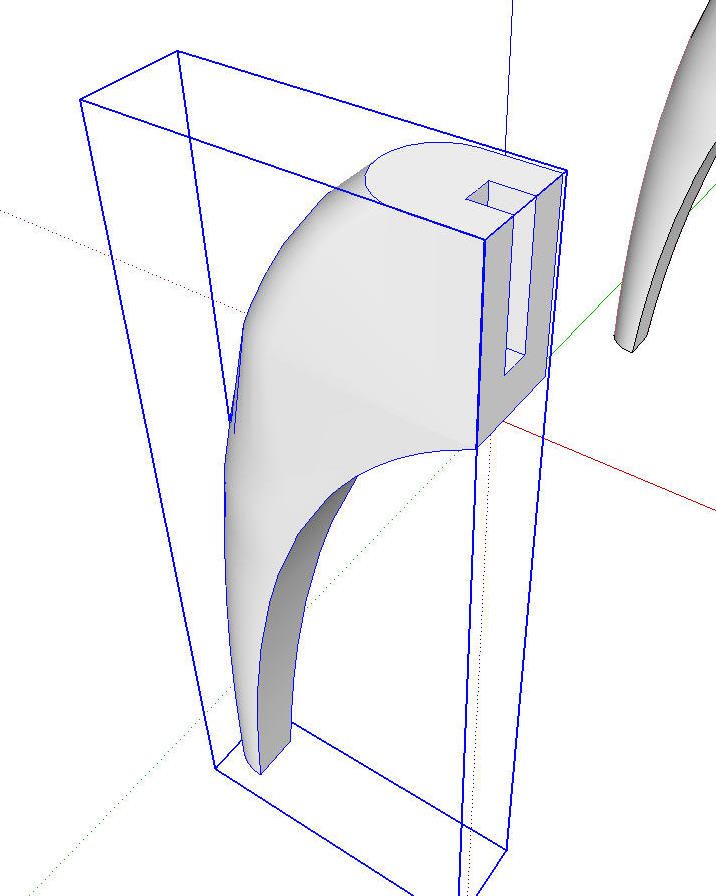
I copied the leg component out away from the model.
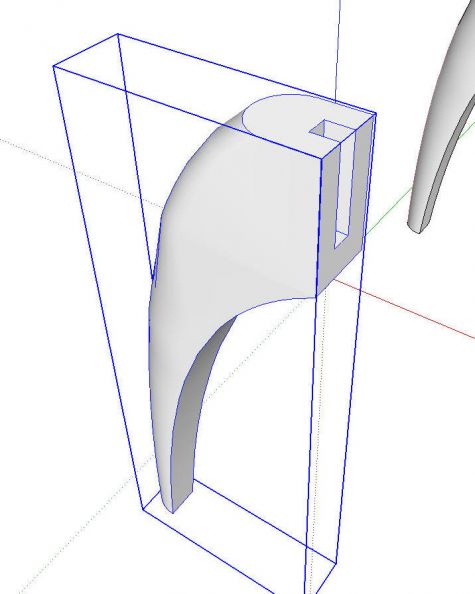
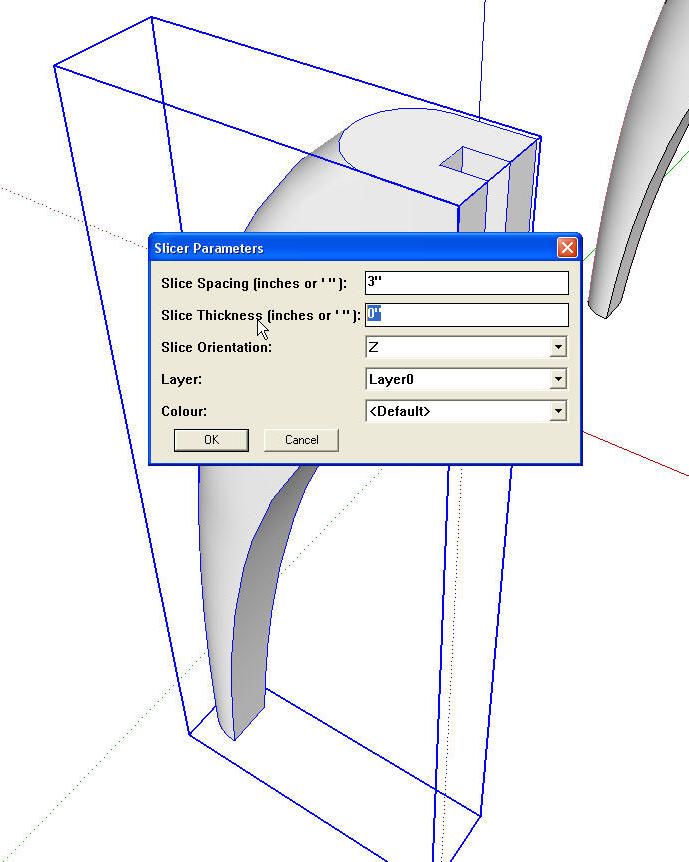
And then I selected Slicer from the Plugins menu. A dialog box pops up which prompts you for slice spacing, slice thickness, slice orientation, layer and color. This leg is 15″ tall so I decided on 3″ spacing for this example. I set the thickness to 0 and orientation to ‘Z’.
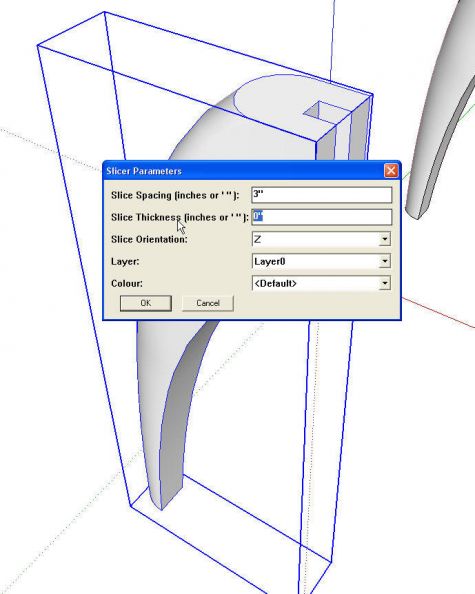
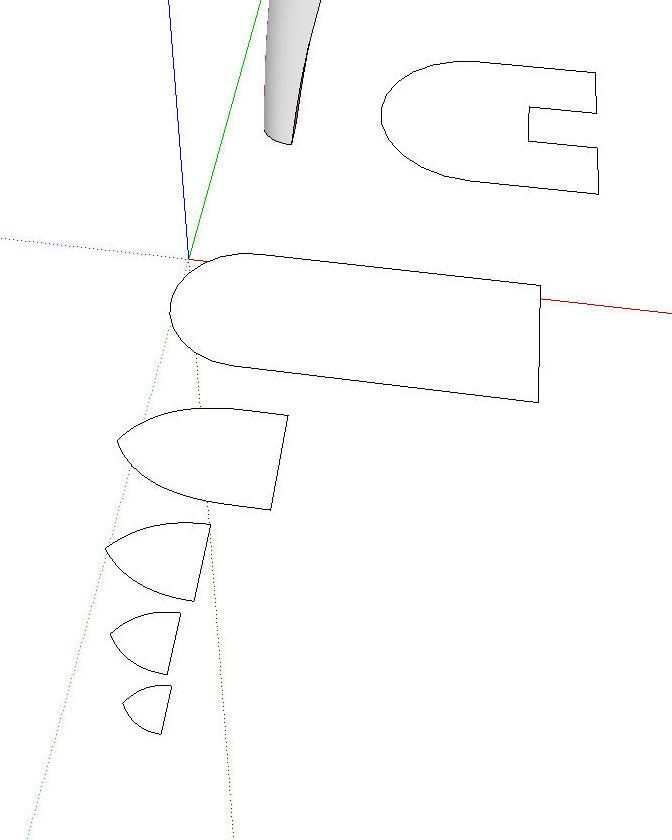
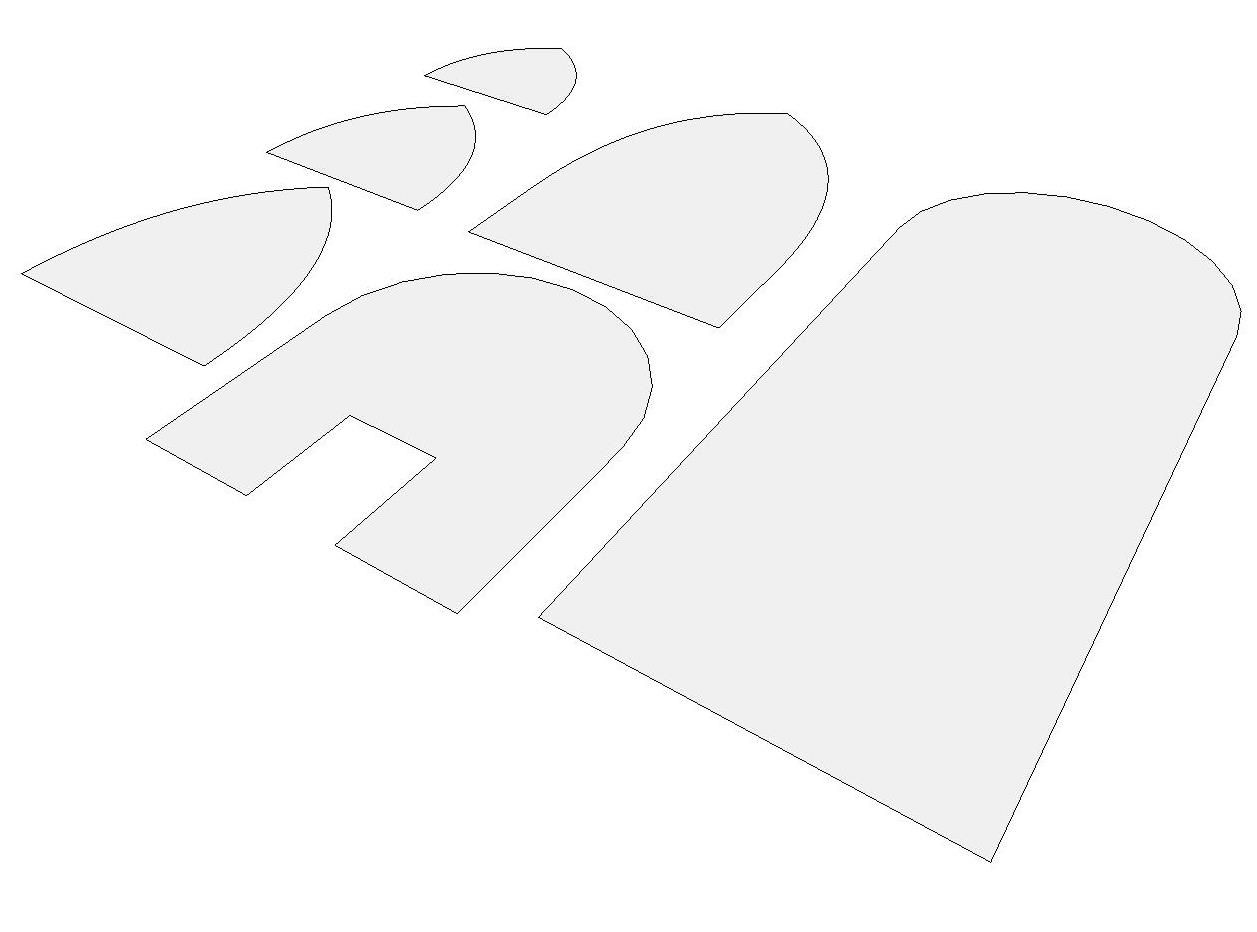
After clicking OK, the plugin asks if the slice spacing should be equalized to which I respond Yes. Then it asks if it should add a number to each slice. I opeted for ‘No’ in this case. Then it asks if the original should remain hidden. I choose ‘Yes” and finally it asks if the slices should be flattened. The plugin will put them all on the same plane if desired. I answer ‘Yes’ which generates a copy of the sllices on the ground plane. Before flattening the slices look like this.
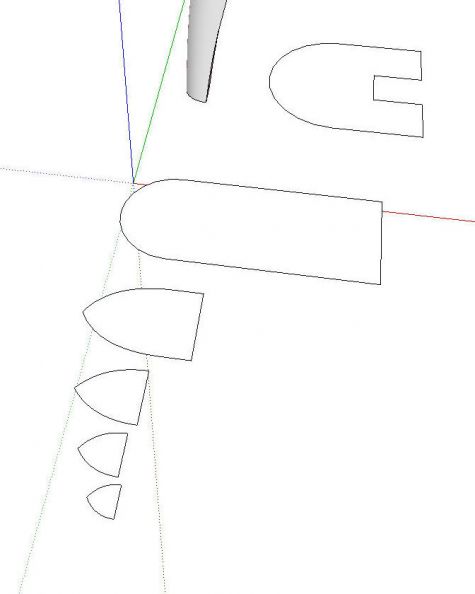
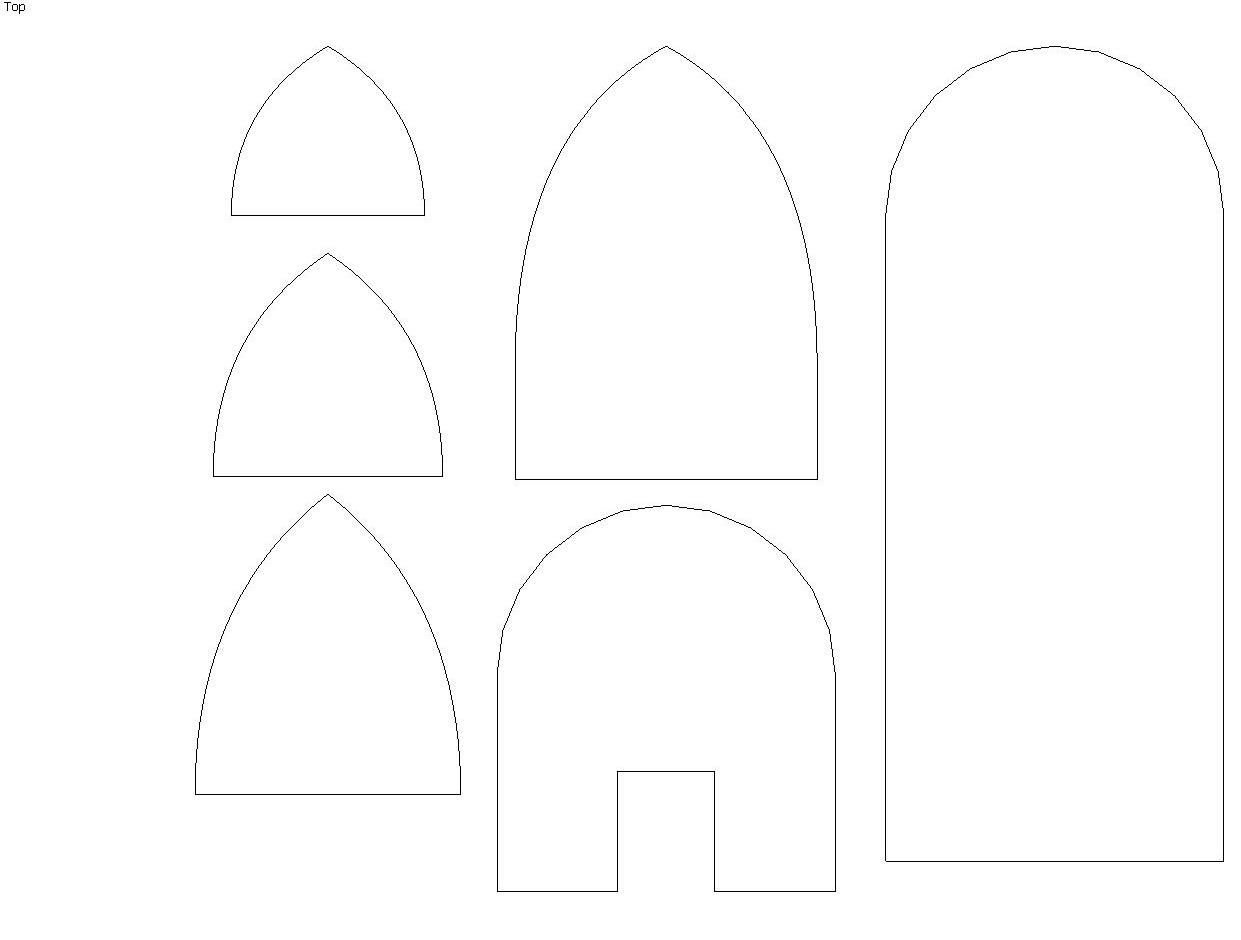
After flattening I rearranged the slices to fit in a smaller area.
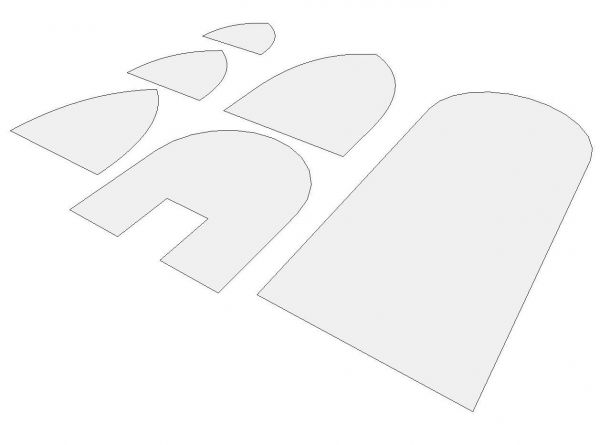
At this point we’re ready to set up for printing them as a template. I set Camera to Parallel Projection and set the View to the Top view. I zoomed in to fill the drawing window with the templates.
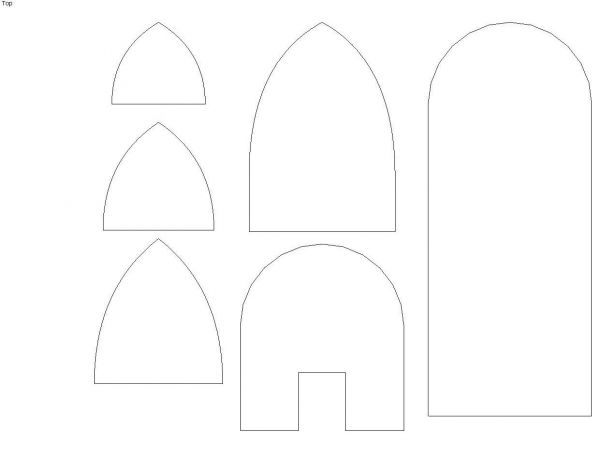
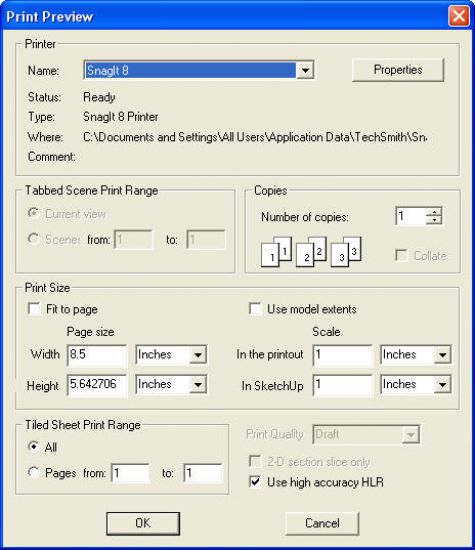
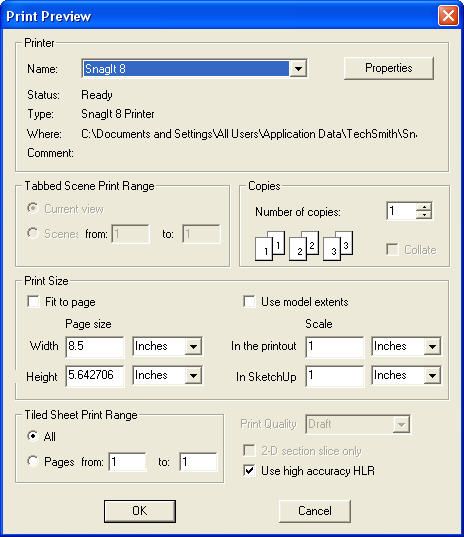
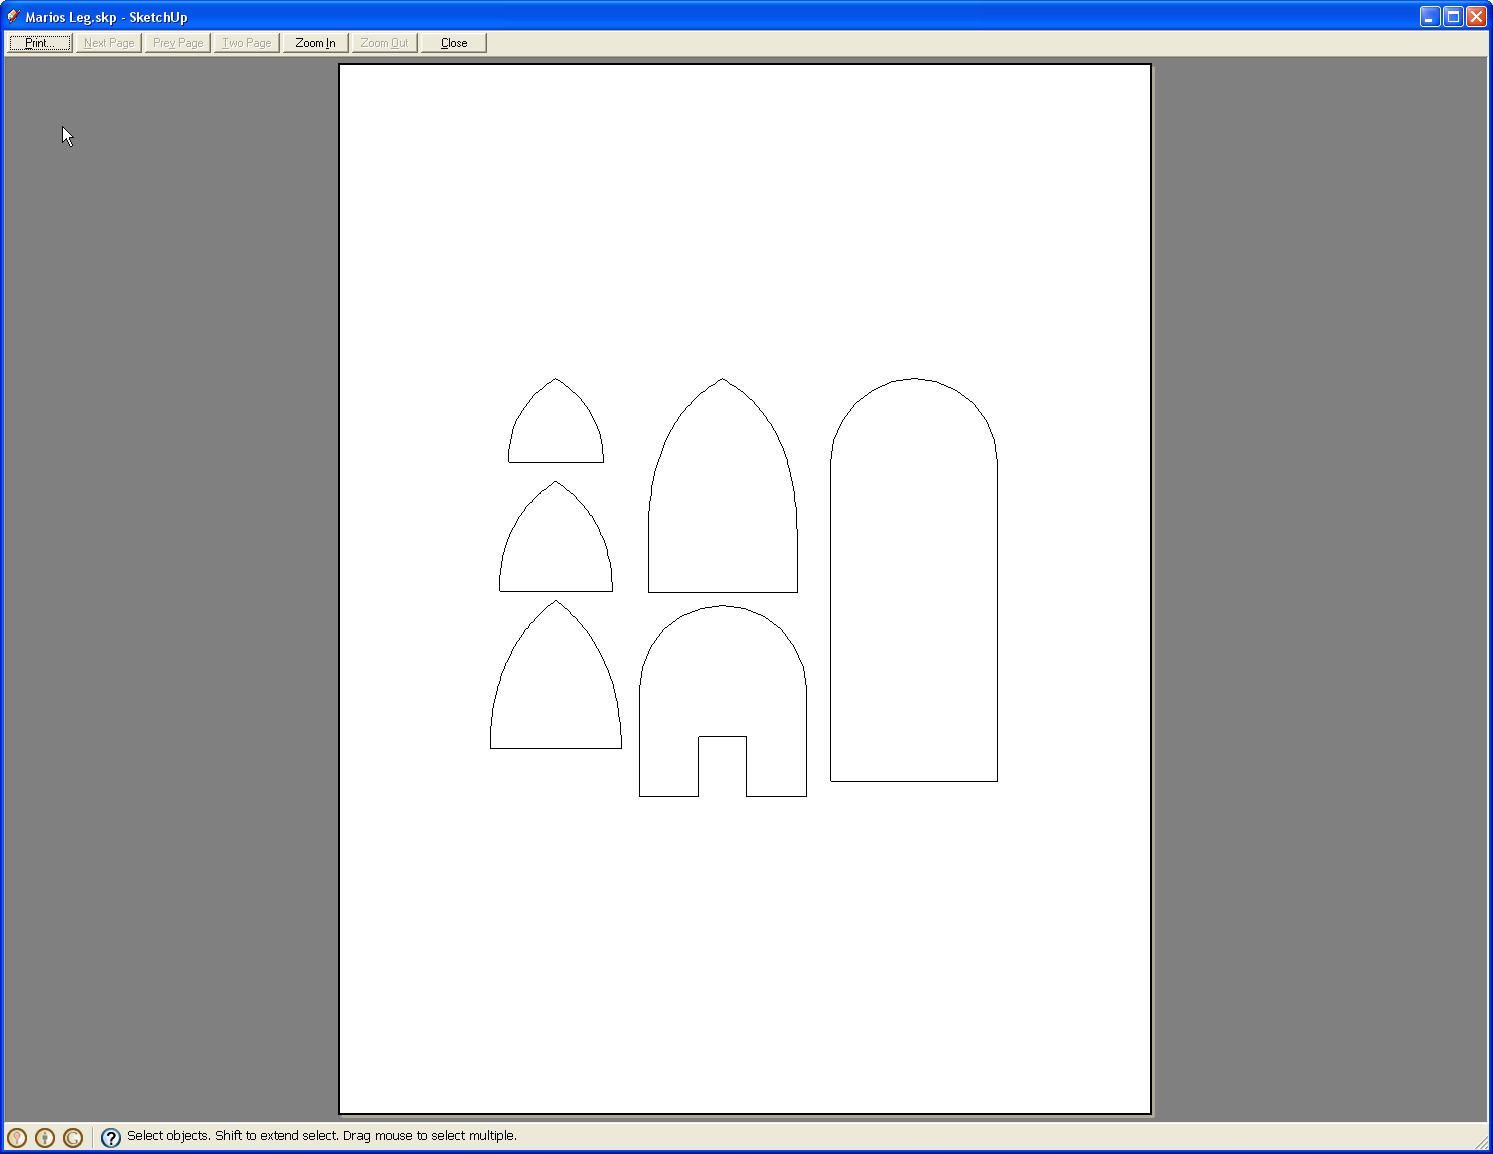
Then go to Print Preview and set things up as shown in the next image. Note that both Fit to Page and Use Model Extents are both unchecked. Make sure that under Scale, In the Printout and In SketchUp show the same values. Also check to see how many pages your template will require. If your templates won’t all fit on the same page you might need to do this in several steps zooming in on one or two at a time. In this case there’s no trouble though.
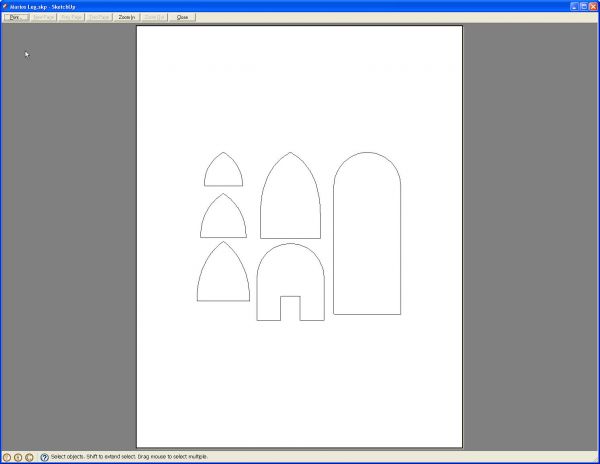
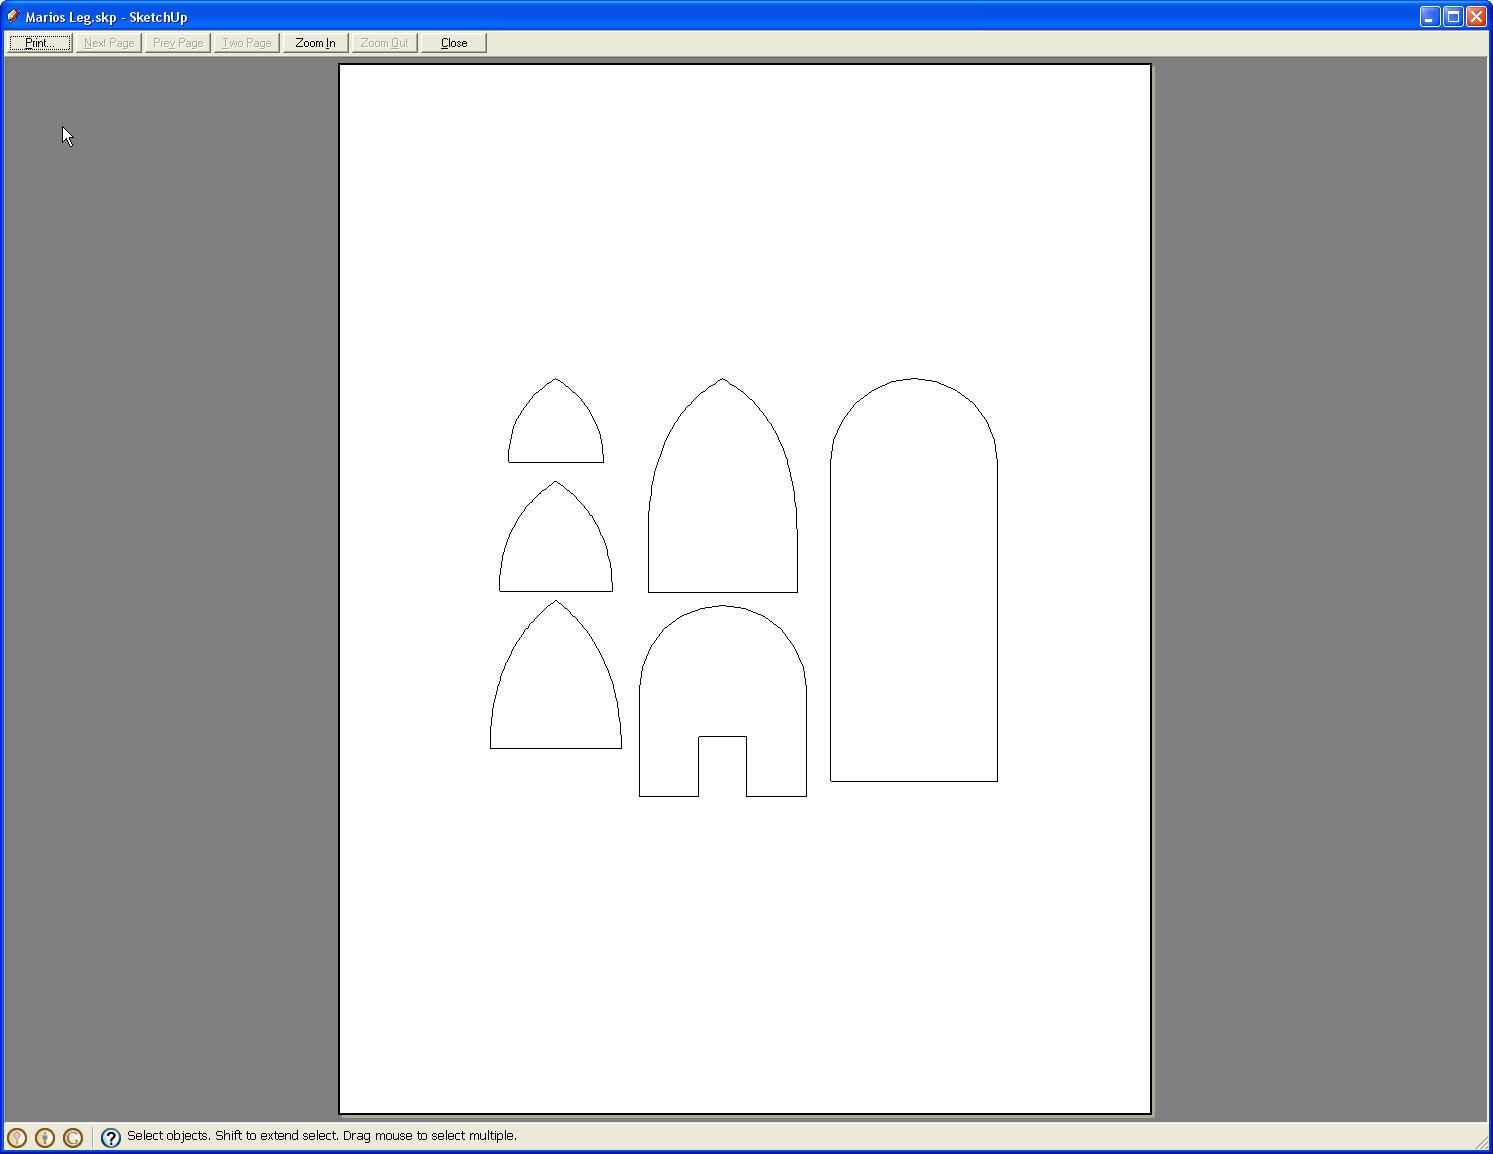
Here’s the preview image of the printout then. We’re ready to print and head to the shop to find some thin template stock.





Comments
Thank you, I haven't used this command yet but now have a good reason to.
Hi Dave,
Do you know how to "unroll" a profile? For example, I have a 2" pipe meeting a 3" pipe at a 45 degree angle. I would like to make a paper cutting template that I could wrap around the 2" pipe.
Chris
You must be using the sketchup pro version. I can't print, like that with the free version.
Thanks for lesson.
Wouldworker, there's a simple program to do this on 'Tony Foales' web site. It's meant for making paper templates to build roll cages and space-frame chassis but I'm sure it'd do the trick!
Good luck!
Wouldwoker,
go to tonyfoales.com, click on the freeware link and you'll find something that sound like what you're looking for.
peppersvnv The site is tonyfoale.com (drop the s). Looks like Windows only - no Mac version.
Larry
Re wouldworker If I had you problem, I would mount the 2" pipe on the drill press at 45 dergrees and use a holesaw to cut the end of the pipe. What size holesaw? The diameter of the 3" pipe, about 3-3/8" or 3-1/2" Enen if you do get a paper pattern, you still have to cut the pipe. dedhubbs
Chris, there is a plugin called Unfold that will do what you need. It is available here: http://sketchuptips.blogspot.com/2007/08/plugin-unfoldrb.html
jerwhitt, although I am using the pro version, you can print templates with the free version as well. The same instructions apply.
Chris,
Take a look at the image, in the link below.
Is this what you're after?
I did this with Autodesk Inventor.
http://home.comcast.net/~mike_maenpaa1/pictures/Pipe_Intersect.jpg
Mike
david,
I want to draw an guitar neck, but i can't seem to get the curves right. I once saw your earlier post on the coffee table, where you explained how to draw the table leg.
Can you tell me where i can find that post ? or better even, how to draw an accurate guitar neck ?
thanks.
Unfortunately that post showing how I drew the leg from the profiles is in the archive which isn't currently available.
As far as how to accurately draw a guitar neck, it depends upon what you already know about it. Do you have cross sections already? Or are you designing a new one from scratch? The approach to drawing it will hinge on that.
Log in or create an account to post a comment.
Sign up Log in