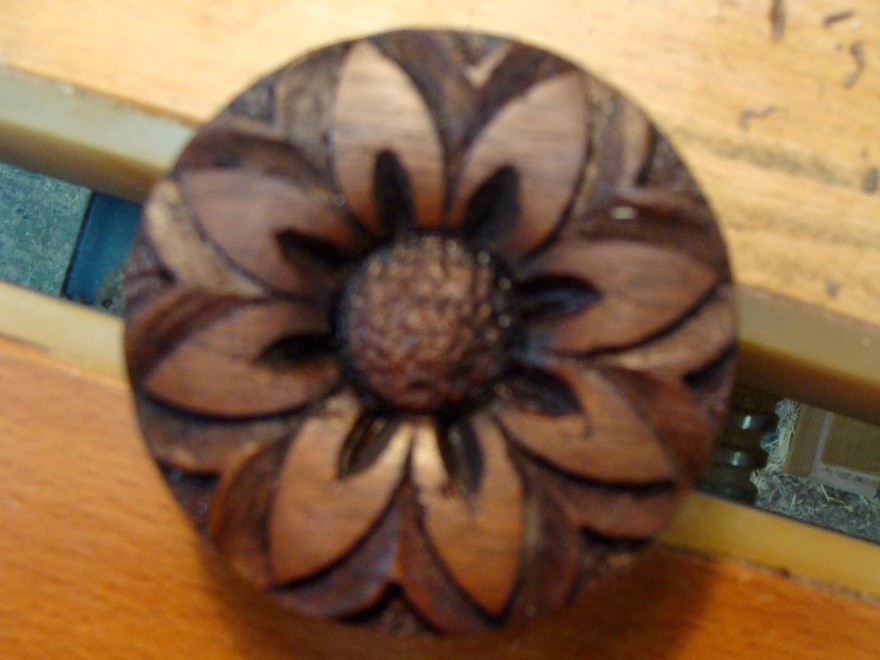
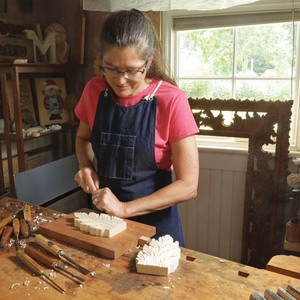
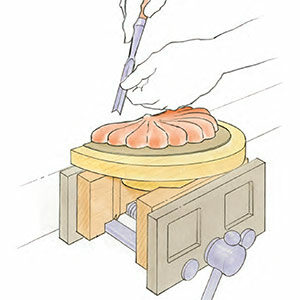
Sometimes we have to step back and look at a task that seems difficult and figure out a way to make it not so. In this video, Charles takes you along with him as he carves a rosette, the last task in converting a Flat-Top High Boy to a Full Bonnet Top.
THE PROJECT:
About five years ago, I was commissioned to craft a Flat-Top High Boy, it’s been in its new home for some time now. During a visit to my shop to discuss another project, the client who owns this piece asked if I might be up for a challenge. What might that be? She asked if I could convert her Flat Top High Boy into a Full Bonnet? Never one to turn down a challenge, I agreed I’d give it a shot. Not long after, she brought the top of the high boy to my workshop for renovation.
Now, when I craft a flat-top high boy, or any piece with a crown, I make the top and crown as a separate unit, hinge the back and create a liftable top which makes a really neat hidden compartment, but that’s a story for another day. Removing the top from this piece was easy, next I had to remove the front and back pieces above the top drawers and the same in the back. I made new front and back scroll boards and then framed up for the bonnet. I simply let the crown and gooseneck flow around the sides which concealed the top addition. One of the things we like to do is to add panels to the scroll boards that mimic the scroll and add dimension above the drawers instead of just a flat board. Once this was all accomplished, I needed to add the rosettes to finish the goose neck scrolls.
To design the carving for the rosette I had to keep in mind the original high boy, which was Queen Anne yet very simplistic. The high boy was crafted of extraordinary walnut with one-board sides, a beautiful patina and yet….a simple and pleasing grain. As I sat down to design the carving for the rosette faces I knew it too had to be elegant but simple. I spent the better part of a work day playing with the design and carving, emailing the client photos and getting opinions from folks on my forum. By the second day, every one was in agreement on the design and I was amazed at how little time it took for me to actually carve the rosettes. So we decided to grab the camera and share this simple carving.
Photos and explanations of the progress on this renovation are journaled on my Web Site’s Daily Blog.
For more information about Charles Neil, his furniture and educational videos, Visit His Web Site.




Comments
Wow! Great video! This one is a keeper - keep bringing the instructional videos like this!
Great Video. Charles makes it look easy enough that I'll have to try it. Unfortunately, don't have all the carving tools so will have to make do with some patience.
Charles describes making the rosette so well that you want to go to your shop and crank out a dozen or so even though you don't have a project to put them on. Adding the dye really made the whole rosette complete. After watching a number of Charles Neils Videos on line on a number of subjects I find I always learn something new even though I've been woodworking for 20 years and think I already know the subject matter. I'm glade to see Fine Woodworking discover Charles great talent and excellent teaching skills and hope to see more articles and videos through the Taunton Press by Charles Neil
Charles -
Great video! You have an excellent teaching style. Now I need to add some carving tools to the shop . . .
Thanks!
David
Log in or create an account to post a comment.
Sign up Log in