Dimensioning in SketchUp can be tricky, so I find it important to stick to some basic rules as follows:
1. Don’t place dimensions within a component with one exception – dimensions for circles, arcs, and holes.
2. Keep dimensions into Layer 0 whenever possible
3. Don’t clutter an overall view of a large component with detail dimensions
4. Create close-up views for detail dimensions on a copied component, or use a separate Layer for detail dimensions
5. Create multiple scenes to save these overall and close-up views, and in each scene show only those dimensions that are important
Here is more information on my Rule 1 above to avoid placing dimensions within a component definition:
• In a design package, there are always copies of components in multiple scenes. In most of these scenes the dimensions should not show. Therefore, layers must be created to avoid them showing up. I avoid using layers whenever possible as I get into trouble with lines and other entities ending up in the wrong layer.
• Dimensions (outside the component) in Layer 0 work well with components. For example, when moving the component the associated dimensions also move. I don’t find any negative impacts of placing dimensions outside the component, but do find unacceptable outcomes when placing dimensions within the component.
• Dimensions within a component occasionally jump around in position and it is difficult to get them to stay where desired.
Here’s an example of how I use the rules applied to a table leg:
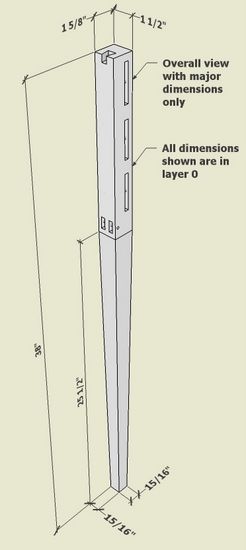
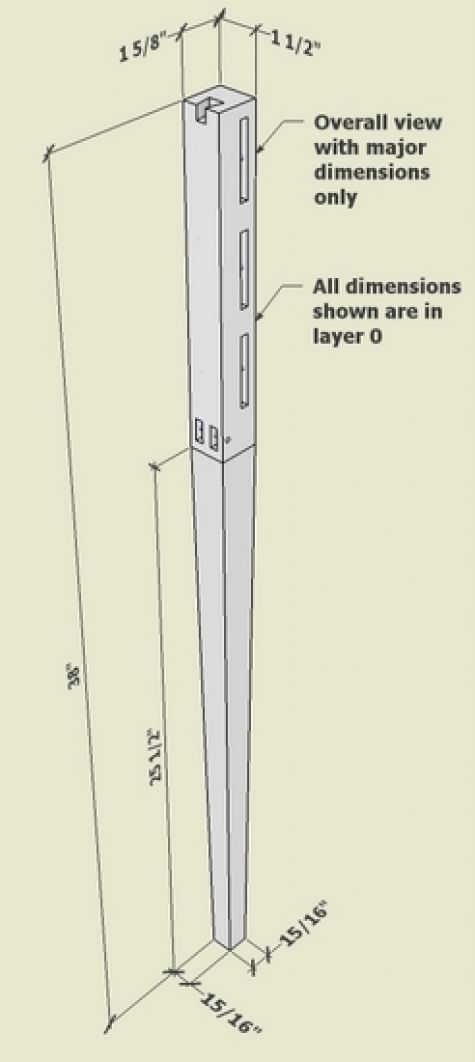
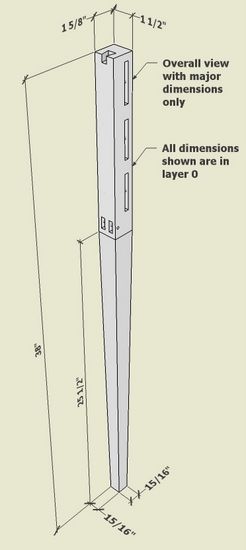
Scene 1: This is typical of an overall view that I need in the design package. I cannot provide the detail dimensions on the joinery without cluttering-up the drawing. So my overall view includes only major dimensions. None of these dimensions are included in the component and they occur on the default Layer 0.
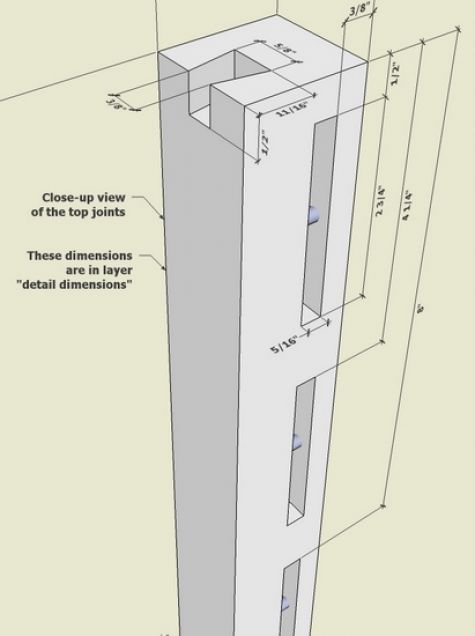
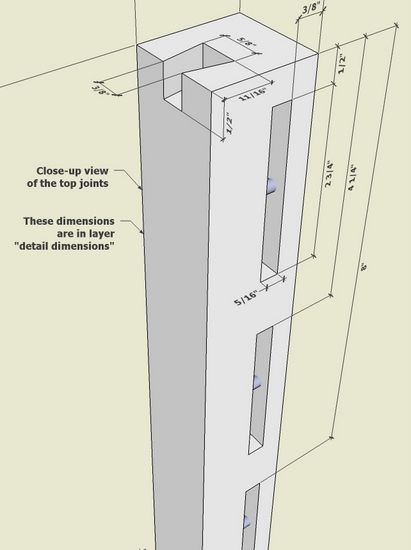
Scene 2: I make close-up views to show the detail dimensions, as this example shows for the top of the leg. In this case I have not made a copy of the leg component, rather added these dimensions to the same instance as above. These dimensions are placed on a new Layer called “Detailed dimensions”. I create all these new dimensions in Layer 0, then later select each dimension and change to the detailed layer. I like to have the Layer Toolbar in my normal set up. In this way, when I select the dimension, I can go to the layer toolbar and change to the detail layer. This helps me avoid getting other entities, lines, components, etc. into the wrong layer.
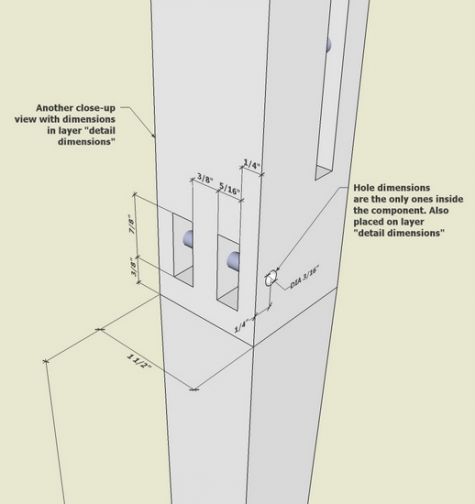
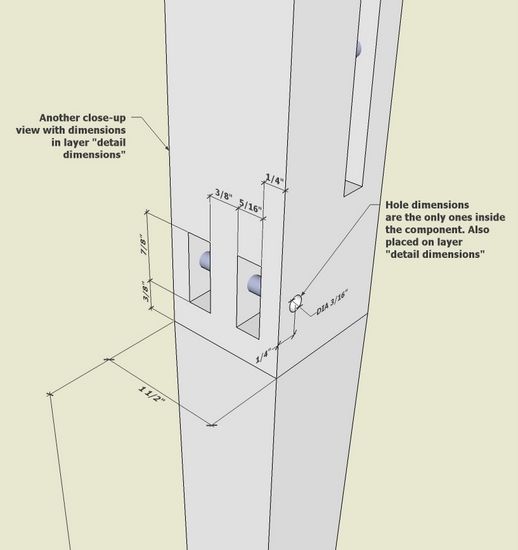
Scene 3: Here’s another close-up view with detail dimensions in the new layer. This view again is on the same instance of the component as in Scene 1. I make sure that these detail dimensions do not show up in Scene 1 by un-checking the “detail dimension” layer in Scene 1, then re-saving the Scene. If you don’t re-save the Scene with this change in effected layers, you will see all the clutter of detail dimensions in Scene 1.
Note that there is a hole dimension in this scene. Dimensioning holes only works when you edit the component, so this is the only dimension that exists within the component dimension. This one is also changed to the detail layer so that it does not show up in non-applicable scenes.


Log in or create an account to post a comment.
Sign up Log in