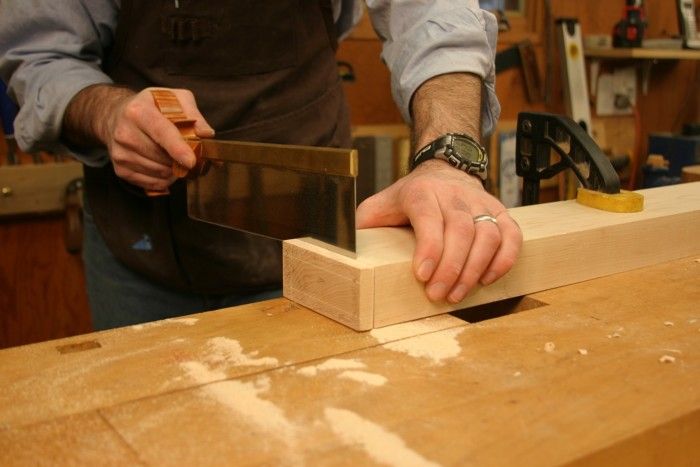
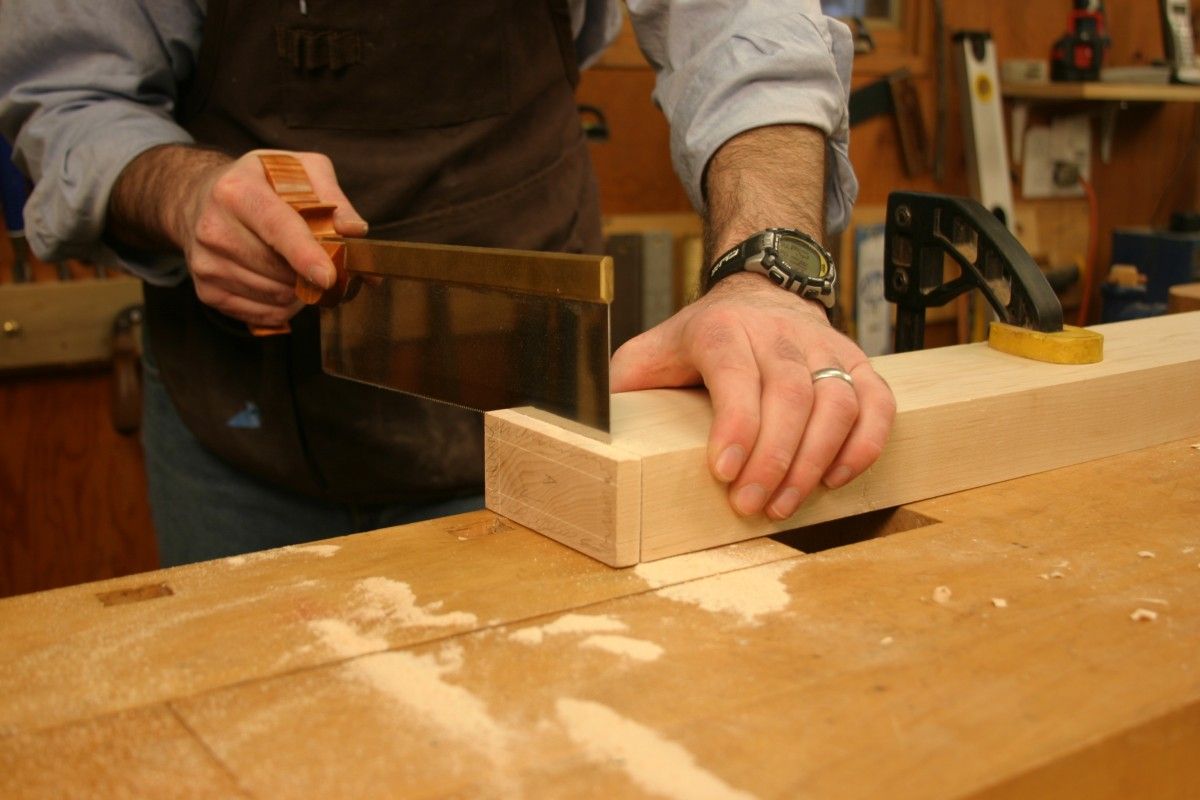
Hand cut tenons. I use handtools a lot. So there was no hesitation on my part when deciding how to cut the tenons on the stretchers. It was much easier to cut them with backsaws than by pushing them across a saw table.
EDITOR’S NOTE: Matt’s video is live, watch it here.
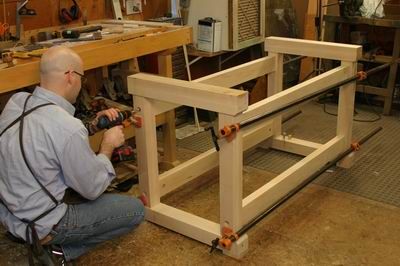
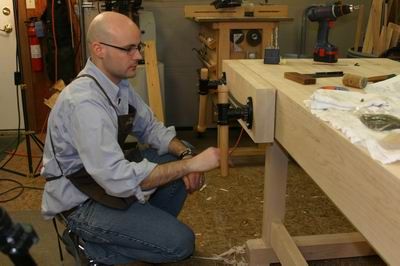
Next Monday (2/23/2009), you’ll be able to watch a new video workshop at Fine Woodworking online. The workshop features my workbench, which was been dubbed “Matt’s Monster Bench” by Anatole Burkin after he helped me move it. And it is a monster. The top is 7 feet long, 2 1/2 inches thick, and close to 30 inches wide. The base is quite a beast too. Thick trestle-style legs are joined to meaty stretchers to make a solid support system for the top.
I had a lot of fun filming the workshop, even though it was a bit stressful making the bench as we were filming. The final glue-up for the top was particularly frantic. I’m trying to wipe it from memory, but still have bad dreams about it. As crazy as that was, the top turned out very well. Pretty much dead flat out of the clamps. I explain how I was able to achieve that in the episode on making the top, so you can do it too.
There are a few quirky things about my bench. I only have a face vise, and use holdfasts to secure my work for planing and chopping. But it is versatile, and it’s good for both handtools and powertools.
At any rate, if you’re looking to build a new bench, check out my video workshop. Perhaps you’ll like the bench enough to build your own version, or at least get some good ideas.



Comments
O.K., am I blind or just an idiot? Where's the link to the video?
I think the date for the video should have read 2/23/09 as 2/13/09 wasn't a Monday. I was looking all over the site for the video, too, before I came to the conclusion about the date.
Perhaps Matthew or one of the other guys can confirm this.
There is no link to start the video, not even after logging in.
Sorry folks, the new series starts on 2/23 not 2/13. Clearly, I was suffering from a late afternoon mental recession when I wrote the date.
What a great series! I started my bench in 2006. I milled all the base parts and then realized I was out of my depth and just stored them. This is just what I needed to simplify some of the tasks. I love the bolt finder jig. The only thing I will change is to screw the feet on so they can be replaced. I am looking forward to watching the rest of the series!
Great video series, Matt! I enjoyed it very much.
Where did you get the bench bolts? What size are they?
I think I'm missing something from the video series. Where does it show how the top is secured to the base? Is the top designed just to float on the base and held there by friction and gravity or is there some joinery I missed?
Sorry I haven't checked this blog for any posts recently. I wish we would get a notification when there's a comment.
Let me answer your questions. I bought the bench bolts from Lee Valley, but Highland Hardware has bolts and nuts that are the same size.
As for how the bench is attached. You didn't miss anything. There is nothing about how the top is attached. In all honesty, the top is heavy enough to just sit on the legs and not move. About the only thing that would move it is pulling the apron away from the legs. However, a simple way to keep the top in place is this. Attach two battens to the underside of the top. One just to the inside of each upper member of the trestles. Use three screws on each, but make sure that you make slots in the battens, not holes, for the outer two. That will allow the top to move with the seasons. And it will expand and contract, especially if your shop is unheated or lacks central air.
Great video series Matt, Thanks
Great videos!
What was the model and make of the jointer and planer you used?
Thanks for the compliments folks. I'm glad ya'll liked it. I had a great time making the video and bench.
As for the jointer, all I know is that it is a Hammer and has a 12 in. capacity. It actually belongs to Anatole Burkin. However, I believe it is the same model Hammer jointer/planer that was reviewed in FWW #190. Rollie Johnson (make that Roland) did the review. Search the archives, using "jointer" and "planer" and the article is the 7th link down.
Matt
Matthew, do you know how many board feet of lumber you used? Thanks
Jstory,
If I remember correctly, there are around 90 bd. ft. in the bench. But don't go by the number of board feet if you build the bench. Rather, think about the size boards you'll need for the parts. For example, 1 8/4 board that's 8 ft. long and 6 in. wide would give you two of the boards needed to make the top. Check for knots and other defects. If they're bad, you don't want that board, unless you can cut around it for trestle parts. Look for a really good board for the apron.
Good luck.
Matt, your construction methods for the workbench gave me the idea for this...
http://www.flickr.com/photos/15863123@N04/sets/72157616541969271/
Thanks for the idea!
Jason
Matt,
I have purchased the plans and am proceeding to build this workbench over the Summer. One item I did not noticed was how it the top fastened to the trestles?
Papabear:
All that is needed is two cleats attached to underside of the top. I would put one just to the inside of each of the top members on the trestles. They should be snug up against those cross members. I’ll do that one day, but in all honesty, my top doesn’t move, and there’s nothing holding it in place.--MK
Bench is about done , small problem tracking down the bench bolts , tried Lee Valley , and Highland , do you have manufacture of the ones you used as I like that better than running the distance with a single rod. Thanks
Brent in Iowa,
Sorry not to respond sooner. I don't get a notification when someone posts a comment to my blogs. I bought my bench bolts from Lee Valley.
Best, Matt
Log in or create an account to post a comment.
Sign up Log in