Build a Bow-Front Hall Table
Full-size plan and easy jigs simplify curved parts.
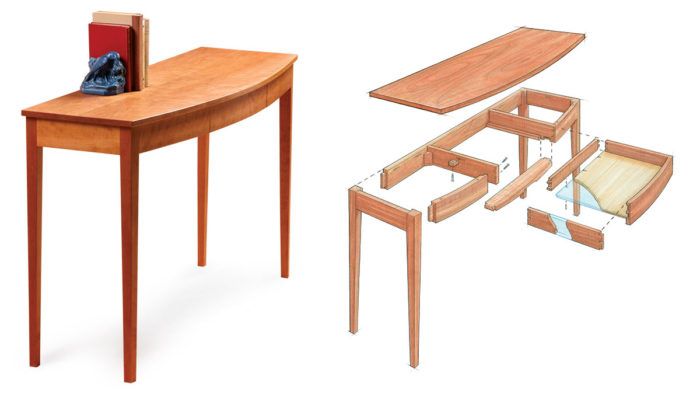
Synopsis: Making a curved-front table isn’t as hard as it seems, especially with Charles Durfee’s tips and techniques. He uses simple jigs to crosscut the curved front apron and cut tenons on its ends, and a single, full-size pattern to make a form for laminating the apron and laying out and assembling the table base. This result is an elegant table that grabs attention without distracting details. The large drawer fits seamlessly into the front apron, so its curve extends seamlessly across the entire table.
A simple, rectangular table can be functional and quite lovely. But give it a gentle curve along the front and you’ll have a table with elegance. A subtle curve grabs attention without being loud and distracting.
The large drawer in the front apron of this table is functional without detracting from its clean look. I cut its face from the front apron, so with the drawer closed, the sweep of the apron runs uninterrupted from side to side. I also beveled the front legs, so the curve of the apron extends seamlessly across them.
Making a curved-front table isn’t as hard as you might think. A single pattern can be used to make both a form for laminating the front apron and a full-size top-view drawing that helps you lay out and assemble the drawer, its guides, and the rest of the table base. I’ll also show you a few very simple jigs that make it easy to crosscut the curved apron and cut tenons on its ends.
Everything follows the curve
With most curved furniture, it’s best to start with the curve, in this case the front apron. It’s far
easier to make the other parts fit the curve than to make the curve fit the other parts. I laminated the front apron rather than cutting it from solid stock, which can result in unattractive grain patterns.
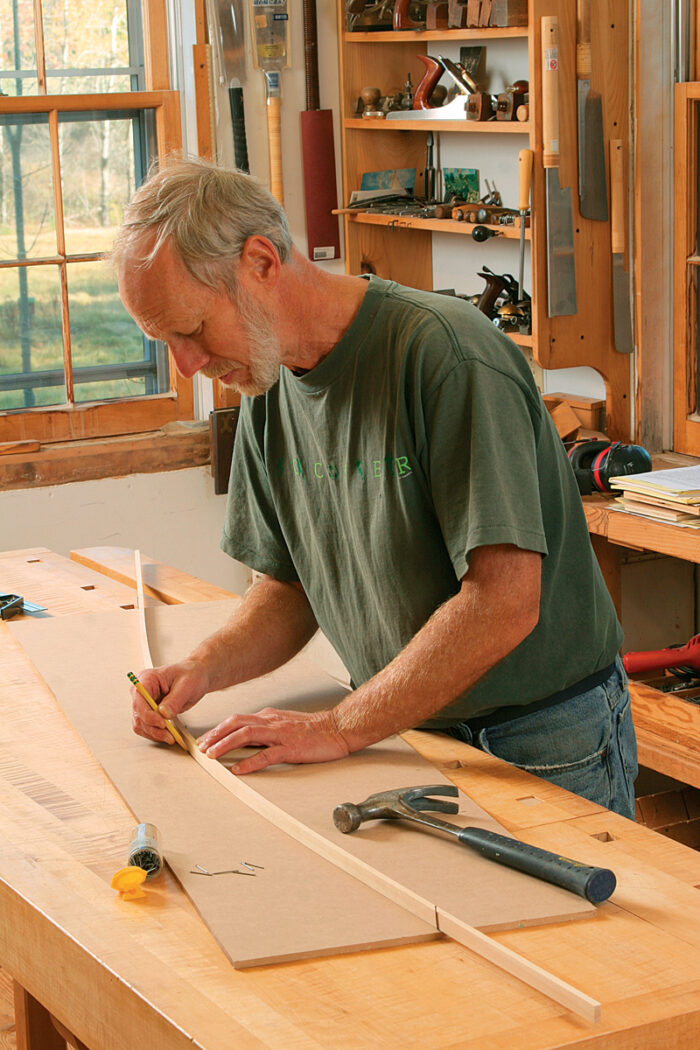
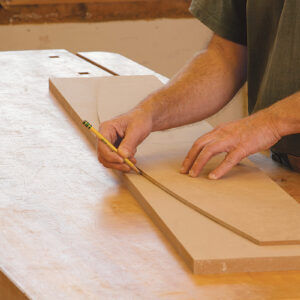
To begin, make a full-size pattern of the curve. You’ll use it to make the bending form for laminating the front apron and for laying out the apron and top when you do the full-size drawing. Mark, cut, and smooth the curve carefully, because the pattern affects the accuracy and beauty of everything that follows. To mark the curve, spring a flexible strip of wood, known as a batten, between two nails, but make sure the curve is symmetrical before marking it. Do this by measuring from the baseline to the curve in 5-in. increments. If the curve is symmetrical, the two measurements farthest from the center on either side will be the same, the next two farthest will be the same, and so on. If it’s not symmetrical, adjust the batten and secure it with brads as needed.
Smooth the curve with a cabinetmaker’s rasp, then a file, and finally a sanding block (120 grit). Hold the rasp and file diagonally across the MDF to get as much body on the surface as possible. That helps to keep the curve smooth.
Full-scale drawing simplifies construction
With your pattern in hand, use it to make a full-size, top-view drawing of the table. include the top, aprons, legs, drawer, drawer rails, and joinery details.
The front apron is cut into three parts, and the drawer rails double as stretchers to reinforce the right and left sides of the apron. Their position and length must be exact, or the table won’t be square or the curve continuous. The drawing makes it a snap to get them right. it also makes assembling the table much easier.
Use a thin piece of plywood for the drawing rather than a sheet of paper. it is more durable and will make a good base for marking joinery and assembling parts.
Lamination without perspiration
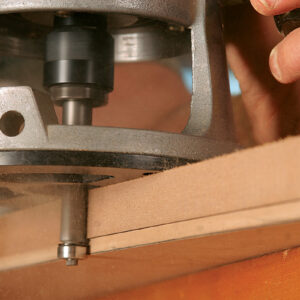
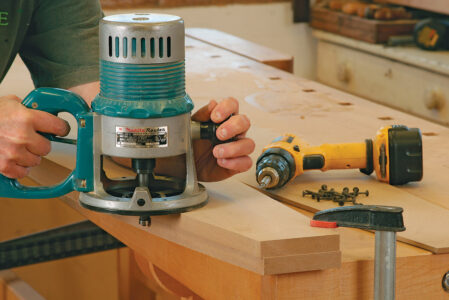
The form isn’t difficult to make. a router and flush-trimming bit ensure that when you’re done, you’ll have a uniform curve and a smooth surface.
A plywood base attached to the form allows you to clamp it to the bench and acts a fence to keep the plies aligned. cover the curved surface with packing tape to keep glue from sticking to it.
I used six plies to laminate the front apron. leave them a few inches long so the drawer front can be cut out. I resawed them from 8/4 stock, first cutting them a bit fat and then planing them down to 1⁄8 in. thick. To keep the plies from being torn up by the planer, I put a long, 3⁄4-in.-thick MDF auxiliary bed in it.
It’s important to keep the plies in sequence so that the top edge of the drawer front will look clean and unified when the drawer is open. Before resawing, draw a carpenter’s triangle on the edge of the board to help keep the plies in order.
To laminate the plies, i used yellow glue and applied it with a small paint roller. i know that others recommend urea-formaldehyde glue because it creeps less after drying, which prevents springback, but I’ve never had any problem with yellow glue. Work quickly, and stack the plies on the form as you go.
Once you have all the plies on the form, start clamping down the lamination, beginning in the middle. Use as many clamps as you can fit onto the assembly.
Leave the clamps on for 24 hours. after removing the apron from the form, scrape any glue squeeze-out from one edge and joint it. Then rip the apron to width on the tablesaw. if you don’t immediately crosscut it to make the drawer front, clamp it lightly from end to end to help it keep its shape.
Make the base before the top
While you’re waiting for the glue to dry, you can mill the rest of the parts, except for the top. There’s no guarantee that the table base will come out precisely as planned. That could be disastrous if the top is already made, because there isn’t much overhang.
Mill your parts a bit oversize and let them sit for a day or two. This allows them to release internal stresses, which can cause warping, cupping, and twisting. Then mill the parts to final dimensions.
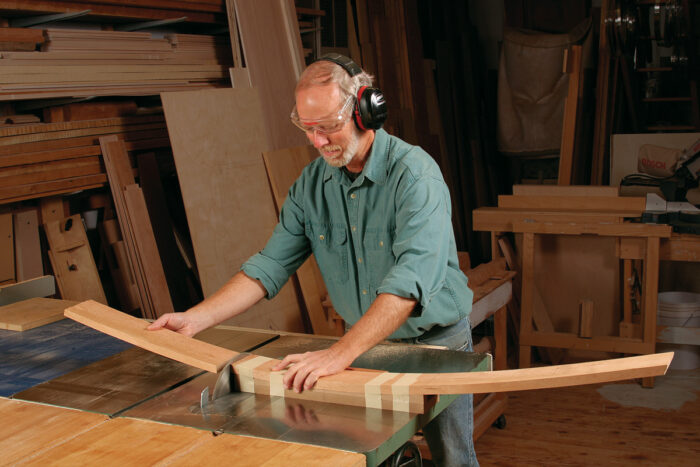
To cut the drawer front from the apron, you’ll need a support block. Bandsaw it from solid wood, and attach it to the apron with double-faced tape. The bandsawn surface needs to be smooth for the tape to stick, so smooth it like you did the pattern. i wrapped tape around both to reinforce the double-faced tape.
Cut the drawer front 1⁄8 in. long on each end so you can make adjustments when you fit the drawer. The amount of wood lost during fitting won’t affect the grain match along the front apron, especially if you use quartersawn or riftsawn stock.
Next, cut the apron pieces to length. Use the full-size drawing to mark their lengths accurately.
Angle the tenons, not the mortises
Cut the mortises using the method of your choice. i cut all of the mortises straight and angled the tenons on the front apron pieces, because cutting angled tenons is easier than cutting angled mortises.
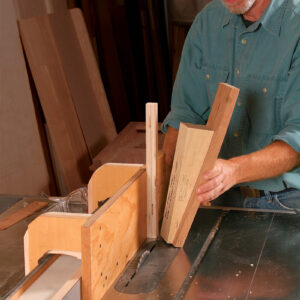
After the mortises are done, cut the tenons on the side and back aprons at the tablesaw with a stack dado cutter, using a miter gauge to control the pieces.
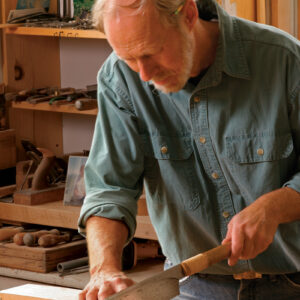
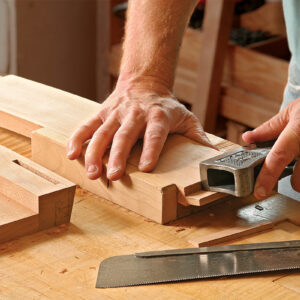
On the front aprons, the tenon cheeks are cut at the tablesaw and the shoulders are cut by hand. Before you do any cutting, scribe the shoulders on the edges with a marking gauge and then use a knife to scribe across the faces. cut the first cheek on both apron pieces. Then adjust the fence and cut the second cheek. cut the tenons a bit thick. after the cheeks have been cut, use a backsaw to cut the shoulders, and trim the tenons to fit with a shoulder plane.
When all of the joints are cut and fit, glue the side aprons into their legs. having the side assemblies together will make it easier to lay out the joinery for the drawer rails. Before you glue them up, however, taper the two inside faces of the legs. i did this on the tablesaw with a tapering jig, but you could do it on a bandsaw.
After the glue is dry, take the side assemblies to the jointer and bevel the front faces of the front legs.
Use the drawing to dial in the drawer pocket
Before you can attach the front and back aprons to the side assemblies, you need to cut dadoes in the back apron and rabbets on the front apron pieces to hold the drawer rails.
Those dadoes and rabbets, however, must be located precisely to get a square hole for the drawer to slide into. The best way to lay them out is by dry-fitting the front and back aprons into the side assemblies. Do this upside down on top of the full-scale drawing. The drawing will help you align all the parts square before you clamp them. You can then transfer the joint locations directly from the drawing to the aprons.
To cut the rabbets on the front apron pieces, i ran them vertically past the dado cutter. Use the support block used for cutting the tenons between the apron and the tall fence of the tenoning jig. The dadoes in the back apron are cut by guiding the apron over the dado cutter with a miter gauge. at this point you also can mark the length of the drawer rails directly from the assembly and crosscut them to length.
Now is the best time to cut pocket holes in the front apron for attaching the top. These fix the front edge of the tabletop, locking in its short overhang. The seasonal movement is then transferred to the back, where the tabletop is attached to the rear apron with wooden buttons. rout the slots to house the buttons now.
Reassemble the side assemblies and legs upside down on the drawing. Dry-fit the drawer rails to the assembly and check your results.
The next step is to cut the joinery for the stretcher that runs between the drawer rails. The stretcher is located so that there’s about a 1⁄16-in. gap between it and the back of the drawer front. i glued a strip of cork to the stretcher to fill the gap. That way, the drawer closes with a solid, but muted, thump.
Cut the tails on the stretcher, and then transfer them to the drawer rails. I roughed out the sockets with a router and then cleaned them up with a chisel.
The drawing guides the glue-up, too
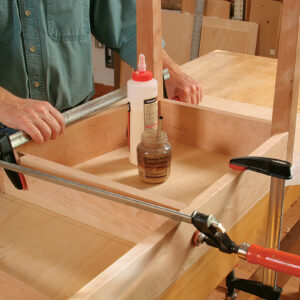
After the stretcher is fitted, finish gluing up the base. Do this on top of the drawing to ensure
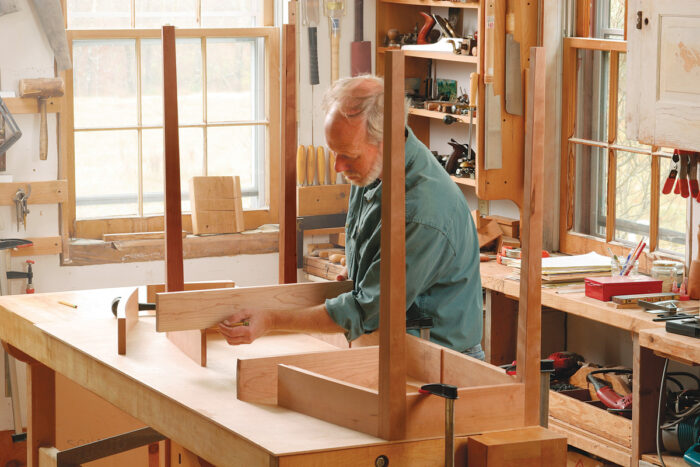
that everything is square and aligned properly. Before brushing on any glue, dry-fit everything and check to make sure that the table is square. If it’s not, correct the problem now.
Put waxed paper between the plywood drawing and any glue joints so that you don’t accidentally glue them together.
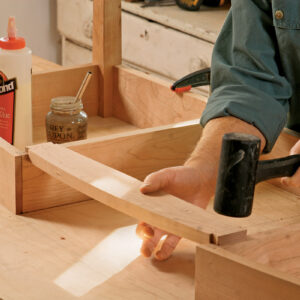
After the assembly is dry, reinforce the rabbet joint connecting the drawer rails to the front aprons with screws and plug the holes. The drawer runners can just be glued in. The two long-grain glue surfaces are strong enough without reinforcement.
Tips for a curved drawer
I used traditional dovetail joinery to make the drawer, with a solid bottom that’s slid in from the back.
I think a pull or knob would detract from the front’s beauty, so i routed a finger recess into the stretcher that runs between the drawer rails. Use a 1⁄2-in. cove bit and a handheld router, and center the recess.
Crosscut the drawer front to fit its opening, using the same support block used to separate the drawer front from the apron.
To rout the groove for the drawer bottom in the curved drawer front, i attached the curved support block i used earlier when cutting out the drawer front. This gives a wider surface for the router base. clamp the drawer front in a vise, and use a bearing-guided slot-cutting bit to rout the groove.
Make and attach the top
Glue up the boards and check the bottom assembly to get the correct width and length. rip the top to width, crosscut it to length, and plane it to final thickness.
It’s important that the curve of the top matches the curve of the front apron. The curve is shallow enough that you can use the original pattern as a template and flush-trim the top to create an even overhang.
I prepped the surfaces for finishing using a smoothing plane and then a card scraper with a fine hook. I used three coats of Minwax antique Oil Finish. let each coat dry for at least 24 hours. Wet-sand the second and third coats with p320-grit paper be-fore wiping off the excess.
Attach the top to the bottom, and stand back and ad-mire your work. Then move it into your house, where its beauty and elegance will surely be welcomed.
From Fine Woodworking #204
For the full article, download the PDF below:




Comments
I gotta try this, with a few embellishments. It looks rather plain the way it's presented, but it wouldn't take but a couple bits here and there to make it really WOW.
My wife loves the elegance and simplicity of this table so now it's on my list of to-dos. Looking forward to making some furniture rather than just house maintenance.
I'm very pleased with my unlimited membership. This is the first time I have received the physical magazine and I'm really enjoying that.
Log in or create an account to post a comment.
Sign up Log in