In this article, and the one following, I’ll walk you through how to build a door. Full size home doors are a project we can all find a place for, but they can be intimidating.
There’s a lot of lumber, and a lot of weight, plus they’re a little bigger scale than what we typically work on. But they’re really nothing more than oversized cabinet doors. I show you step by step how I make interior home doors.
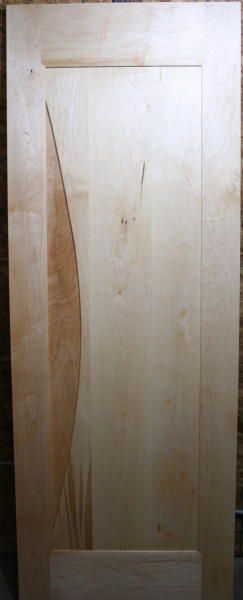
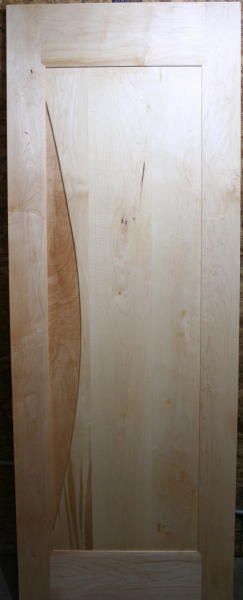
This is a contemporary door, which was built based on a sketch provided by the client. The door is hard maple, finished with a wipe on varnish. The client took an integral part in choosing lumber and its location in the door. The door frame is built using loose tenons (or dominoes) with a panel that floats in a groove in the frame.
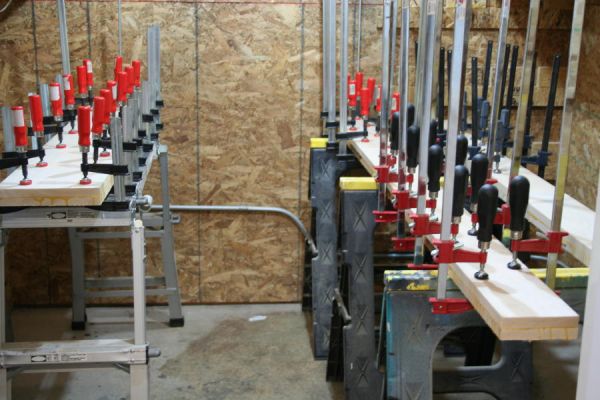
Clamps, Clamps, and More Clamps
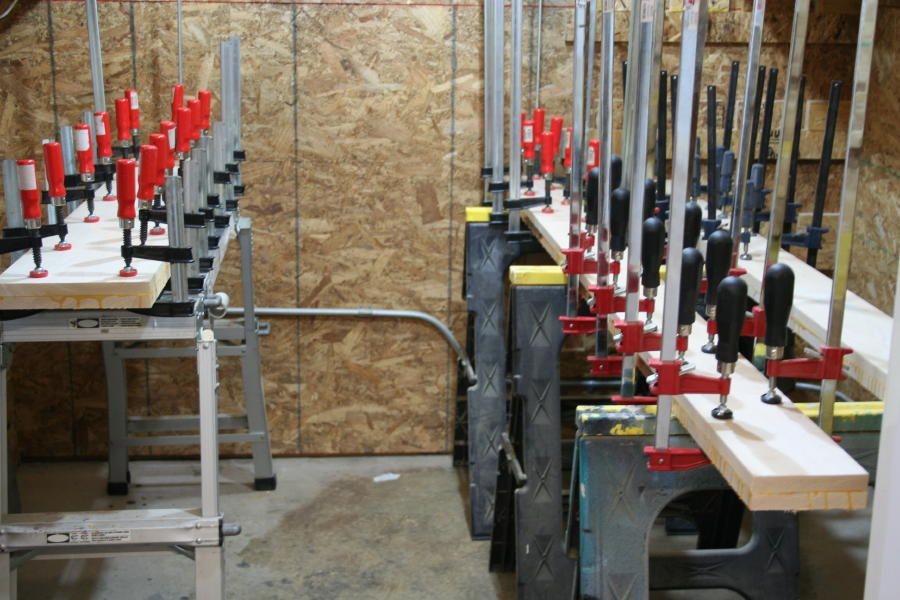
Interior doors are usually 1 3/8″ thick. I build mine by laminating two pieces of 3/4″ thick stock. This yields a stronger, more stable door frame, which has less tendency to warp or distort over time. I usually do these lamination clamp ups in a vacuum press. But they can be done with regular clamps too (provided you have enough!).
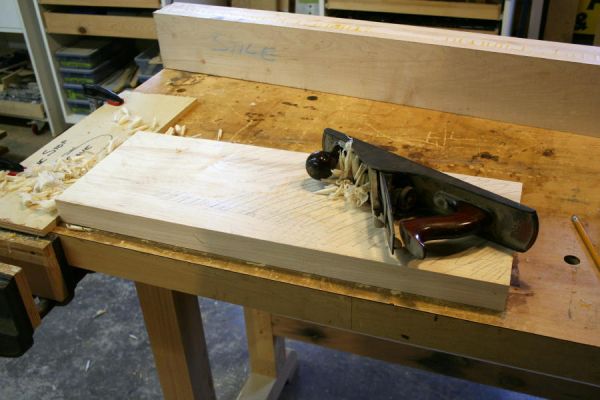
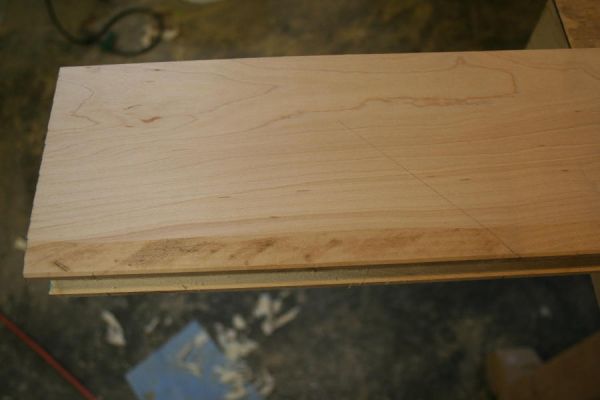
Old School Jointing
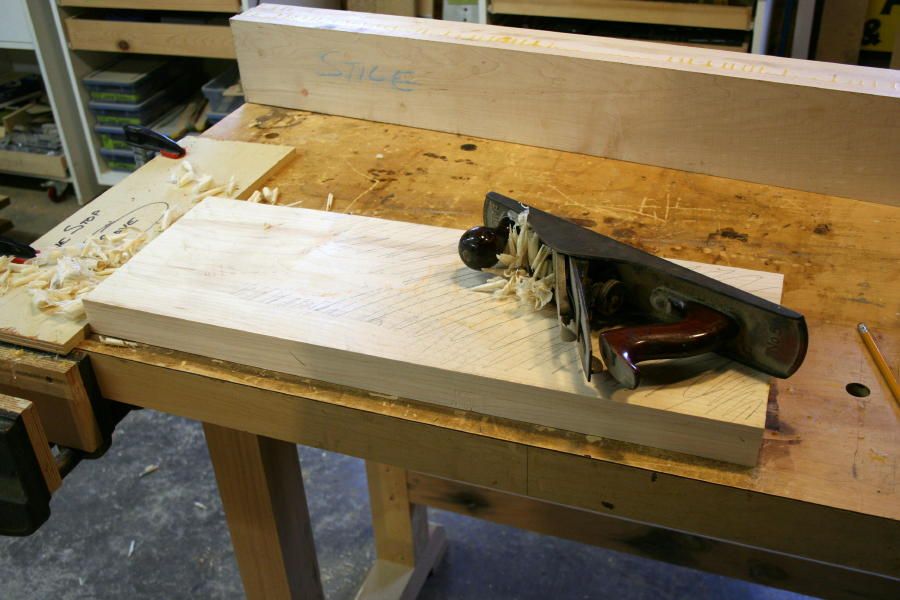
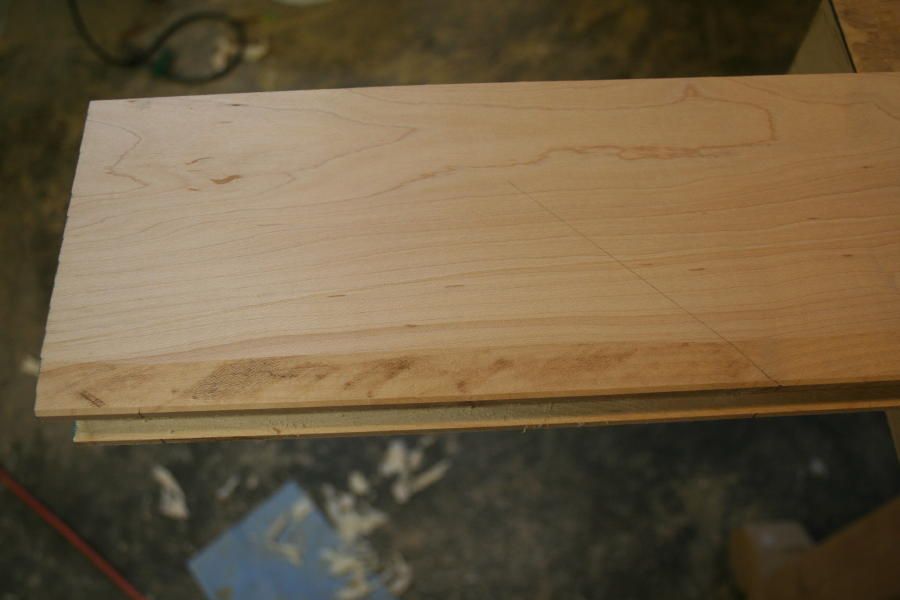
I own a 6″ jointer, but the rails on this door are 8″. The solution: Pull out the hand planes and flatten one side, then run the piece through the planer to bring it to final thickness. Pencil scribbles on the workpiece help show the low spots. The plane is a standard #5 Bailey, with a corrugated sole.
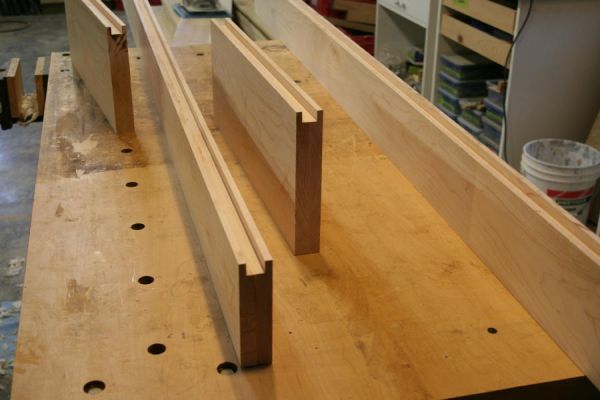
A groove holds the panel
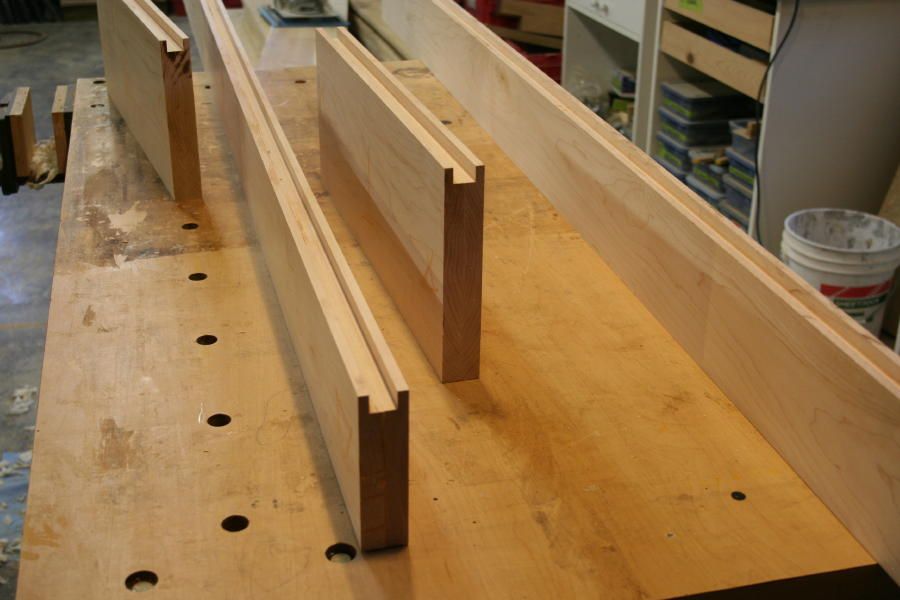
After putting my stack dado in the table saw, I cut a groove for the door’s panel to float in. The groove is a hair wider than 3/4″, and 1/2″ deep. It will hold the panel, but still allow it to expand and contract across its width. Ensure the groove is centered in the pieces by flipping them around and running a second pass over the dado blade.
The start of a curve
The rails and stiles have a mild curved profile detail. I begin making that curve by cutting a low angle chamfer on the tablesaw. I’ll finish it with hand planes and sand paper.
Trim away the profile
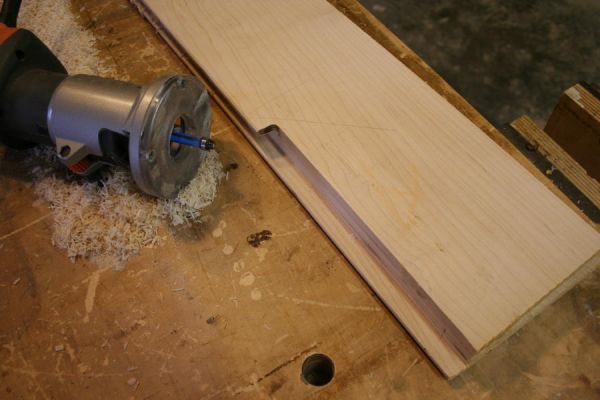
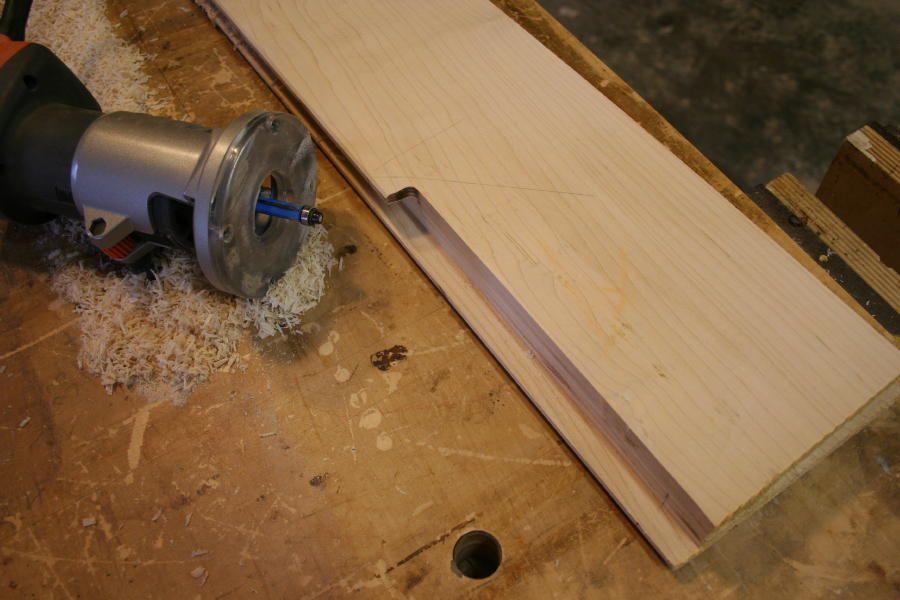
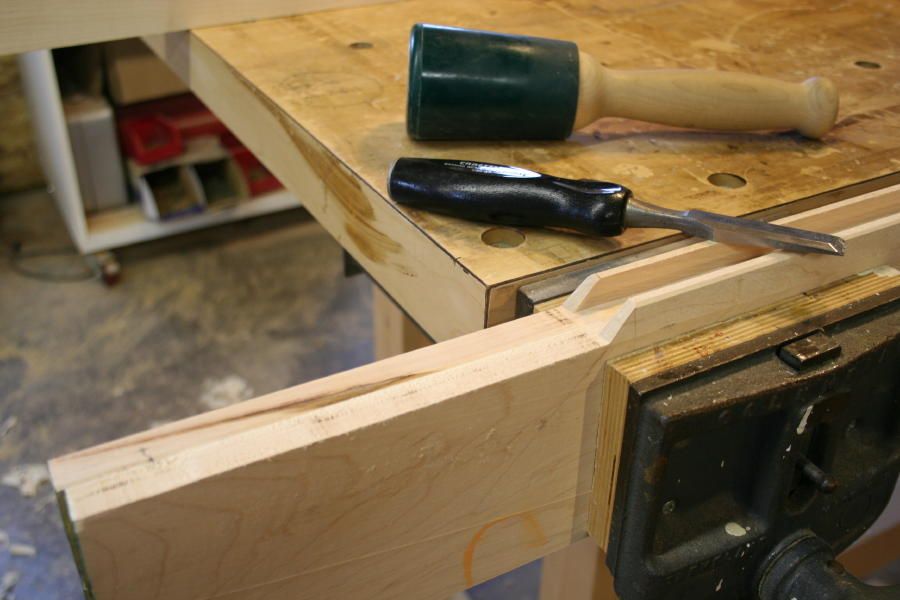
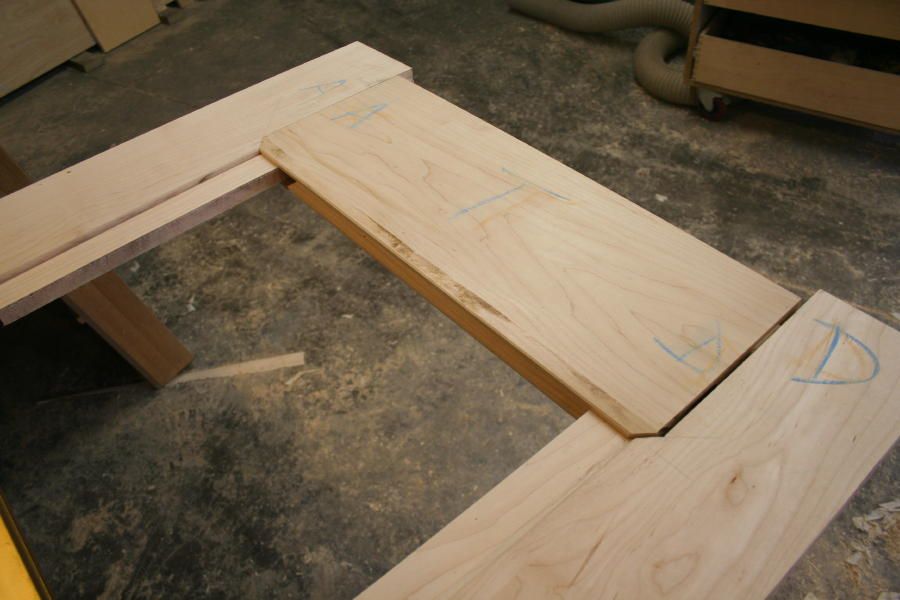
Whenever you veer away from cope and stick bit sets (either router or shaper mounted), you have to revert to joinery based on old world techniques. The profile on the door’s rails and stiles needs to be mitered, and the remainder removed where the stile and rail meets. A trim router with a flush trim bit makes quick work of the process
Big work piece, little miter
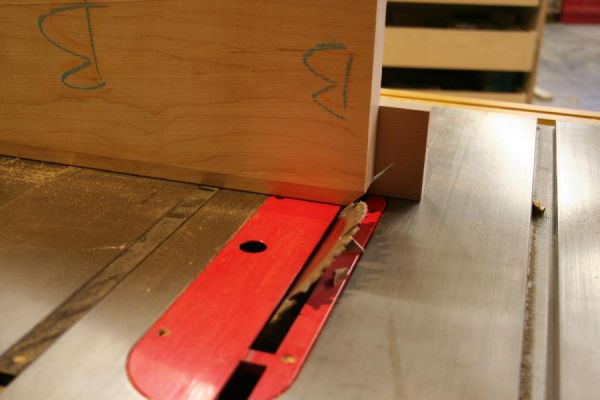
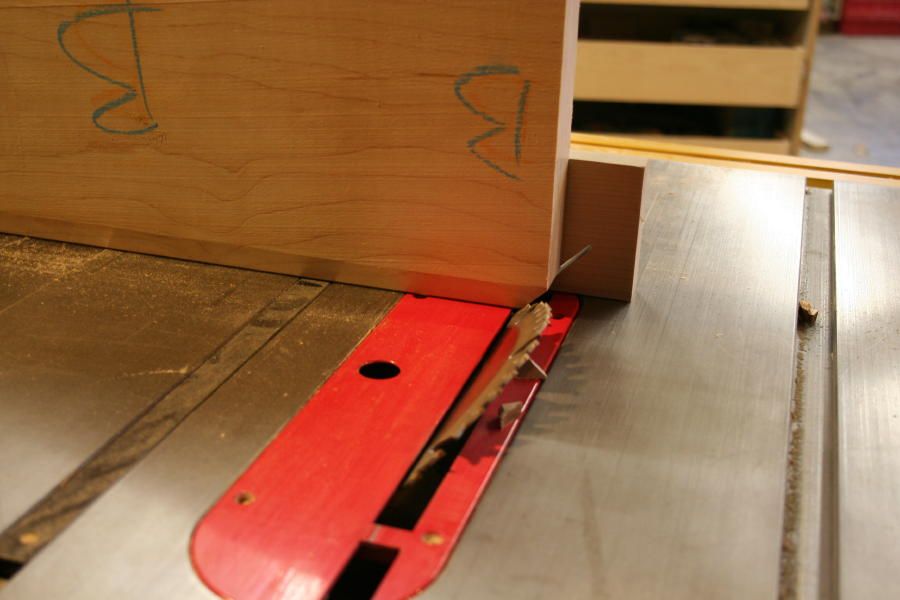
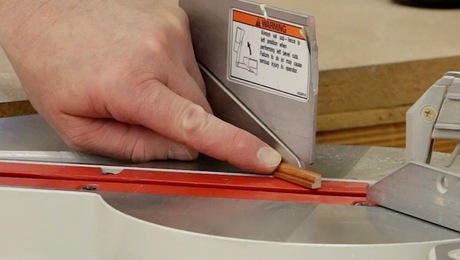
The profile on the rail is mitered on the table saw. It’s an 8″ high rail, so I added an auxilliary fence to my miter guage for additional support. This photo was taken on from the outfeed side of the saw.
Matching miter is cut by hand
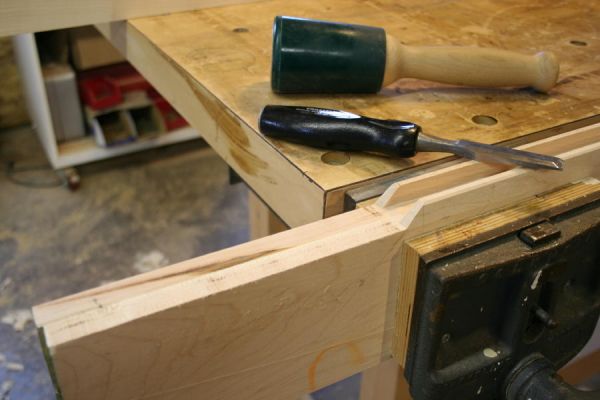
The miter on the stile could be cut on the tablesaw, but the stile is over 80″ long. For me, it’s easier, quicker, and safer to cut the matching miter with hand tools. The process has one basic rule to remember: You can always remove more, but you can’t put wood back. The chisel is a basic, off the shelf, Sears Craftsman. There are nicer chisels out there, but this one gets the job done.
Fits like a glove
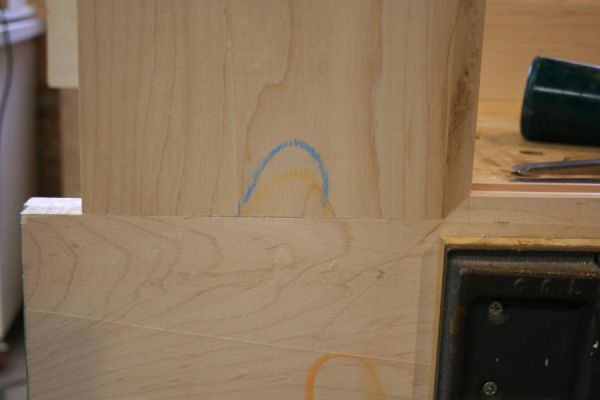
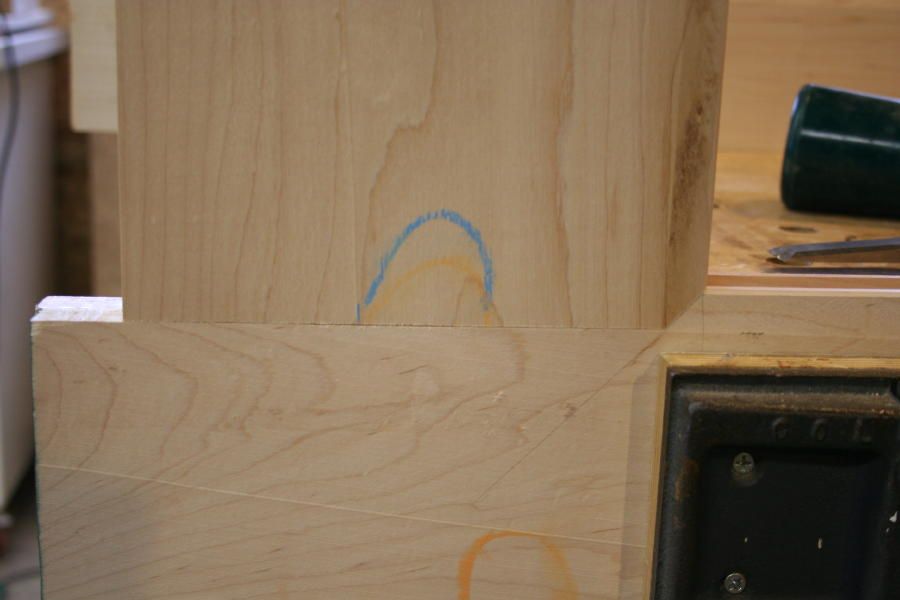
I occasionally match the rail to the stile, to see how my hand tool work is progressing. The goal is a nice tight mitered joint, like this one. Now just 3 more to go!
I love loose tenons!
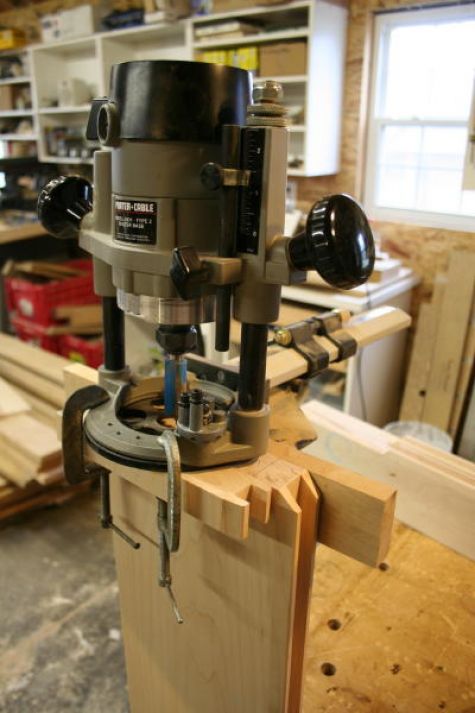
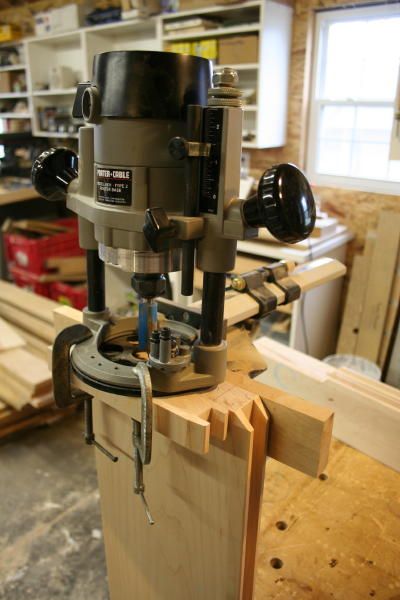
I set my router up with a couple of fences, and a 3/4″ diameter bit to cut the mortises for the loose tenons. I’ll cut two mortises, 1 1/2″ deep by 2 1/2″ long. This door is solid rock maple, and we don’t want to skimp on joinery to support that weight. Just a note, the outside fence is the scrap cut off from when I sized the rails to length.
Matching mortises in the stiles
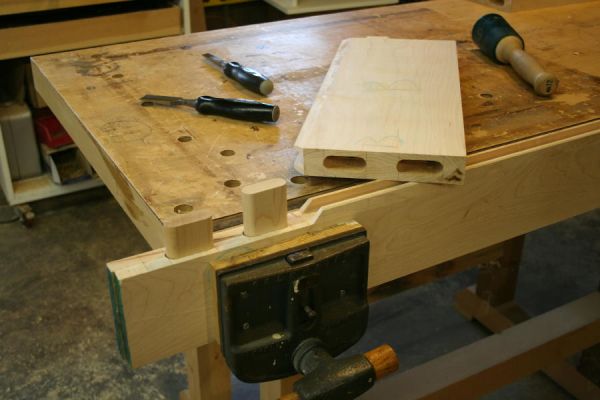
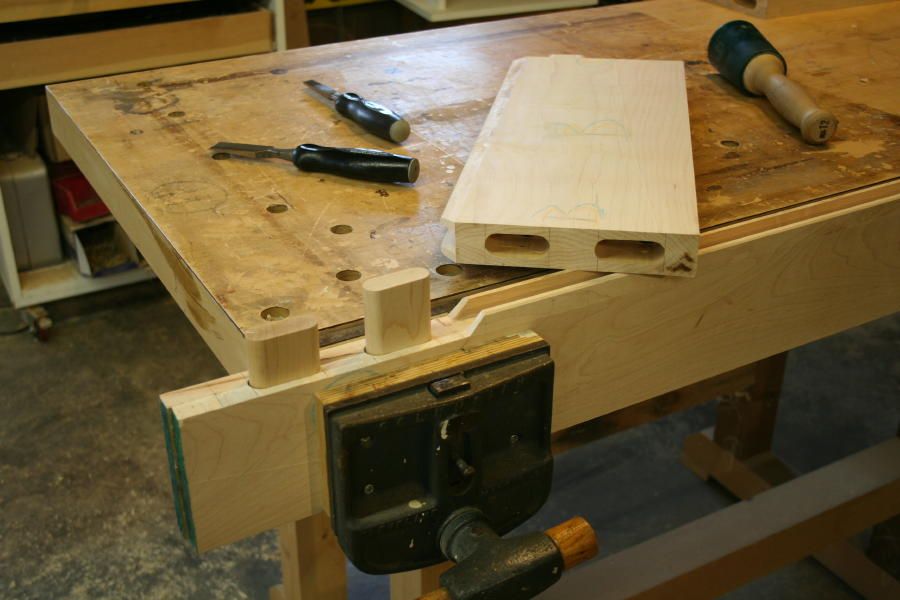
A couple of matching mortises are cut in to the stiles. The profile interferes with the router base on the inner mortise. I cut as much of it as I can with the router, and finish it up by hand. This process makes a joint very similar to a Festool domino, but without the hefty investment.
A note about the well worn workbench – It’s 4 layers of 3/4″ MDF laminated together, and covered with plastic laminate. It’s tough, stable, and VERY heavy. This one’s about 10 years old, and I’m thinking of replacing it sometime this year. I’m thinking about making an European style joiner’s bench, like Frank Klausz uses – Of course, mine will have to be made from Quartersawn white oak!
Test Fit
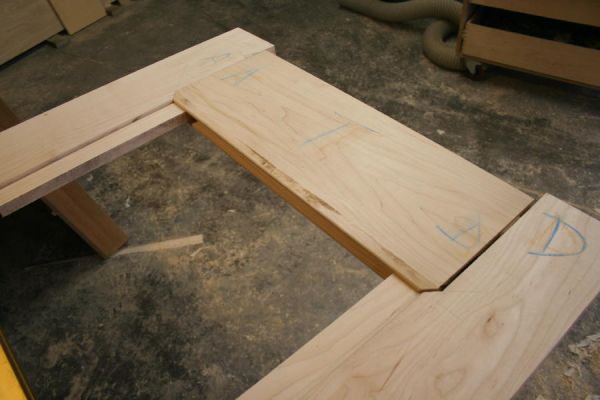
With the joinery cut, I do a test fit to check for any gaps or touch ups that need to be made. A couple of 3/4″ thick spacers placed in the panel groove help to keep things oriented properly. I use chalk to mark my pieces, and keep track of things. Chalk doesn’t marr the surface, and comes off easy
Successful Dry Fit!
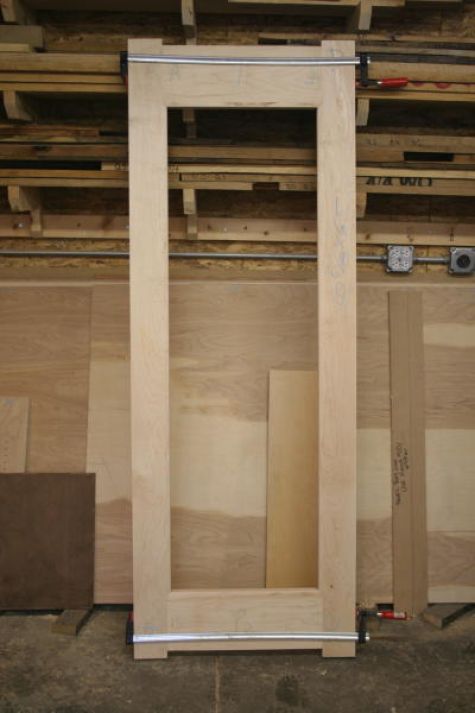
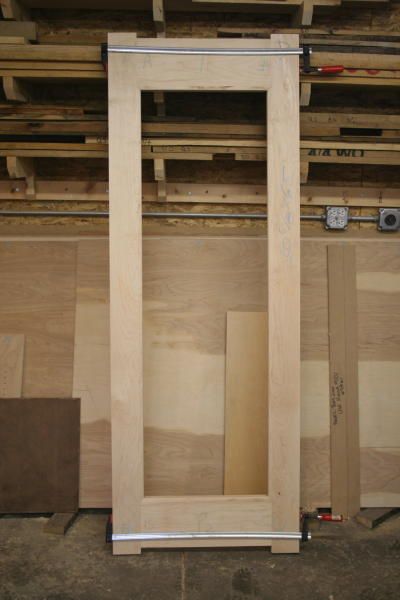
The door frame is complete, and the dryfit a success! I’m using a couple of Bessey Tradesman clamps to hold things during the dry fit—notice how much they’ve bowed? I’ll switch to heavier clamps for the real glue up. I leave the stiles long until the door has been glued up. They make nice “feet” to keep the good parts of the door off the floor.
In the second part of this blog, I’ll cover building the panel and completing the door.
More on FineWoodworking.com
- Andy Rae: Illustrated Guide to Doors
- From issue #9 – Entry Doors, Frame-and-panel construction is sturdy and handsome – with side information by Tage Frid
- Andy Rae: Door Essentials for Furniture





Comments
Interesting and informative.
I wonder if the mortises on the stiles could be routed before the profile is trimed. They would just have to be 1/2" deeper
Greg,I`m guessing that two mortices are more stable then one large one.Randy
docparm - The mortises certainly could be cut before the profile. A good wide table on a large chisel mortiser would make it a real breeze as well - Great observation!
flagship - I try to avoid any cross grain mortise & tennon joints that are wider than about 4 inches. I break them up into two smaller tennons. it all comes down to the fact that wood expands and contracts, and we can never, ever, stop that from hapening - Good insight!
Very nice, I'm about to build a set of glass french doors for my daughter's room. When are we going to get the next part?
Very-very nice article you shared here. And your picture collection was amazing. There was every thing cleared and understandable.
Wooden Doors
Currently on the same project. I find these pointers valuable.
Hey Greg, good job and demonstrative approach. Question, I have a jo b to build a two inch thick closet door double 2'O's for a four foot opening overall. Can I laminate two 4/4 together and still have stability? I wanted to avoid staves if possible. The doors will be painted. I saw a door in a woodshop that had 1/4" veneer glued to 3/8-3/8-3/8" then1/4 again. I like your approach better.
About to build my first door. It is a big barn wood slider that is 96 inches high and 67 inches wide. Do you think this joinery would be a good application for my project. The panel is broken with a center rail. The client desired old barn wood. It is oak. Also, how much space would you leave for movement of the panel in this case? Panel will be approximately 40 inches high and 55 inches wide. I was planning on making the frame with glued up 3/4 material as you did but only 5 inches wide. Your opinion on this would be nice also.
Hey Greg,
Nice looking project. What's your thoughts on using 1/2" Baltic birch for laminating rails and stiles, placing this plywood in middle of inside and outside solid wood white oak? Total thickness 1 3/4", top and bottom layers of solid oak would be split to make difference.. Use plywood as tenon and lap over each stile and each rail location. Place 1" rip on show ends and top and bottom. Leave 1/2' space on inner side where panels would go. If wider space is needed, just rip out a little more.
What's your thoughts as for strength, as I need the total thickness to be 1 3/4" or there about? Any other thoughts or suggestions? Saw this done somewhere but can't remember where years ago for an outside door. No messing with routing out and can get pretty deep with plywood overlaps.
Thanks
Greg B
Log in or create an account to post a comment.
Sign up Log in