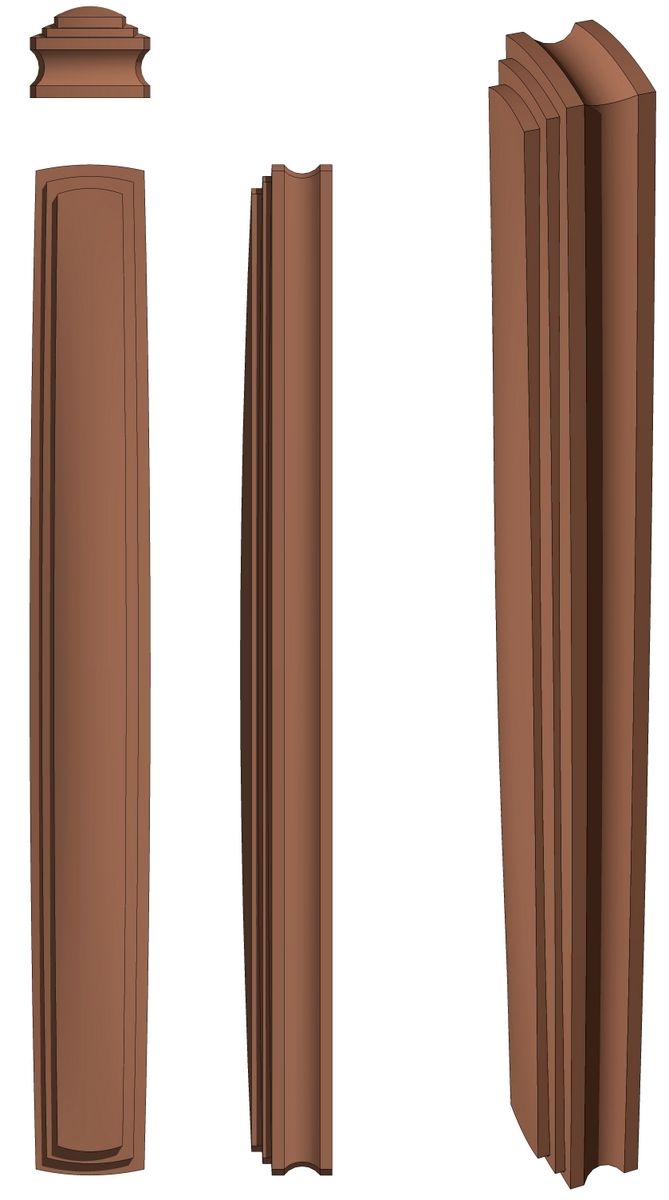
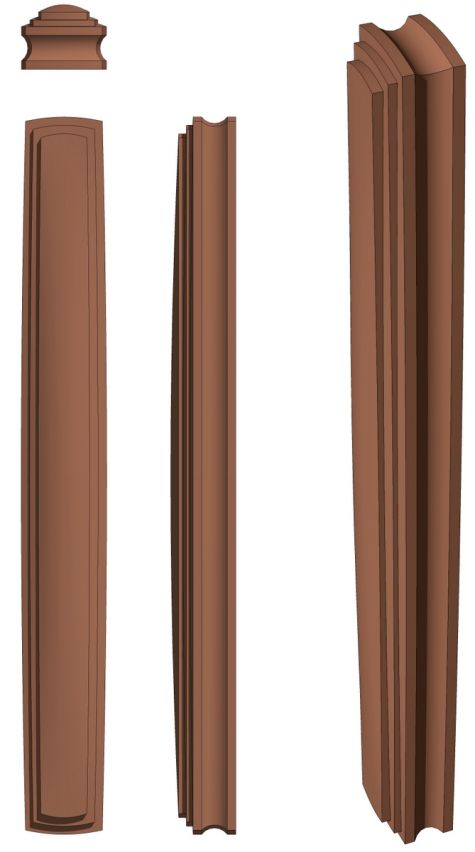
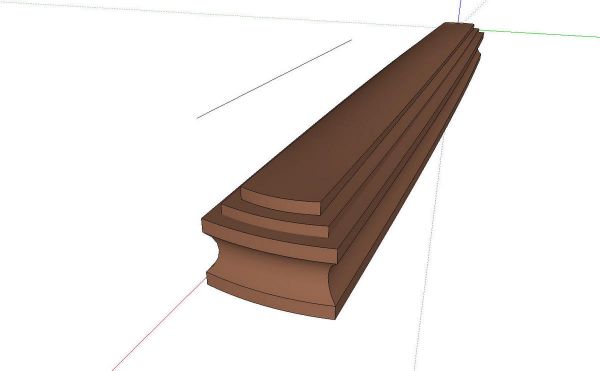
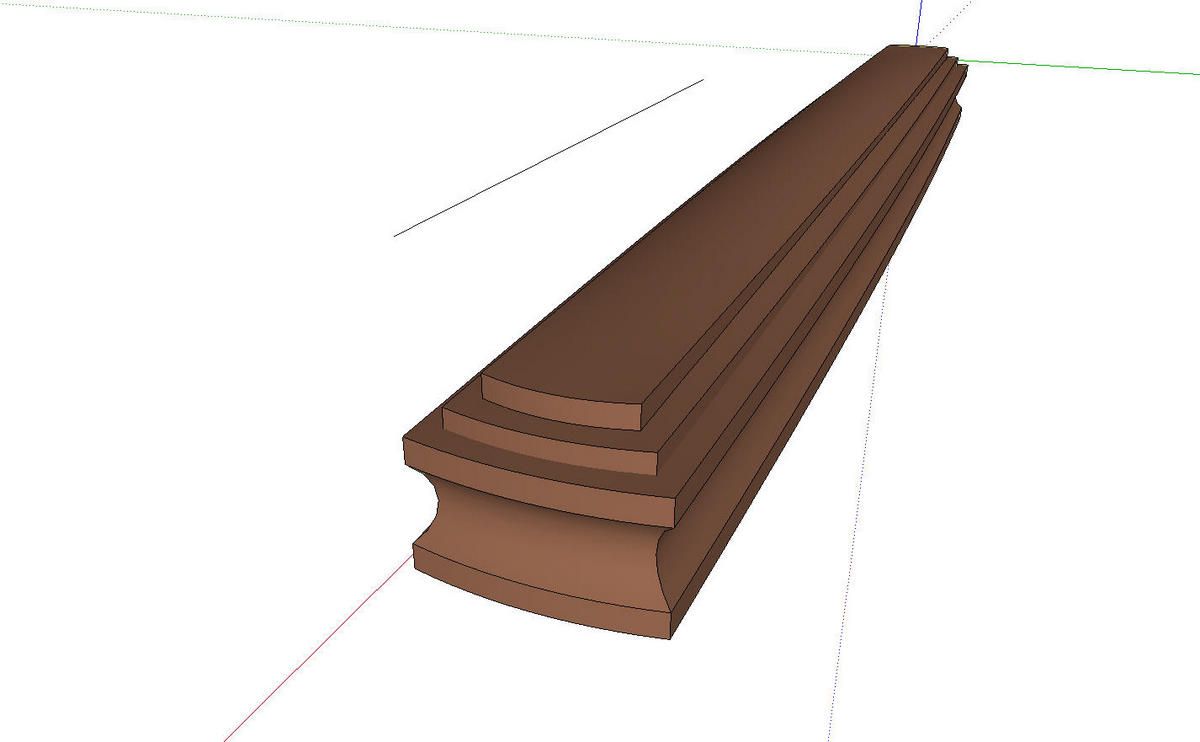
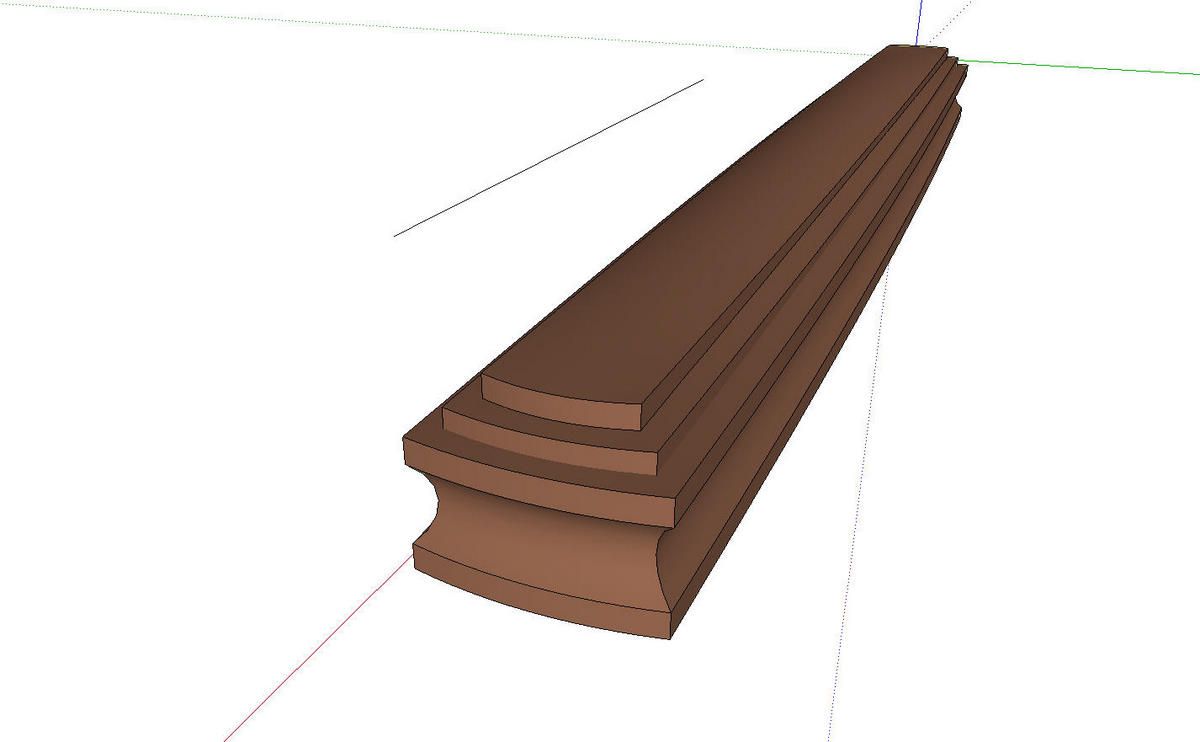
The other day I got an e-mail from a reader about the pull I wrote about in my previous blog entry. He asked me how I would go about adding steps to the top surface of the pull to give it a sort of Greene & Greene style look. there are probably a number of ways to go about this. Here’s one way to do it.
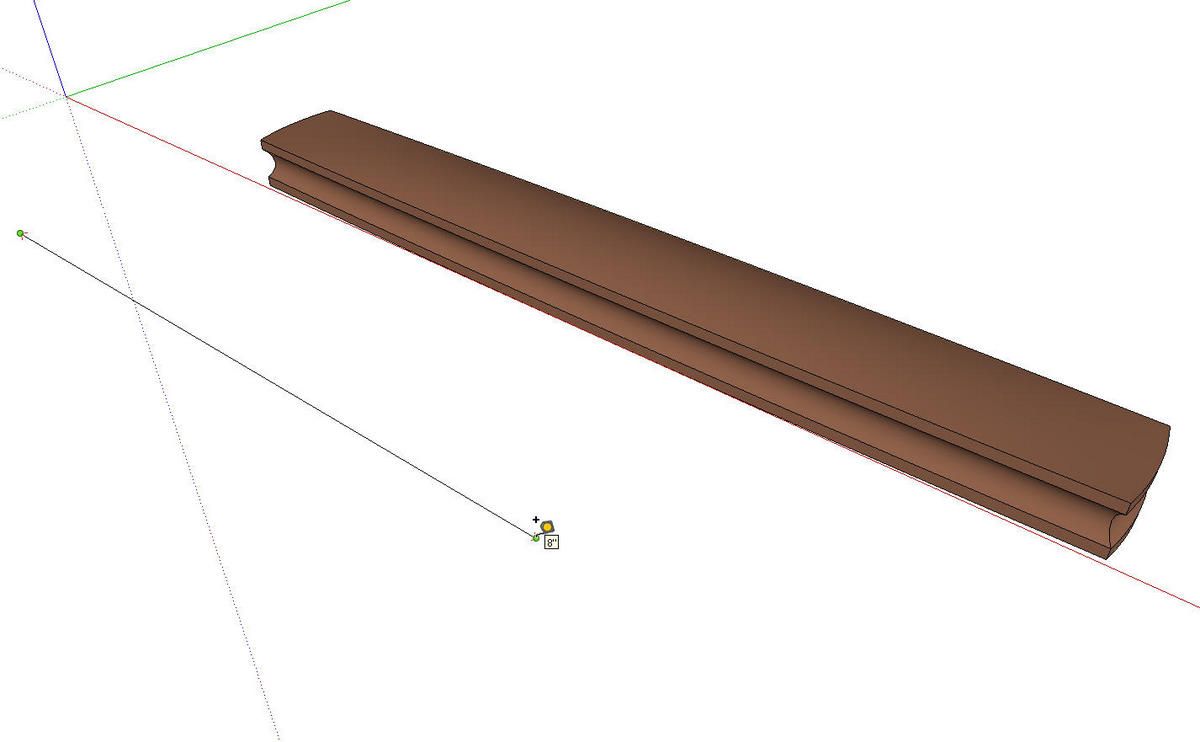
Adding these details will create a number of additional small faces and, since SketchUp doesn’t like to fill those tiny faces, I scaled the model up by a factor of 100. As I’ve described before, I use a simple method of scaling up and then back down. I draw a line of some known length to measure with the Tape Measure. This line isn’t part of the pull component. It’s drawn out of the way a little bit. It’ll be deleted when we’re done.
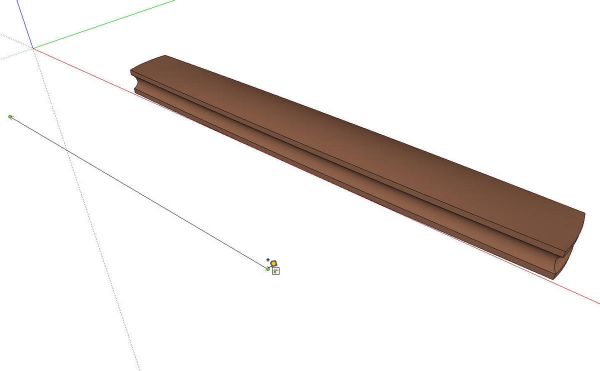
I drew the line 8 inches long. Then using the Tape Measure tool, I measured the line making sure to click on each end. Then I typed 800 and hit Enter. A message pops up asking if the model should be scaled up. I clicked Yes.
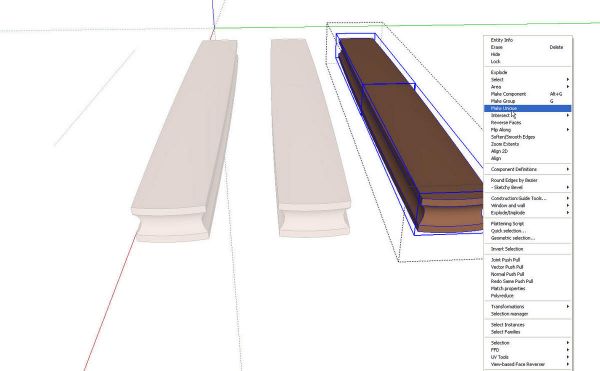
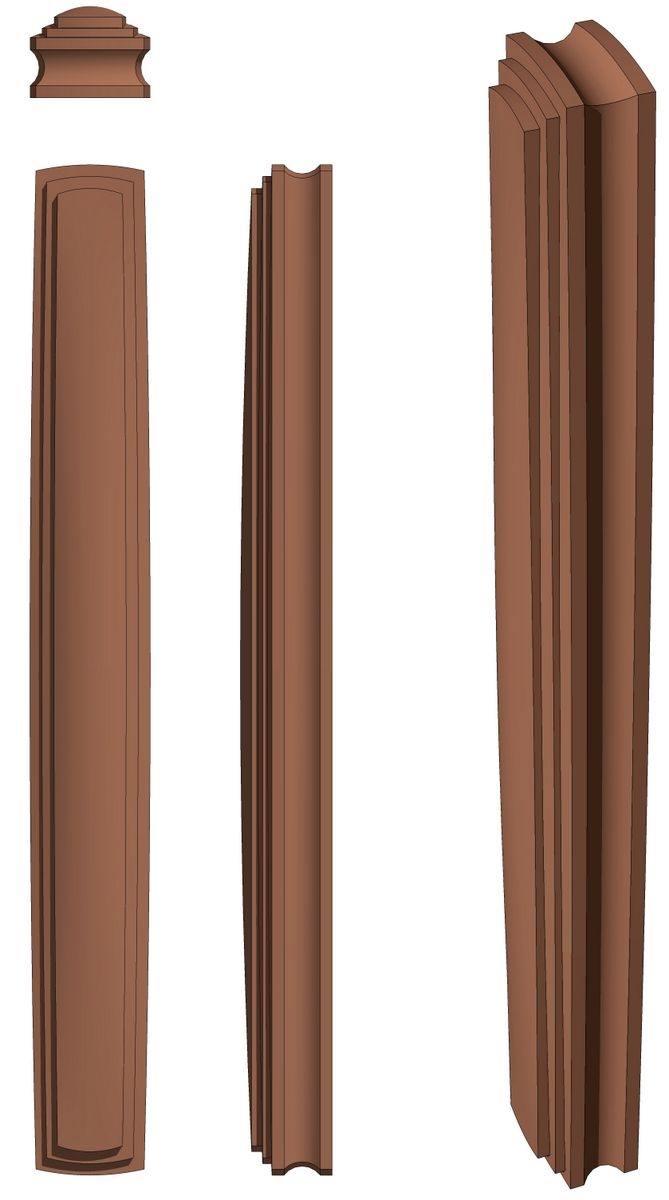
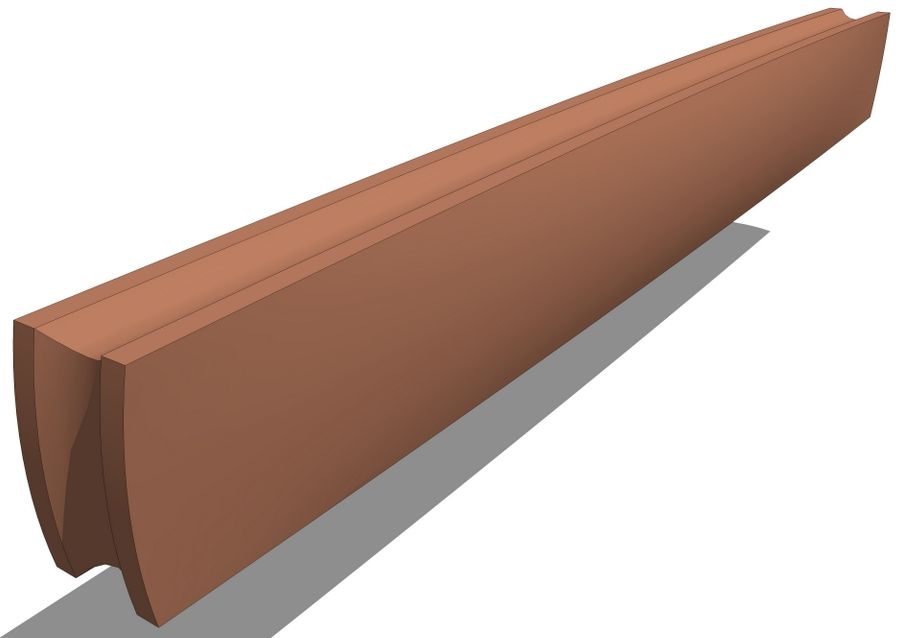
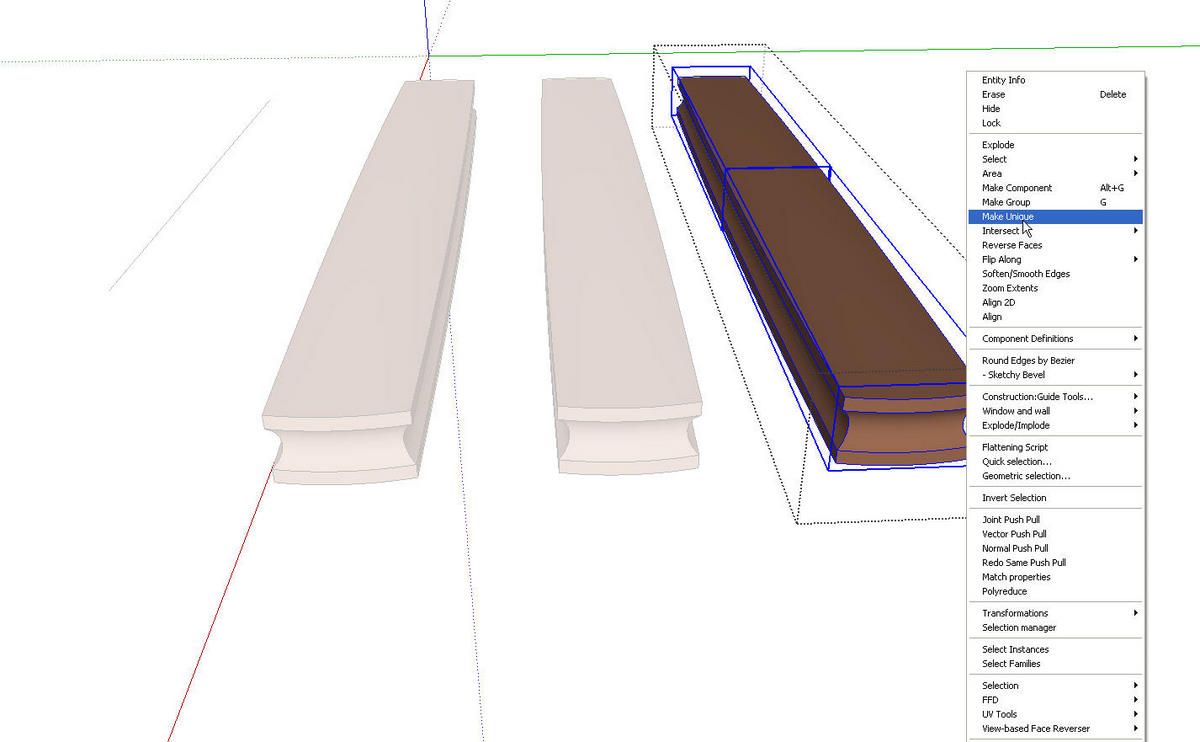
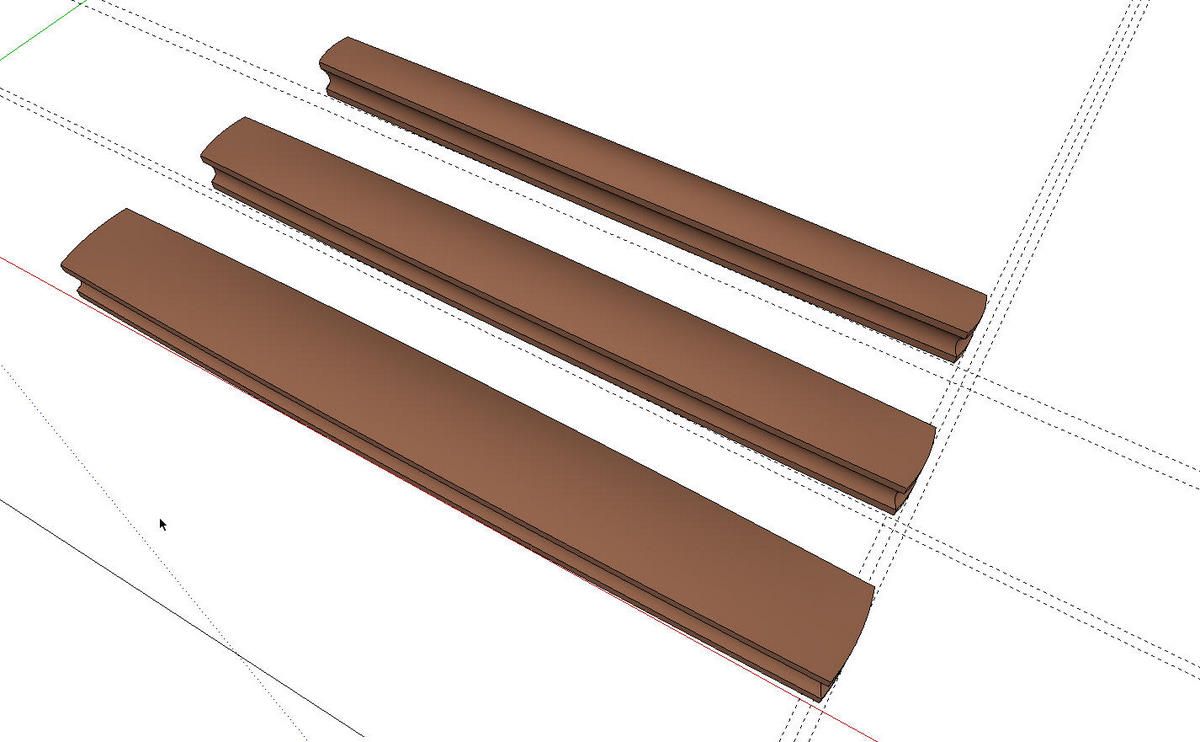
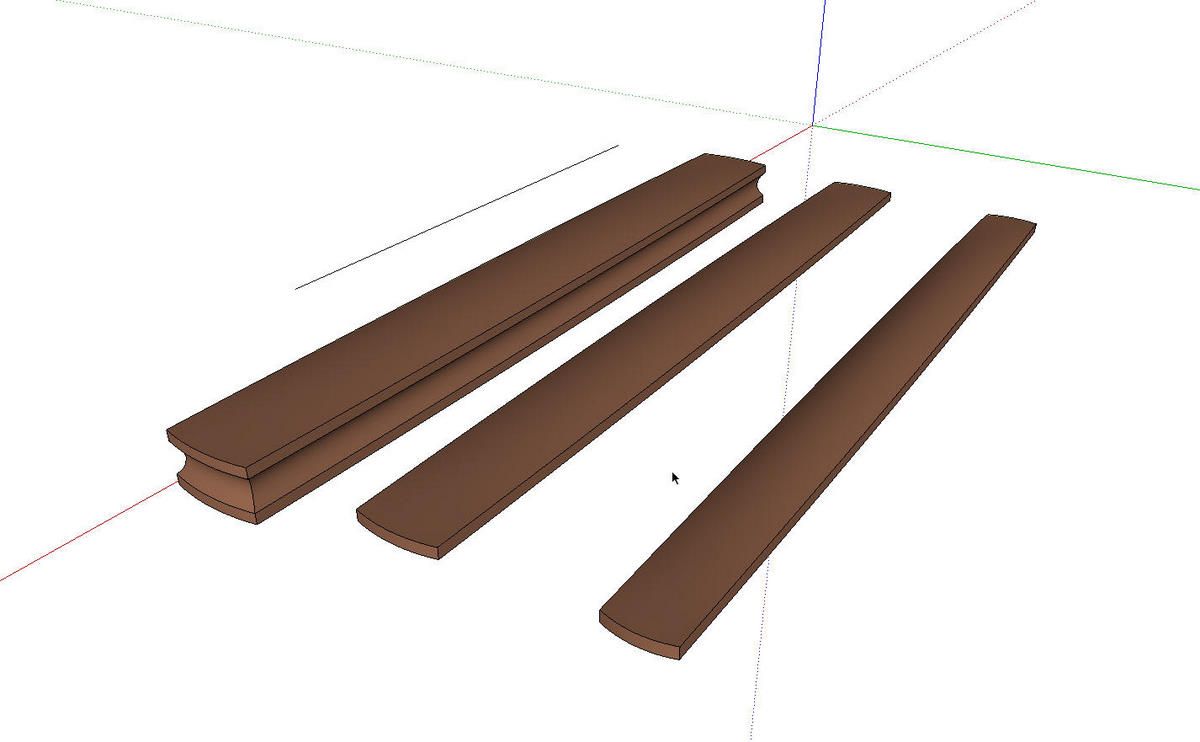
Next make two additional copies of the pull component. I made each of those components unique and each pair of components inside unique. Referring to my previous blog post, you’ll see that I split the pull in half to reduce file size. By making these pairs of component instances unique, they can be edited without modifying the other half pull components.
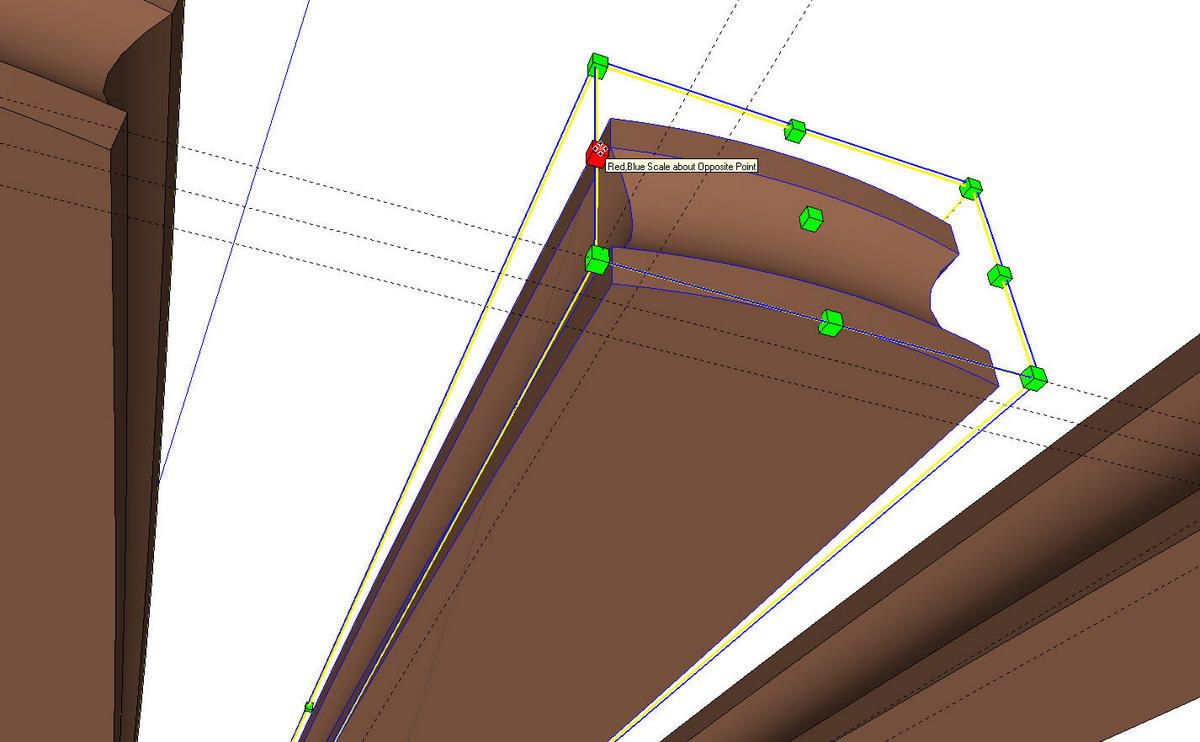
I laid out a few guidelines to give me some snap to points for the Scale tool. The first three guidelines intersect the apexes of the arcs on a long side and end. Then I added guidelines in toward the center of the pull at 12.5 inches and 25 inches. Since the pull is scaled up by a factor of 100, these distances correspond to 1/8 and 1/4 inch. The steps on the pull will each be 1/8 inch wide.
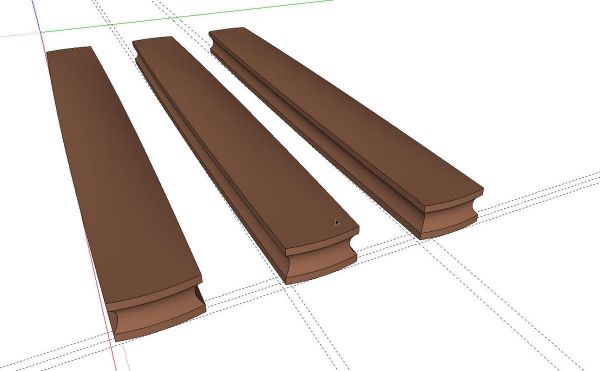
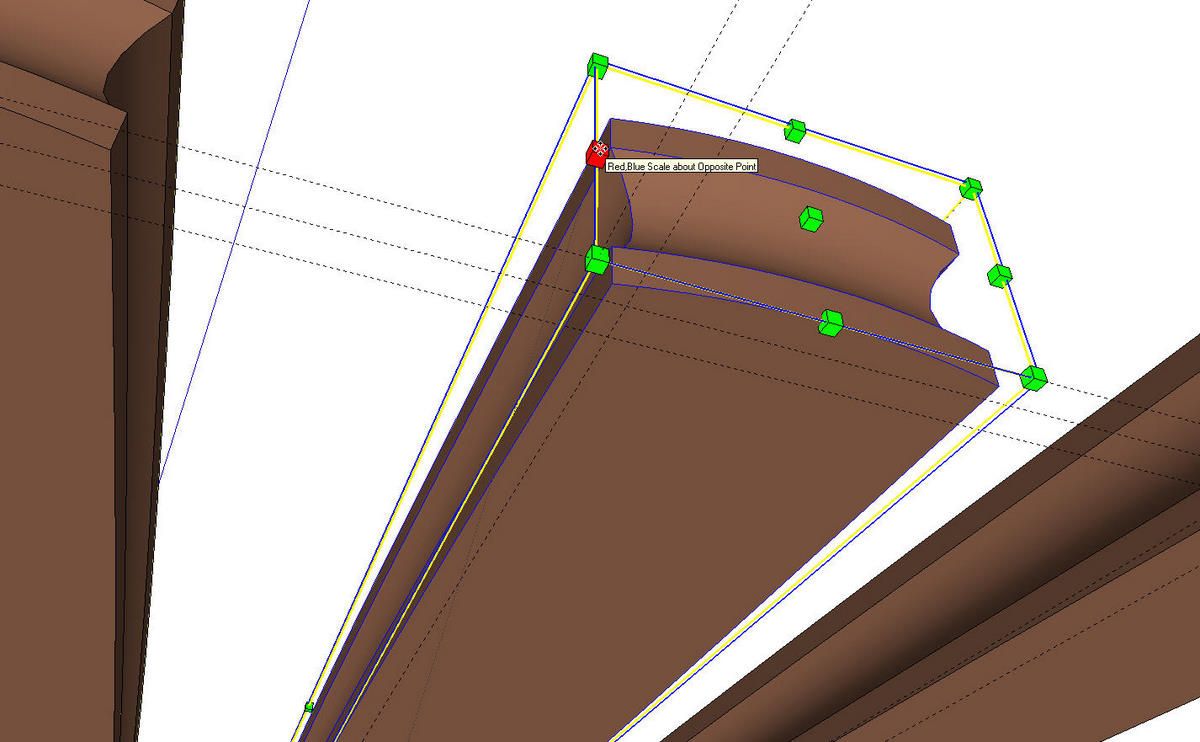
Then select one of the Pull components and then the Scale tool. Grab the center Scale handle on the corner nearest the guideline intersections (shown in red, below) and, while holding the Ctrl key (Option on Mac) to invoke Scale About Center, Push the handle in to the appropriate guideline intersection. Note the scale factor displayed in the Measurements Box.
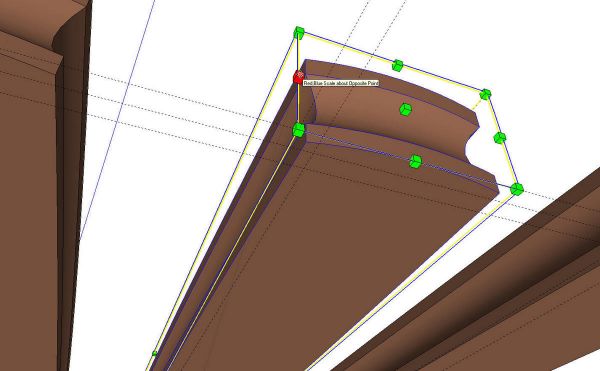
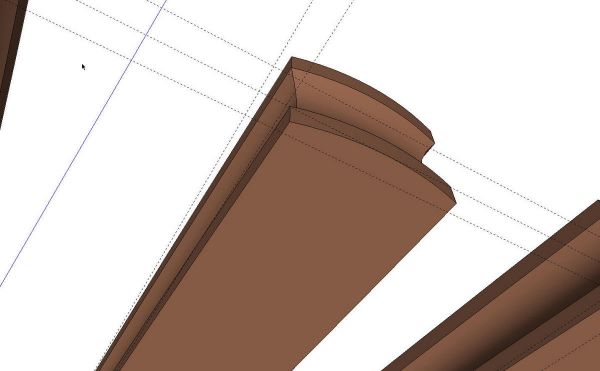
After scaling the length and width, scale the height down a bit. By not holding the Ctrl key while doing this, the bottom of the pull will remain in the same plane as the original. This makes it easier to properly adjust the position of the copies later.
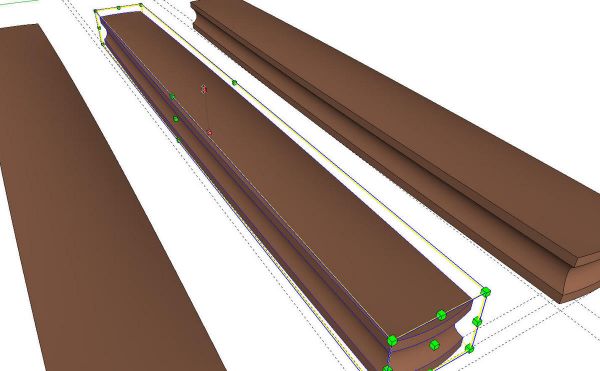
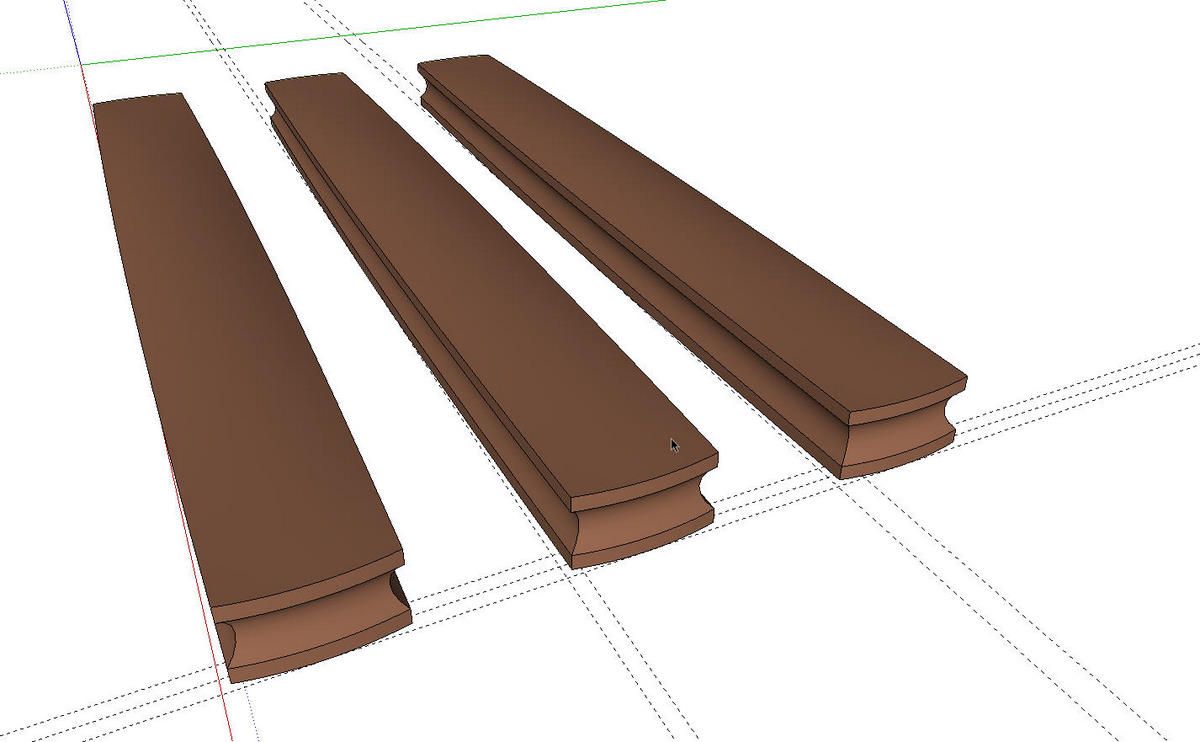
Then repeat the scaling process on the other copy of the pull. At this point there are three different sized pulls.
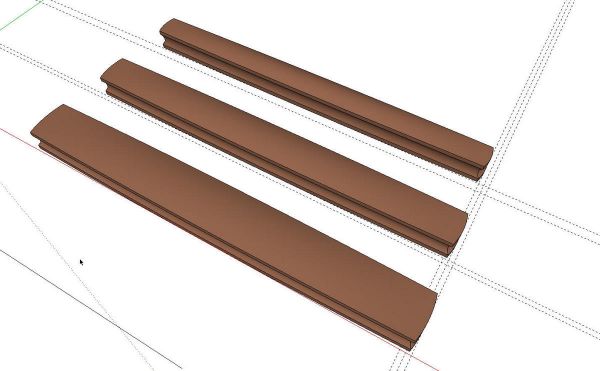
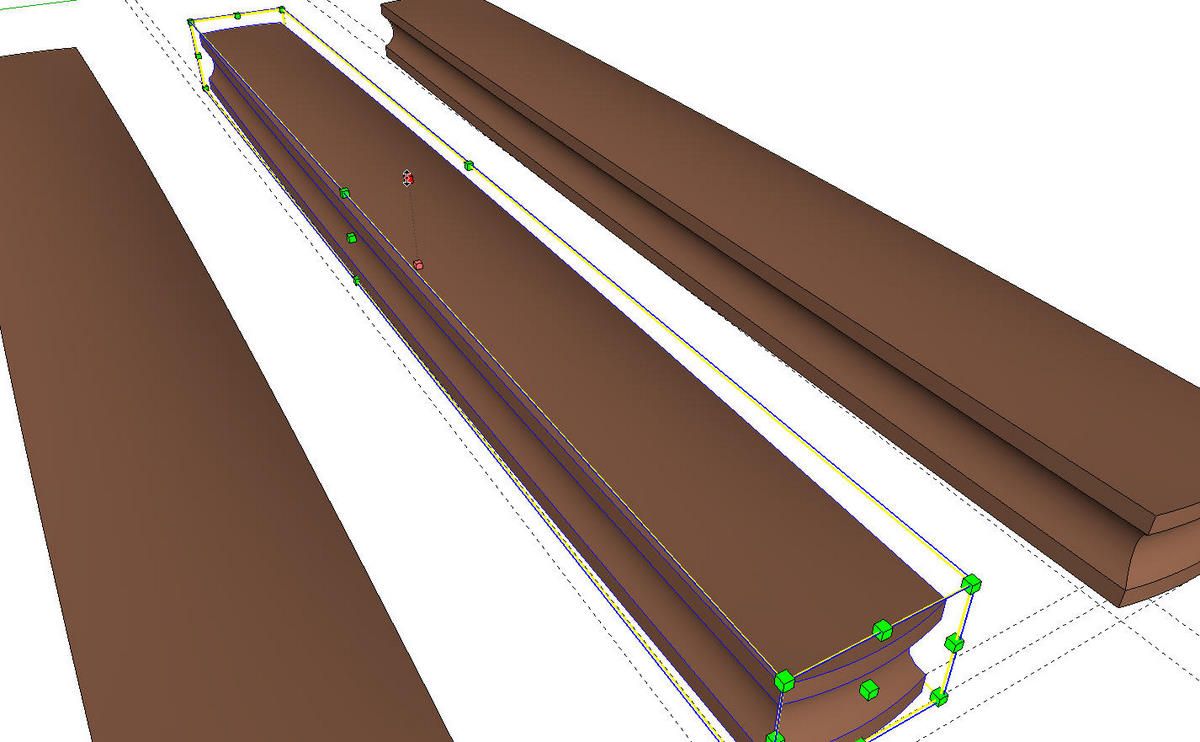
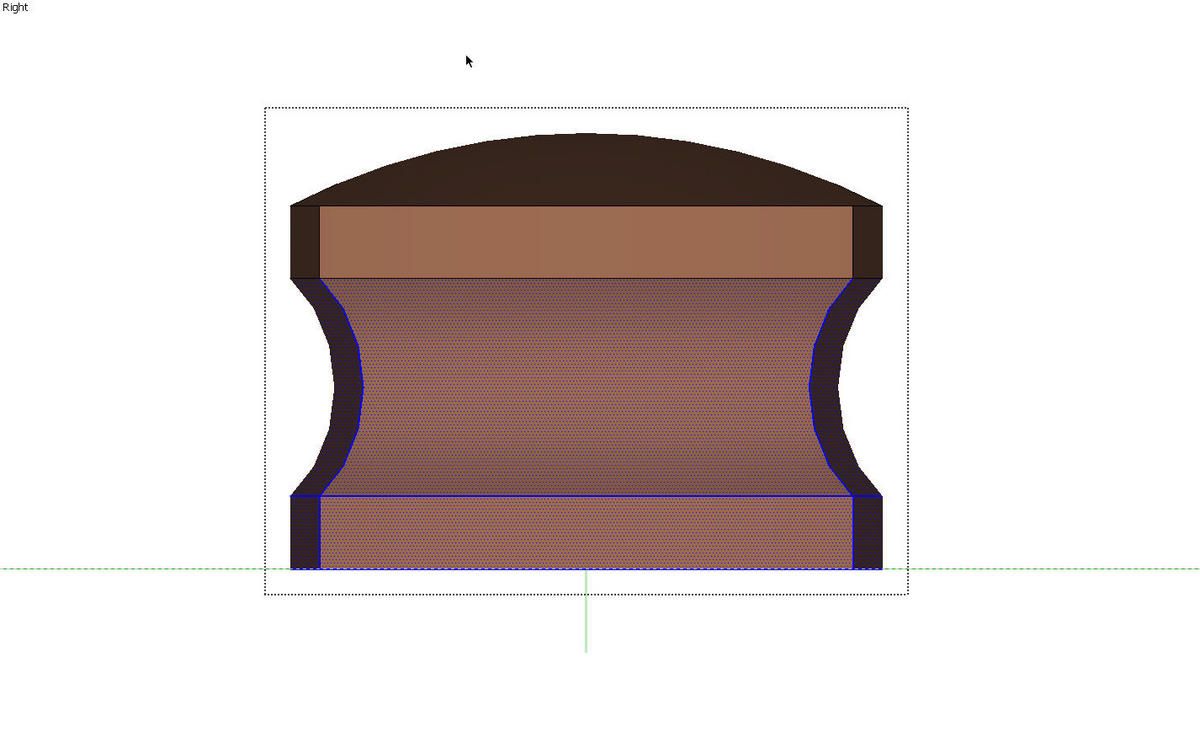
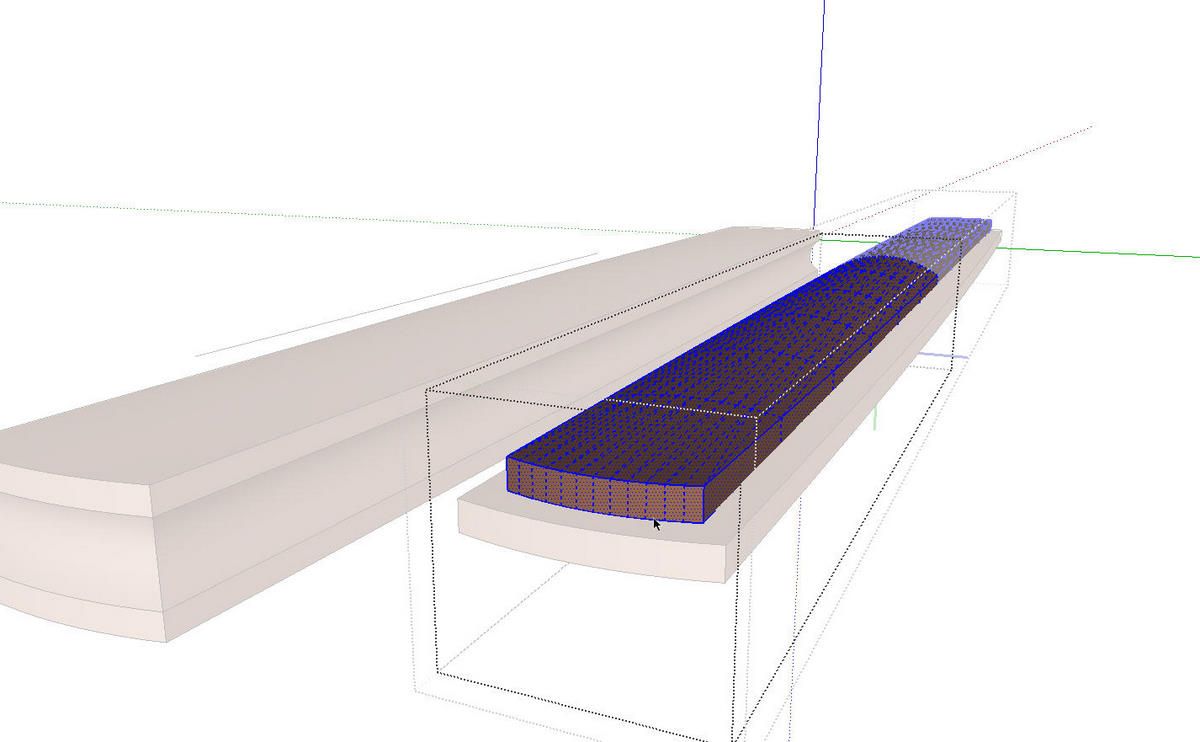
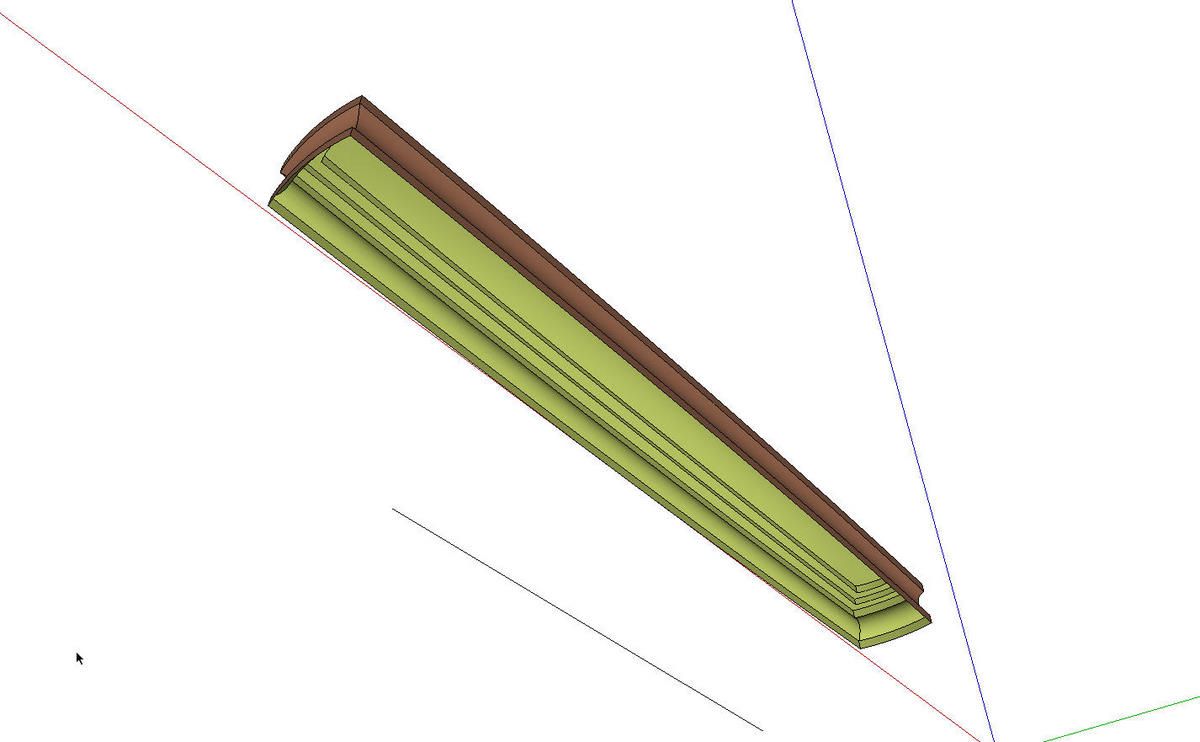
Next open one of the half pull components in each of the smaller pulls and delete all but the top curved surface and the adjoining edges. The easies way to do this is set the Camera to Parallel Projection and pick a standard view that allows you to see the side of the pull. then with the Selection tool, drag a right-to-left around the geometry you wish to delete. It’s a bit tough to see but the geometry shown in blue is selected for deleing.
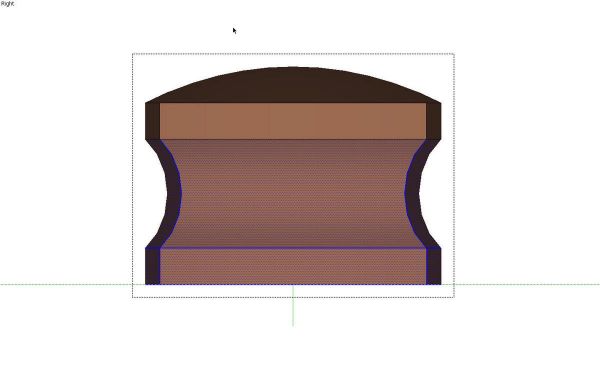
Repeat that on the other copy.
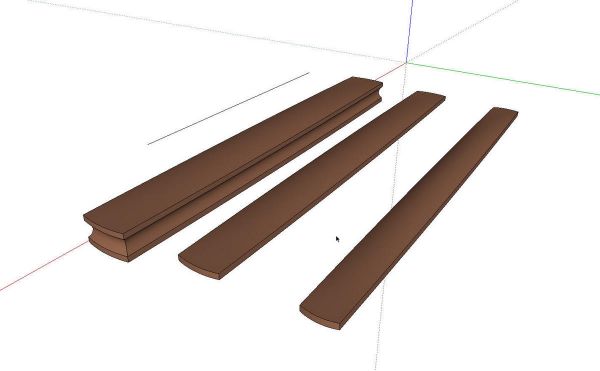
Use the Move tool to move the smallest copy of the pull, or what’s left of it, up so it will fit on top of the next larger copy.
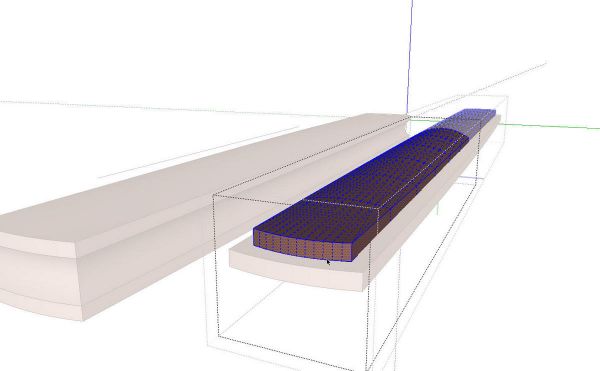
Open the smallest half pull component and select all of the geometry. Cut (Ctrl+X) the selection. Then open the half pull component in the lower pull section and Paste in Place the geometry. Paste in Place is found in the Edit menu.
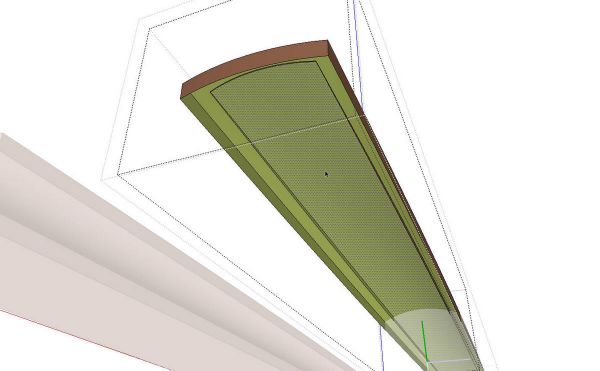
Select all of the geometry and run Intersect>Intersect Selected. Then delete the unneeded faces and edges.
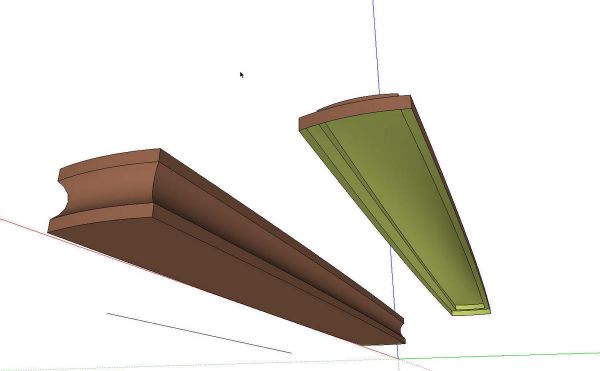
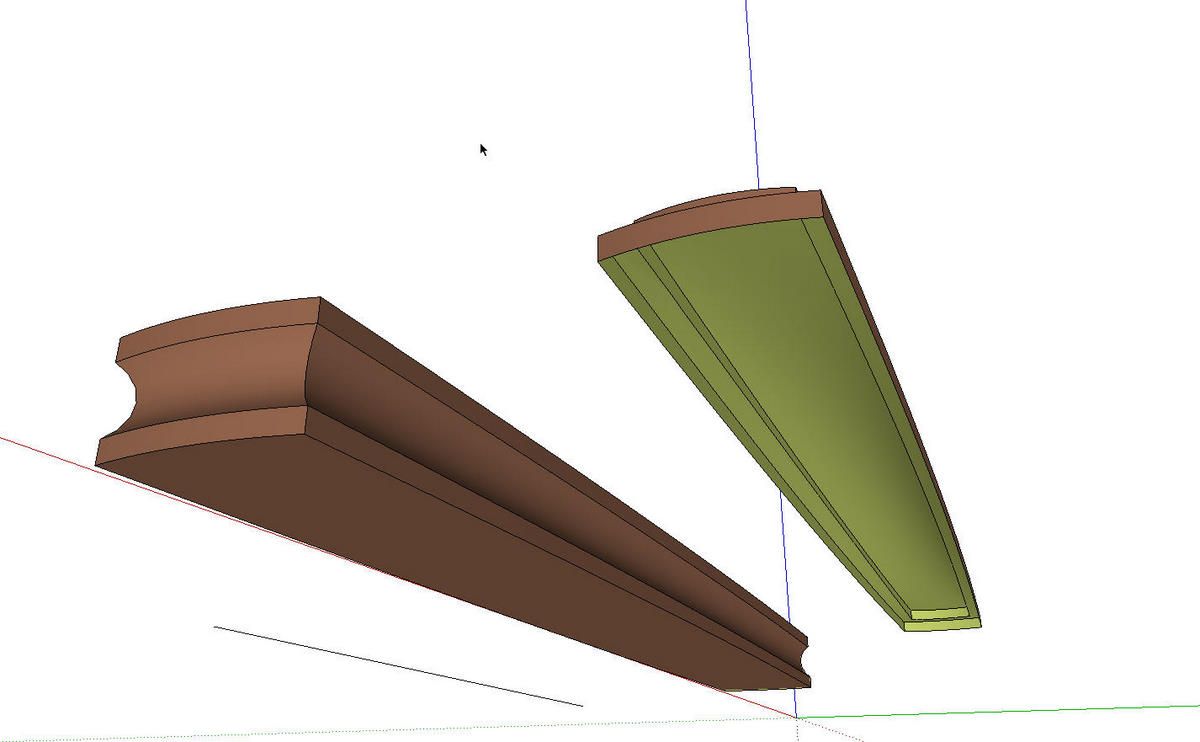
You should have something that looks like the above. Repeat the Move, Cut, Copy in Place and Intersect steps to place the two step component on top of the pull.
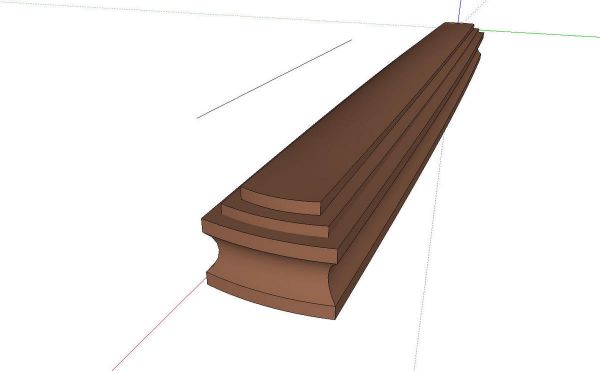
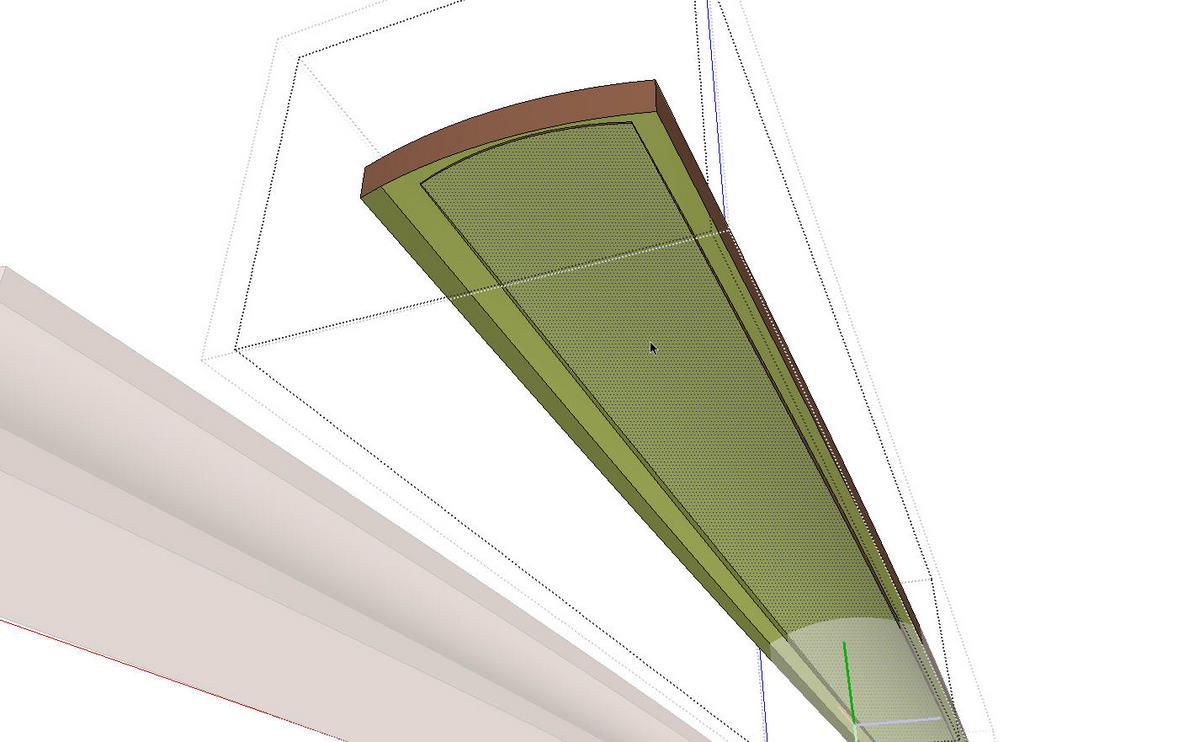
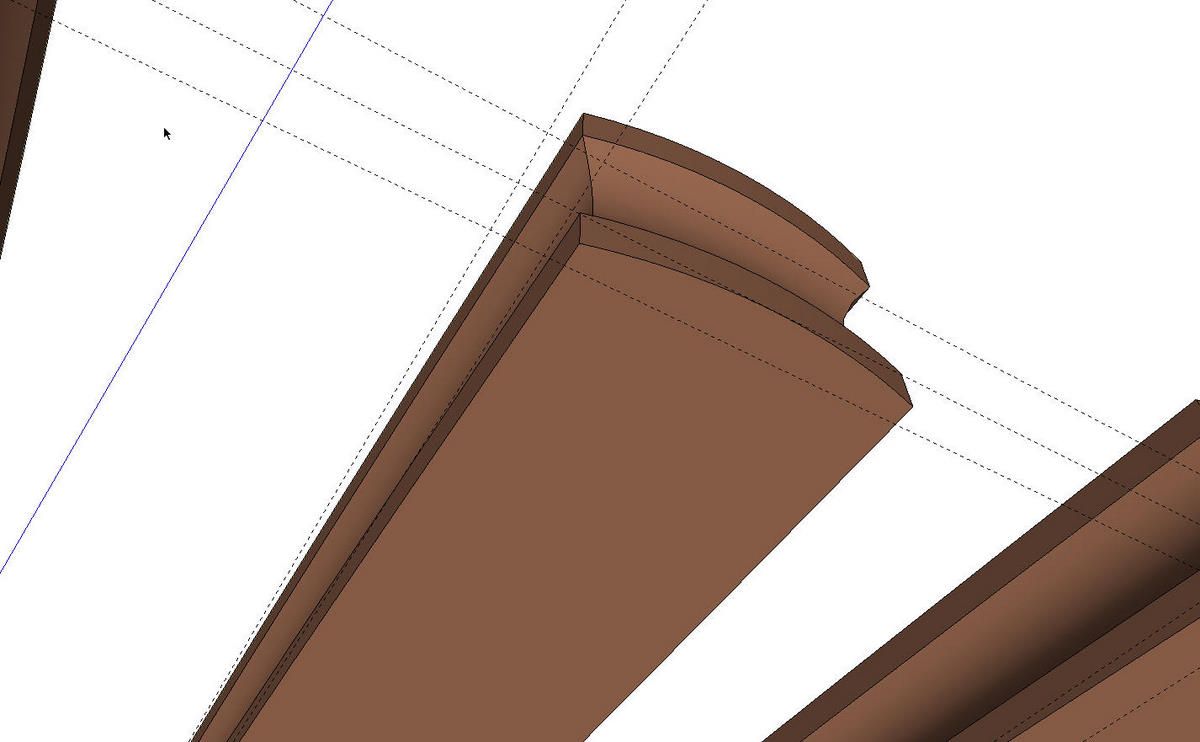
Delete the bottom face of the pull temporarily and clean up the inside of the pull.
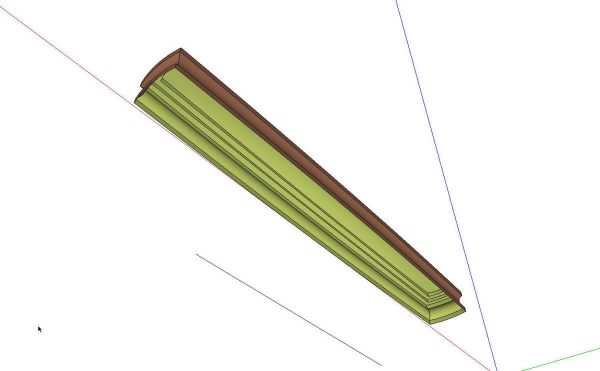
After clean up is complete, use the Line tool to trace an edge segment along the perimeter of the pull. This will “heal” the bottom face and the new pull is complete. Scale it back down to proper size by measuring that line and typing it’s correct length followed by Enter.
As an option to editing inside the unique components, you could explode the two copies of the pull and delete one half of each prior to scaling them. If you were to do that, you would not scale about the center of the remaining component. I prefer to do these sorts of edits inside components because I am less likely to cause problems with undesired intersections.





Log in or create an account to post a comment.
Sign up Log in