A Convex Decorative Edge-Banding
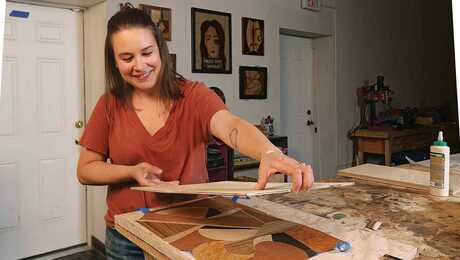
An elegant border for a sunburst tabletop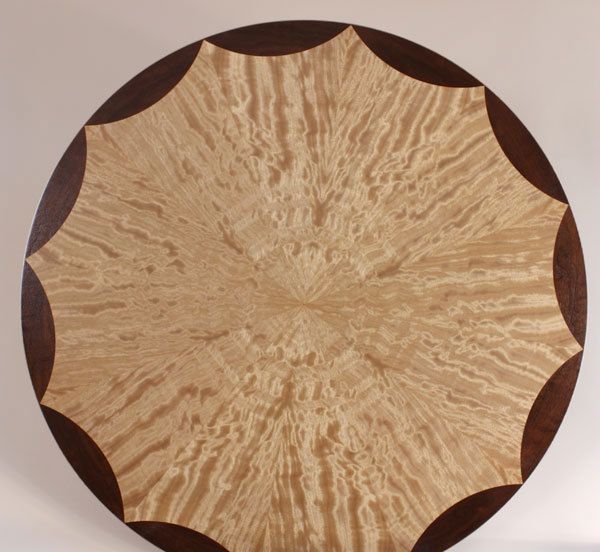
Veneered edge-banding not only acts as a frame around the veneered center of the tabletop; but it also serves as a transition between the center veneer and the edge of the table.
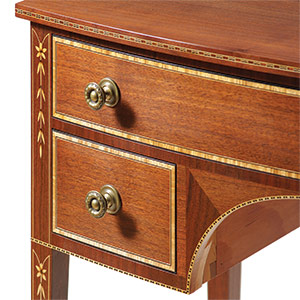
In my magazine article, “How To Veneer a Sunburst” (FWW #206), I show how to apply a simple edge-banding of consistent width. In the Master Class in the same issue, I show how to apply a more decorative edge-banding with a concave shape at the end of each segment of the sunburst; the appearance is reminiscent of a flower. Another variation on this theme, which I describe here, is the convex banding which gives the appearance of a spider web.
Calculate the curve and cut two templates
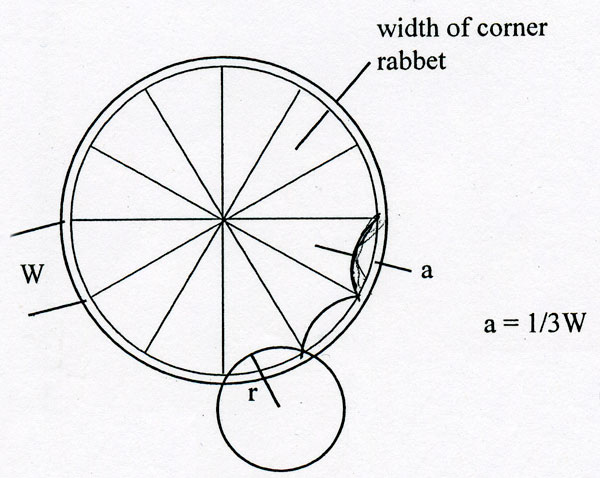
Depending on the overall size of the sunburst and the number and width of its segments, the farthest point of the arc, as measured from the table edge, should be roughly 1/4 to 1/3 the width of one segment.
|
Calculating the correct radius |
Within this range, I generally trust my eye when deciding on a suitable arc. Remember that there is a 1/8-in.-wide protective strip of solid wood that runs around the top edge of the tabletop, so measure from the inside edge of this. Using a trammel, draw two circles near the edge of the tabletop blank, marking where the edge strip will run.
Unlike the edge-banding shown in the article and Master Class, the seam between this edge-banding and the sunburst will not be filled by stringing, so the joint has to be perfect. Therefore, to cut the concave areas of the sunburst and fit the corresponding convex edge-banding, you’ll need to make a pair of mating concave-convex templates.
Mount a router on a trammel, install a 3/4-in.-dia. 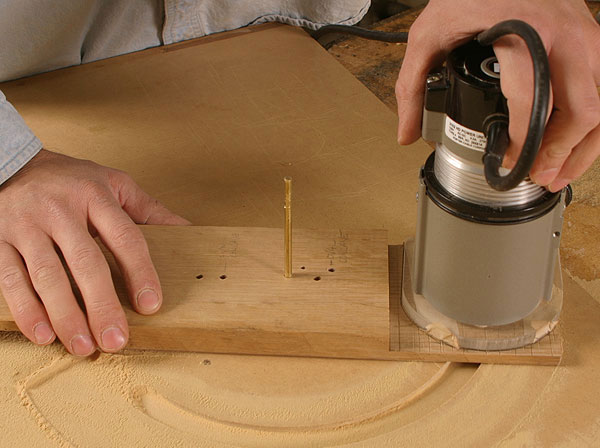
Drill a 3/4-in.-dia. hole at each end of the groove, insert a jigsaw blade into one of the holes, and cut along the groove, staying away from the outside edge. Then cut a much shallower arc connecting the two holes to form a quarter-moon like shape.

On the router table, use a bearing-guided, flush-trimming bit to create a clean surface on the larger of the two arcs.
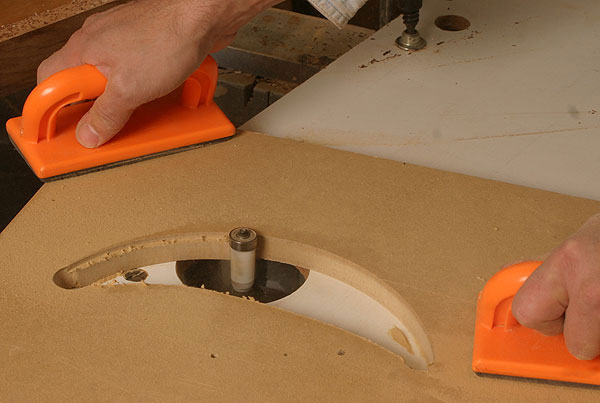
This template will be used to rout the concave profile at the end of each sunburst segment.
To create the matching two-part template for the edge-banding segments, start by attaching a couple of strips of double-faced tape to the bottom of the first template.
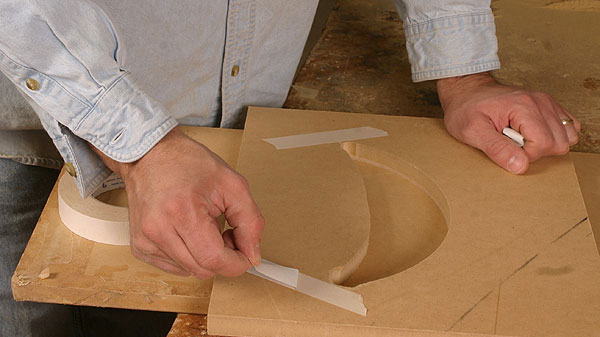
Stick this template to another piece of MDF, 15-in. to 18-in. square. Using a 1/2-in.-dia. top-mounted bearing, pattern-cutting bit or mortising bit, run the bearing around the arc of the first template, leaving a shallow groove on the lower piece of MDF.
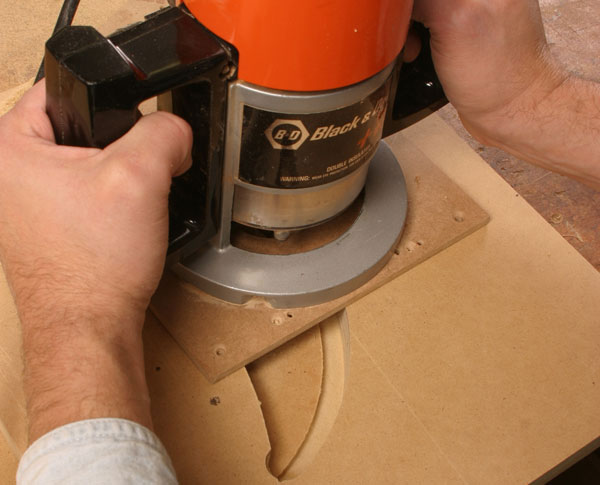
Separate the two pieces of MDF and bandsaw away the waste from the edge-banding template, staying just outside the arc to leave the panel with a tombstone shape. Using a 1-1/2-in.-dia. bearing (www.eagleamerica.com, #196-2410/2415/2420) and a 1/2-in.-dia. pattern bit, clean up the edge of the arc on the router table.
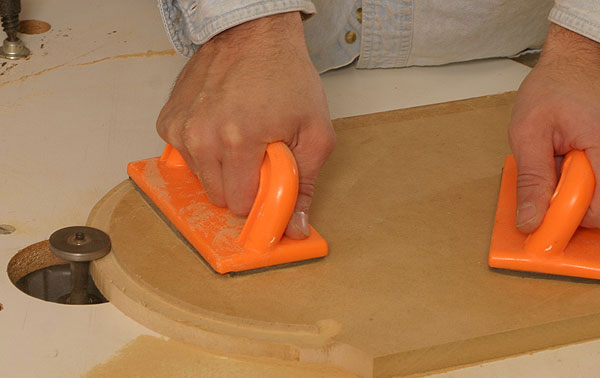
Last, create a matching curve on a third piece of MDF using a flush-trimming bit guided by the second template. Sandwich these two pieces to profile the edge-banding pieces.
Put the templates to work
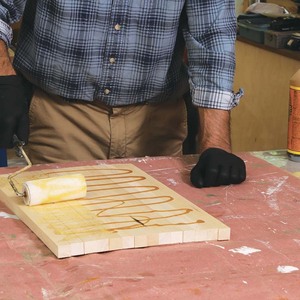
Begin by cutting the profile on the edge-banding material. Place a stack of edge-banding veneer between the two convex templates and screw them together.
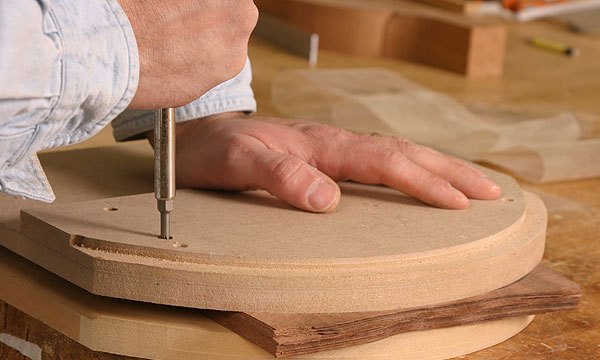
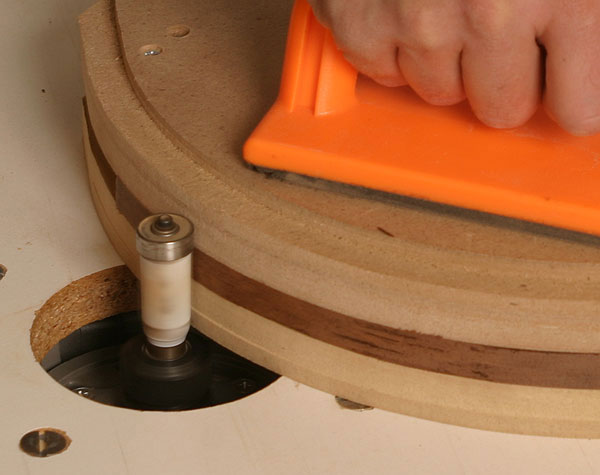
Bandsaw the veneer roughly to shape, then use a flush-trimming bit on the router table to finish the profile.
It is critical that the points of the sunburst terminate exactly on the solid-wood edging to the tabletop that you’ll install later. Align the concave template to these points, then use a pattern-cutting bit to rout the area to a depth equal to the thickness of the edge-banding veneer.
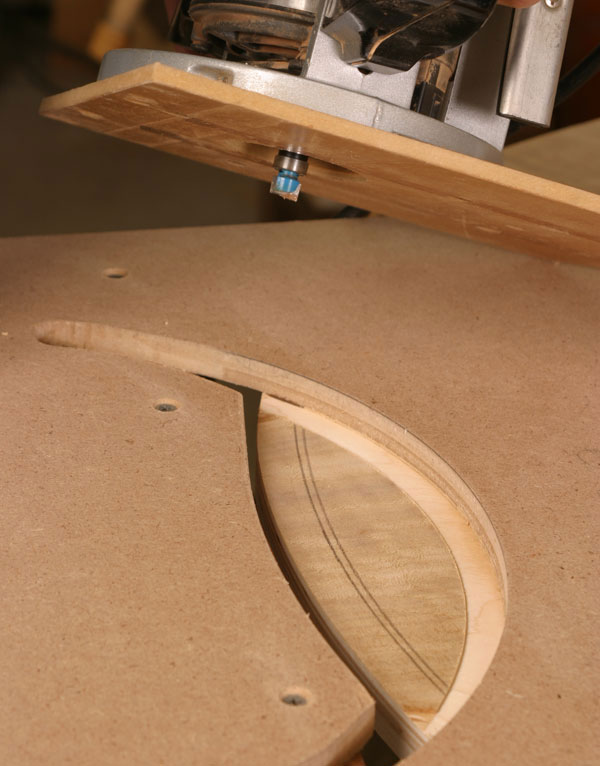
Work your way around the sunburst, excavating the concave recess of every OTHER segment and then gluing in the mating edge-banding.
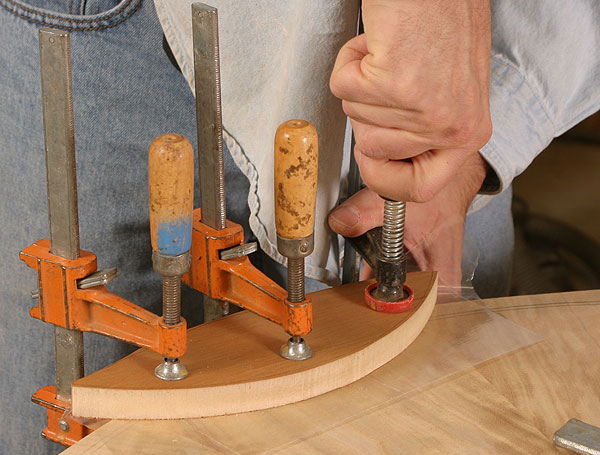
Once you’ve returned to the starting point and the first sections are dry, finish the remaining areas in a similar fashion.
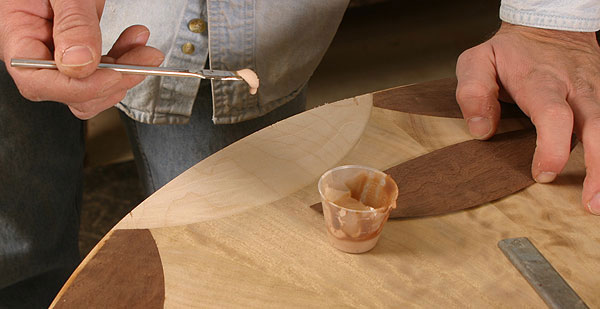
If you did adjacent segments it would leave a very delicate point where the seams meet that would be likely to break off. Make sure that all the terminal points of the edge-banding fall on the circumference line of the sunburst.
The top is now ready to be cut and the solid edging added, as described in the main article.
Mark Arnold is the owner of Boston Woodworking in Sunbury, Ohio.
Photos: Chauncey Montgomery (top) and Mark Schofield
Fine Woodworking Recommended Products

Bahco 6-Inch Card Scraper
Whiteside 9500 Solid Brass Router Inlay Router Bit Set









Log in or create an account to post a comment.
Sign up Log in