There are a number of ways SketchUp is used in woodworking including:
1. The development of a conceptual design
2. Creating views and images for client review
3. Working out a complex joint
4. Estimating board ft quantities and cut lists
5. Displaying realistic representations of furniture and their finishes
6. Solving difficult cutting angles
7. Assembling a detailed design package for use in the shop
I probably have done all of these things, however my main use and focus with SketchUp is represented in #7 above – that is, preparing for the actual build work in the shop. After all, I want to be in shop working with my hands and the tools, shaping lumber, and assembling a new piece of furniture. Or I want to provide accurate and relevant information to my students so they can have the satisfaction of a successful project.
Therefore, in one sentence, I would state my main SketchUp strategy as;
Quickly and accurately make a detailed model to produce dimensional views necessary for basic shop construction.
I’m not looking for colors, textures, pretty pictures, finishes, and embellishments; rather complete engineering content of a piece of furniture so that I’m not guessing, experimenting, sketching, and calculating in the shop. I find this process to be the most satisfying and productive for me. I also think it works well with my students, who want complete, explicit, and easy-to-read documentation.
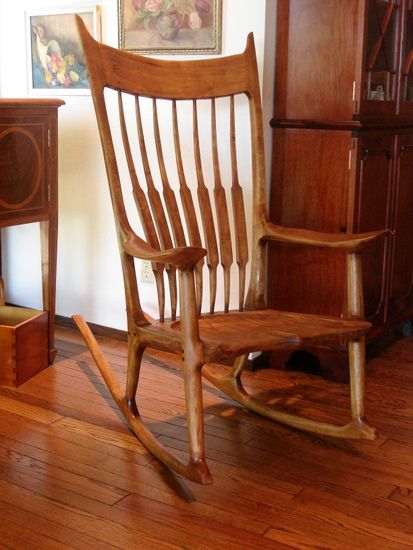
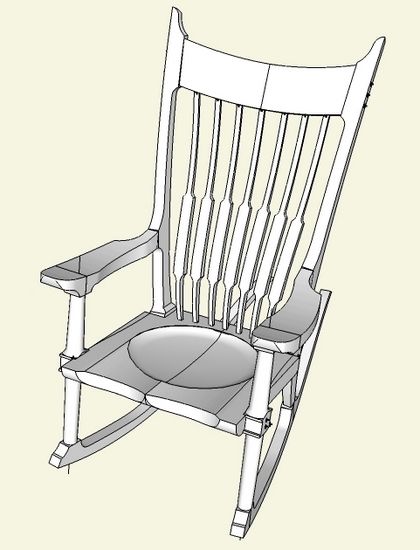
There are real limits to what can be done effectively in SketchUp, and this was made clear in developing the Maloof Rocker (shown in previous blog entries). There was no way I was going to create a beautifully sculptured chair in SketchUp. What I needed from SketchUp, were the sizes, angles, joint details, band-sawed shapes, and full-size templates. The final artful sculpturing, that is so important to the Maloof chair, would have to be worked from pictures or viewing an actual piece.
Crude, non-sculptured model

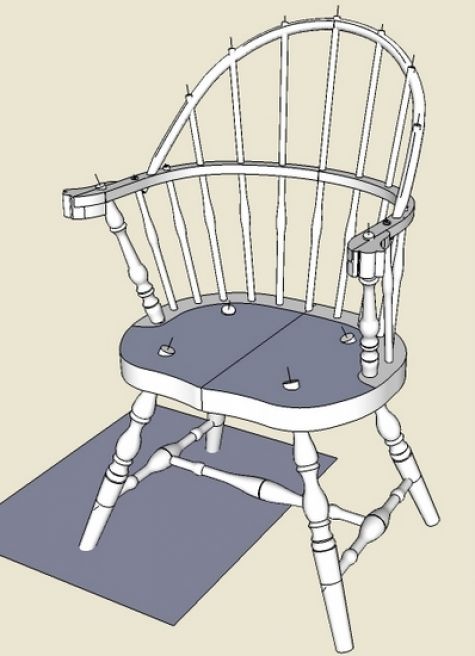
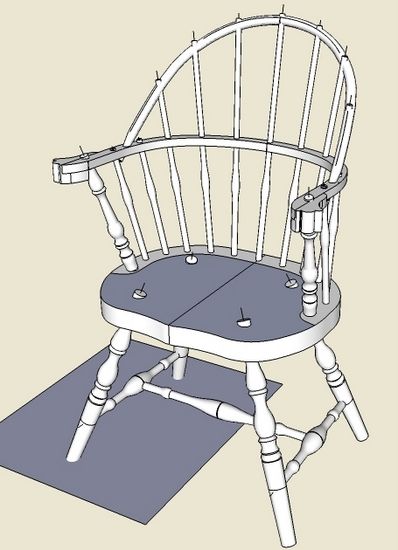
I also bump into these SketchUp limits on Windsor chairs. While SketchUp reveals the complex assembly of the chair parts, all connecting at various angles, it does not adequately handle the final shaping and sculpturing. Nevertheless, I would not know how to start a Windsor without having worked out all the parts, angles and connections in SketchUp.
A Sack Back under development now (no sculpturing of handles and seat), has all the important information for construction:
Some day perhaps SketchUp will include a Woodworker’s Toolbox equipped with drawknives, travishers, files, and spokeshaves. In the meantime, I’ll be quite satisfied having SketchUp produce the important, basic construction information.
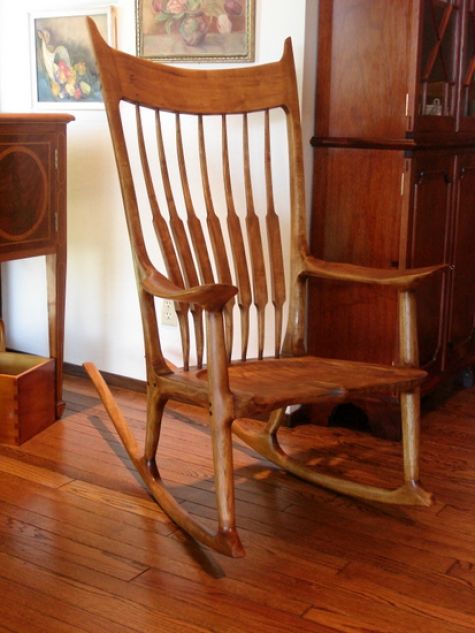
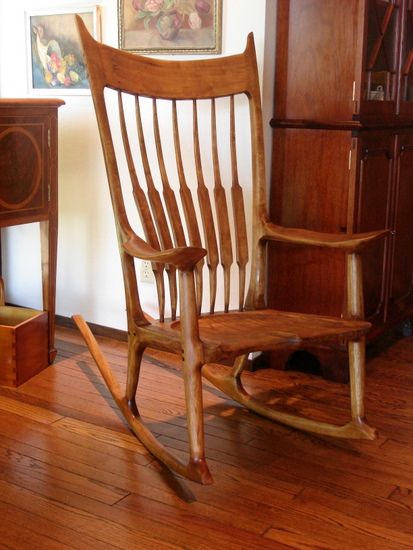
By the way, I’ve finished the Maloof Rocker. I have to admit, admiring Sam’s work much more having gone through this process. The artistic shaping is incredible and something that I could not duplicate.




Comments
I've enjoyed your column/posts for a while now and I couldn't agree more (My Strategy with Sketchup). Sometimes - especially with computer software - the ability to do something turns into an obsession with same. Eg.spending uncounted hours prettying up Sketchup documents rather than getting into the shop and laying hold of the wood. Having said that, having a tool that allows fast exploration of many different design problems and possibilities is a real godsend (and free too!)
Given time would you consider listing the plug-ins you consider most useful to your work? Their icons in the blog pictures are a little small to make out.
Cheers,
Andrew
To andyboy88: Thanks for the comments. I have to admit not using plug-ins generally. The only one that I seem to use consistently is Cut List. Occasionally, I've used Shape Bender and Taper Maker in doing chairs, but very rare.
Dave Richards, my partner in Design. Click. Build., has a very good knowledge of plug-ins and uses them regularly. He has provided his favorites listing in a couple of his past blog entries.
Tim
Your chair is beautiful! I always admire those who multitask. And you seem at ease both at the computer and in the shop - with great results in both places.
Like andyboy88, I too have enjoyed your columns. I've been making Maloof style rocking chairs for the past twelve years and also Taylor style RCs ever since I edited his DVD book ("How to Make a Beautiful Rocking Chair")in 2009/2010. Although I feel that I'm computer literate, I've never tried Sketchup. I do use my computer driven Shopbot CNC for making rocking chair seats. The rest of the sculpting, of course, is hands-on.
One comment and question. I have kept all of my front legs considerable thinner than what I see in your picture so that when the legs (front and rear) meet the rockers, the joints look pretty much the same. How did you decide on the thickness relationship between the front and rear legs?
Ciao,
Fred
Fred, thanks for the comments...
On the rocking chair, the sizes of components were determined by the two orthographic sketches in the Maloof article in Fine Woodworking, a front and side view. I simply traced over these illustrations.
I'm not enough of an artist to see these kinds of nuances.
Tim
Log in or create an account to post a comment.
Sign up Log in