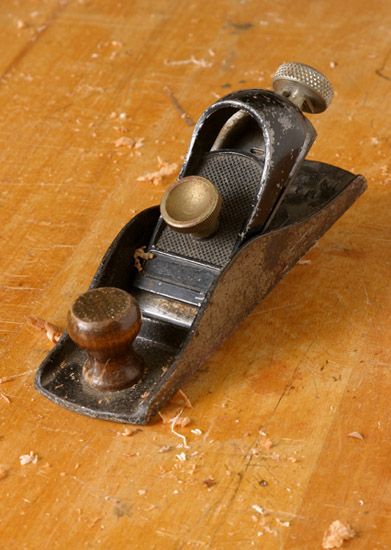
The plane as it was before I got to work.
Last weekend I happened upon a garage sale and found myself face-to-face with a little block plane long past its prime. At five bucks, it was a steal, and I figured I could bring it back to life. It’s not a particularly fancy tool–no highly polished steel or exotic hardwood handles–but it’s been well used. I mean, this thing has really been put through its paces. The iron is of Stanley origin although the actual body of the plane has very few identifying marks. This could be some sort of post-war Stanley model, or a tool comprised of scavenged parts. Either way, if anyone recognizes the make and/or model, I’d like to hear about it.
My first step was a simple evaluation of the plane’s condition. In general, the tool was pretty rough. The sole was covered with paint remnants, most likely the result of someone attempting to address a sticky door. The situation only got worse when I held my engineer’s square to the bottom and raised it up towards a light source. My tool’s bottom wasn’t just covered with paint, it wasn’t even close to being flat.
After a quick consultation with Kelly Dunton on the best way to approach the rehab, I headed into the workshop and got down to business. What follows is a quick rundown of my methods. Feel free to chime in with your own. Woodworking’s the type of pastime in which you’re constantly learning, always honing your techniques. That said, I welcome your comments and hope to help some folks understand how to get the most out of this vastly underutilized tool.
1 – Flattening the Sole
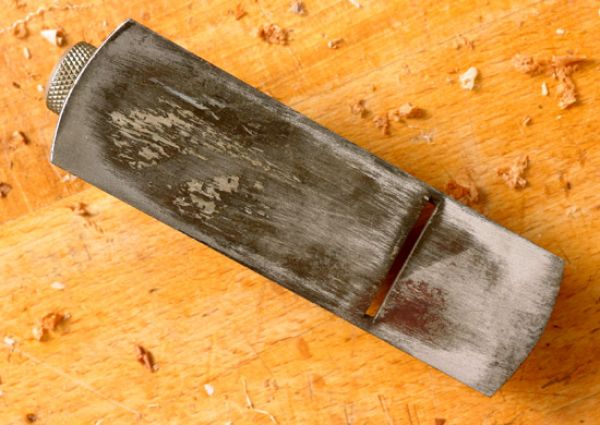
It was obvious that the plane’s sole was going to require most of the work. I began by using a simple file to carry out the coarse work. Bearing down on the file with the palm of my hand, I used a circular motion until all traces of paint were gone and the tool seemed to be generally flat. You’ll know when you’ve reached the point at which you can switch to sand paper. As you begin using your file on the tool, high and low spots become very apparent. Your goal should be an even surface.
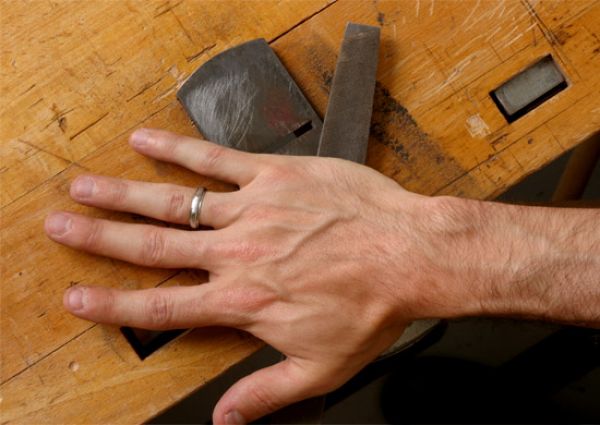
After coarse work was complete, I switched to sandpaper. A perfectly flat surface is necessary for this procedure, and I found mine on the outfeed table of a large jointer here at Fine Woodworking. Beginning with a medium grit, I worked my way up the scale, using just a bit of water as a lubricant.
2 – Flattening the Lever Cap
The lever cap on my plane was covered with a sloppy coat of japanning. Thick and somewhat uneven, this coating doesn’t provide for a smooth contact surface where cap meets iron. Using my file, I simply cleared off a bit of the coating. No need to go crazy here – I only desired to remove the japanning from that portion of the cap which would actually come into contact with my plane iron.

Step 3 – Flattening the Sides and Breaking the Corners
After a quick break to rest my palms and work on the lever cap, I brought my attention back to the plane body. Again using the file and sandpaper, I worked the sides of the tool. My final step was to break the 90-degree corners where the sole turned up and into the sides of the tool. All that filing and sand paper work had made for quite a sharp corner that needed to be addressed.
More to Come
I’ll be back at work on this new “old” plane tomorrow. I’ll be sure to post my progress but in the meantime, have a look at this video segment with Chris Gochnour on “Tuning Up a New Plane.”




Log in or create an account to post a comment.
Sign up Log in