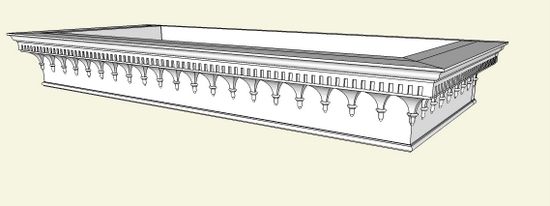
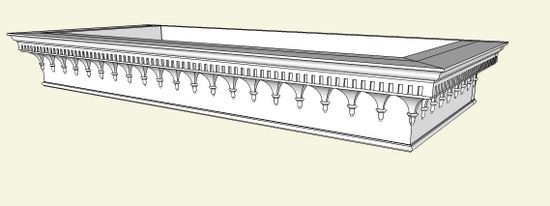
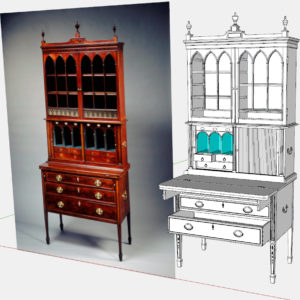
I was working with an 18th Century Mahogany Bookcase that includes a complex cornice shown below. There are a number of components in this cornice assembly including the small turned pendants. The pendants are half-round with a flat on the back which is the gluing surface. I turned the pendants from two pieces of woods glued together with a paper interface at the glue line. Then after turning, the pendants were separated at the paper interface.
It would seem that turning these pendants in SketchUp would be quite easy. But as I will show below there are several extra steps to accomplish a clean half-round pendant.
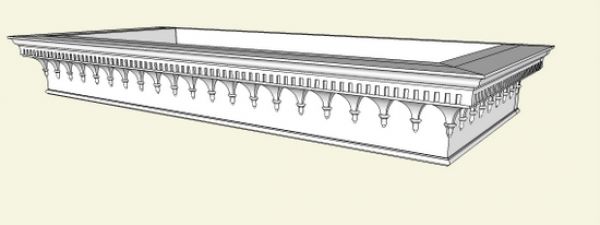
Here is the assembled cornice. Note the pendants (I think there are more than 36) hanging from the arched cove molding.
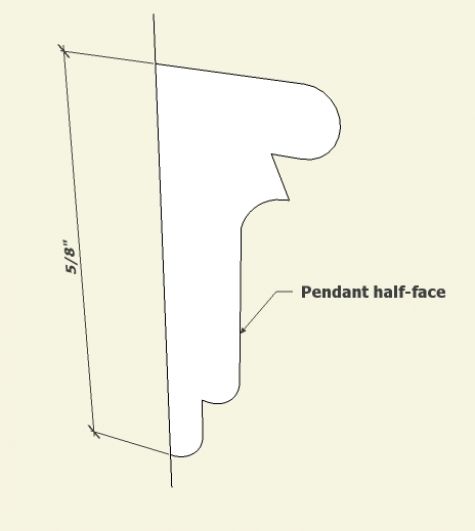
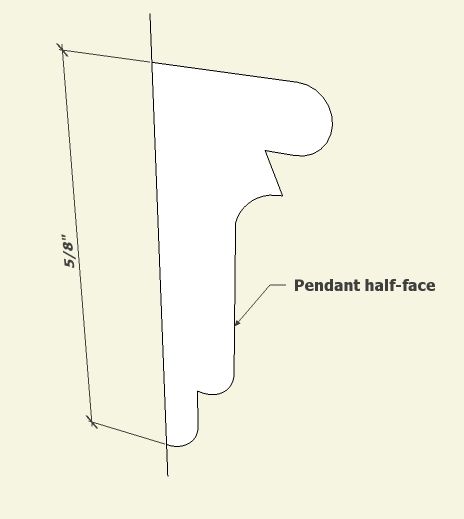
Step 1: Create the half-face of the pendant. Draw a larger rectangular flat face on which to make the pendant shape. I use the Line Tool and Arc Tool to create the shape on top of the rectangle.
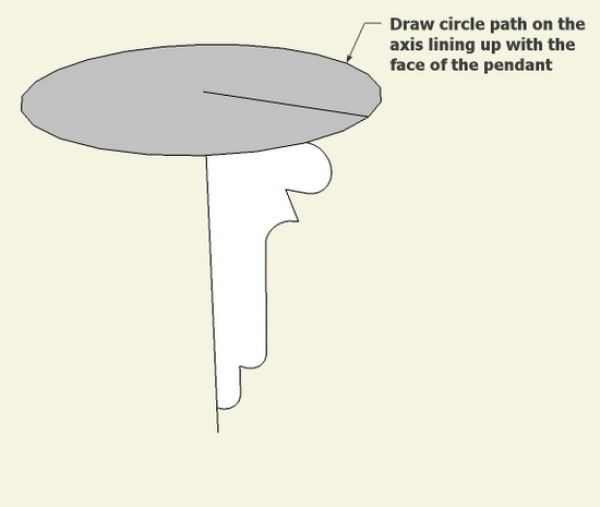
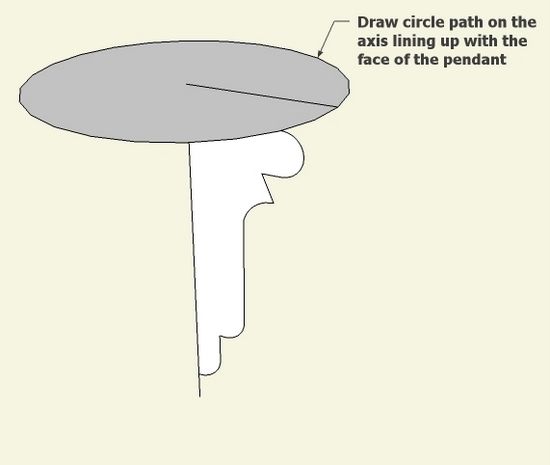
Step 2: Create the circular path for the Follow Me. Make sure that you create the circle on the same axis as the pendant face. In my case the face is on the red/blue plane. So the circle is executed on a radius that follows down the red axis.
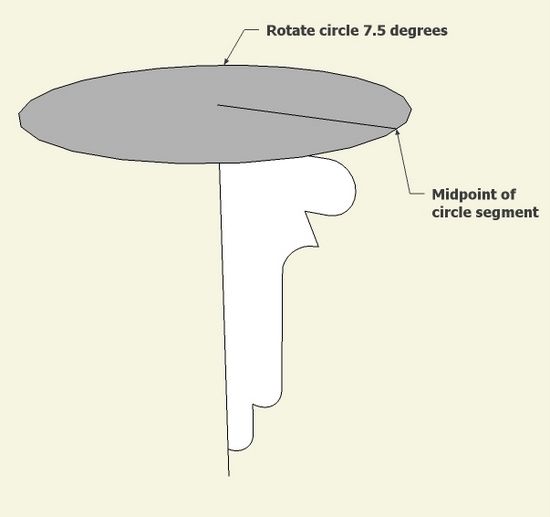
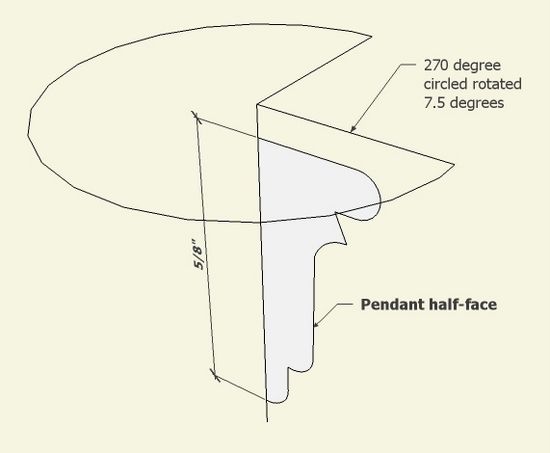
Step 3: Here is the first complication; The circle path will need to be rotated slightly so that the midpoint of the circle segments are aligned with the pendant face. If we don’t do this rotation, we will not have a half-round pendant with a flat face. I use the default number of circle sides which is 24. So each piece of the pie is 15 degrees. We need to rotate 7.5 degrees so the midpoint of the segments line up with the axis of the pendant plane.
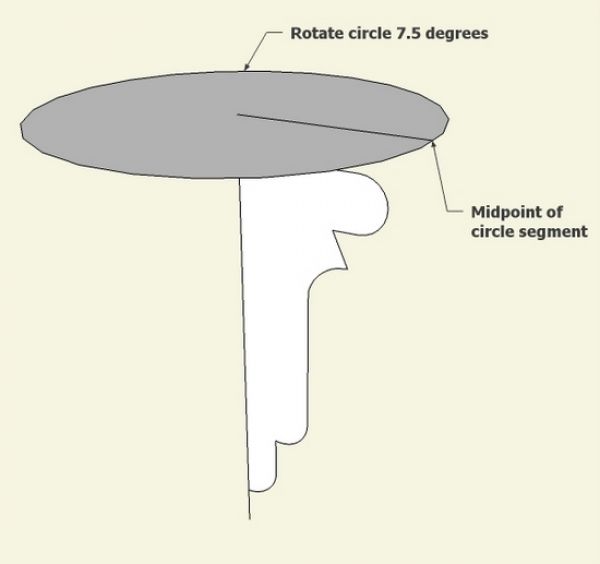
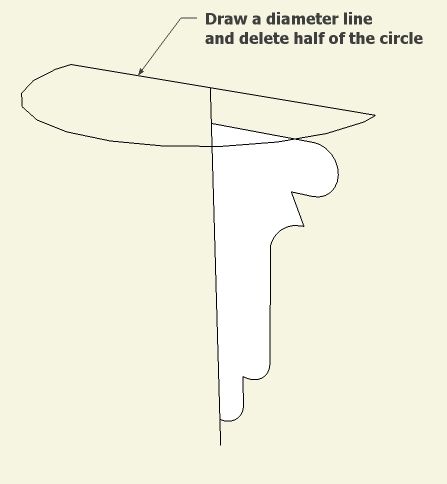
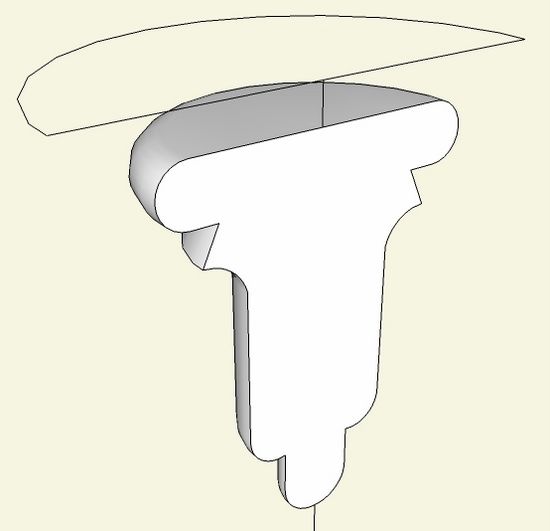
Step 4: Cut the Follow Me path to a half-circle by drawing a diameter and deleting half of the path. (Although not necessary, I delete the face of the circle so I have more visibility of the pendant).
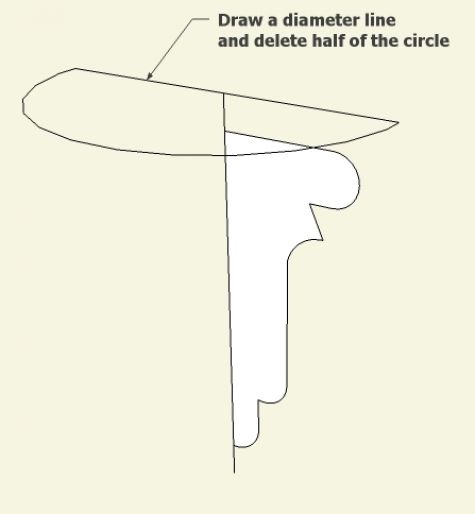
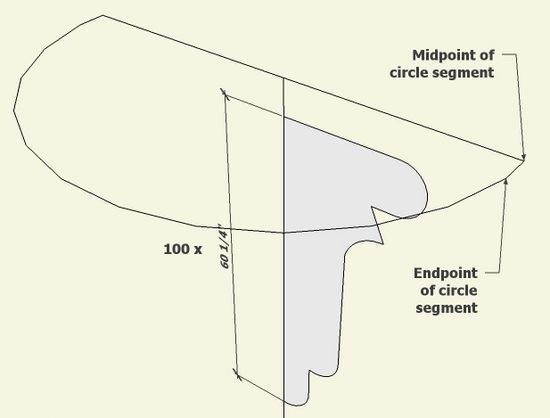
Step 5: Now the second complication; As you can see, this object is quite small and SketchUp will have trouble making a clean turning since there will be very small facets. So we need to scale up before doing the Follow Me. Use the Select Tool to draw a select box around the path and the pendant face. With the objects selected, pick the Scale Tool and you will see an array of dotted lines and handles around the selection. Click on one of the corner handles and pull the objects out to a bigger size, then type 100 (which will show up in the Measurements Box). Now the pendant face and the path are scaled up in size 100 times normal.
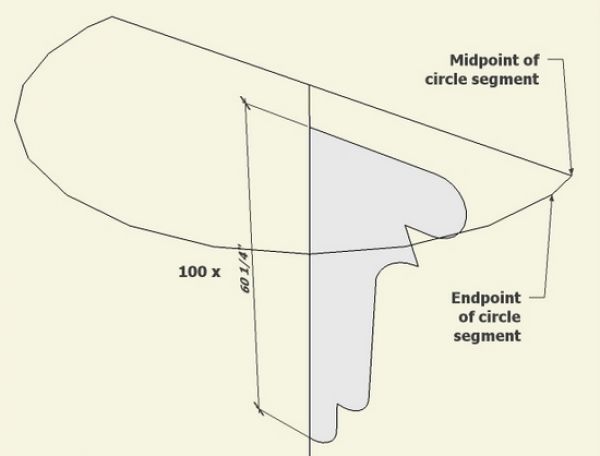
Step 6: With the Select Tool, click on the half-circle path. Then choose the Follow Me Tool and click on the face of the Pendant. (If the Pendant face is a group or component, you will need to right click on the face and choose Edit the Group or Component). Notice the nice clean flat face on the back side of the Pendant.
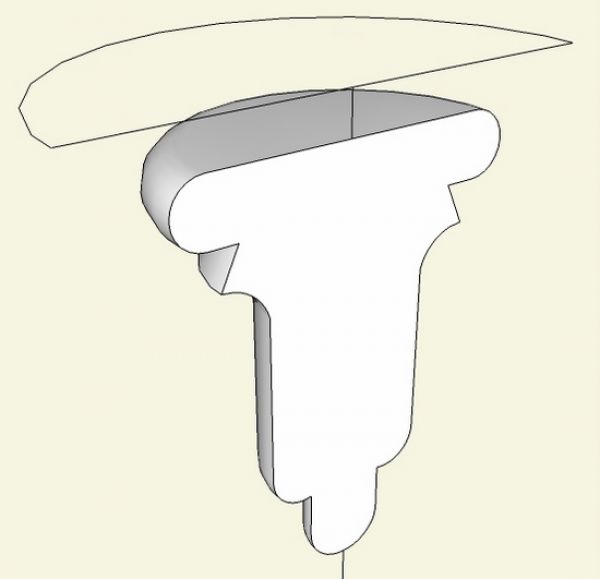
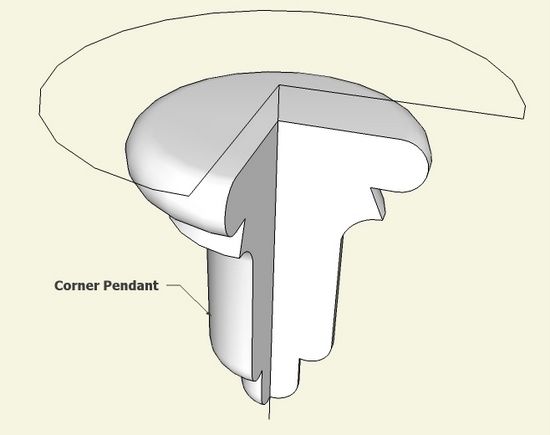
Step 7: One more complication; I need a 3/4 round pendant for the two corners of the Cornice. Create a 270 degree path with all the set-up steps used previously for the half-circle path.
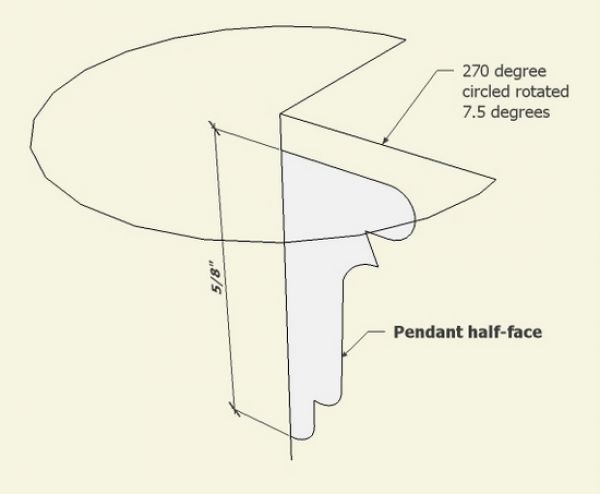
Step 8: Execute the Follow Me.
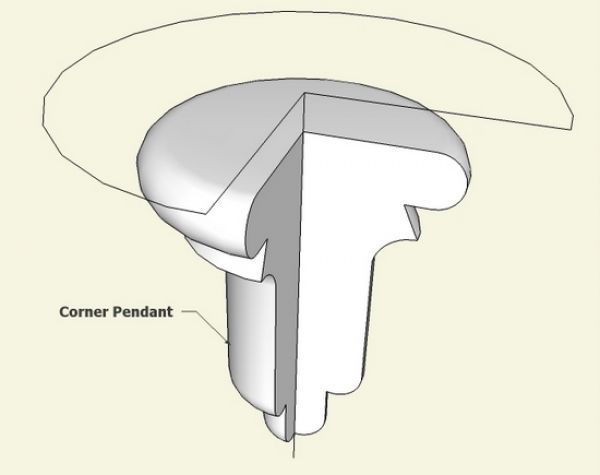
I forgot to mention another clean-up step; You will need to use your Select Tool to select all of the Pendant, then right click on the selection and pick Soften/Smooth Edges. This will hide all the unnecessary lines. Also, you can now select the Pendant, pick the Scale Tool, and type .01 to bring the Pendant back down to real size.
Tim
http://killenwood.com
KJ6APQ




Log in or create an account to post a comment.
Sign up Log in