It was only a week from the time I received the rough lumber, until this finished door left my shop – The Blog for it, on the otherhand, well that’s a different story! After a long wait, here’s part 2 of building an Interior door! (Click here to read part one.)
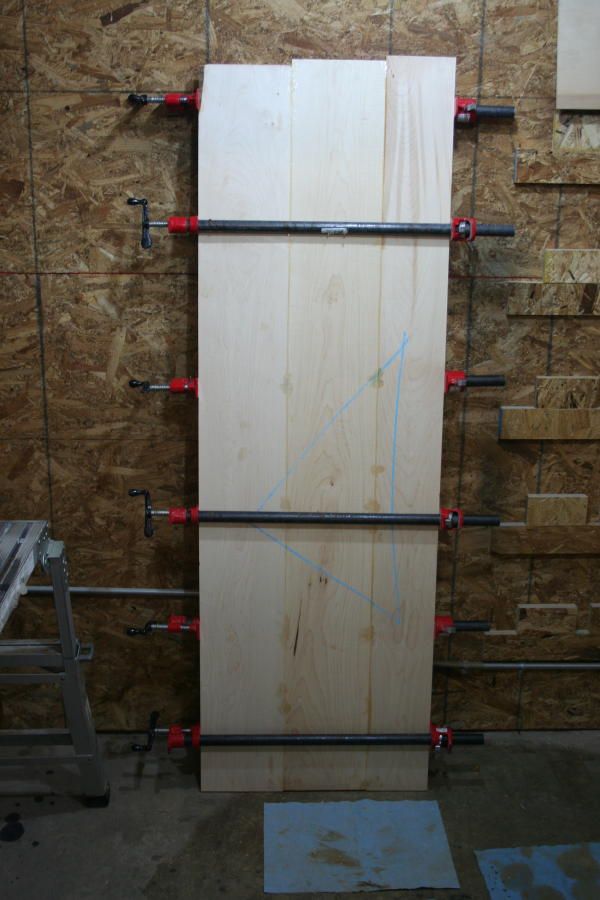
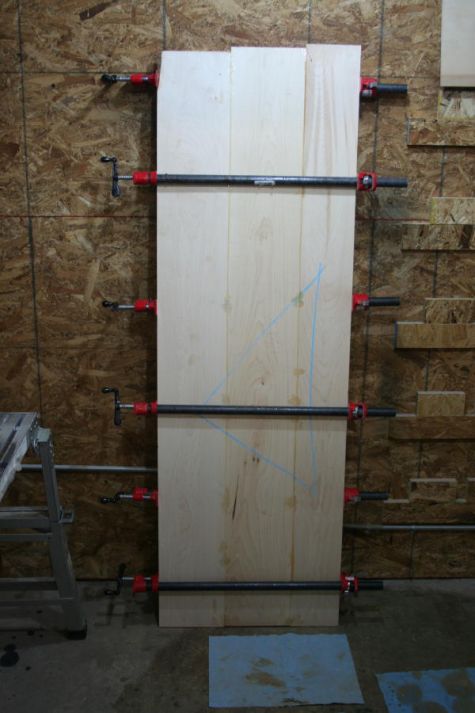
Start with a big panel
Building this door isn’t really much different from building a regular cabinet door – Just on a slighlty larger scale. The center panel is about two feet wide, and we need to consider expansion and contraction when we size it. General rule of thumb is to allow for 1/4″ of movement per foot of flat sawn lumber. If this were quarter sawn, you can half the rule.
Cordless tools at work
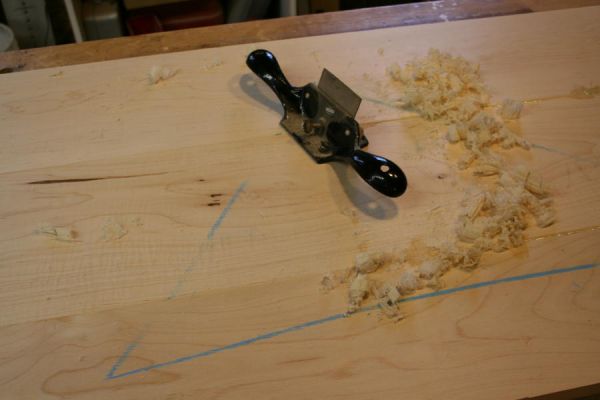
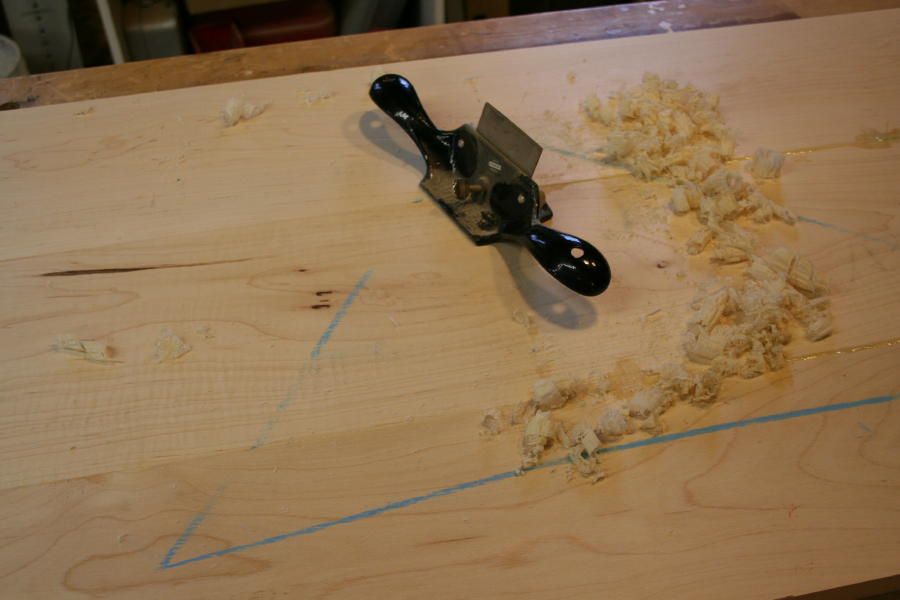
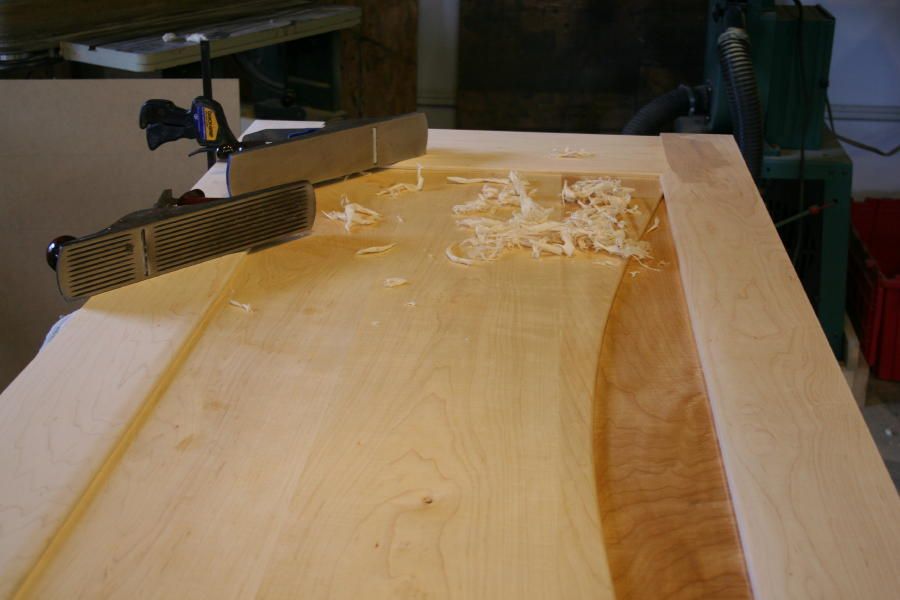
When you combine a wide panel, with a narrow planer, somthing has to give. In this case, it meant pulling out the hand tools, and finessing the panel into one smooth piece of wood. A little extra time spent during glue up would have eliminated a lot of this hand work. The hand scraper works great on glue ups, where grain direction often alternates.
High tech layout tools
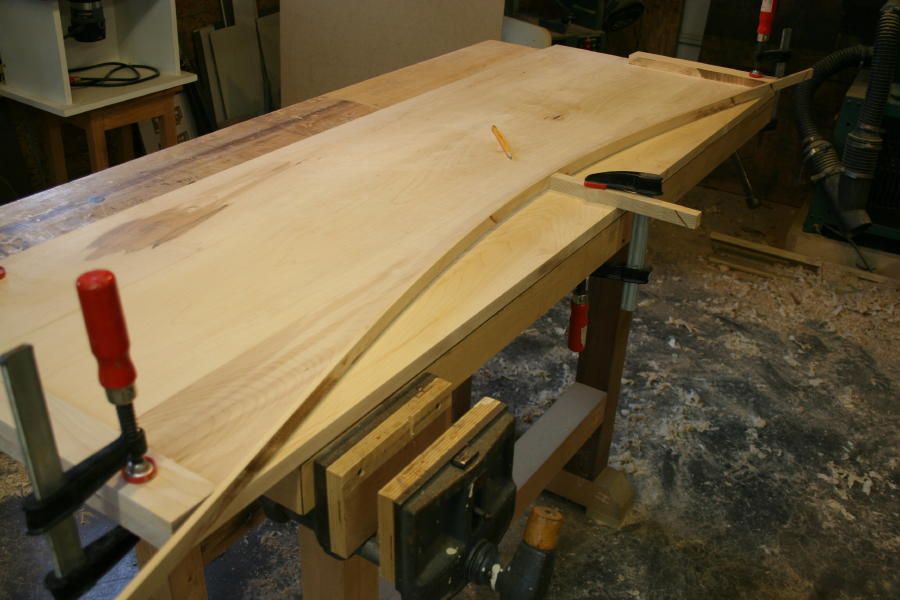
The main panel partially houses a thinner decorative panel. To cut away for the second panel, I just use a thin piece of wood against a few anchors to make a pleasing curve
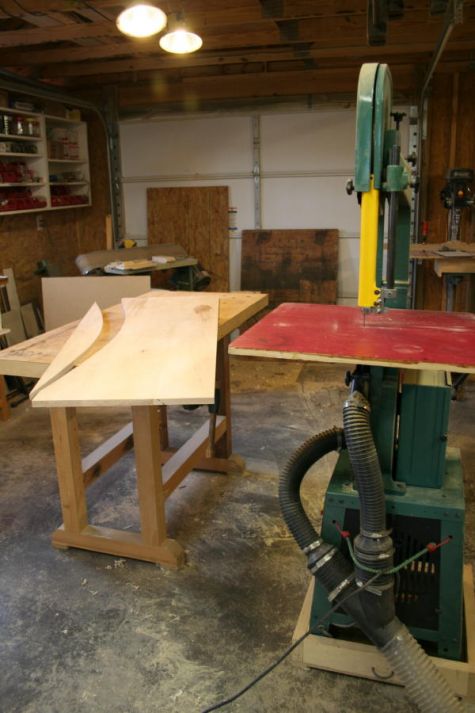
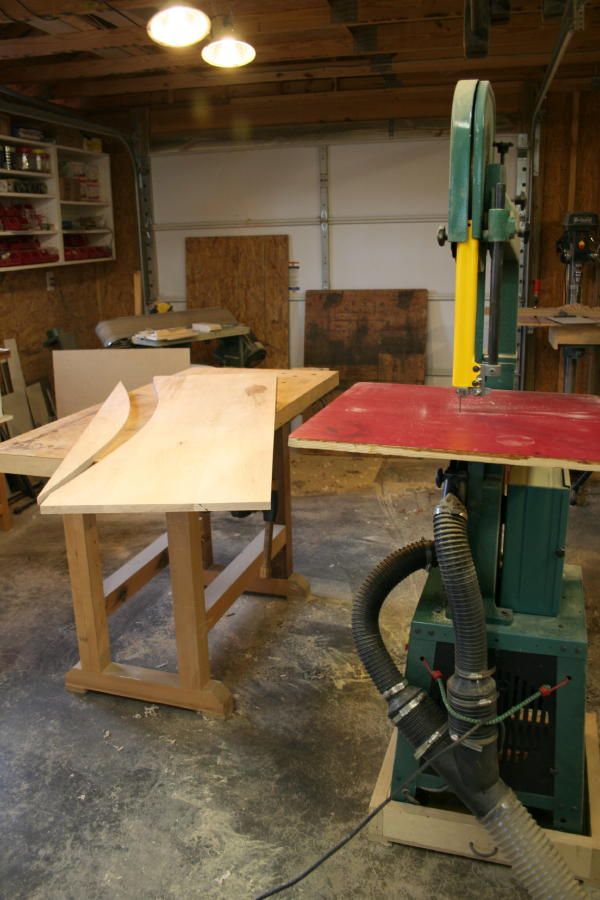
A Big panel needs a big table
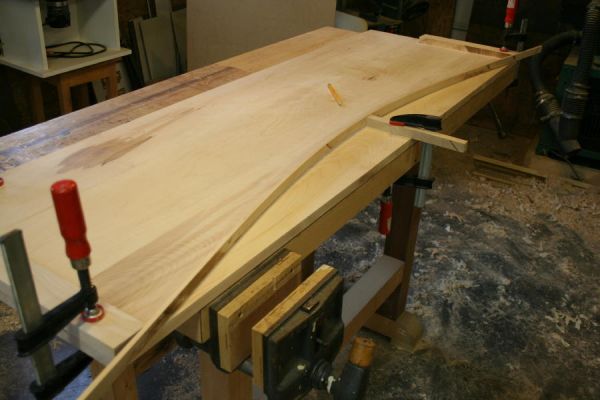
With an auxilliary table attached to my bandsaw for more support, I cut the curve from the main panel. I then mount the panel to the workbench, and clean up the marks from the bandsawing operation with corse sandpaper.
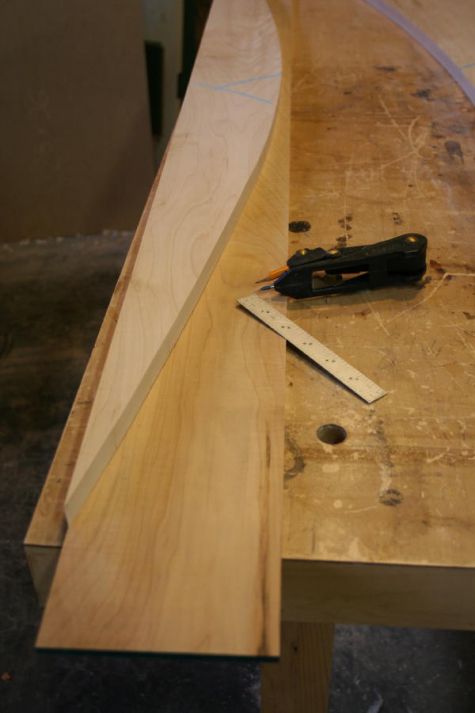
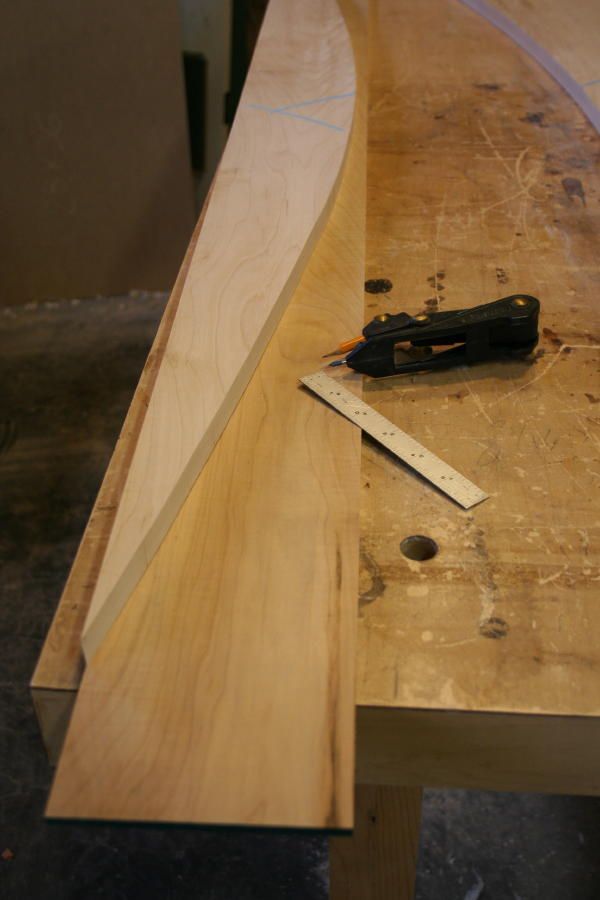
Offcut becomes pattern
My panel will need to follow the curve of the offcut, so I use it as a pattern. I set a divider to 1/2″, and follow the curve. The reason for the 1/2″ “extension” is because the sub panel will sit in a 1/2″ deep groove in the main panel. This secondary panel is cut out at the band saw as well.
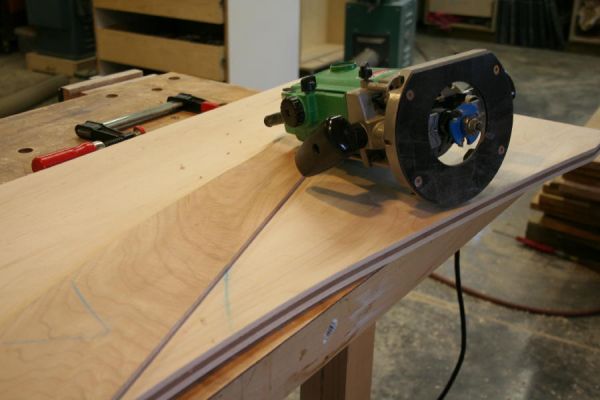
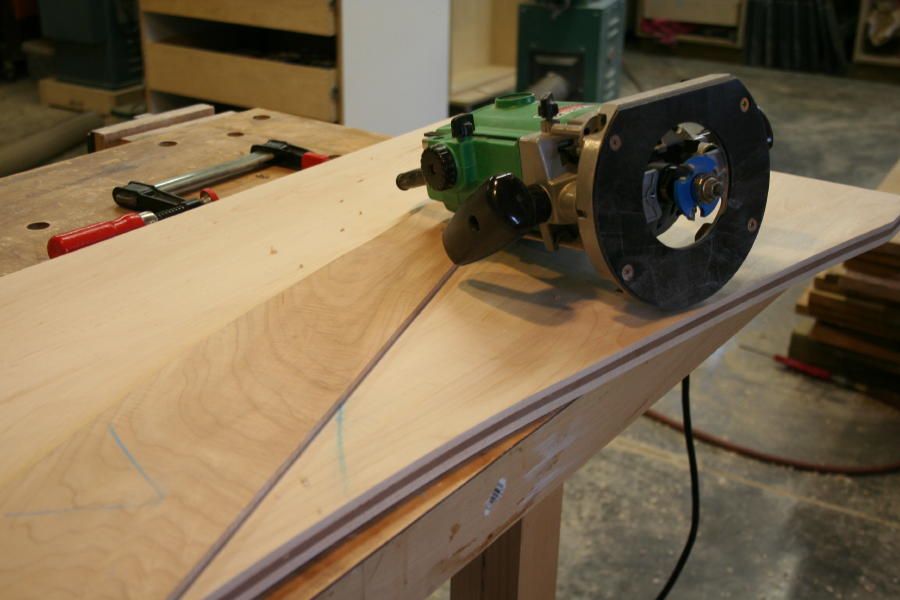
Get in the Groove
A 1/4″ x 1/2″ slot cutter makes quick work of routing out the secondary groove. Because the bit has such a large diameter, I put it in a variable speed router, and cut at my slowest rotational speed.
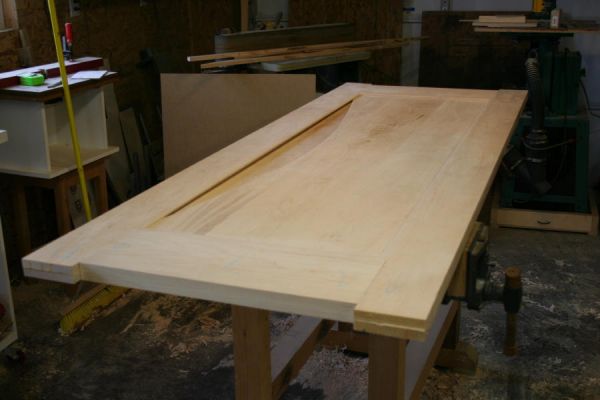
Hiding in the Shadows
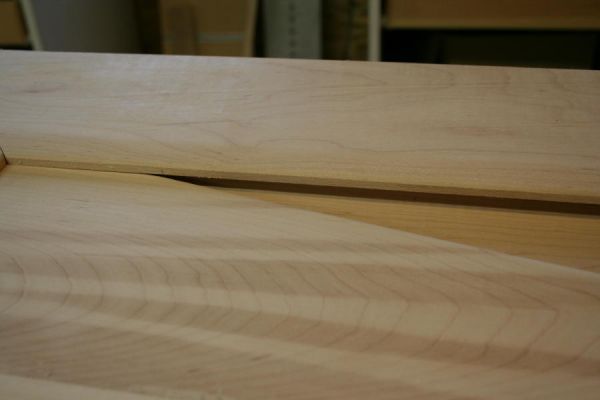
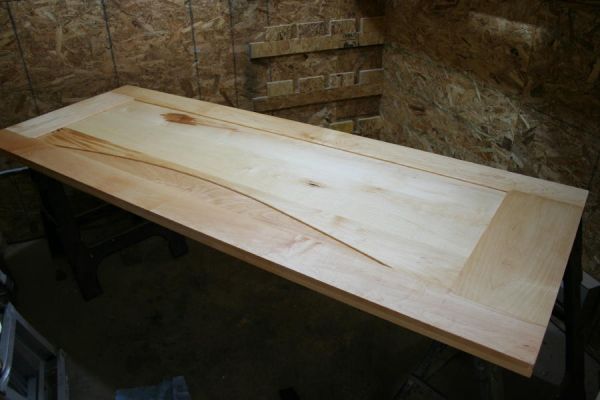
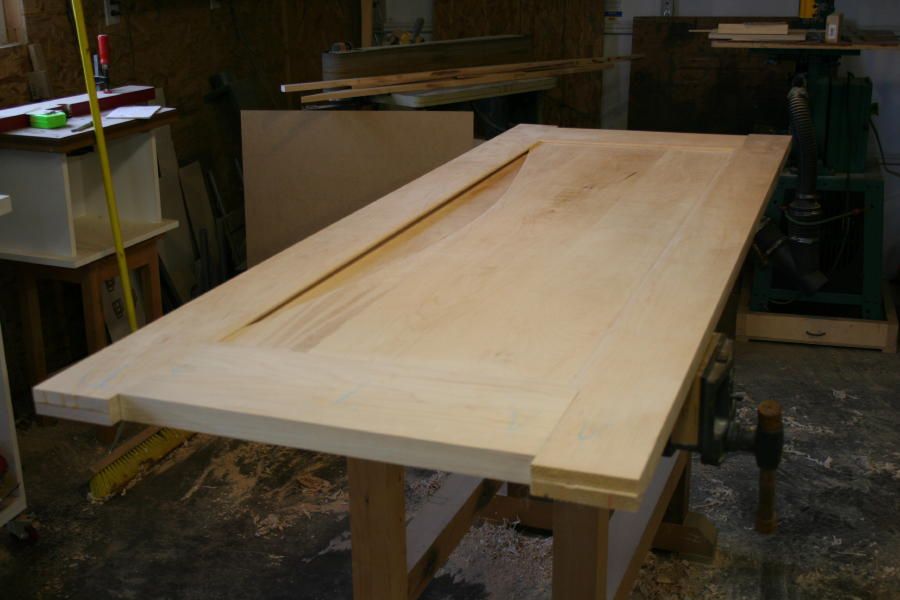
A quick dryfit shows we’re right on track – although there’s still some work to do before glue up. As evidenced by the heavy shadow at the left side of the door, we’ve got a 3/4″ groove, trying to house a 1/4″ panel.
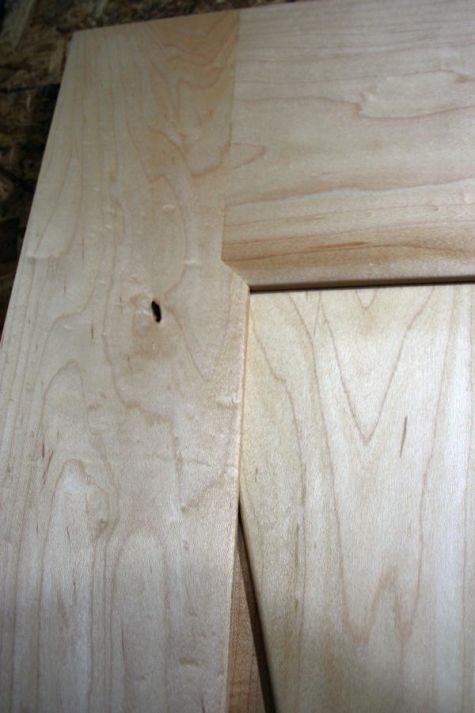
Wide groove, thin panel
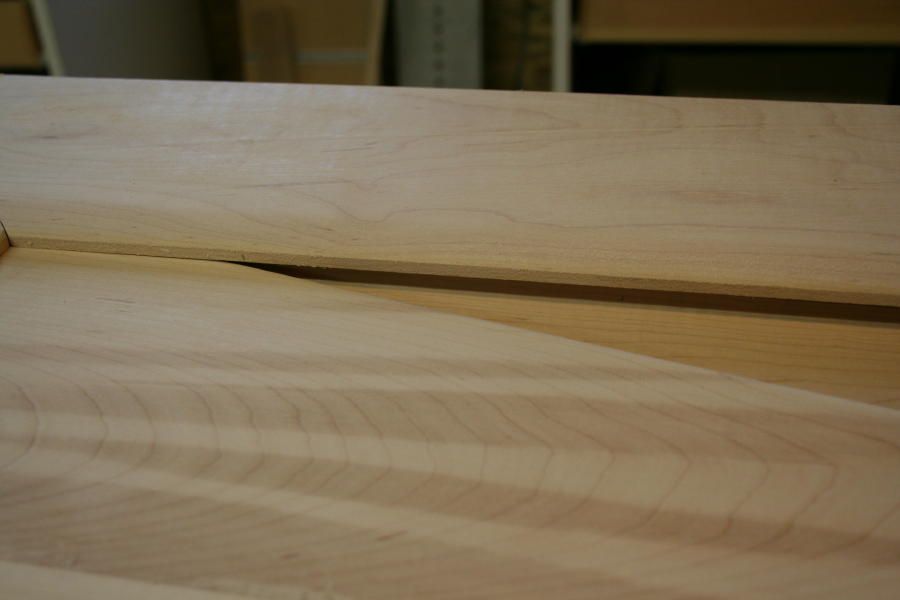
A closer look at the gap at the frame and sub panel. Note the small tick mark I placed on the frame stile where the main panel meets the stile. I’ll use these ticks to locate my filler strips.
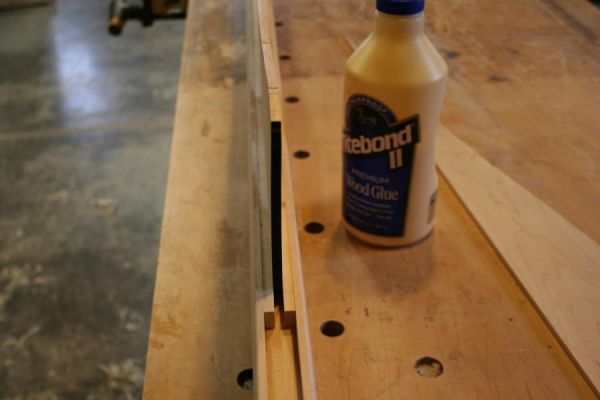
Filling the gap
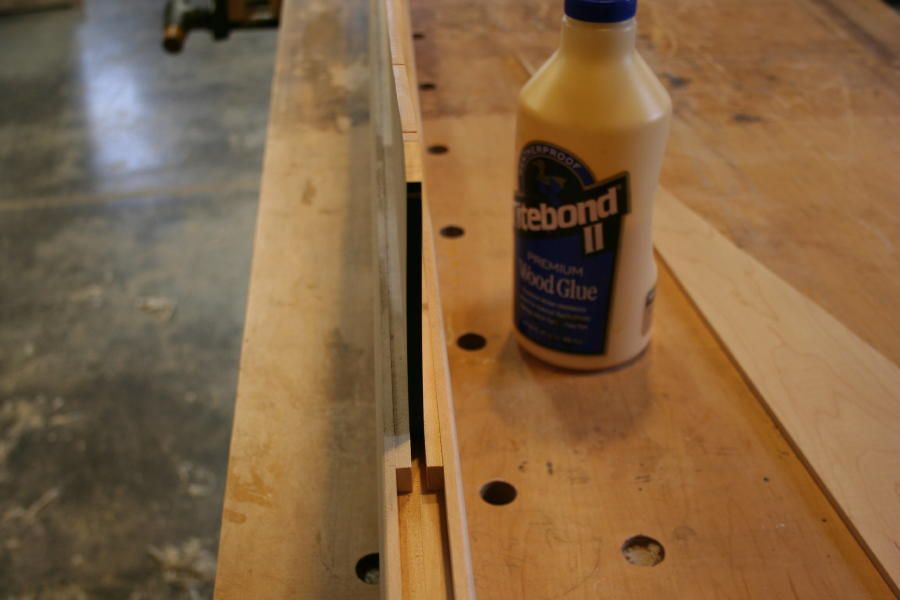
A couple of spacers glued in to place fill the gap between the frame and the sub panel. When the glue dries, I’ll ease the ends of the fillers with a couple riffler files. A little sanding will hide the transition between the frame and the fillers.
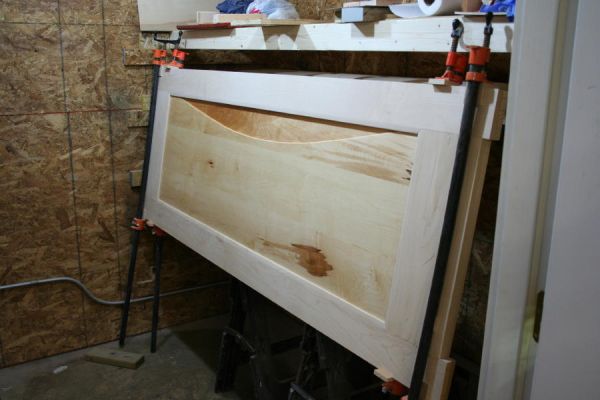
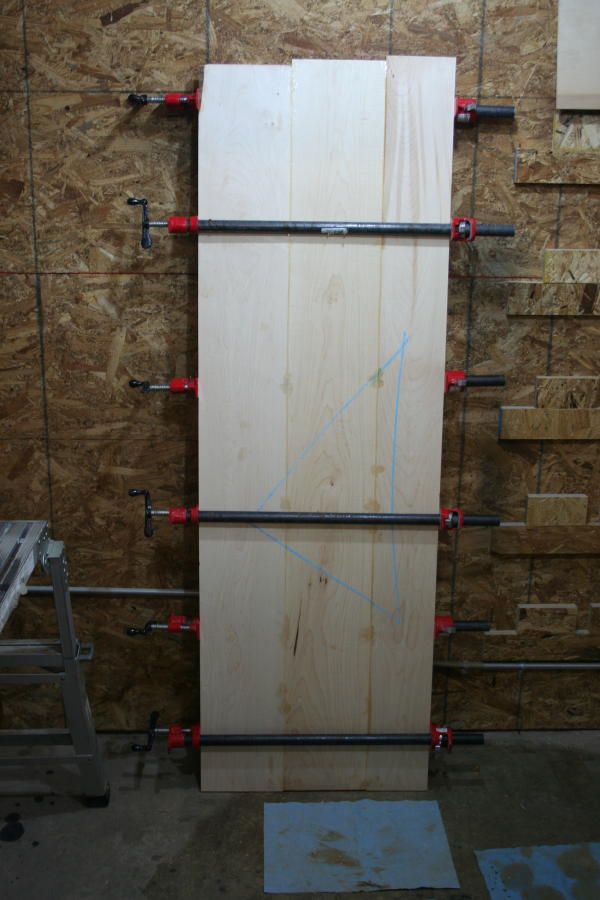
All clamped up (and no place to go)
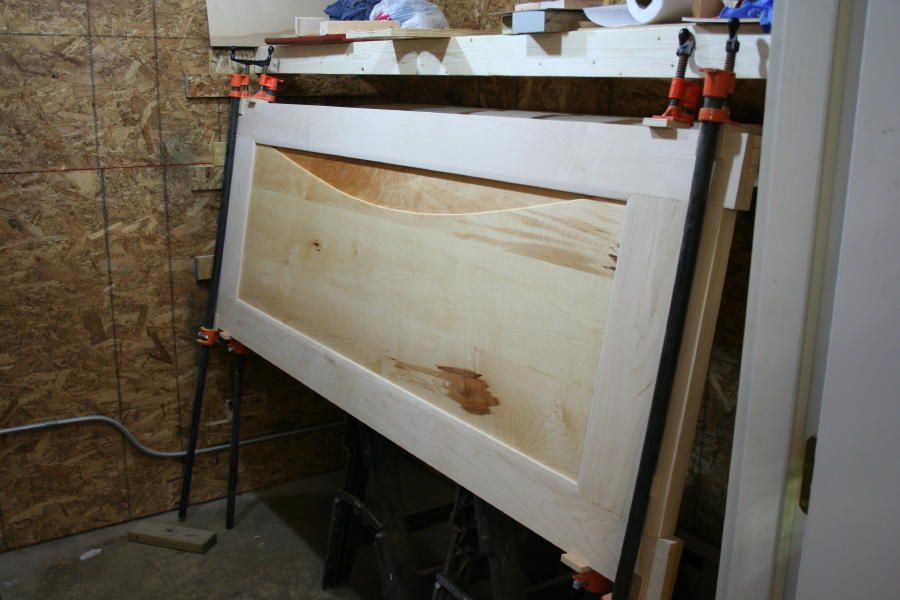
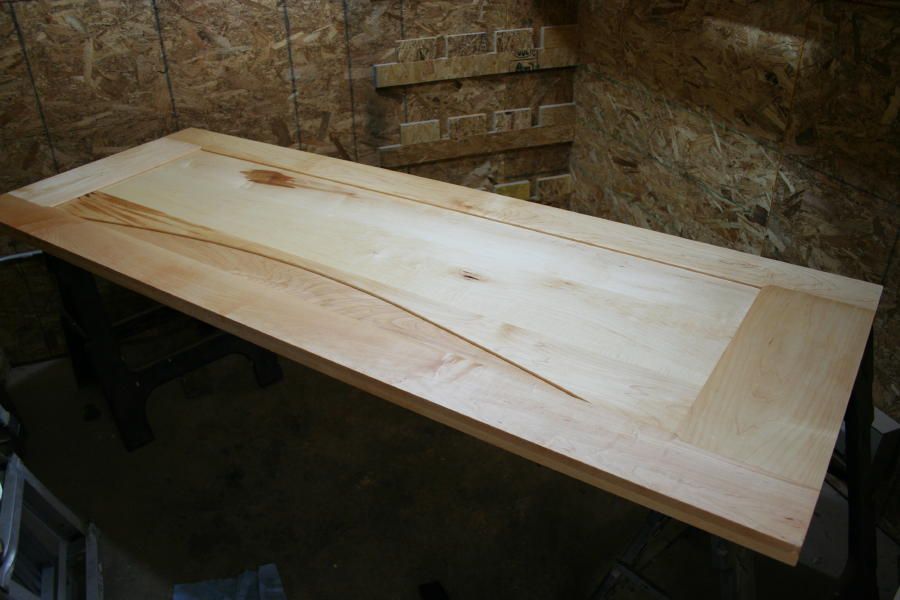
Final glue up is pretty straight forward, other than the fact that you’re dealing with big pieces. You may want a helper – A 30×80 slab of rock maple gets heavy!
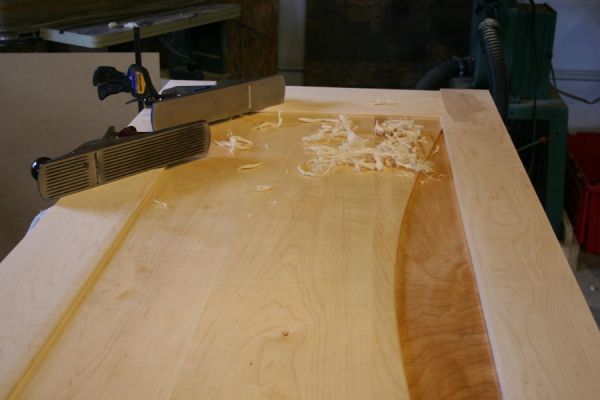
Smoothing out some details
To fine tune the rail/stile joints, bring them into the same plane (no pun intended), I grab my #5 planes. One is set for stock removal, the other is tuned as a smoother.
All Finish
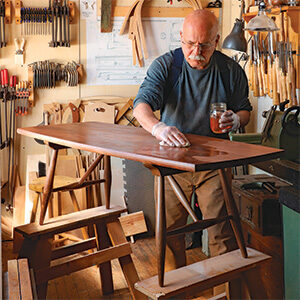
With the door assemble, and the ends trimmed, it’s time to apply finish. I mix up my own wipe on polyurethane, using 3 parts poly, 2 parts mineral spirits, and one part linseed oil. I flood the finish on, and wipe it off with a rag. After the first coat dries, I’ll flood on a second coat, and wet sand it with 400 grit to create a slurry. I’ll wipe off the excess, let it dry, and repeat the process 2 more times. The result is a silky durable finish.
Upon closer inspection
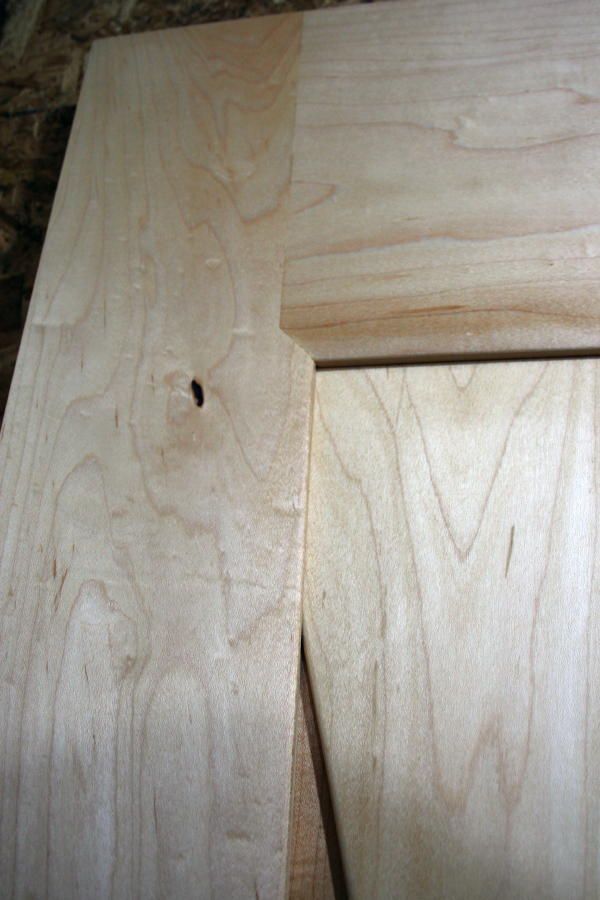
With the door finished, it’s ready to be hung in the jamb – That’s a job for the trim carpenter though. Our work is complete. We have tight fitting joints, a smooth finish, and a beautiful hand made contemporary door that will outlast you and me. I hope you’ve enjoyed!
Cheers,
Gregory Paolini
Handmade furniture, cabinetry, and Woodworking Instruction







Comments
Thanks for part two. I like the thinner panel inset into the field. Nice work.
Thank you for this great article. What would you do different if this is an exterior door, besides making your stiles and rails at least 1-3/4" thick?
Hey FesGaucho,
For a good how-to article on building an exterior door see Fine Homebuilding issue No. 168, page 86.
Log in or create an account to post a comment.
Sign up Log in