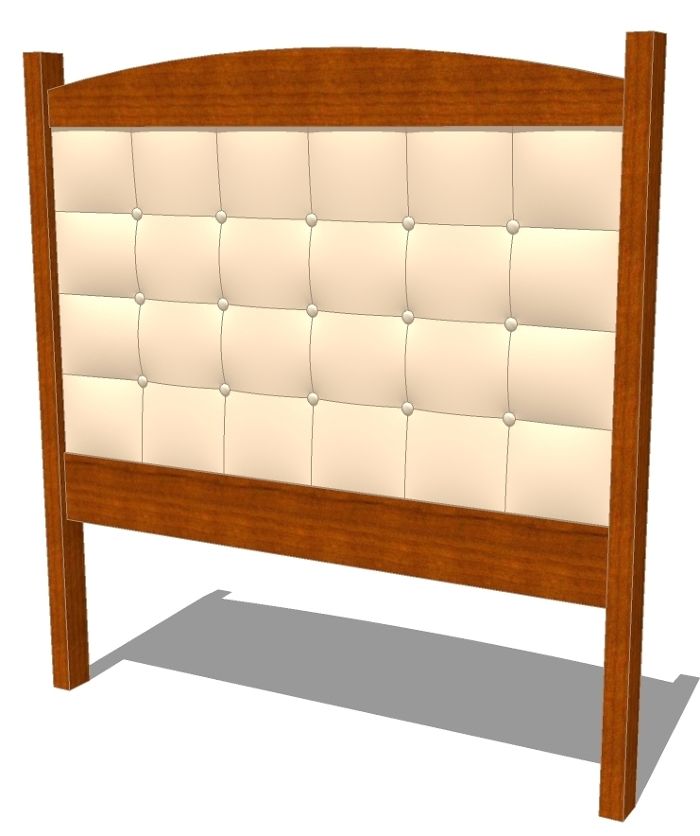
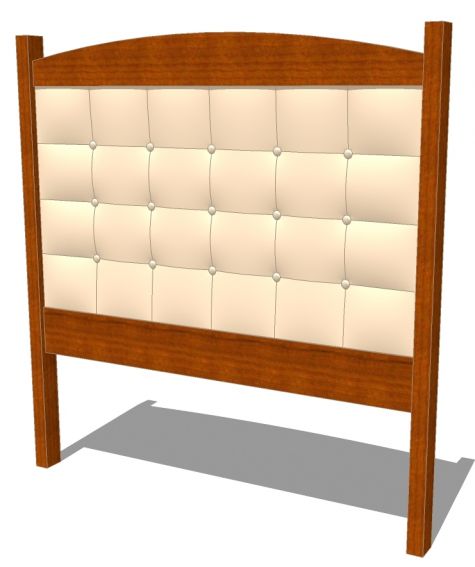
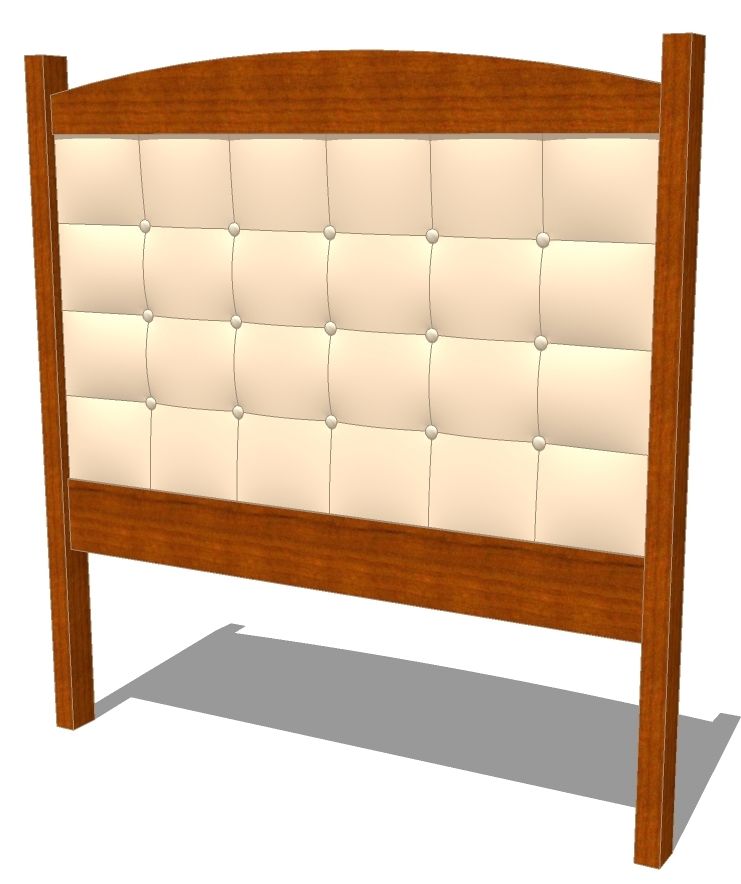
The other day I was asked about how to draw an upholstered surface with buttons. The application was for a headboard but this could be used for a bench seat or any number of other upholstered pieces. While there are probably several ways of going about this, I opted to draw using a plugin called Soap Skin Bubble. I haven’t found a lot of uses for this plugin in my drawing work but once in awhile it comes in handy. It is an interesting plugin and if nothing else, it can be kind of fun to play with.
As with most complex projects, I look to see how I can break it down into smaller sections that can be made into components. Then I copy and flip the components as needed. This helps to keep file size down and makes editing easier. In this model, there are a lof of edges and faces created. If your computer doesn’t work so well with larger models, this one is likely to cause a slow down.
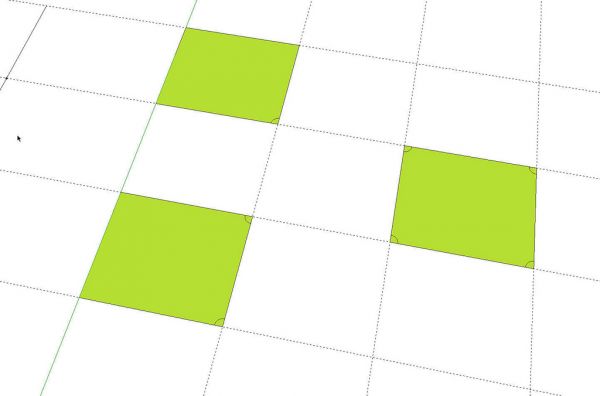
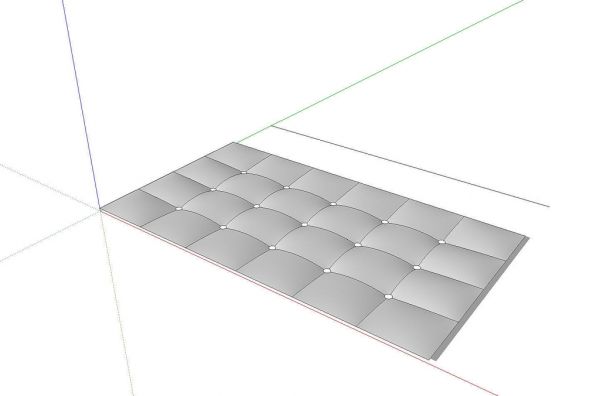
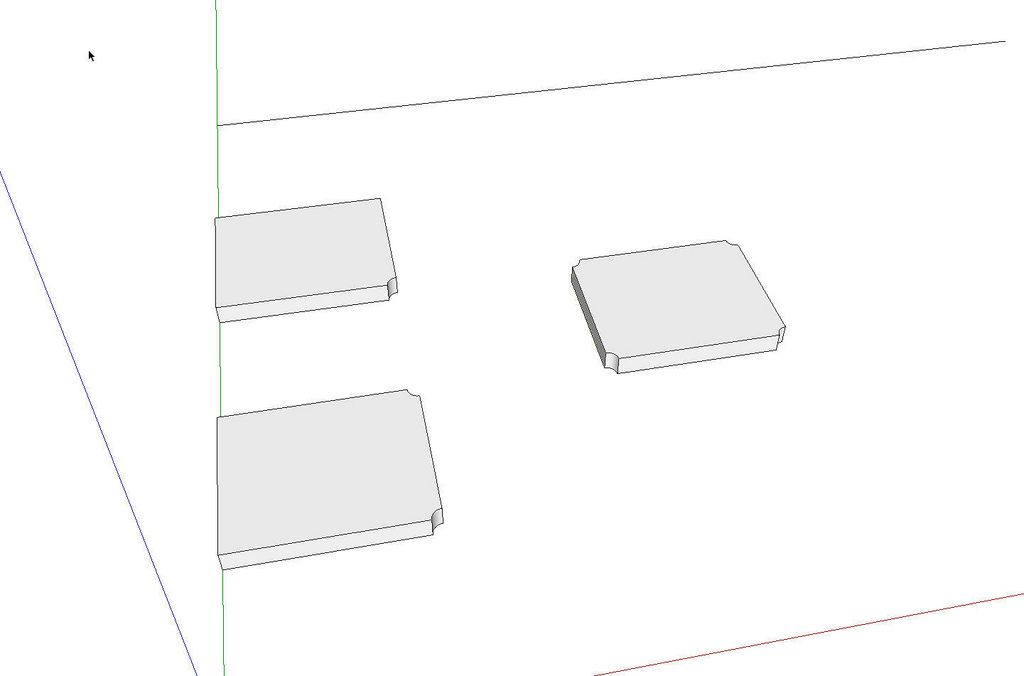
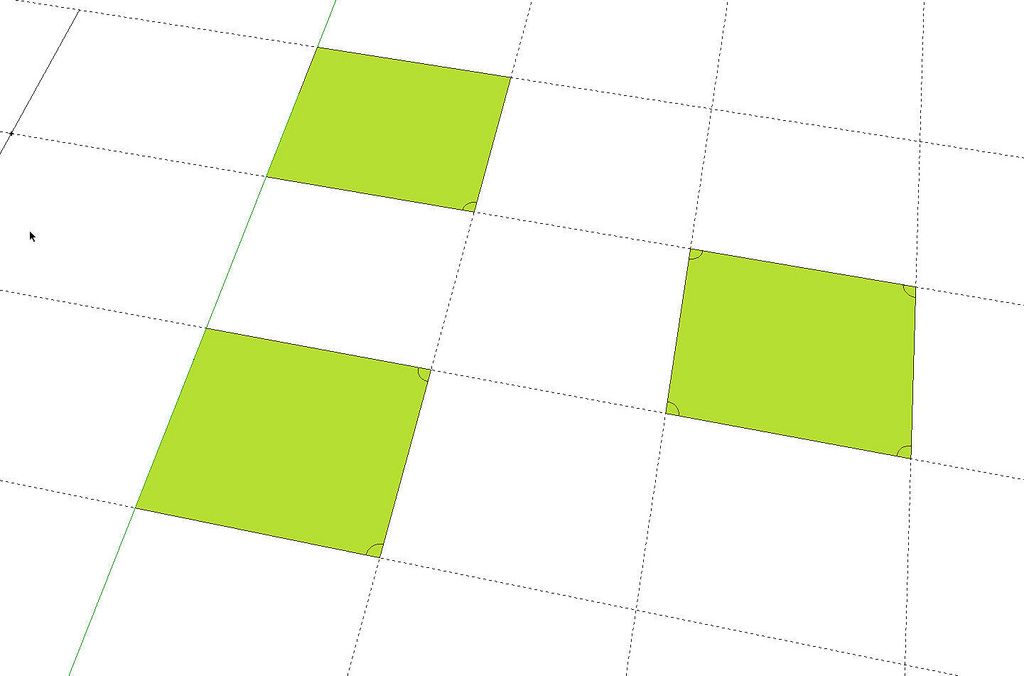
To start with, I laid out some guidelines. To help me visualize what I was doing, I went ahead and laid out the entire size of the upholstered space. I divided it into sections so I could get an idea of how it would look as far as the spacing goes. Then I drew in faces to the size of the individual sections or pillows. I drew in a face for a corner, side, interior and a top. The top face isn’t shown. I added in the arcs at the corners where the buttons will be. The green color is my back face color.
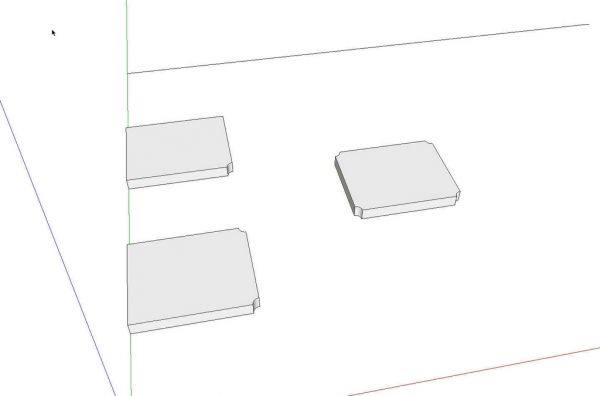
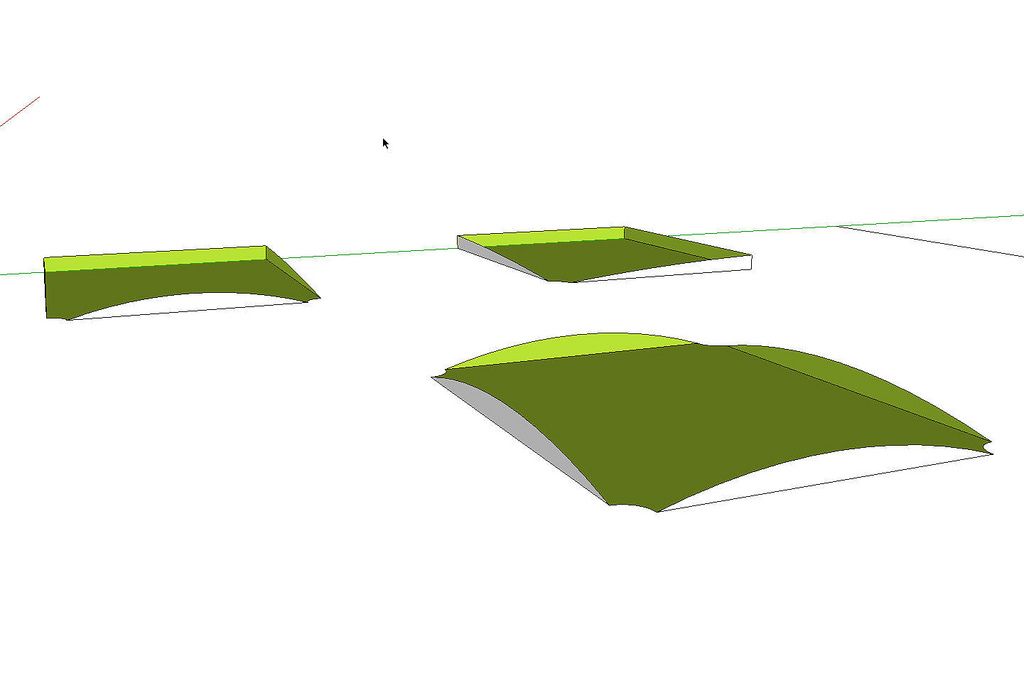
I deleted the unneeded stuff and then used Push/Pull to pull the faces up to the thickness of the pillows. If you want deeper cushioning, this is where you’d make that adjustment. You could skip this step and just use inferencing for the next part but I like to be able to see the shapes as they develop.
Next I drew arcs on the edges of each pillow for the curves I wanted. After deleting the upper faces and edges, you can sort of see the shapes of the pillows developing.
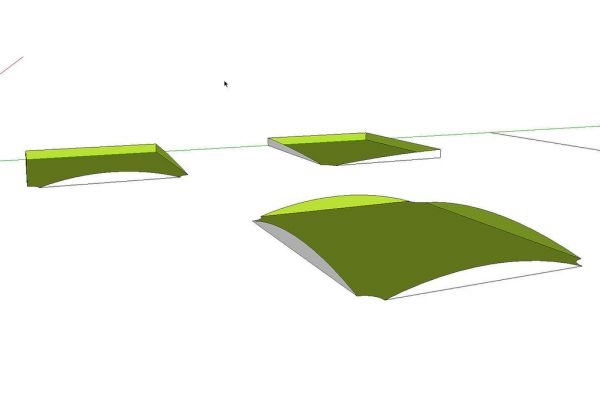
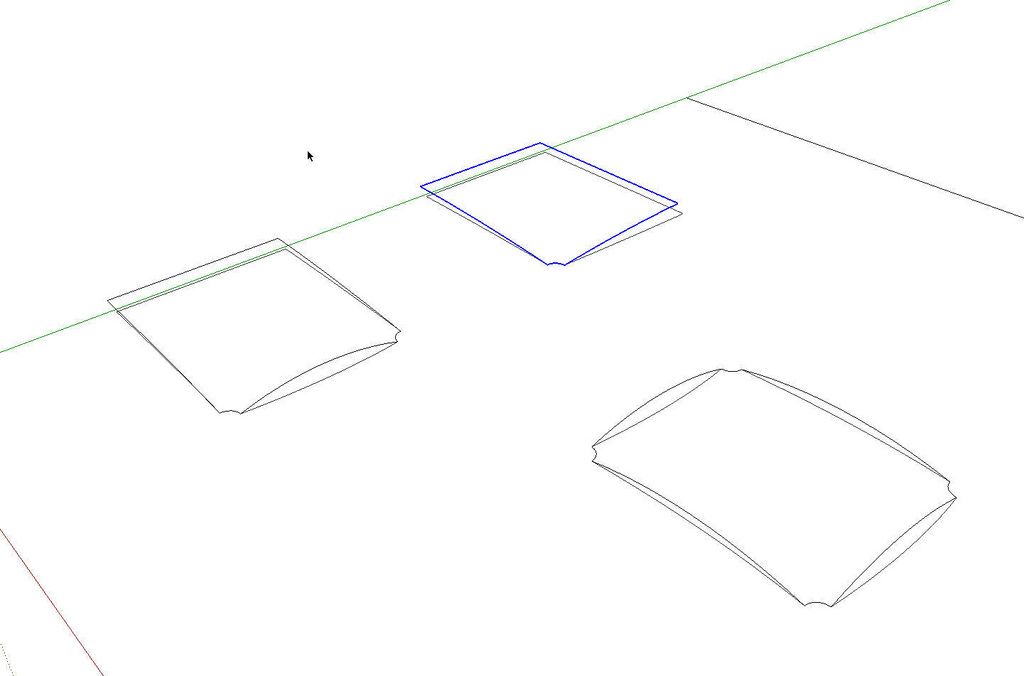
After deleting the rest of the unneeded geometry we’re left with just the edges representing the shape of the upholstered surface. Here I’ve turned on shadows from edges to make it easier to see that the edges aren’t flat.
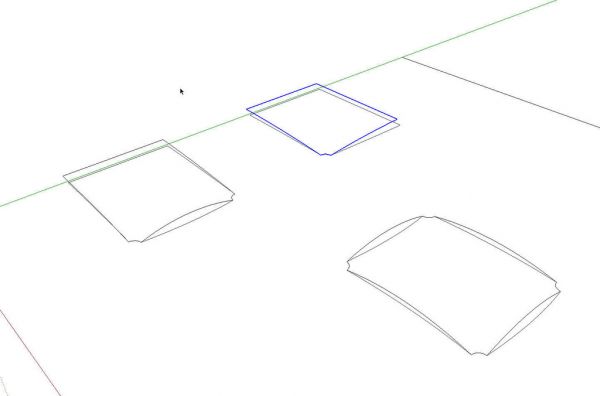
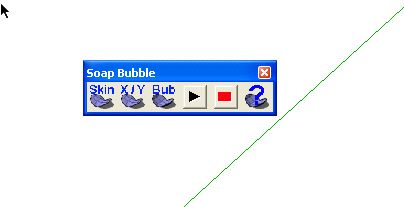
The next step involves using the Soap Skin Bubble plugin. I selected all of the edges of one of the pillows and then started the plugin from its toolbar. I began by clicking on Skin.

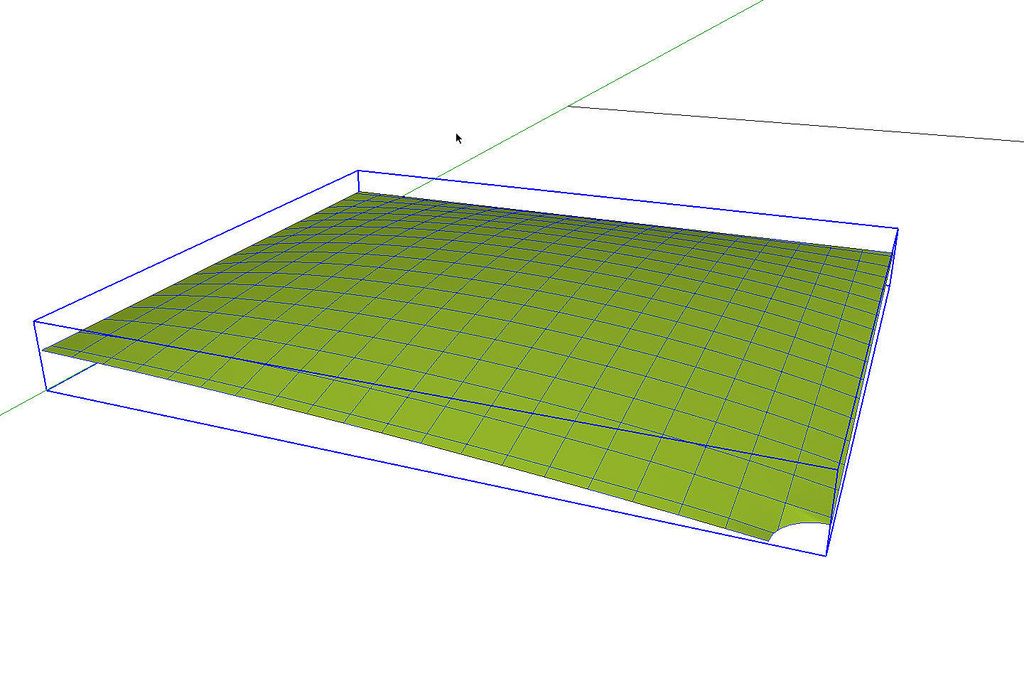
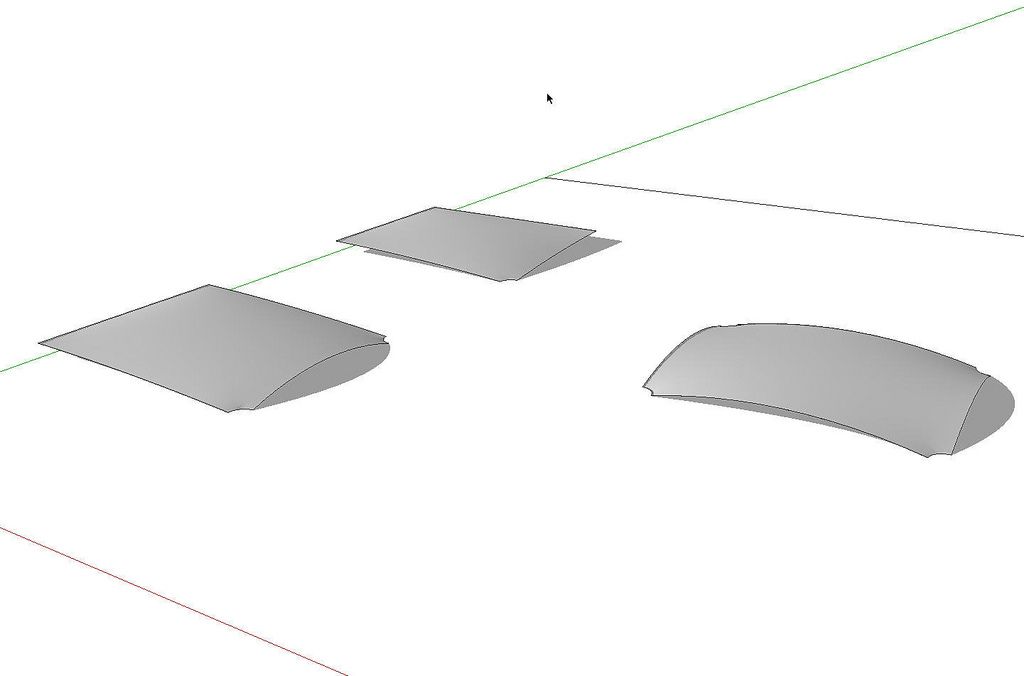
A flat grid is drawn inside the preimeter of the selected edges. By default it is a 10×10 grid. To create a smoother surface, i typed 20 and hit enter. This divided the area into a 20 x 20 grid. Then I hit Enter again and let the plugin run. After the surface was created, I tweaked it a bit using the “Bub” button. I found that a value of -0.3 looked alright for this. You can try different values to see what you like. This is the result for the corner portion.
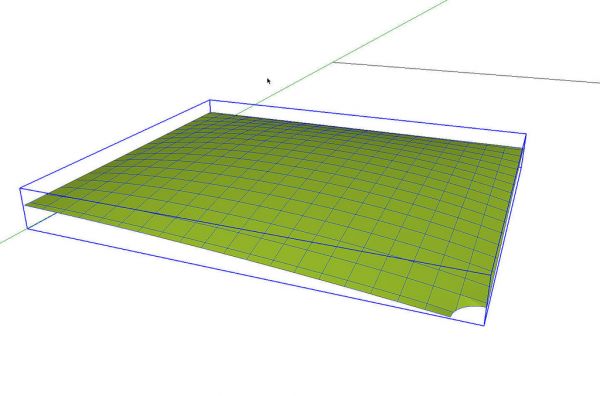
I repeated the process using the same numbers for each of the other sections. The plugin creates a group when it finishes. I made these into components. I opened them for editing one at a time, reversed the faces and also softened the edges to hide the grids. The original edges that were drawn representing the shapes of the pillows are outside the components and can be deleted.
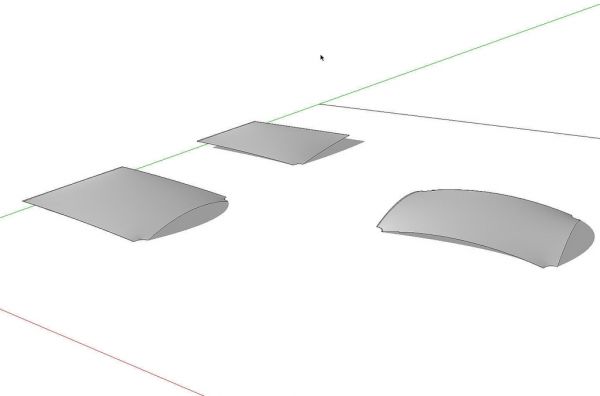
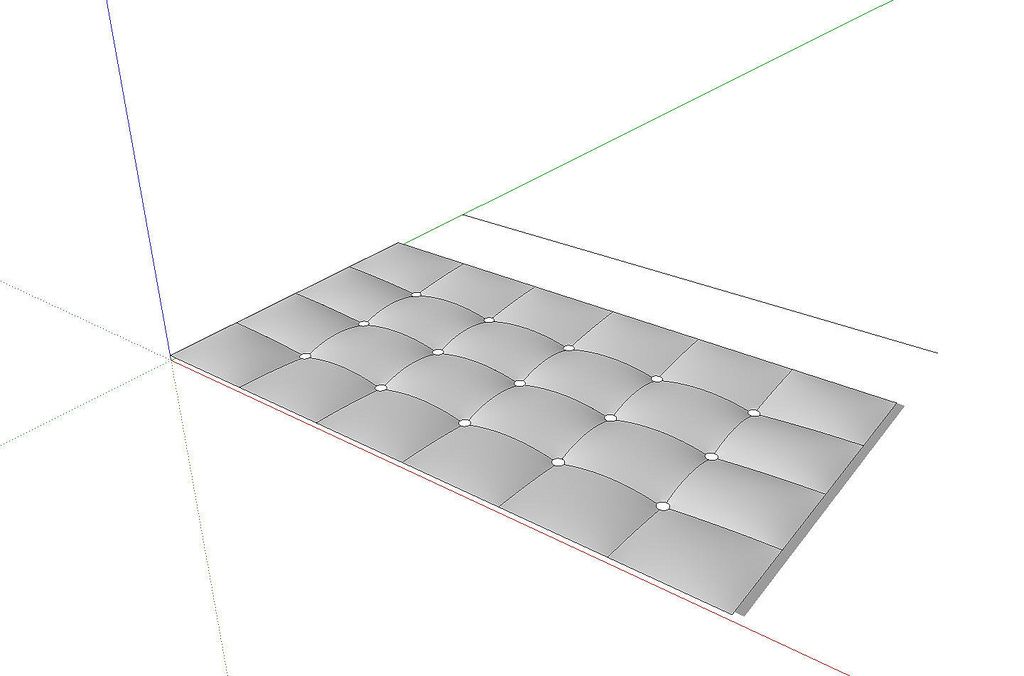
After that, I simply copied the sections and flipped them as needed to fill the area of the upholstered panel.
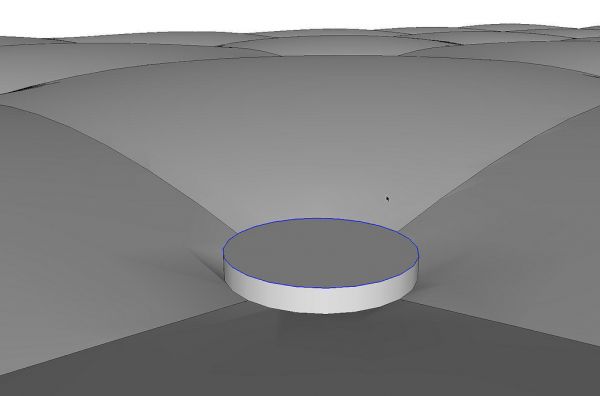
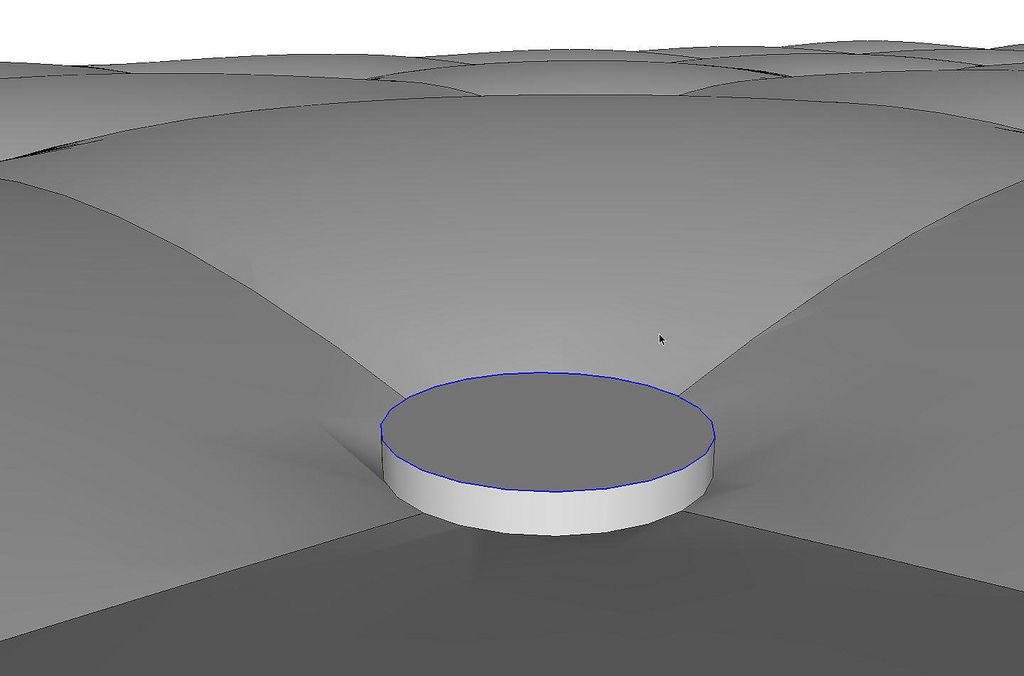
I drew in a simple button as a short cylinder and to save on geometry, I just softened the upper edge. As small as the buttons are, softening that edge will make the buttons look rounded over. I copied the button component to each hole in the upholstery.
I also drew a rectangular face the size of the upholstered panel and used Push/Pull to add a bit of thickness to the panel. I deleted the face of that box since it would intersect with the pillows. I made a component of the box geometry and then selected all of the components and made a nested component to make it easier to handle in the model.
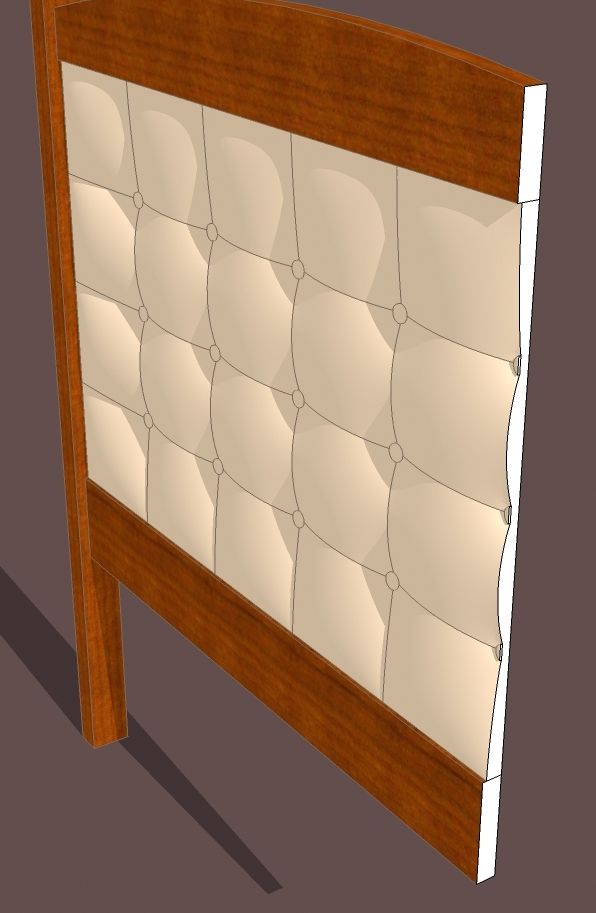
Here’s a cross section of the results of all this.
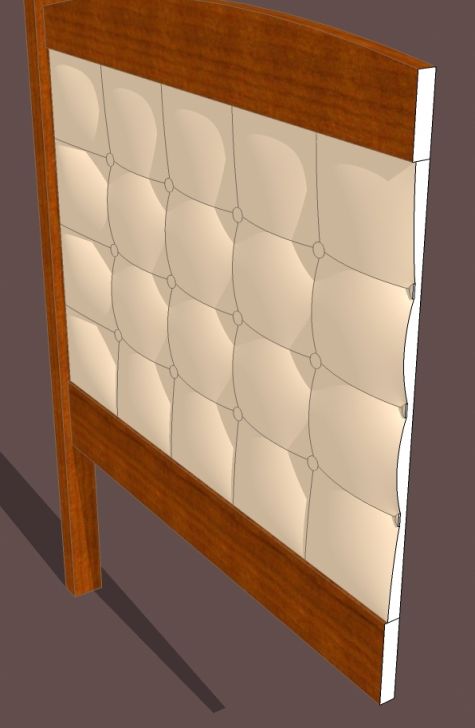
When I got finished drawing this model and adding the wood grain material to the posts and rails, the file saved out and about 1.2 Mb. My completed models rarely exceed 1 Mb so I might go on to the next step to help reduce the file size here.
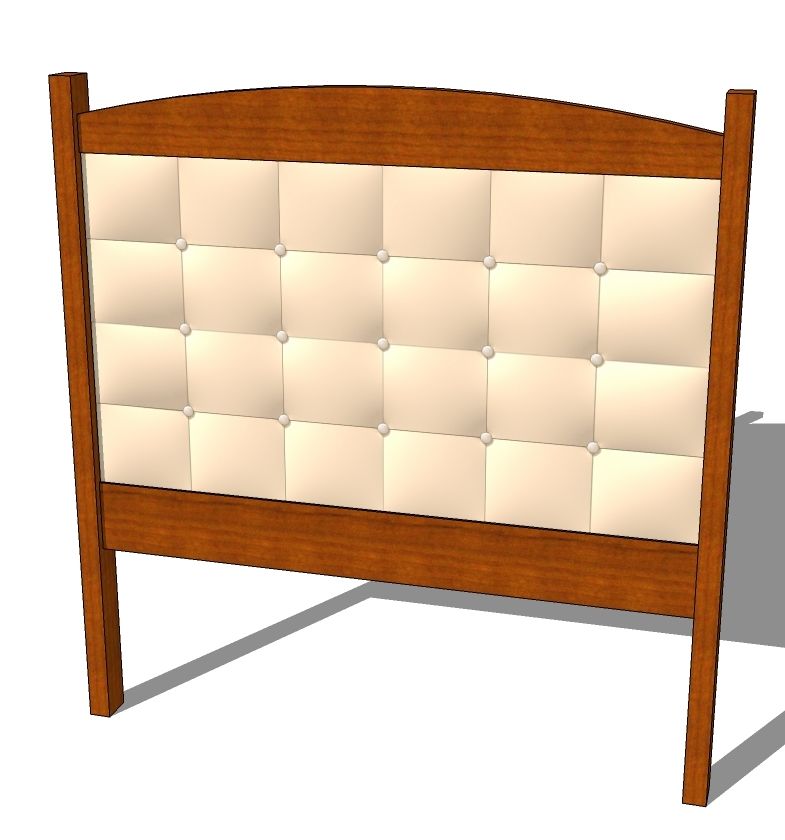
I hid the legs and rails and then set up for a front view with the camera set to parallel projection. Shadows were also turned on. I exported a JPG of the view and in my image editor, I cropped the image to eliminate the background.
Back in SketchUp, I drew a rectangle to the size of the panel and imported the JPG image as a texture. It’s not quite as nice as the 3D version but it’s close And the resulting model is only about 300 Kb.
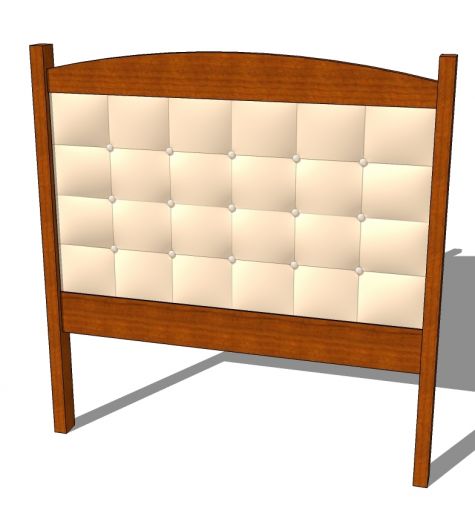
Give it a shot. It could add another dimension to your SketchUp models.
Addendum: It has been brought to my attention that the instructions for installing the plugin aren’t quite clear. The ZIP file for the plugin should be extracted to the Plugins folder and not Tools.



Comments
Hi Dave,
Your link seems to point to a file that is not valid, at least from WinZIP's p.o.v. I have sent an e-mail to the author about this, so hopefully it will be fixed soon.
Hi Nick,
That's odd. Several people reported to me that they had managed just fine on Wednesday and I did it a few minutes ago with no problem. Maybe it is fixed.
Dave
Hi Dave,
I tried several times to download it, and used several ZIP programs to try to open it all to no avail. However Josef (the writer of the program) has e-mailed me a ZIP file which works fine. So many thanks to Josef, excellent service.
Nick, I'm glad you got it worked out. Good on Josef, indeed.
Still I wonder why you had difficulty with it.
Dave
Excelent tutoreal Dave. It's so easy when you know how.
I'd just like to say, "Thank you very much".
ATB Gary.
Log in or create an account to post a comment.
Sign up Log in