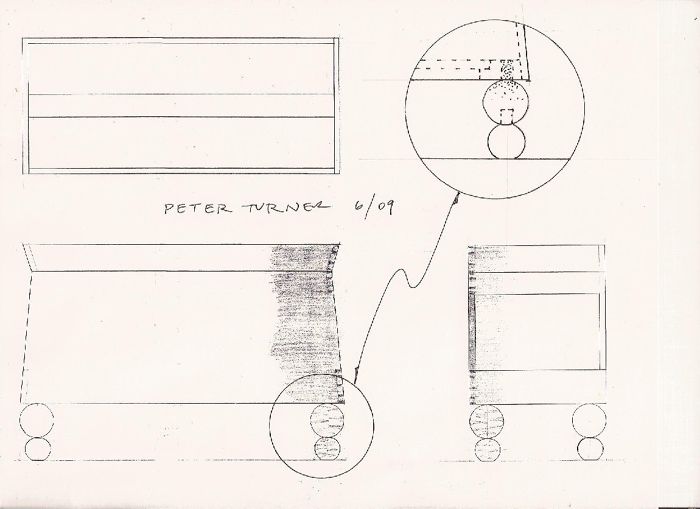
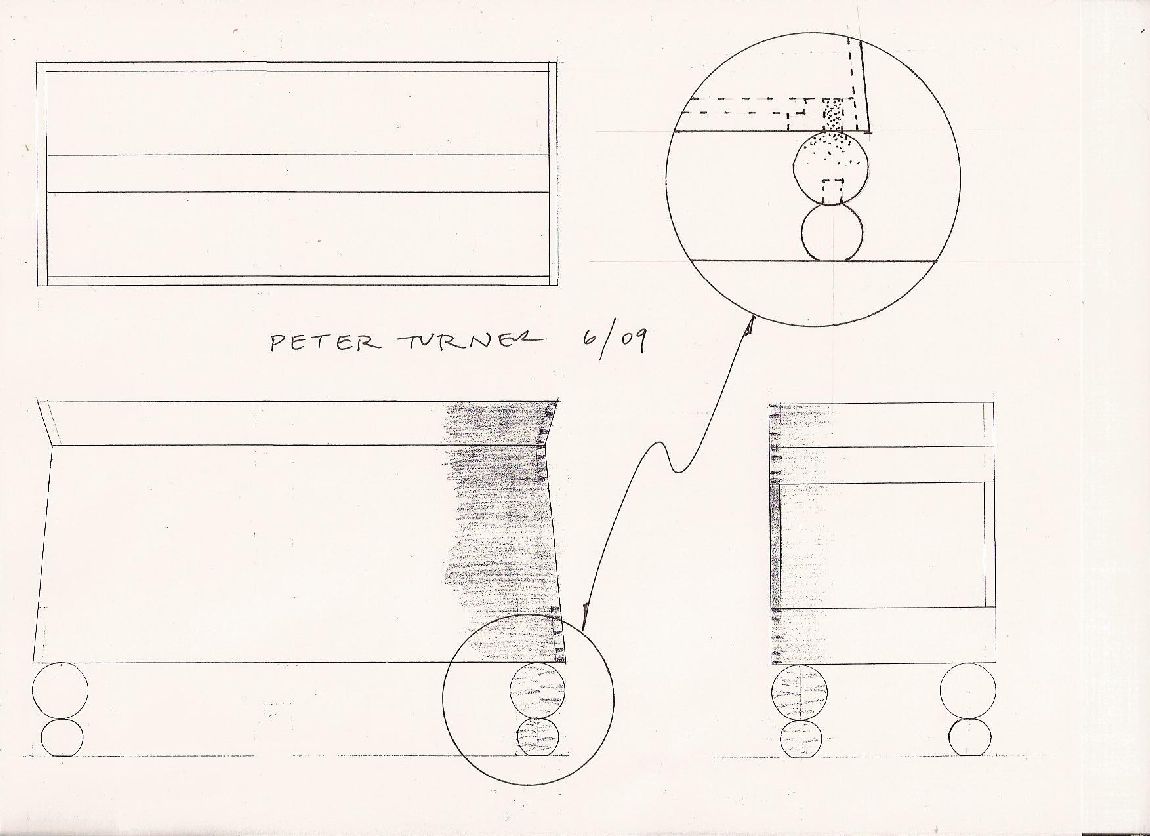
This is a drawing of a blanket chest that I recently finished. Carol Bass designed it for clients of ours who have the live edge trestle table that can be seen in my portfolio on my website. This was an early drawing and the feet ended up being turned from one blank. The box will be stained a blue-green and the curly maple feet will remain their natural color.
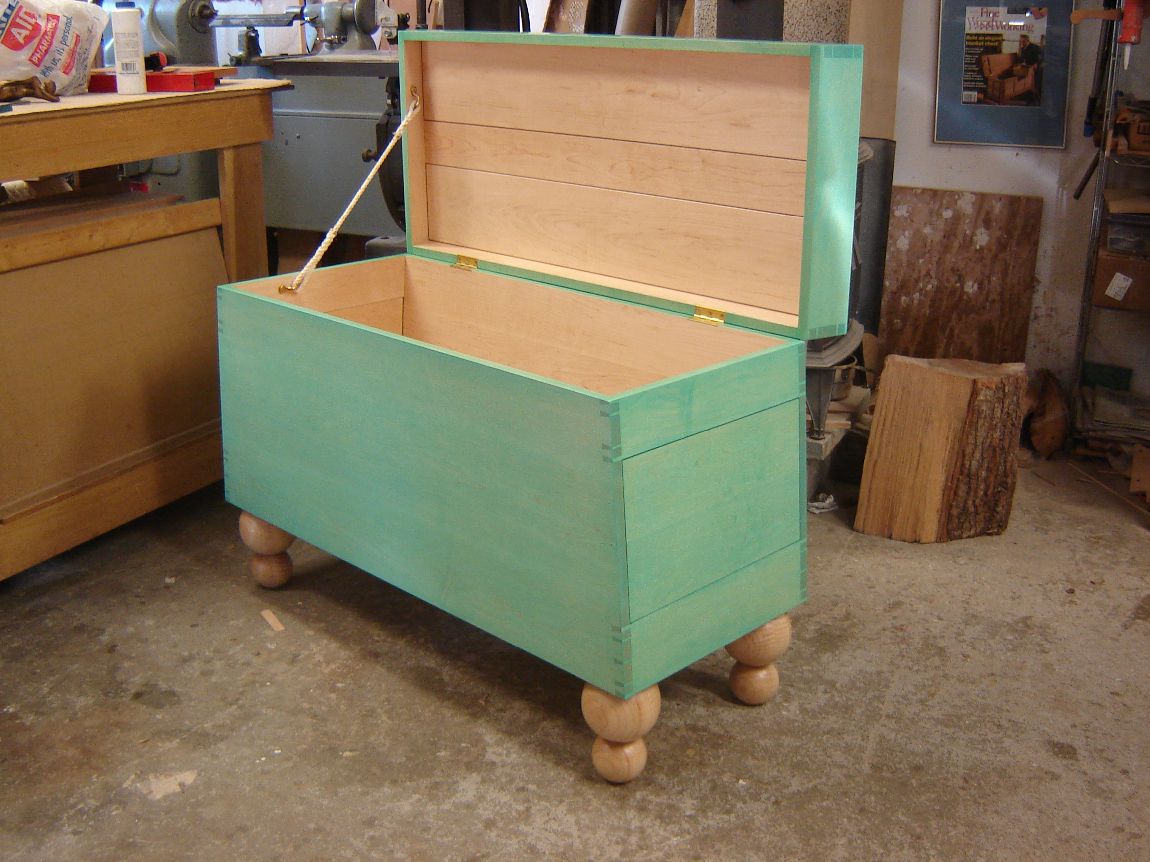
Here’s an overview of a blanket chest project that recently passed through my shop.
This is a drawing of the blanket chest.
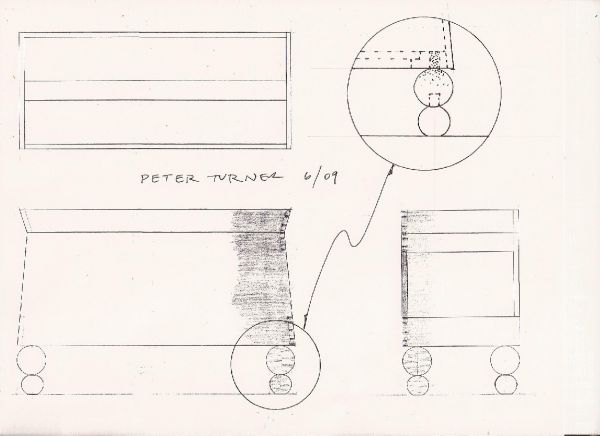
Carol Bass designed it for clients of ours who have the live edge trestle table that can be seen in my portfolio on my website. This was an early drawing and the feet ended up being turned from one blank. The box will be stained a blue-green and the curly maple feet will remain their natural color.
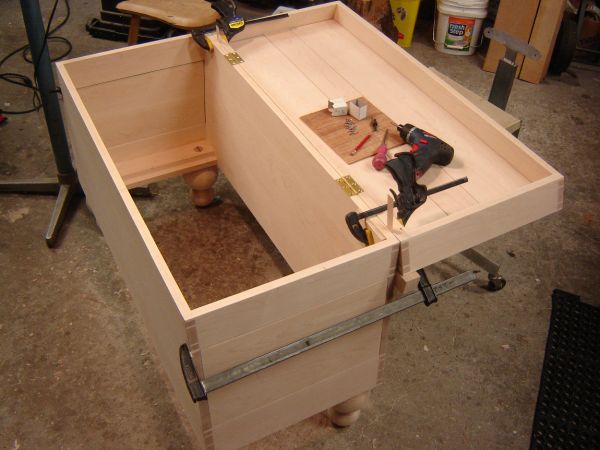
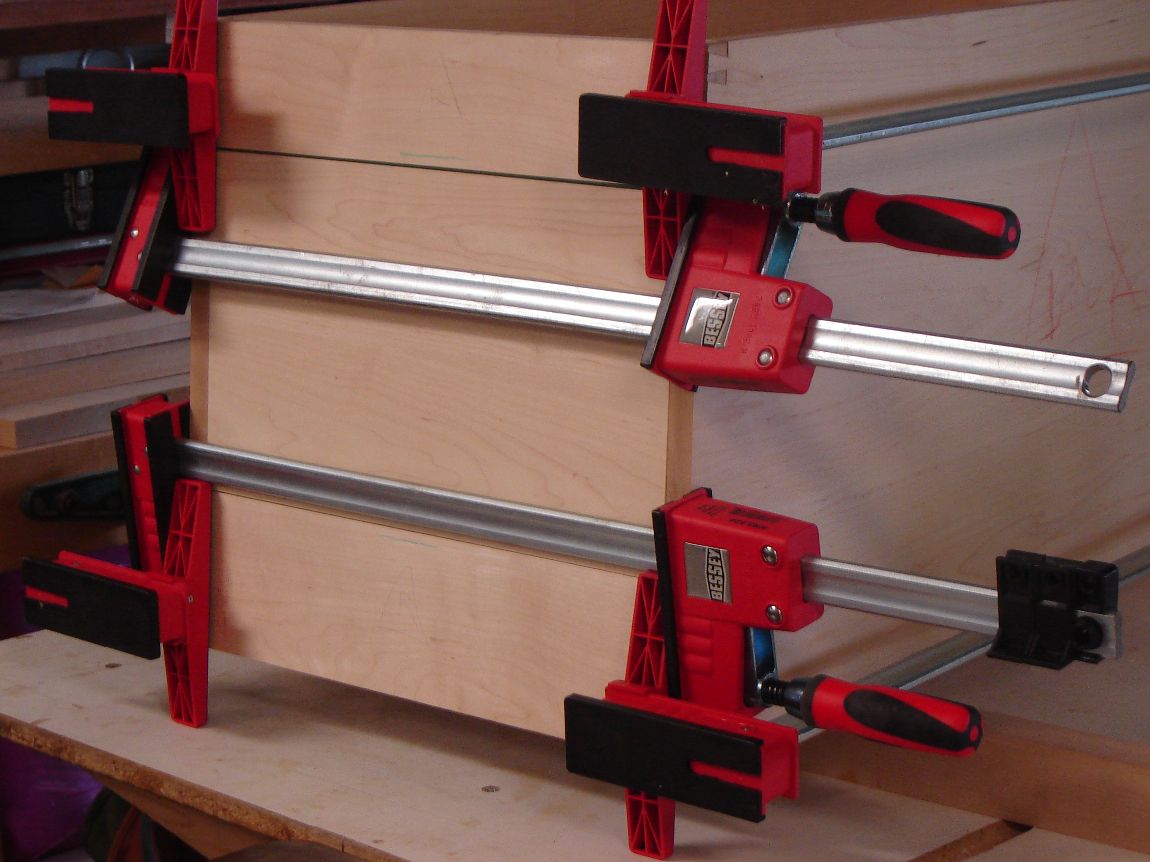
I recently discovered that Bessey makes adjustable clamping pads that slip onto their K-Body Revo clamps. They pulled this chest together without any slippage.
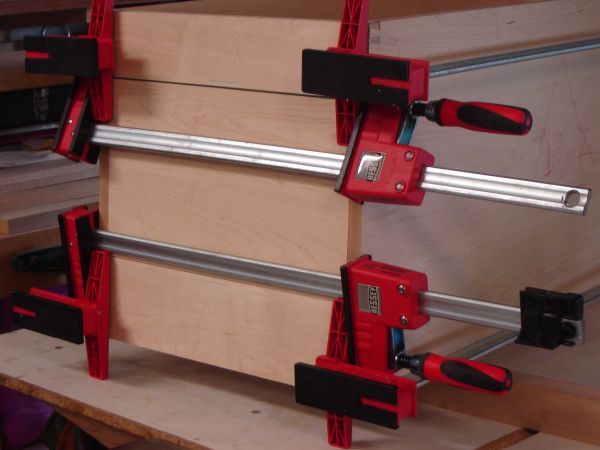
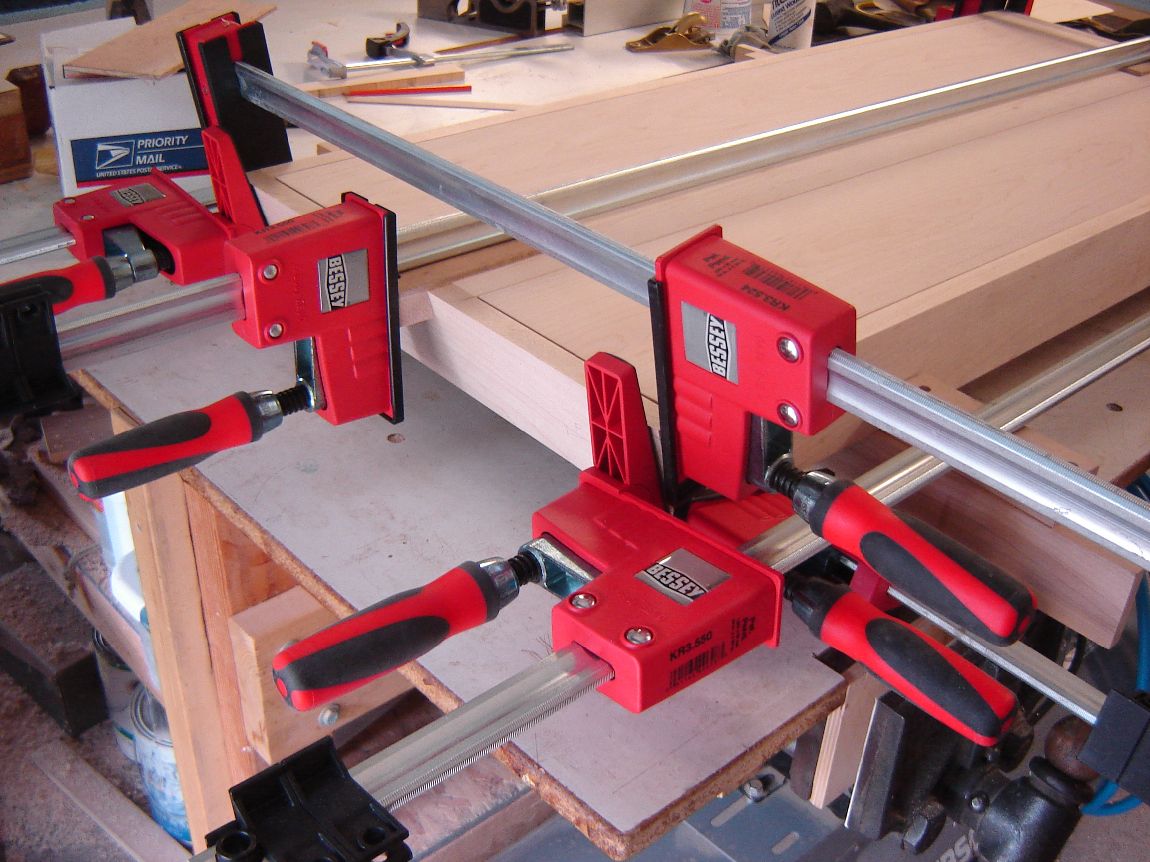
They tilt from 0-15 degrees and saved me from having to make a couple sets of angled cauls.
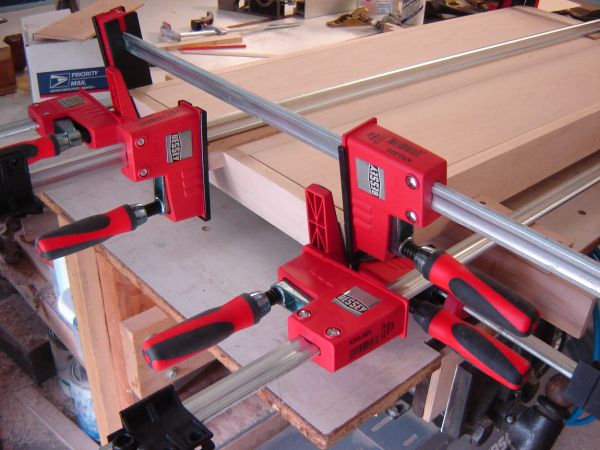
I had to make 2 small cauls to focus pressure at the ends of the lid divider.
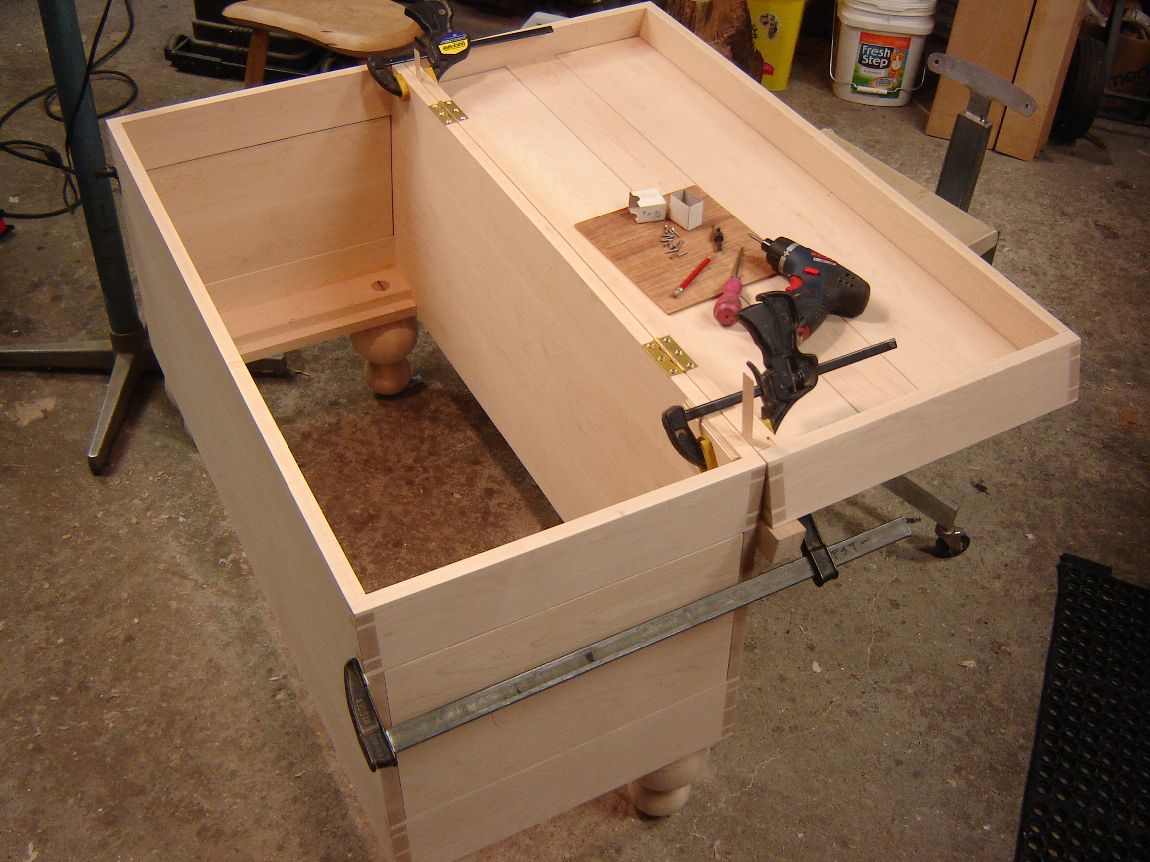
With everything glued and cleaned-up, I can rout for the hinges and attach the lid. This shot shows the wedged, through tenon for one foot. The frame and panel bottom goes in later.
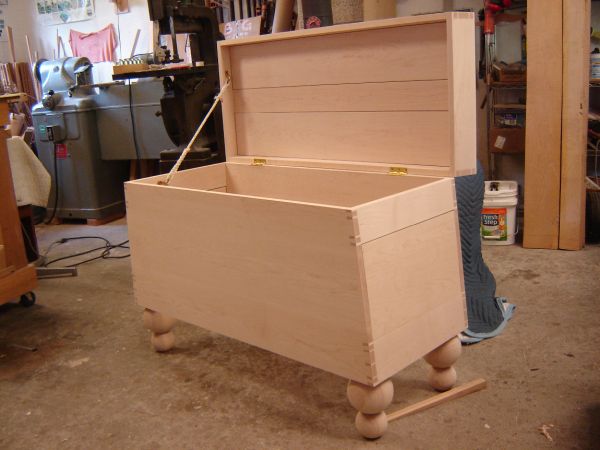
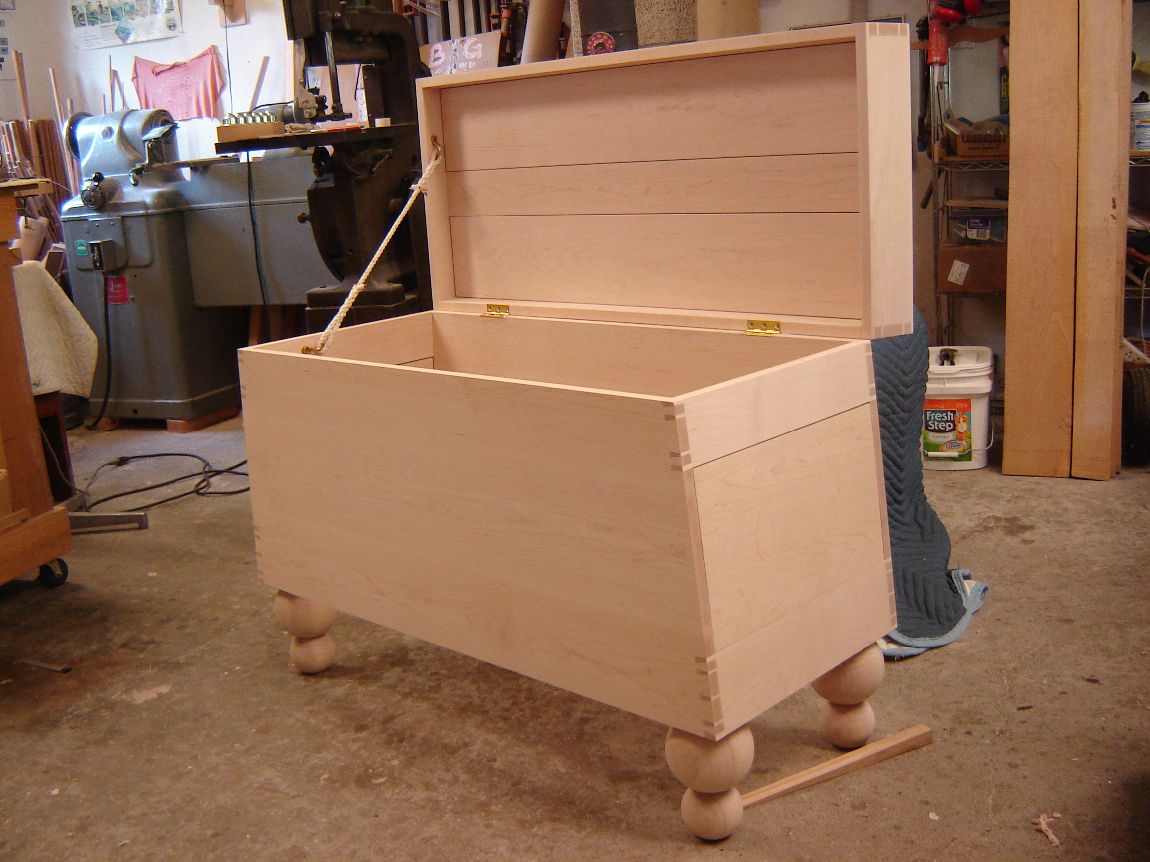
I did a little splicing, attached the eye straps and now it’s off to my friend Carl for stain and a lacquer finish.
The finish is a coat of blue stain, then a coat of green, then a couple coats of crystal lacquer.
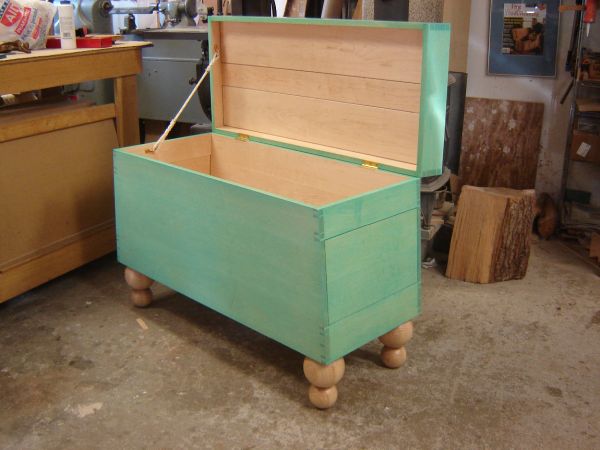
This color corresponds to the color of 2 lamps in the room that this chest will call home.
-Turner is the author of an upcoming book on blanket chests.





Log in or create an account to post a comment.
Sign up Log in