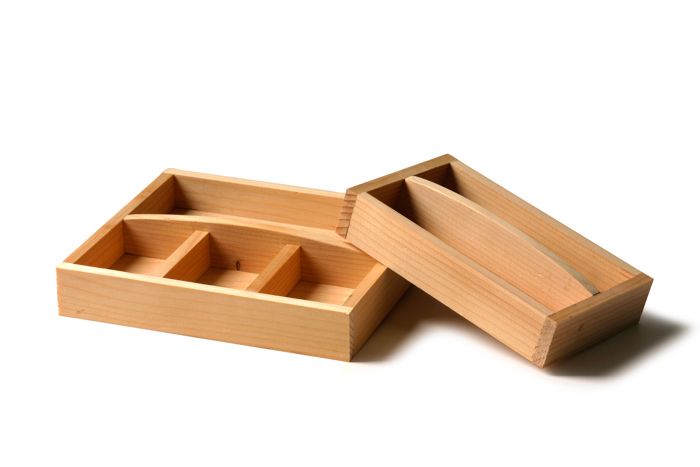
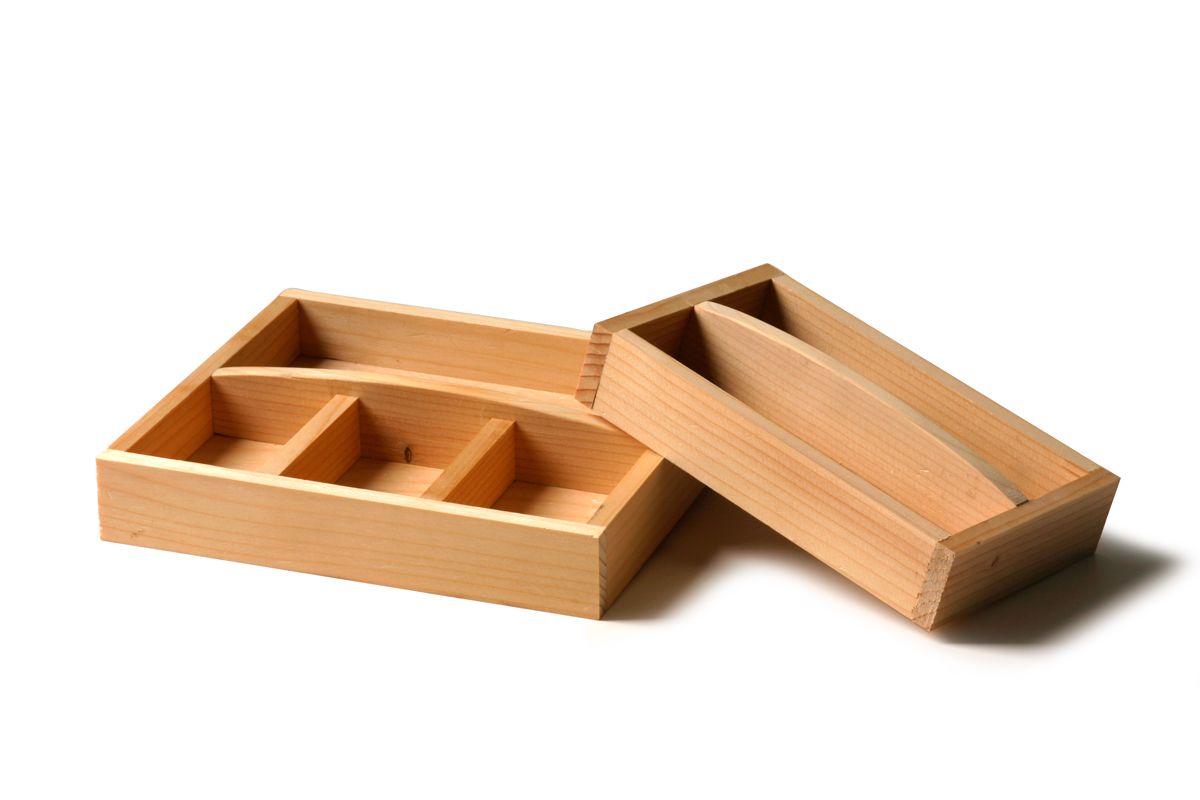
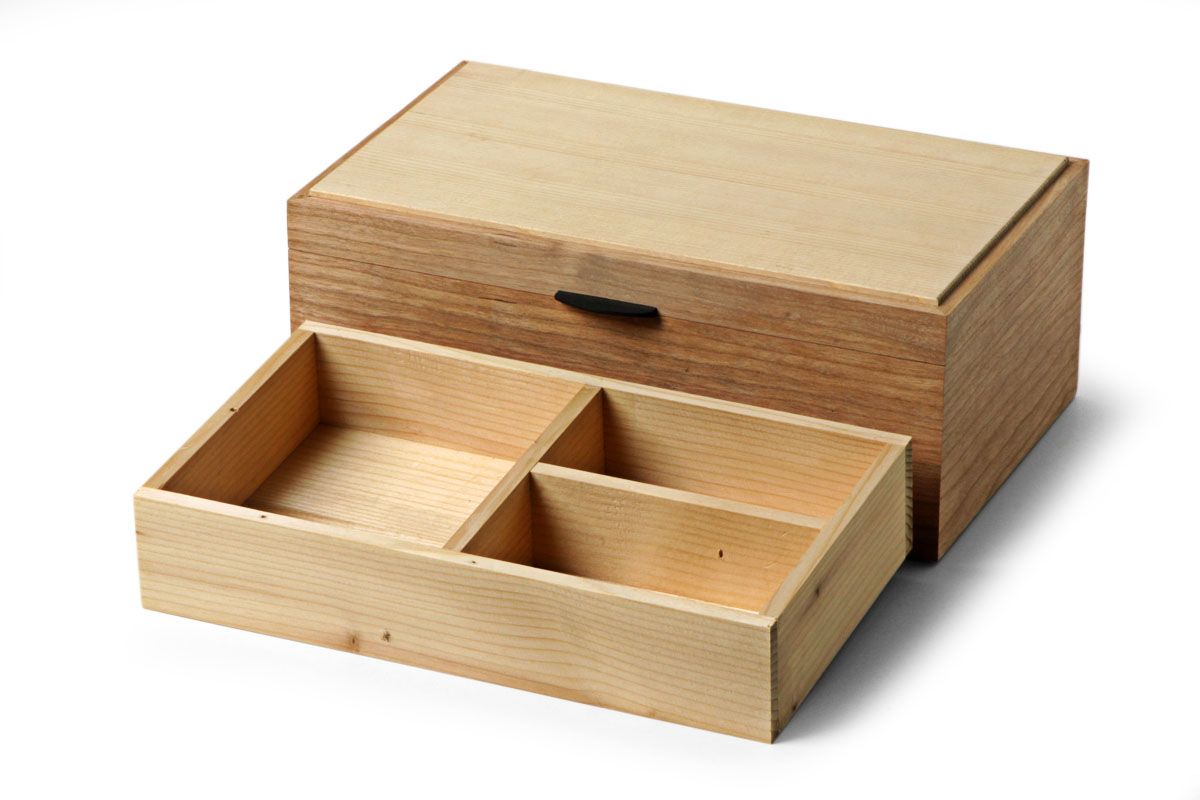
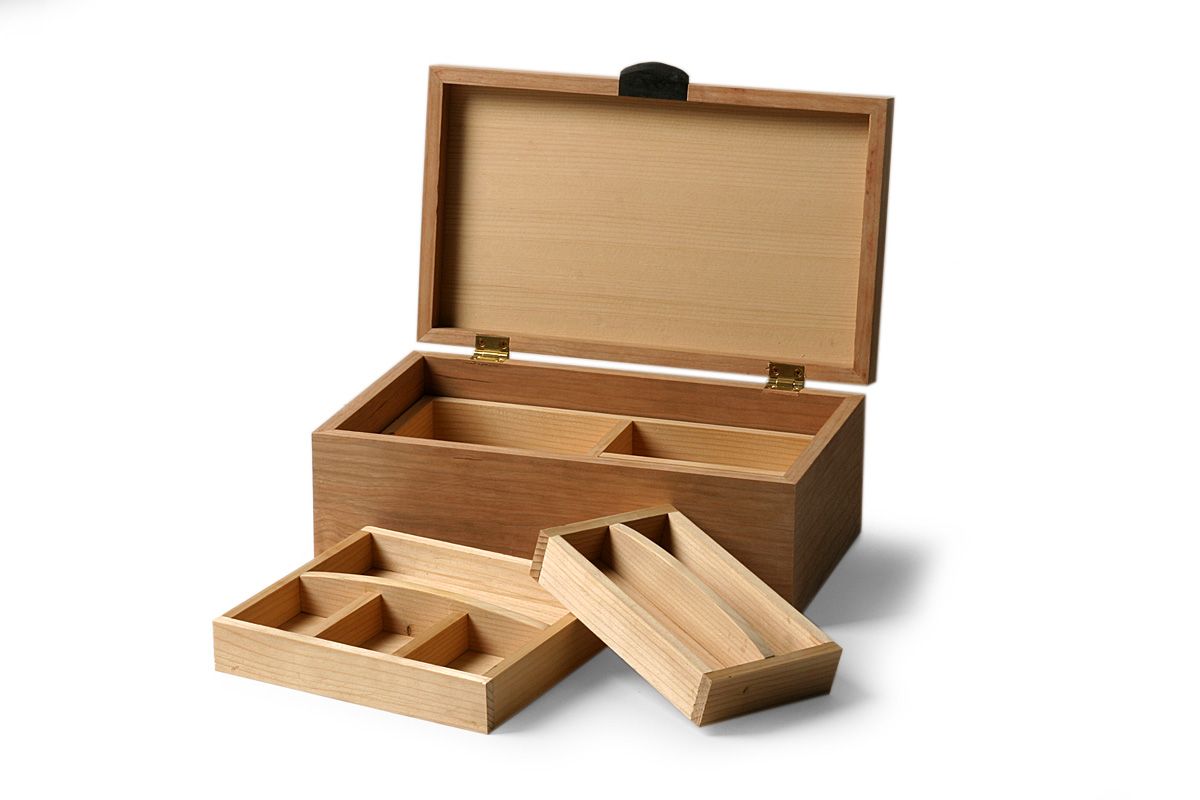
Small trays require delicate work. These are the two top trays for the box. All the parts are 1/4 in. thick, so it took a good deal of hand work to get them sized and square.
I’ve been making a box for my mom. The box sides are cherry and all the other parts are made from some reclaimed lumber – it used to be studs in my house (see part 1 and part 2). By the way, I now think that the studs are some kind of spruce. The luster they have is common to Sitka spruce evidently.
I’ve completed construction on the box and trays, and installed the hinges. All I need to do is clean up the trays with a block plane so that all the joints are flush, sand everything to 400 grit, and brush on some shellac. The wood is so beautiful that it doesn’t need anything else.
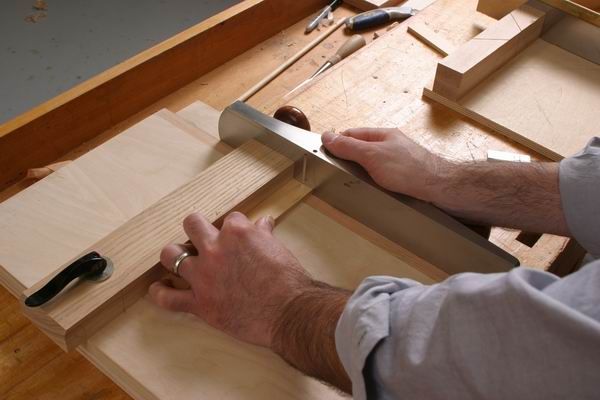
The pictures below show how I worked with all the small parts when making the trays. The secret is a shooting board. With a finely set hand plane, you can take off just a sliver of an end with each pass, which makes it very easy to get tight fitting dividers. A shooting board also let me stack the two end or two sides of a tray and trim them at one time so they’d be identical in length. Using a saw hook and shooting board is also much safer than cutting the parts with any power tool that I know of.
Next week I’ll post some pictures of the finished box, and also tell you about a great new tool I discovered while working on this box.

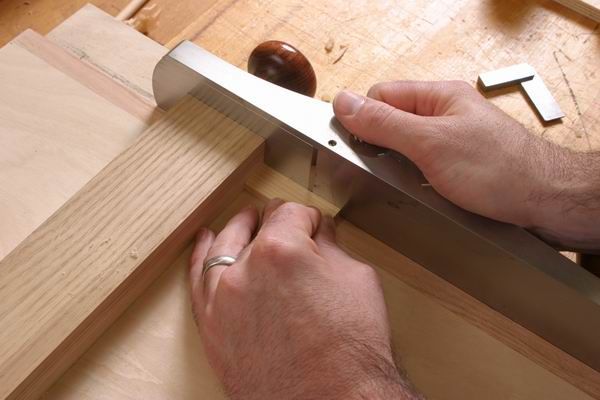
Square up first end. You can’t get an accurate mark of the part’s length without one.

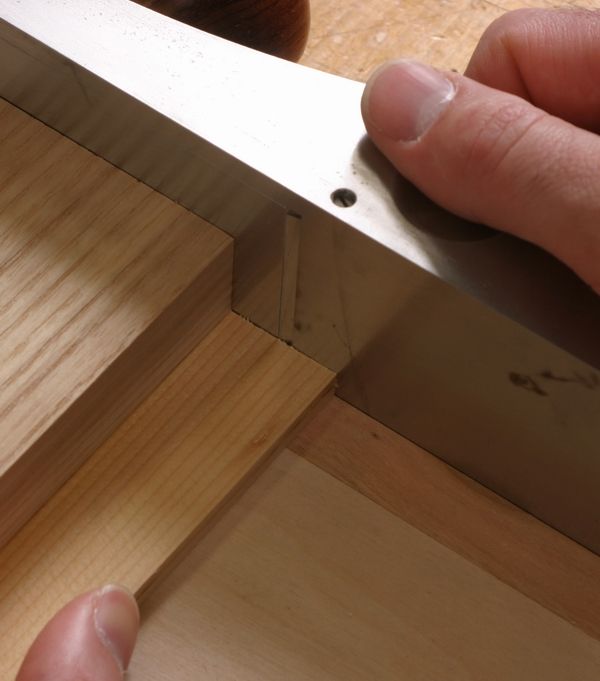
Shooting board works quickly. For the most part, the ends aren’t in bad shape, so it doesn’t take long to square up an end. This is the before.

Nice and square. This is the after. It took just a few quick passes.

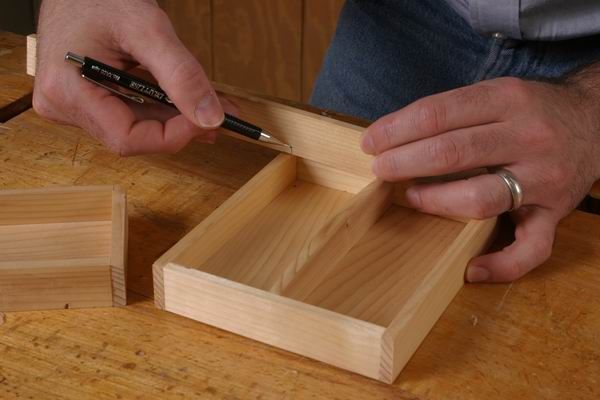
Mark for length. With the square end pressed against the middle divider, I can mark the length directly from the tray. That’s more accurate than measuring the opening and then measuring the part.

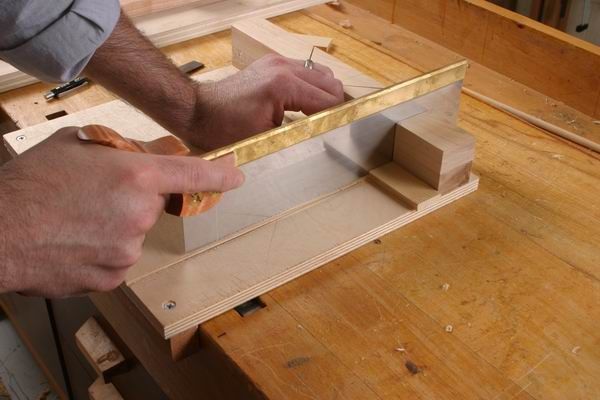
Cut to length. It takes just a few seconds to cut the part to length with a backsaw and saw hook. And it’s a lot safer than doing it with any power tool.

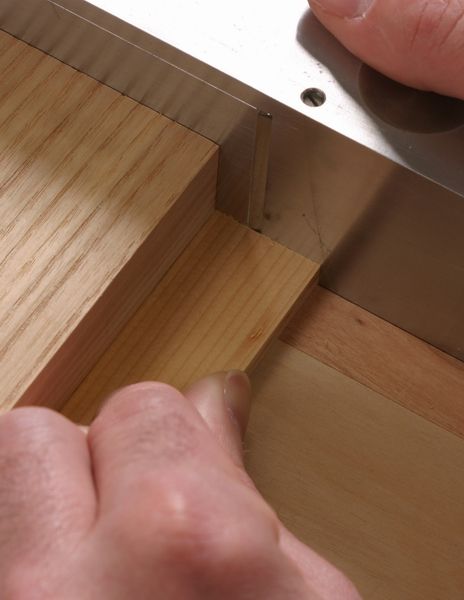
Square up the new divider. After cutting it to length, I square the second end, and then make sure the sides are square.

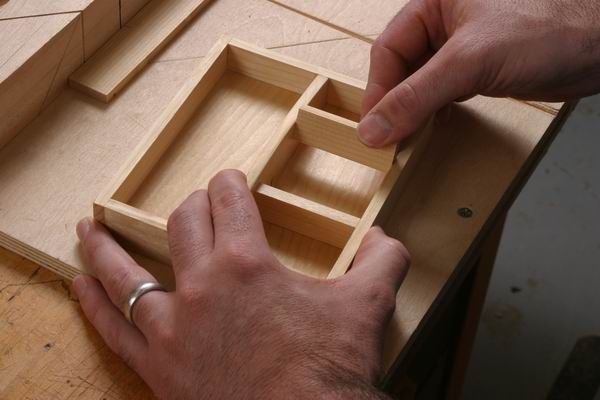
A beautiful fit. The nice thing about the shooting board is that I can take just a whisp off the end and test the fit. If it’s too long, just another whisp removed and another test. Try that with a tablesaw.
Photos by John Tetreault, except where noted.



Comments
No sliding mini-dovetails on the dividers? ;-)
Hi, What is a "saw hook" ?
Woodjoy,
I hope you see this. I didn't know you has asked a question until today, the day before Thanksgiving. I can't wait until there is automatic notification for comments. To answer your question, if you look in the one picture that has a saw, the sawhook is the wooden device that the saw is cutting through and that the workpiece is resting on. Basically, it is a wood surface (plywood in this case) that has a fence to press the workpiece against, and on its underside is another piece of wood that works to hook the thing against the bench when I push on it to hold the workpiece in place. It is a guide for sawing roughly to 90 degrees (or 45).
Can you add a brief description on joinery ?
Log in or create an account to post a comment.
Sign up Log in