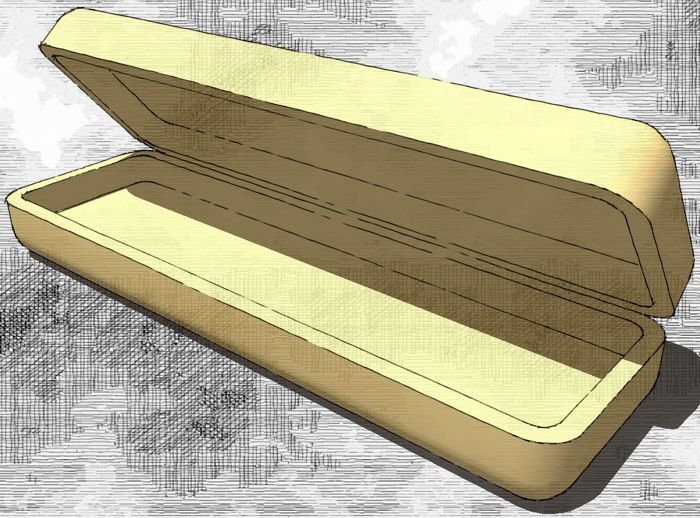
Lately I’ve been asked by several folks about how to round over edges that meet at a corner. Rounding two edges isn’t so hard but it may not be immediately obvious how to go about dealing with the intersection of three edges. Here is a demonstration of how to go about doing that.
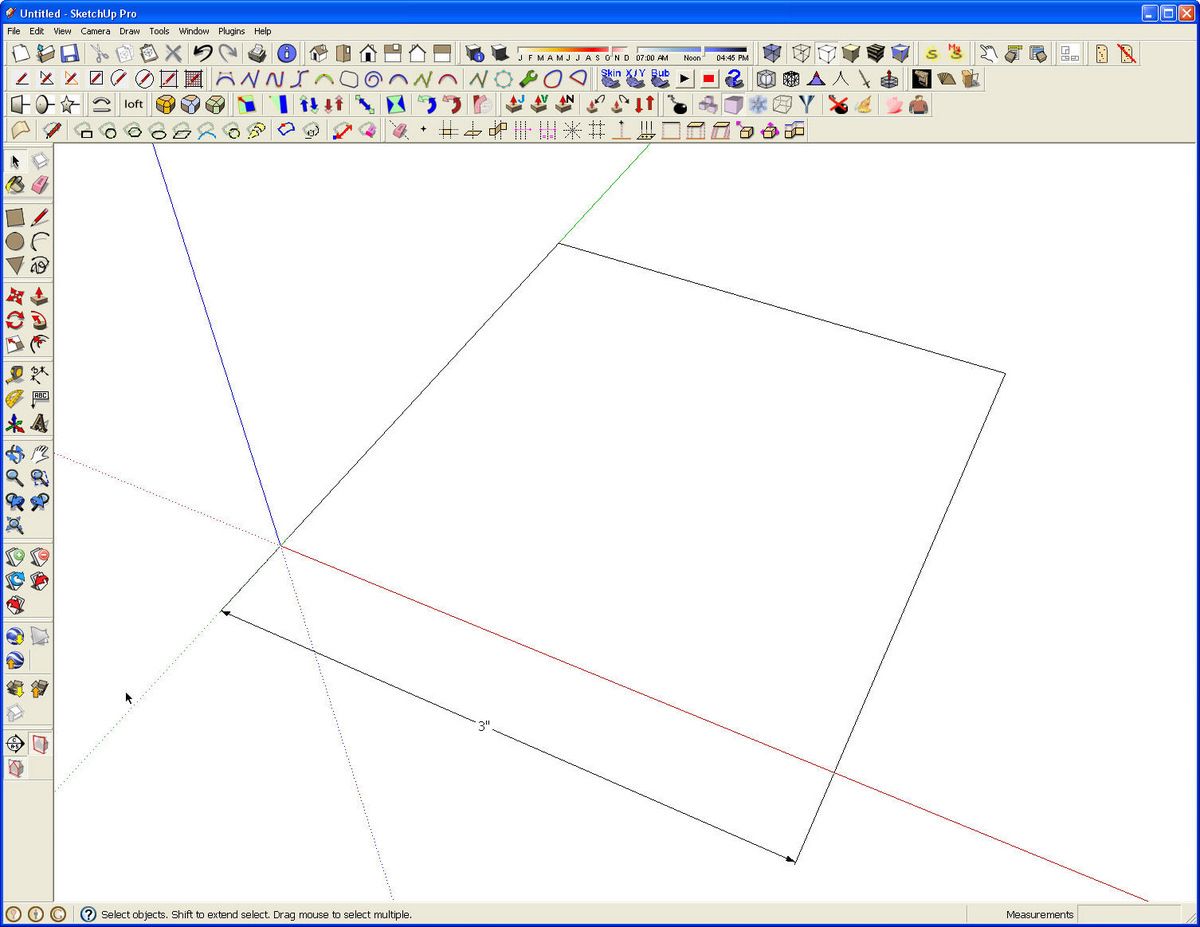
For this example I am starting with a 3 inch square. I put in a dimension just for refeence for this demonstration. Normally I wouldn’t do that.
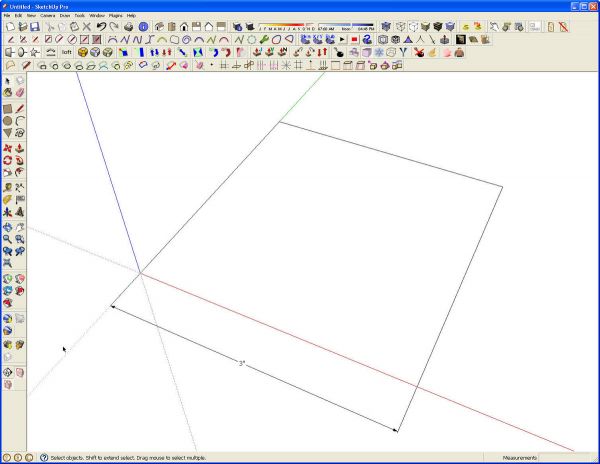
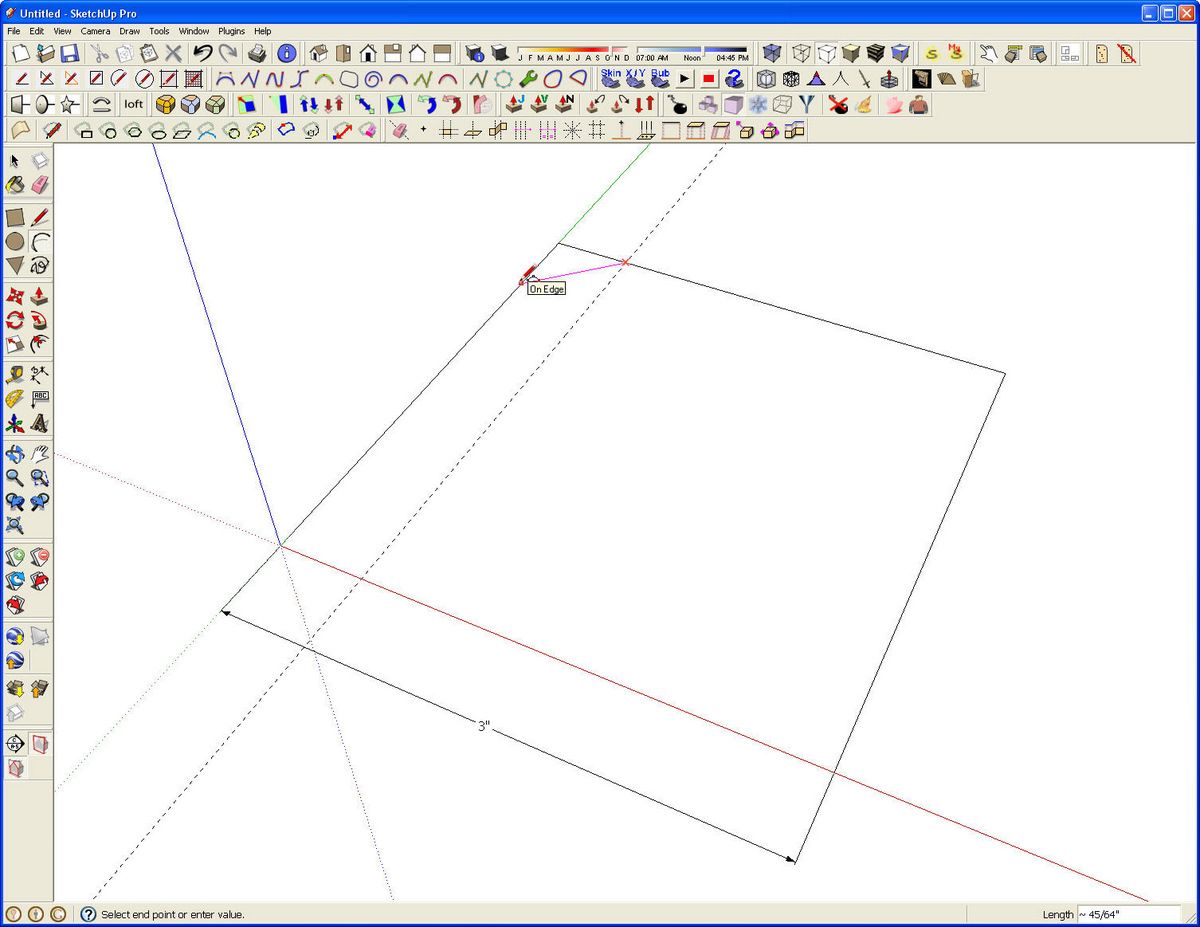
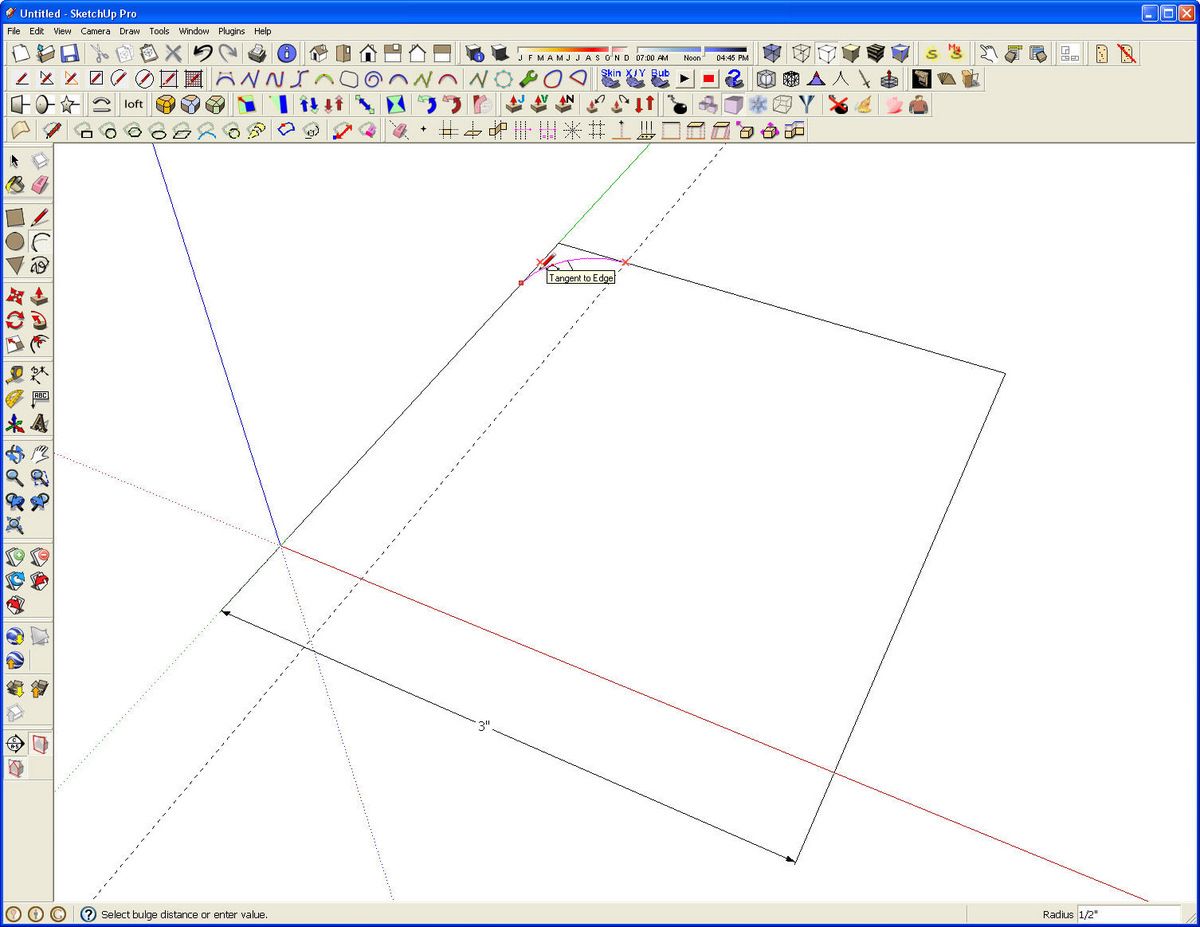
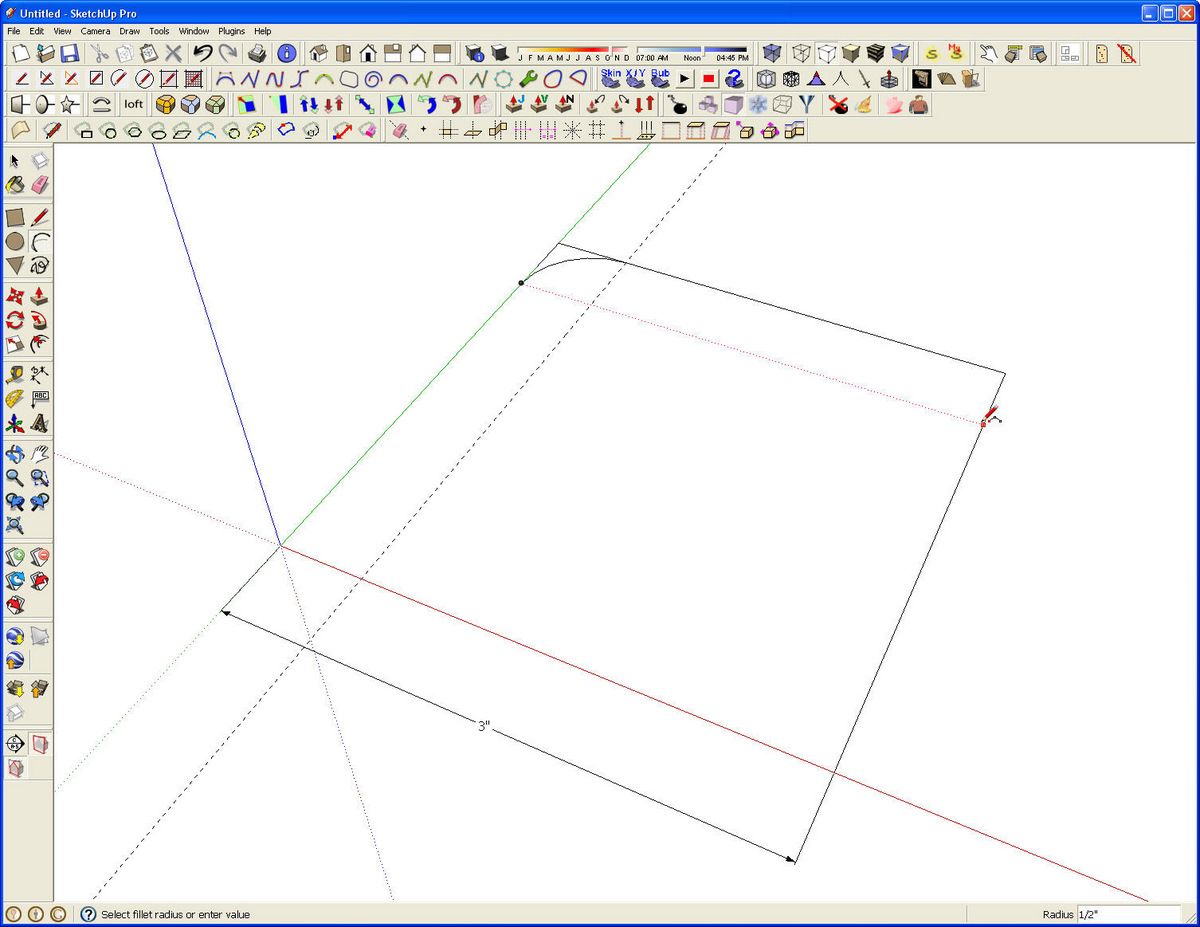
Before making a 3D box round the corners with the arc tool. I’m going to put a 1/2 in. roundover on the edges so I placed a guideline 1/2 in. in from one edge. Get the Arc tool. Before drawing the arc, chang the number of segments to 6 by typing 6s and hitting Enter. Six segments are plenty for the small roundover. Start an arc at the intersection of the guideline and an edge of the square. Then drag along the adjoining edge until the line turns magenta. Click and drag up along the edge until the arc also turns magenta.
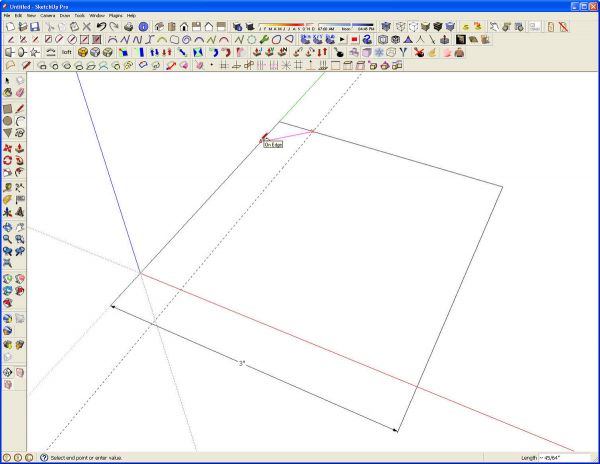
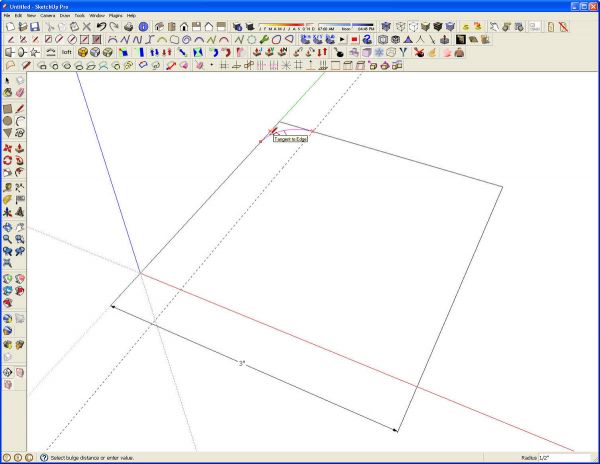
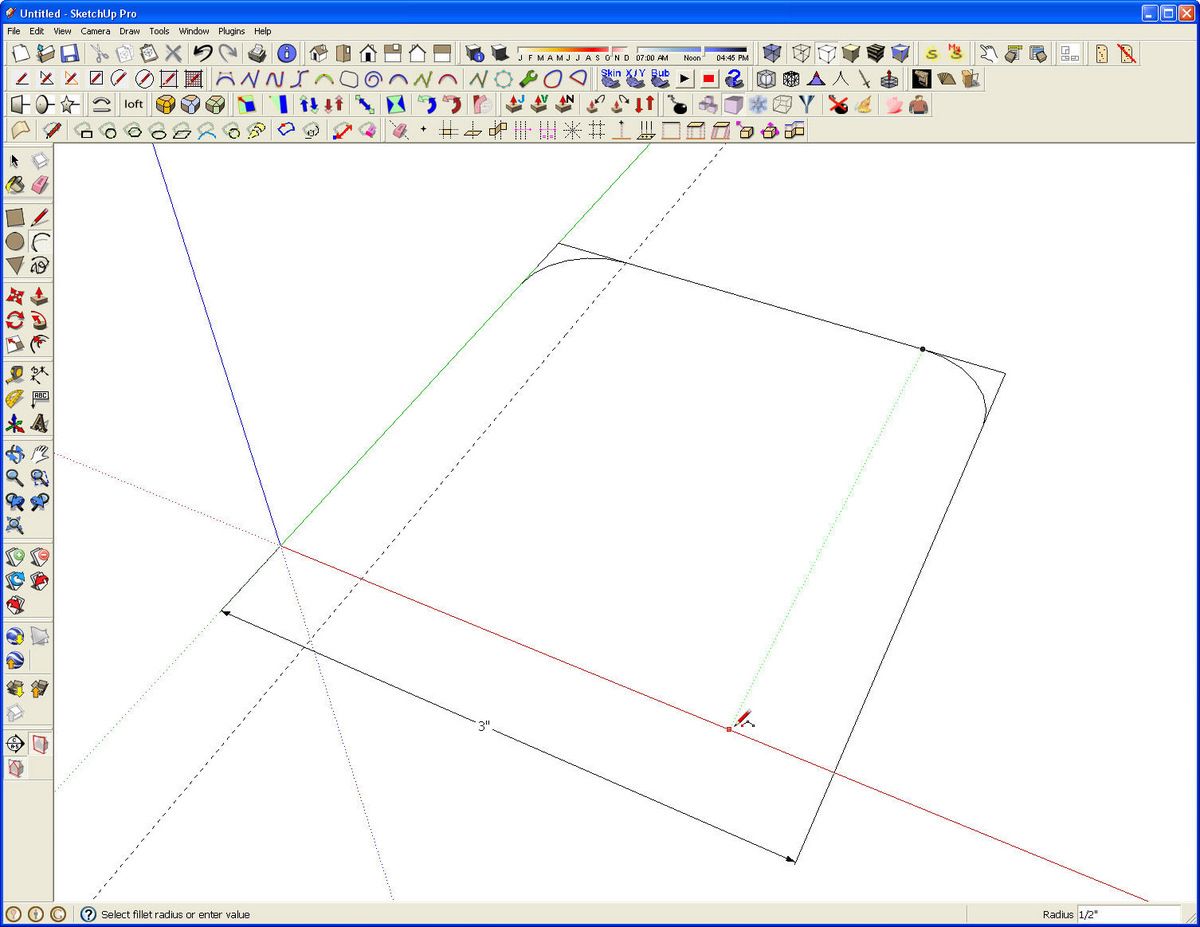
For the next corner, hover with the arc tool over the end point of the the previous arc for a moment. Then slide the cursor over to the opposite edge. If the tool is aligned with the end of the first arc, there’s be a dotted line connecting the two. Click to set the start point and repeat the process of sliding along the adjoining side, set the end point and create the arc.
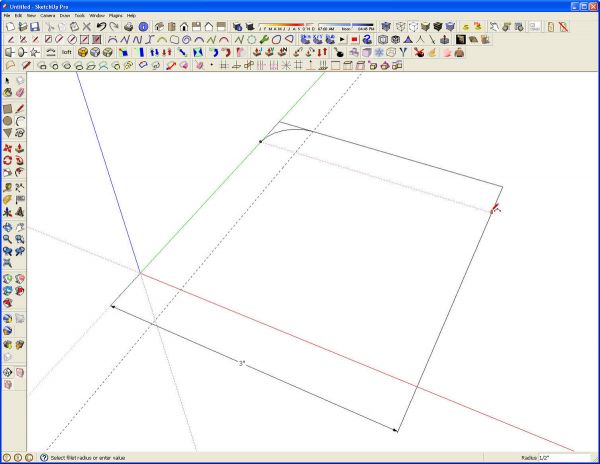
Work your way around the square for the other corners.
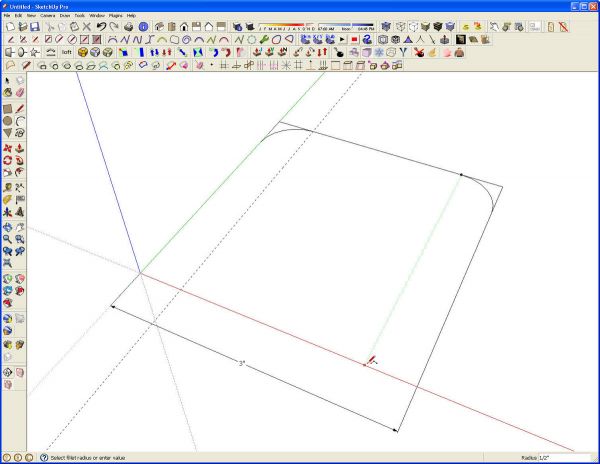
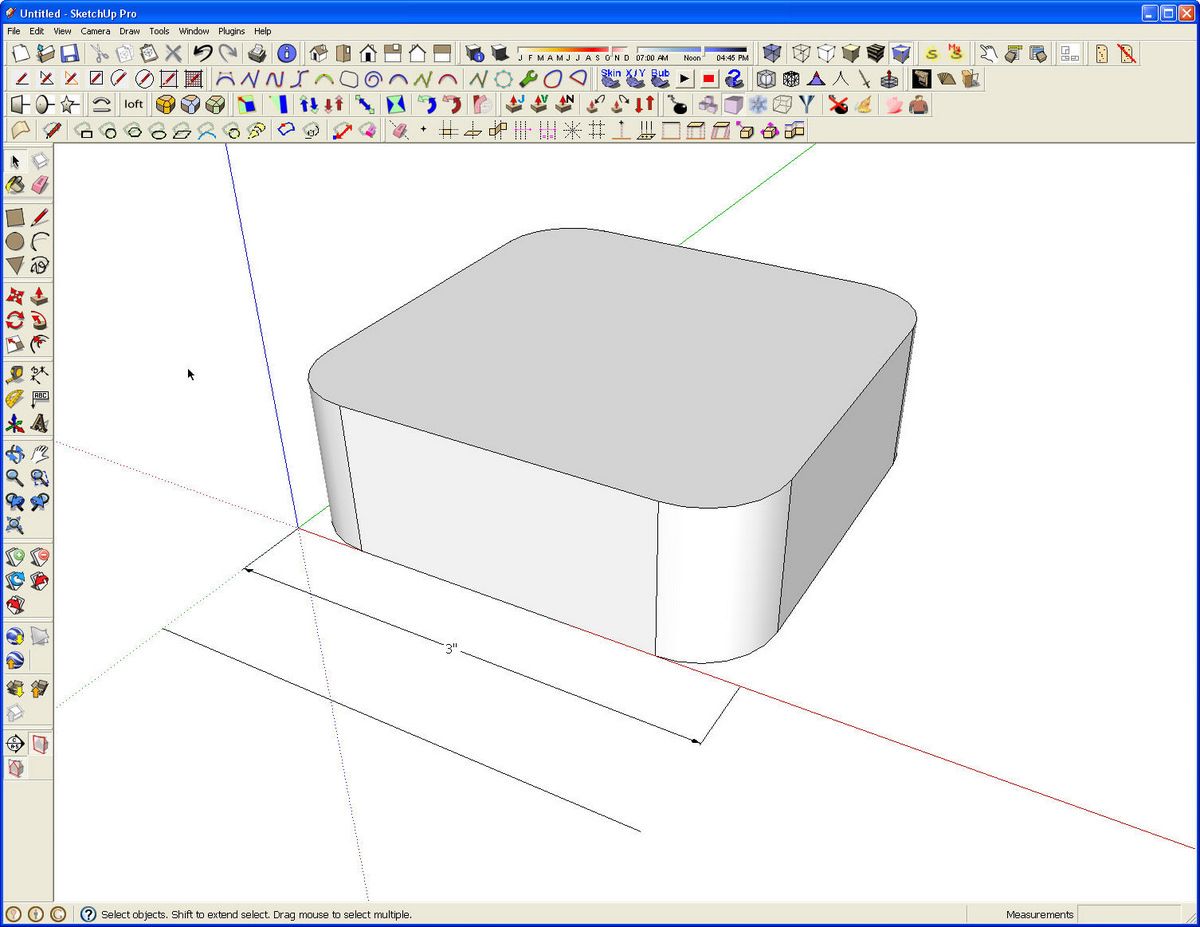
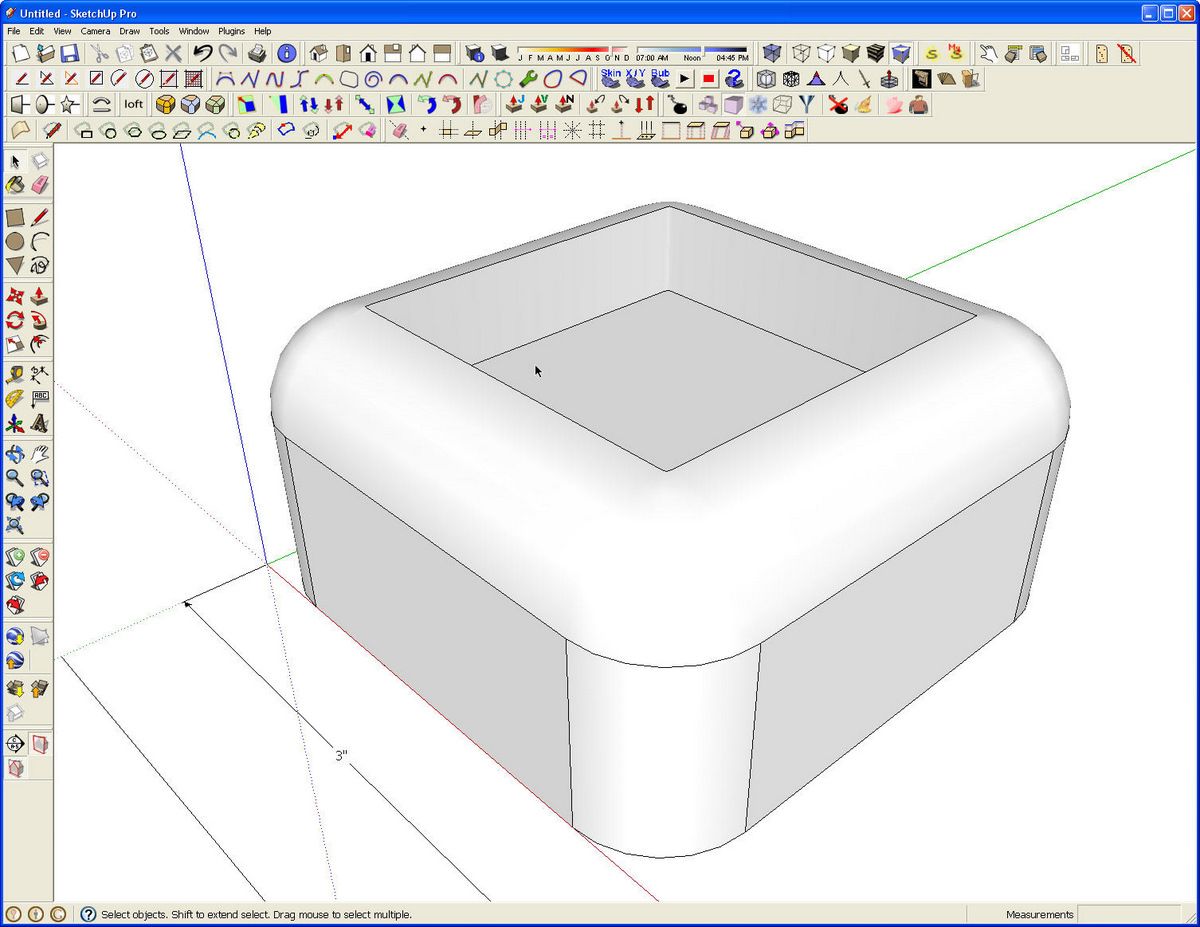
After the arcs are put in, delete the corners and then use Push/Pull to pull the face up into a 3D shape. If you are drawing something specific, pull up to the final heigh less 1/2 in. There’s a line in front of the dimension. This is a 3 in. long line that I added for reference. The actual length of the line isn’t critical as long as you can remember how long it is.
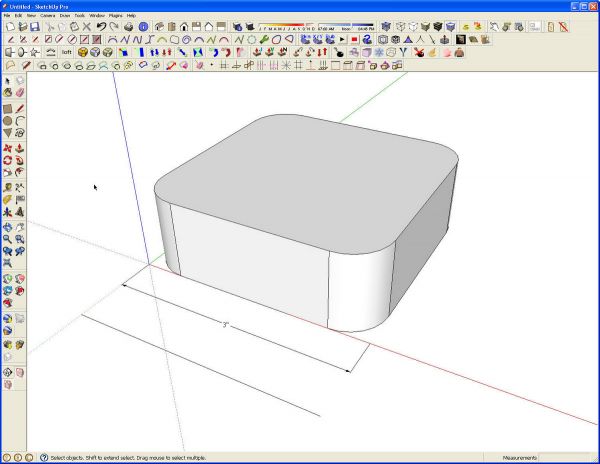
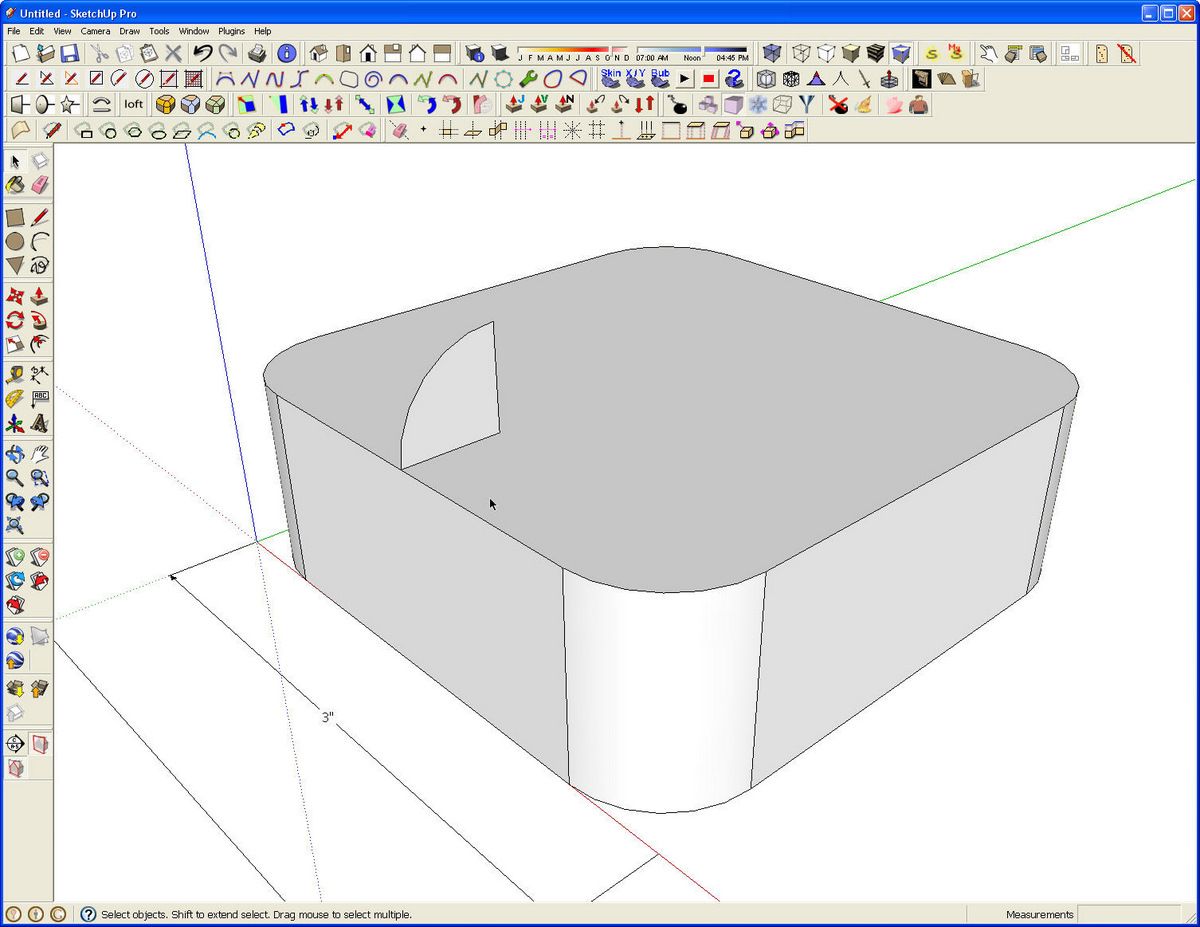
Along one straight edge draw the profile for the radius along the top. Stay away from the arcs. The midpoint is an easy place to find but you don’t have to start there. Draw a line in 1/2 in. Then draw a vertical line up 1/2 in. Connect the ends of those with a 1/2 in. radius arc. Make sure that the arc is on the same plane as the two 1/2 in. lines or you won’t get a face.
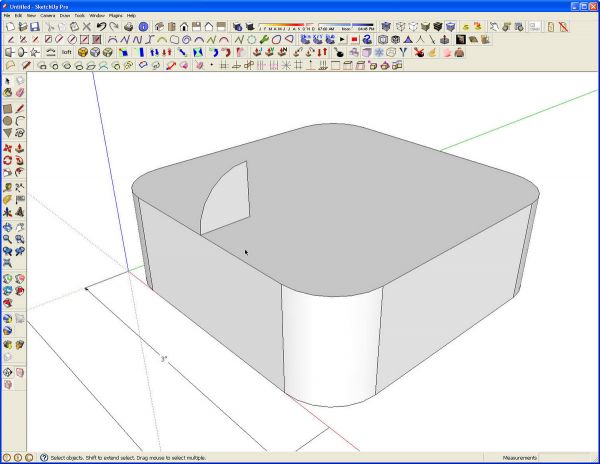
Run Follow Me to extrude the profile around the top. There are a couple of ways to run Follow Me. I prefer to select the path before getting the tool. In this case it was a simple matter of double clicking on the top face which selects the face and its bounding edges. After the edges are selected, get the Follow Me tool and click on the profile.
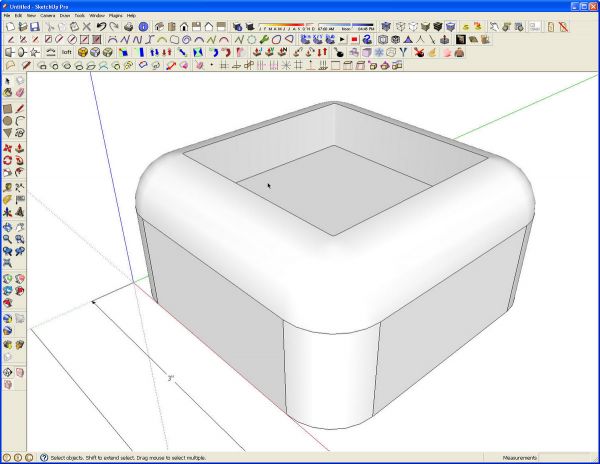
If, after this step, your round over is missing any faces, either you’ve got too many segments in your arcs, the arc radius is too small or both. You’re running into SketchUp’s aversion for tiny faces. Reduce the number of segments and/or scale the model up before running Follow Me.
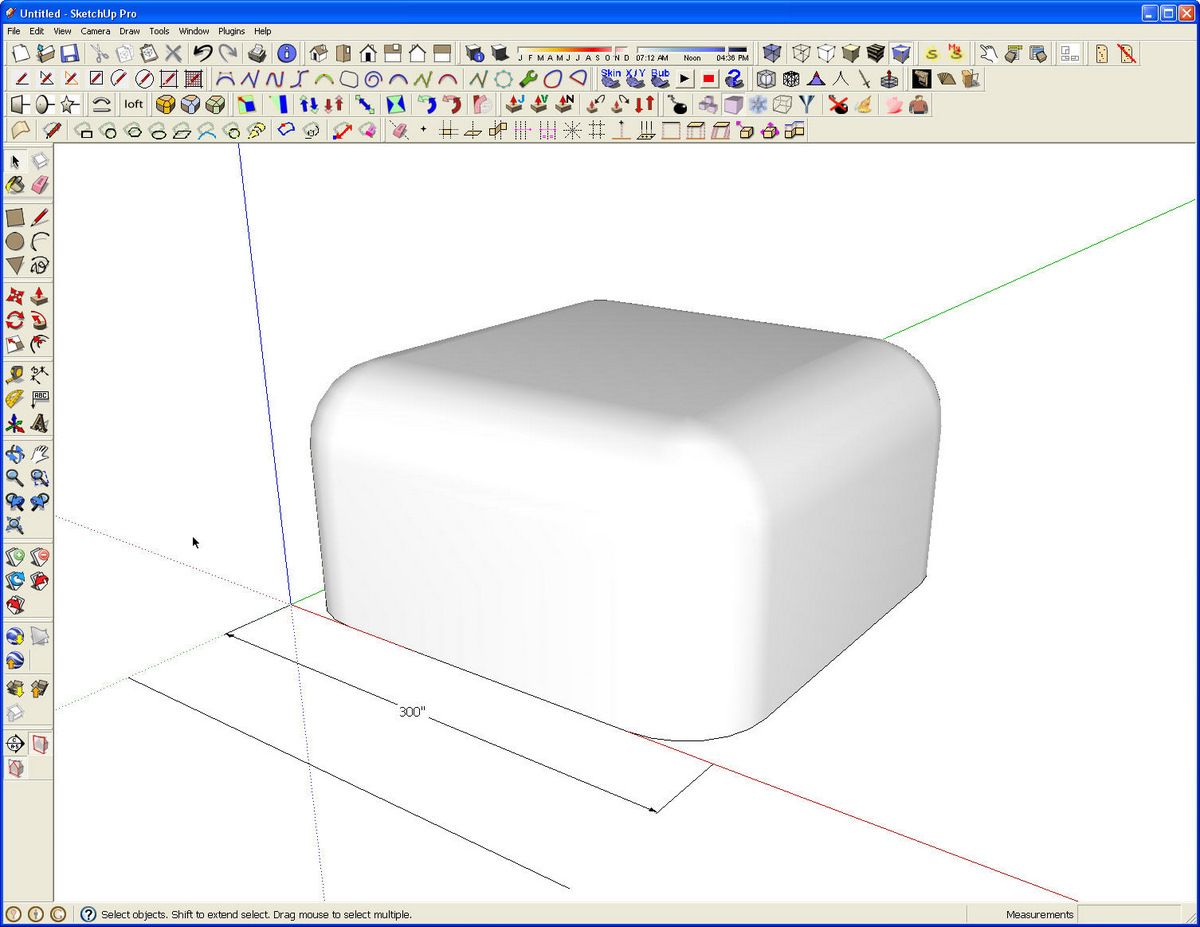
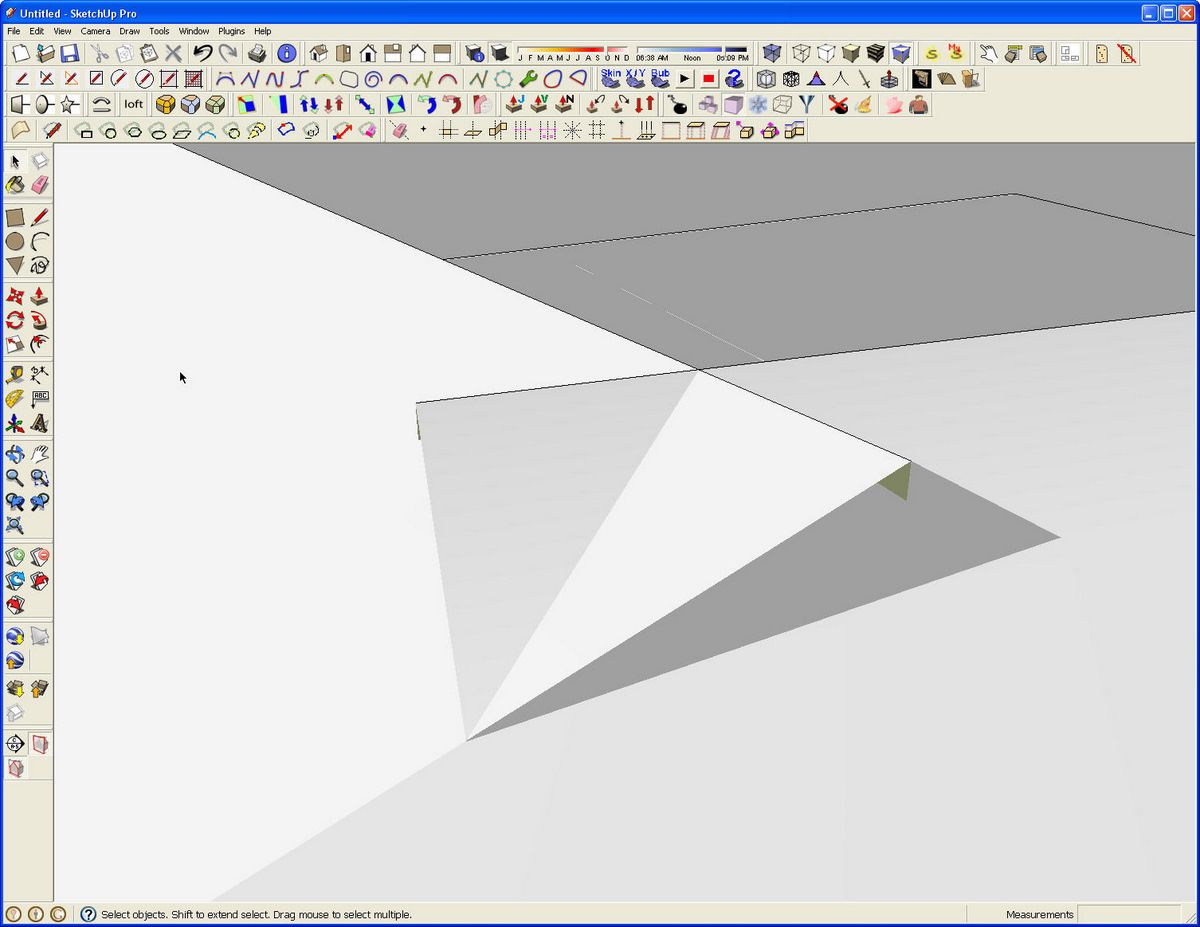
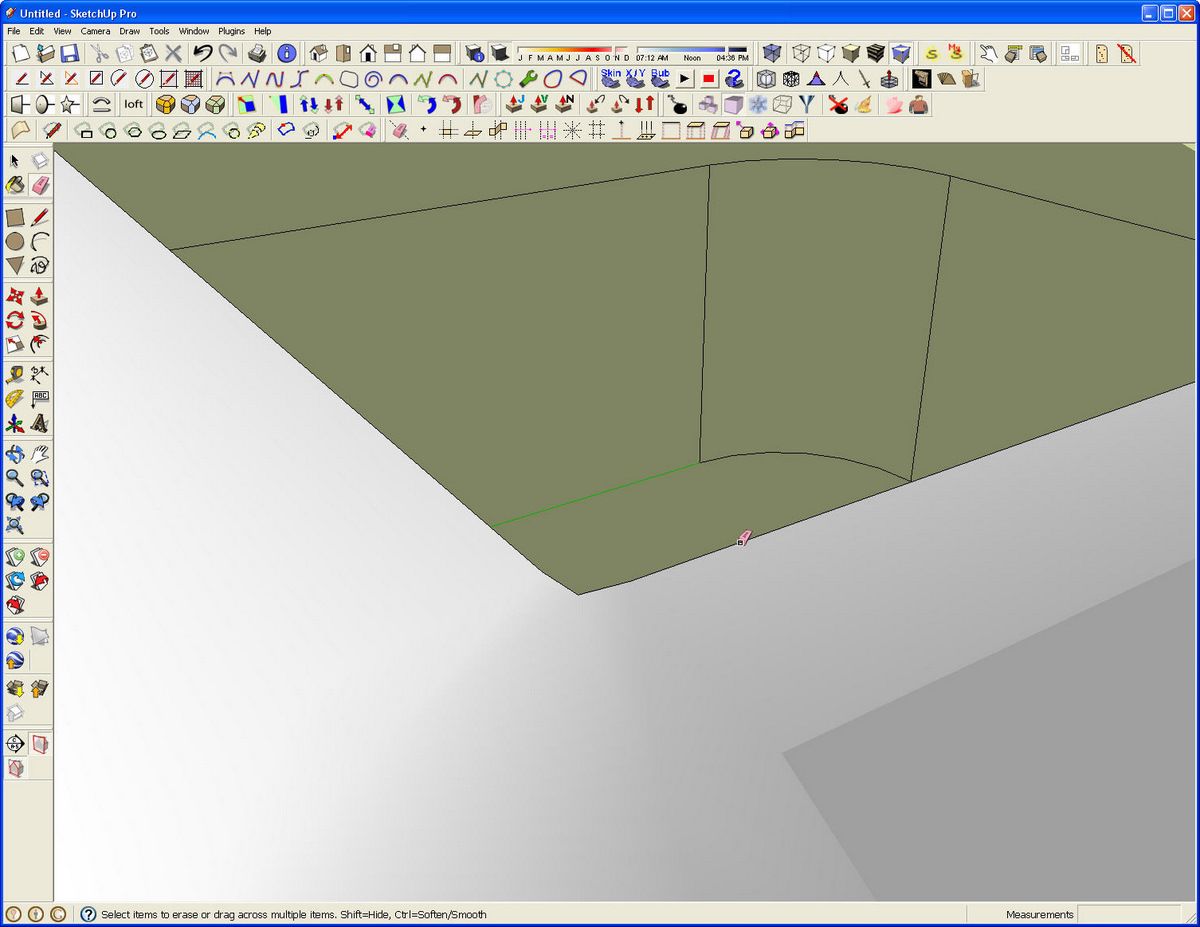
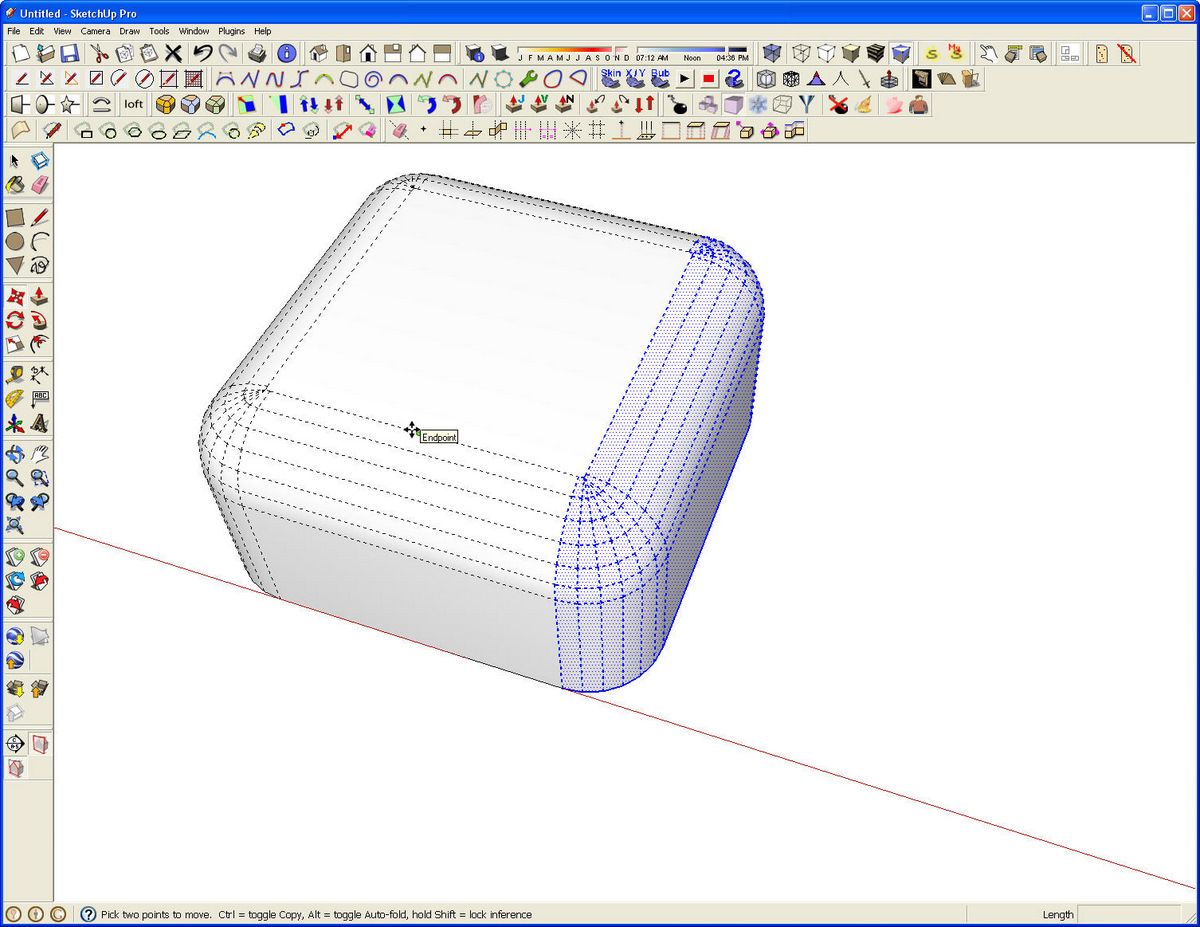
Due to the math involved in Follow Me, there are some little extra faces created during the operation. These should be cleaned up. The next image is a close up of one corner.
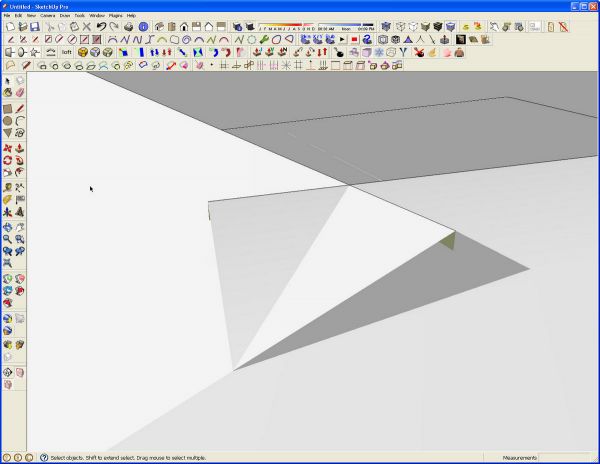
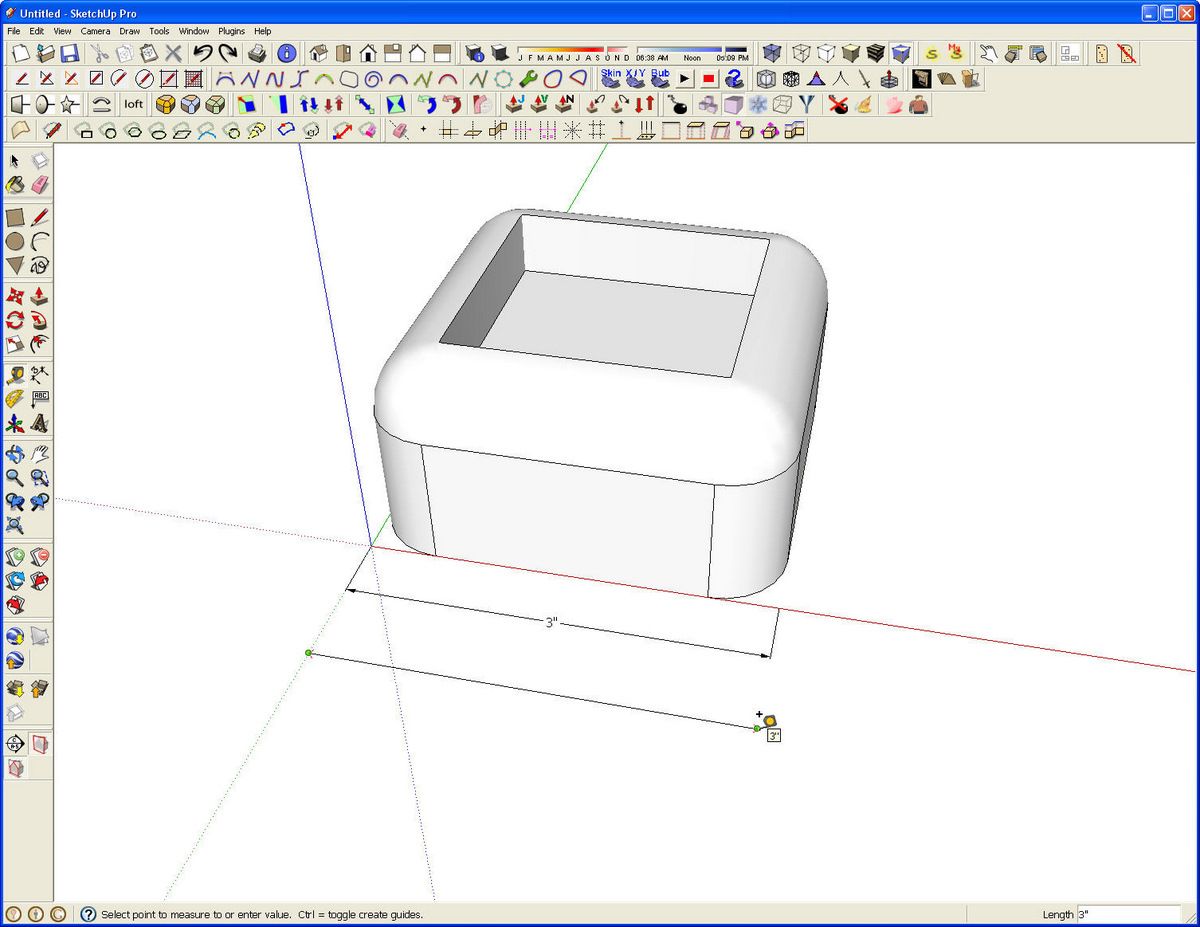
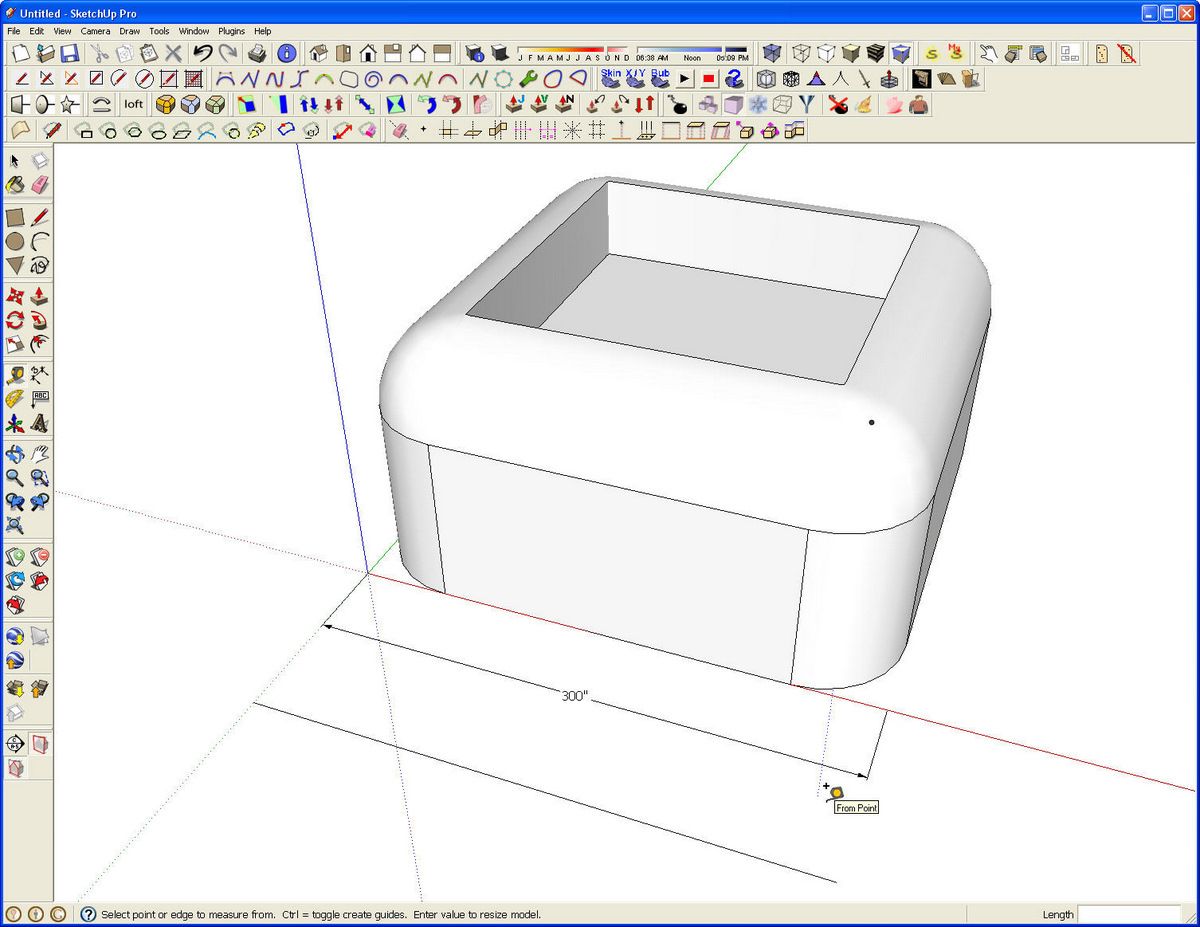
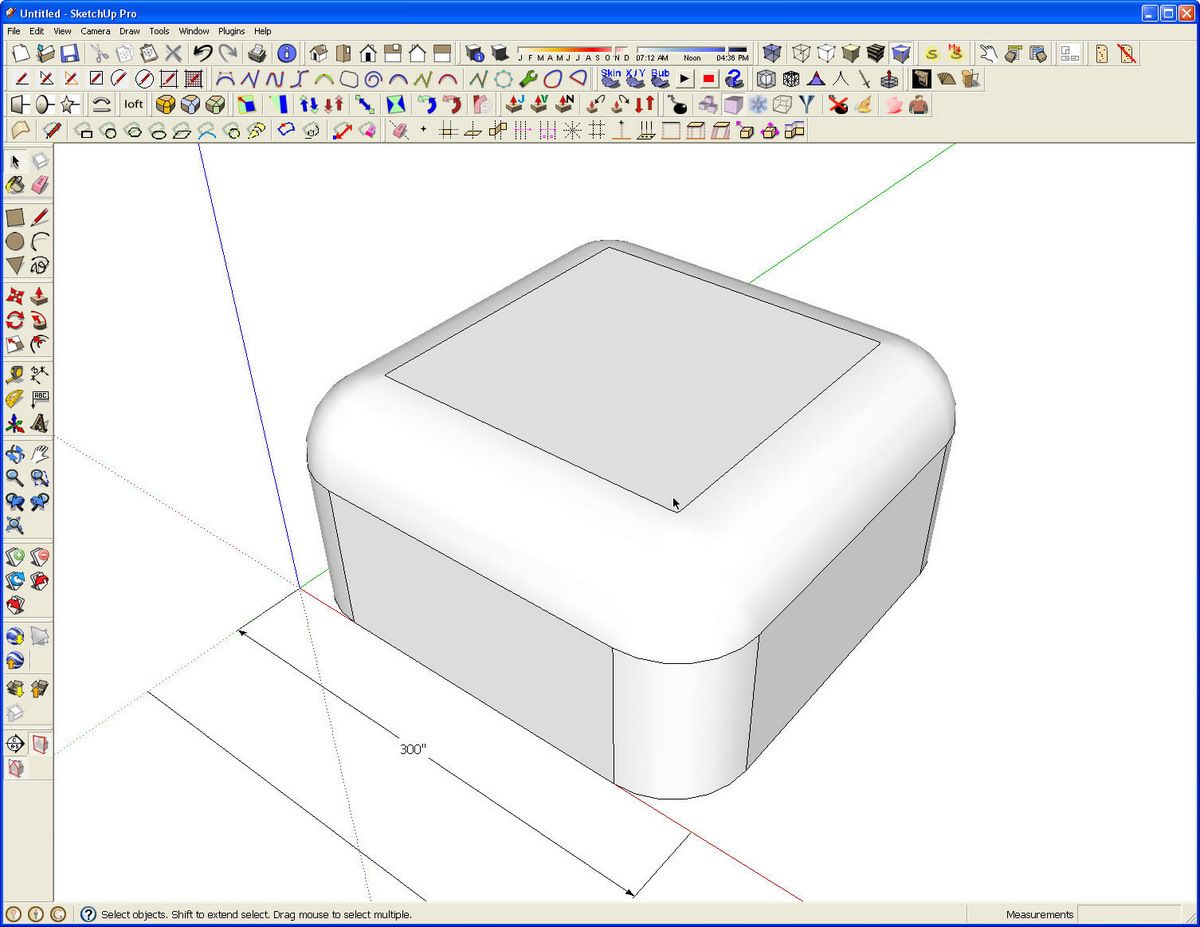
Even with the arcs reduced to six segments, some small faces will be created during clean up so I scale the model up before doing that. This is where that 3 in. line comes into play. Using the Tape Measure tool, measure the length of that line making sure to click at both ends. The Measurements box (AKA VCB) display 3″. Type 300 and hit Enter. A dialog box will pop up asking if you want to resize the model. Click OK. This will scale the model up by a factor of 100.
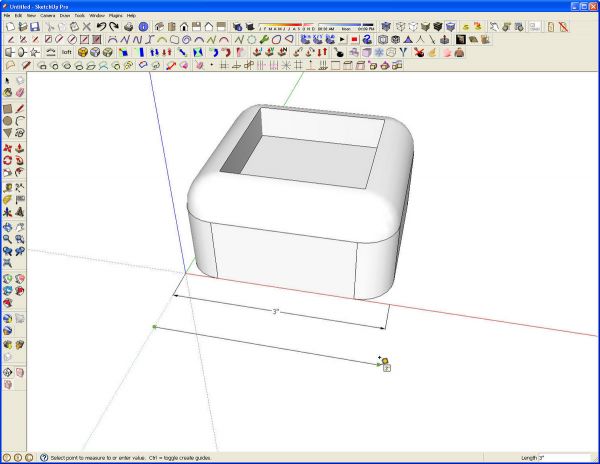
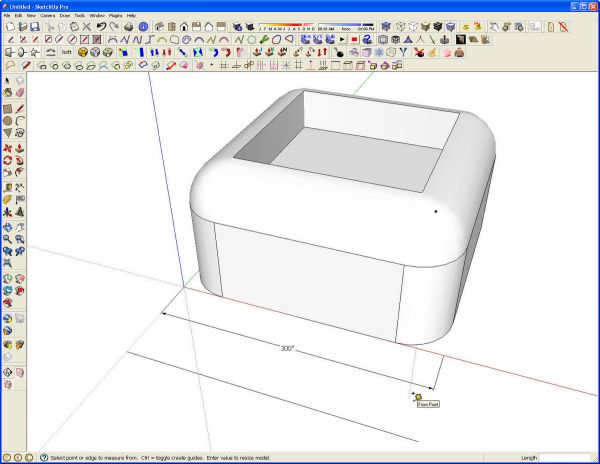
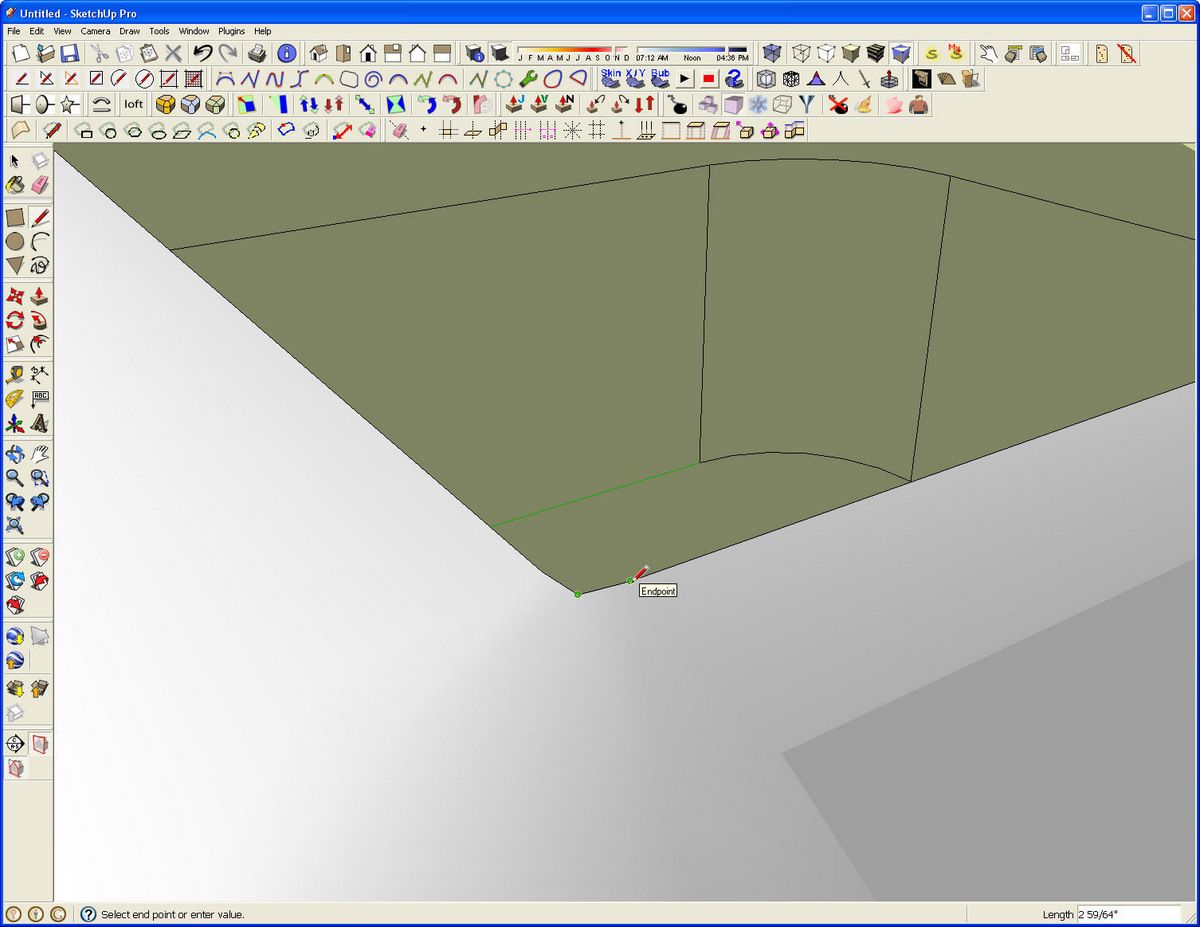
Select all of the geometry, right click and choose Intersect>Intersect Selected. Then delete the faces where they extend above the curve. Soften the remaining line with Ctrl+Eraser (Option on Mac). Delete the other internal unneeded faces while you’re at it.
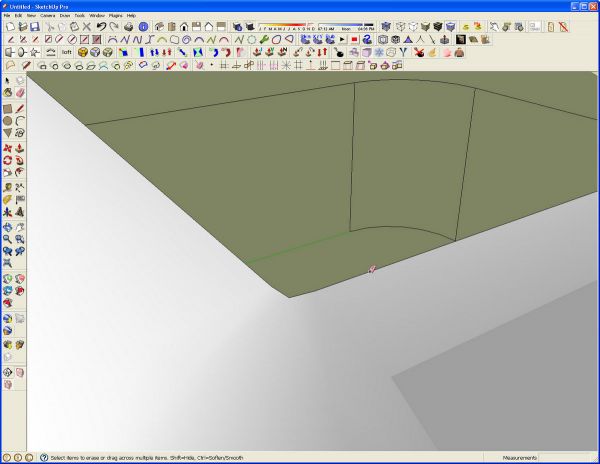
Next get the Line tool and trace along one edge segment to fill the top face.
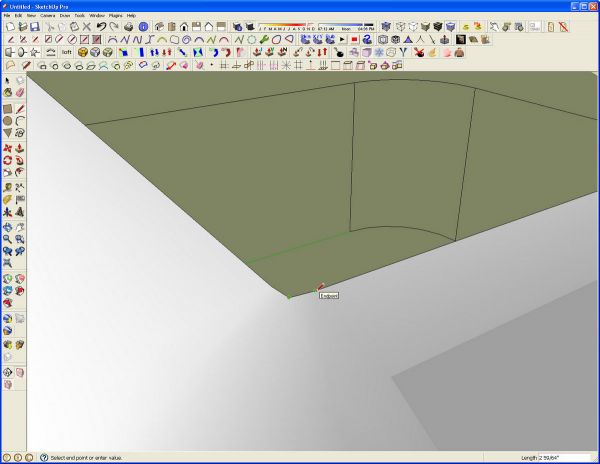
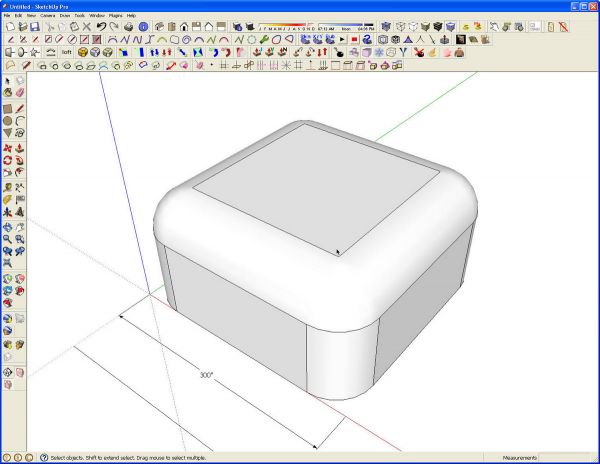
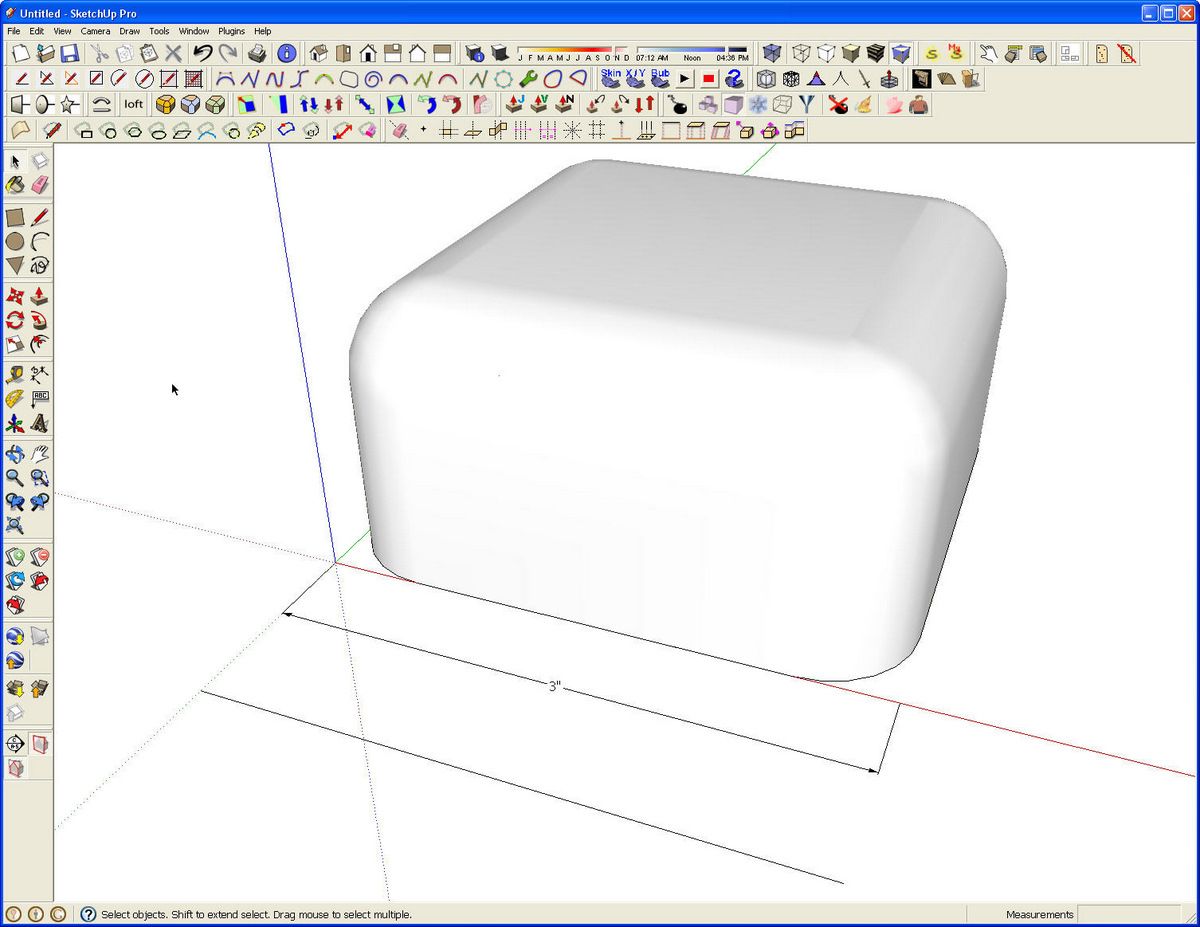
If you want you can soften the rest of the edges along the roundover. Either use Ctrl+Eraser or select all the edges and choose Soften/Smooth from the Context menu. Scale the model back down by reversing the scaling step above.
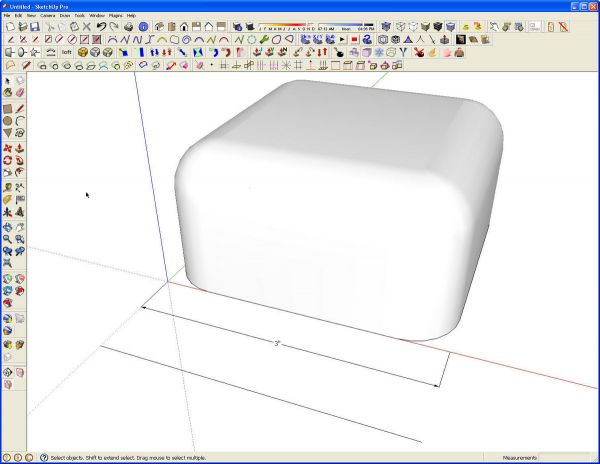
And that’s done.
This geometry can be resized if desired. First, turn on Hidden Geometry (View menu) and then drag a left to right selection box around half of it. Use the Move tool to move the selection to adjust the size.
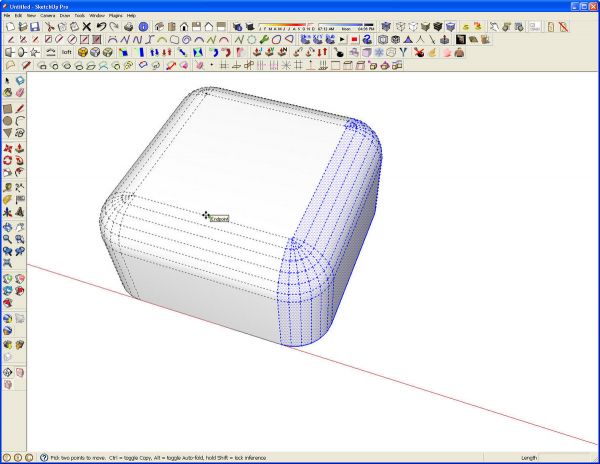
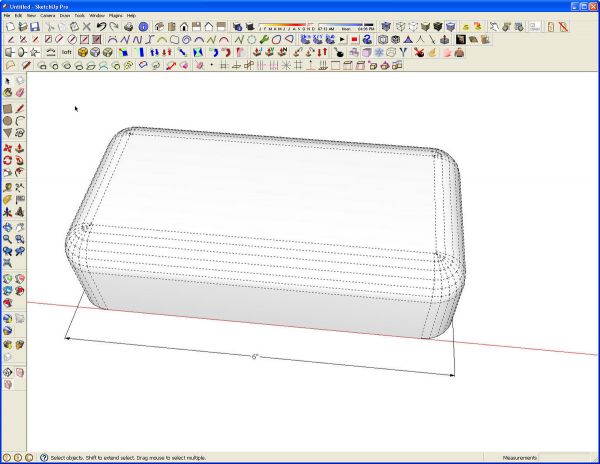
So that was the manual way to do it. It looks harder than it is. I would suggest that if you haven’t done this before, at least learn the procedure. There is an easier way create these rounded edges using the Round Corner plugin* which was released not long ago. This plugin can either round over the edges of chamfer them. There are a number of controls and settings. I’ll let you read the official Quick Card which is available at the link, above. Read the text at that link to be sure you get the required files.
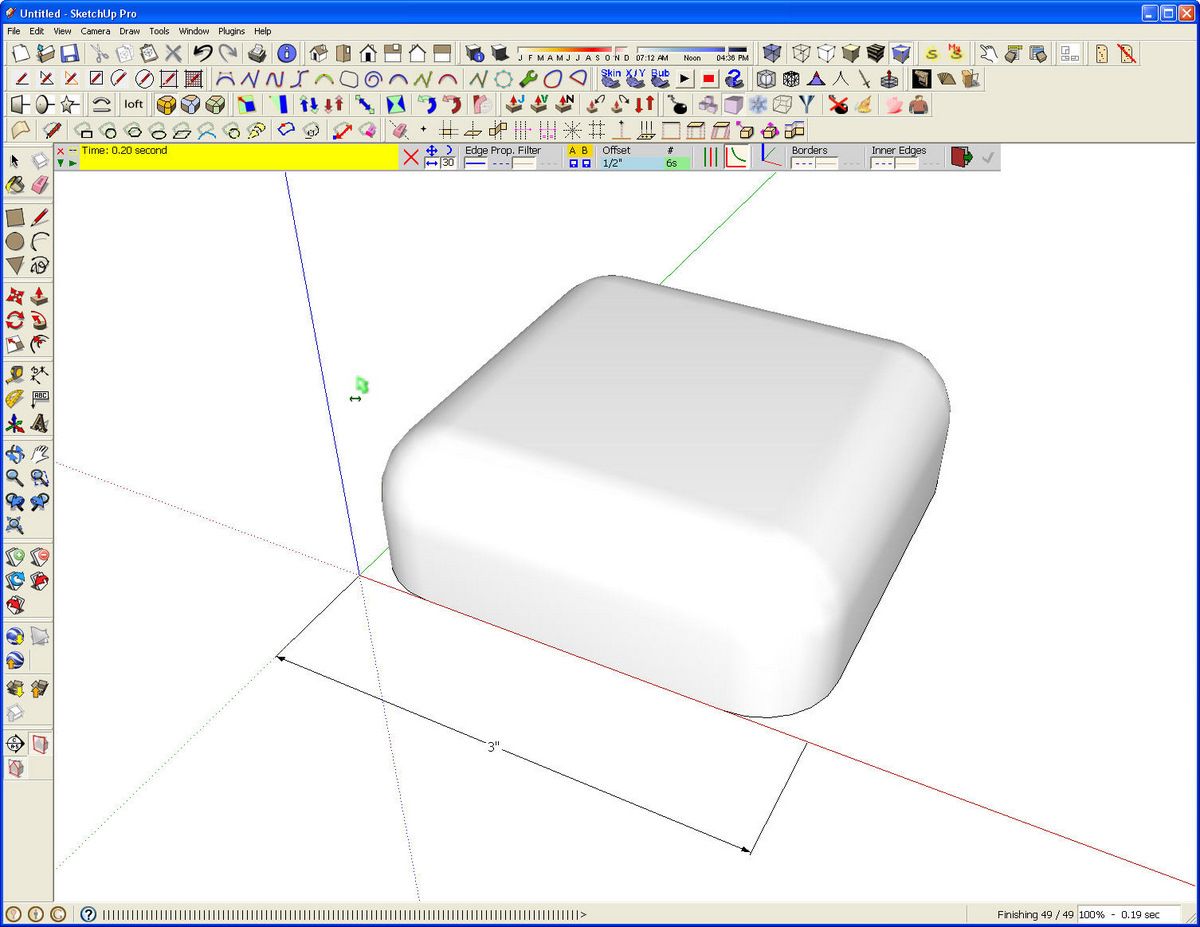
Here’s an example of using it to end at the same point as I did above. I started with the 3 inch square as before. I pulled it up to the full height.
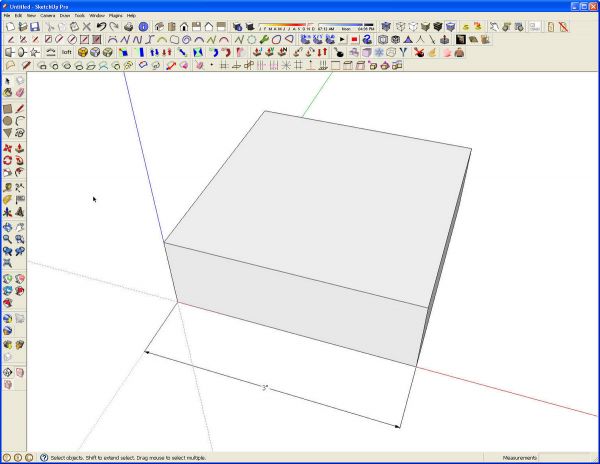
Then activate the plugin by clicking on the Round Corners button. A bar is displayed at the top of the drawing window showing the parameters for the round over. Set the segments to 6 and the radius to 1/2 inch. Then select the edges that need to be rounded.
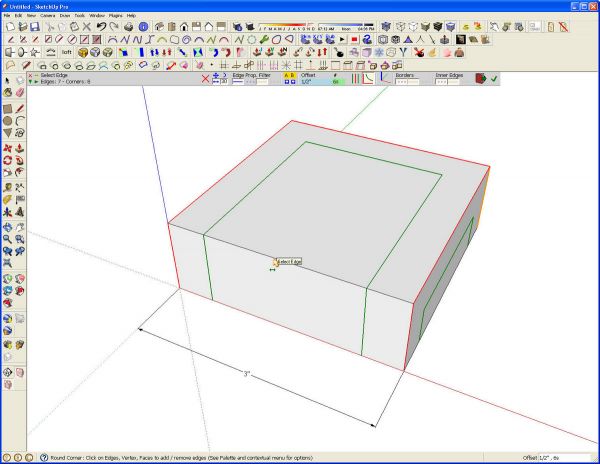
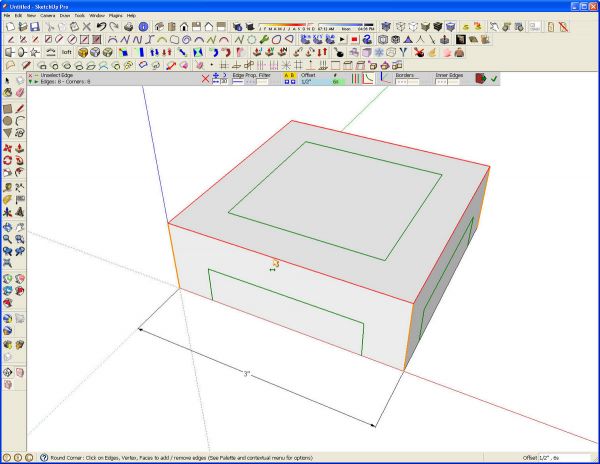
And then hit Enter.
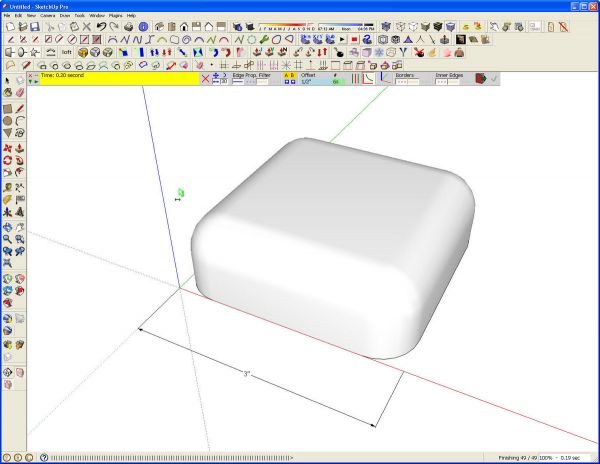
Done. In the yellow highlighted a report of the time required to round over the edges shows that it took .20 seconds. You can hardly beat that.
*You will need to be signed in to Sketchucation to access this plugin.



Comments
Very succinct explanation. Your guidance is appreciated.
I have a question on use of the RoundCorner PlugIn.
I'm trying to use RoundCorner to round edges that are on multiple connected components. Specifically, I'm trying to do round edges on a set of legs and upper/lower stretchers for an end table. There are 3 components involved (legs, upper stretchers, lower stretchers).
All examples I can find show RoundCorner being used on edges of one component, not edges of multiple connected components. When I edit one component with a rounded edge, and then edit the continued edge of an adjacent component, the rounded edge is not continuous. Attempts to group components for editing, or edit multiple components simultaneously don't work.
Can you please point me in the right direction.
P.S. I'm new to SketchUp, and Design/Click/Build has been very valuable to my education so far.
Warren, by design you cannot edit different components at the same time. This is just the way it is in SketchUp. If I were able to see your SKP file, I might be able to make better suggestions. Without seeing it, however, the first thing that comes to mind is to explode the three components so that they are a single mass of geometry. Create the roundovers and then break the geometry up into the components again. Probably the easiest way to do that particular process is ti make three separate copies after rounding over and deleting what you don't need for each of the different elements.
Reading between the lines, I am envisioning that your stretchers run into the leg ala Maloof. You might modify the leg slightly such that you have sort of extensions where the stretchers run into the legs. After rounding the corners you might be able to use Push/Pull or the Move tool on the ends of the extensions to run them back to where they need to be. Or you may have to trim the extensions back with a cutting plane or the Solid tools.
Again, I could probably offer better advice if I could see your model. If you are so inclined, feel free to e-mail it to me. You can get my e-mail address by clicking on my name at the end of the blog post.
I have been trying to round corners/edges and was delighted to find this post because what I had tried was not working. The fact that you have to make the model thinner by radius of the round over was bothersome so I continued to think about the problem. The problem is the lack of a face in which to draw the round over profile. One way to create this face is to pass a cutting plane through the model; either parallel to the red-blue plane or green-blue plane. This cutting plane can be constructed by drawing a rectangle and creating front and back components (or right and left). You can use "view/component edit/hide rest of model" to expose the surface on which the round over profile can be drawn. The "follow me" tool can be used to round over THREE edges. The same thing can be done with the other half of the model using "copy/paste in place". I tried it and it works but the (ugly)results were different shading on the two halves of the model. I make no claim that this is better, just different.
Log in or create an account to post a comment.
Sign up Log in