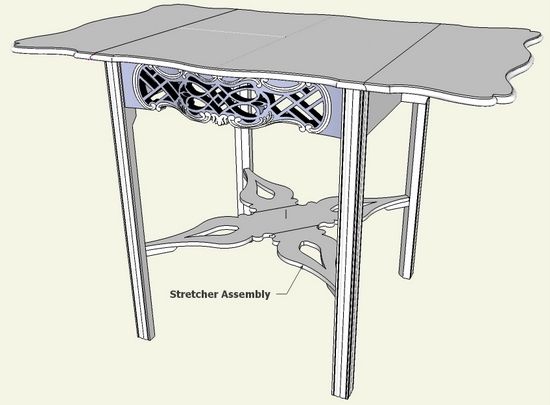
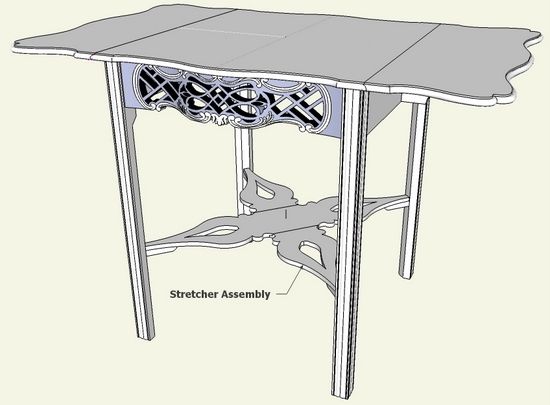
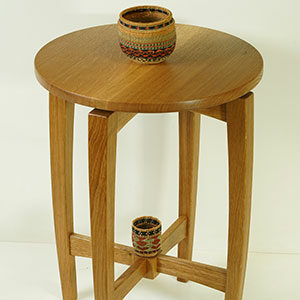
There is a nicely shaped stretching rail connecting the lower part of the legs in the Thomas Elfe breakfast table. One complication in making this stretching assembly is the fact that the table is not square. So the crossing angle of the two parts is not 90 degrees. The angle is actually 87.2 degrees.
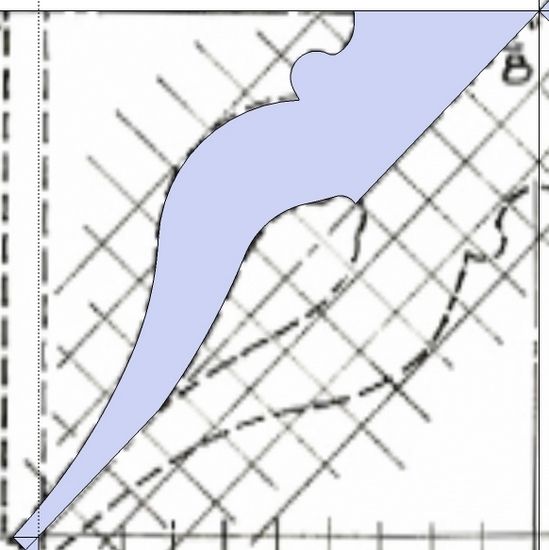
Step 1: Trace over the scanned image with the Line and Arc Tools. I only re-create 1/4th of the shape since there is symmetry of the component. Below, you can see the traced over shape in blue color on top of the scanned image.
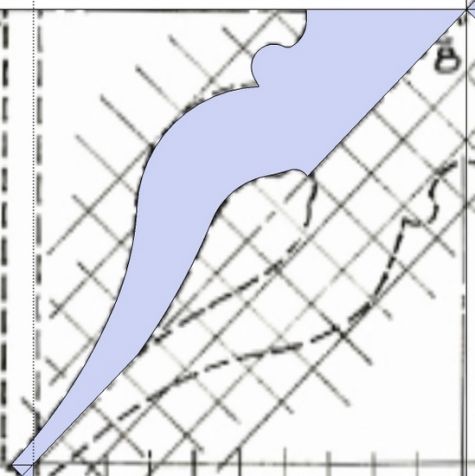
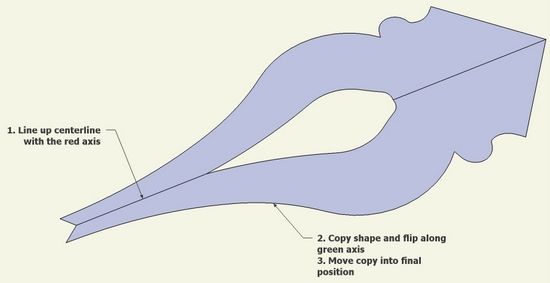
Step 2: Before doing the next steps of copying and flipping, it is helpful to have the 1/4 shape lined up with a SketchUp axis. I lined up the centerline of the shape with the red axis by using the Rotate Tool. Copy the 1/4 shape and flip along the green axis. Then connect the copy to the original shape.
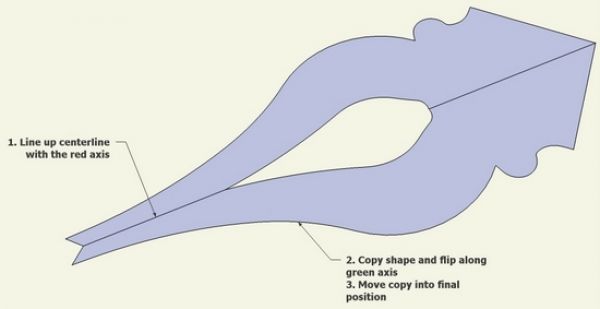
Step 3: Now copy the 1/2 shape, move to the right, flip along the red axis, and connect to the original 1/2 shape.

Step 4: Use the Line Tool to fill in some gaps in the middle of the shape, then use the Push/Pull Tool to create the thickness of 7/16-in. Create a vertical line right through the center of the stretcher. We will use this to accurately position the crossing stretcher.

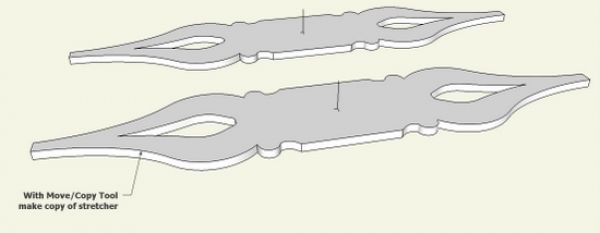
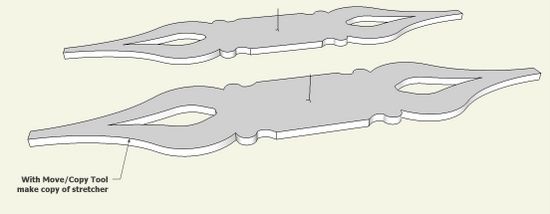
Step 5: With the Move/Copy Tool, copy the stretcher. This copy will be rotated into position with the original stretcher.

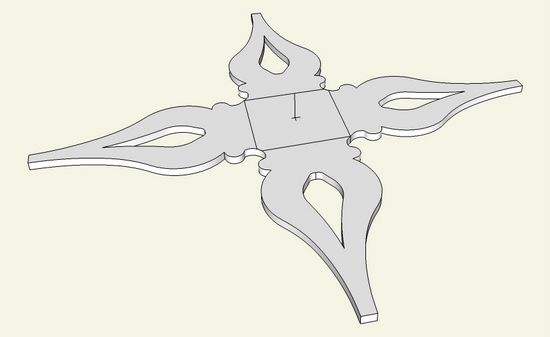
Step 6: Make a copy of the stretcher shape. Use the rotate copy to rotate this copy 87.2 degrees (remember I said that the table is not square, thus causing this slight adjustment.) Use the center lines to connect the two crossing stretchers.
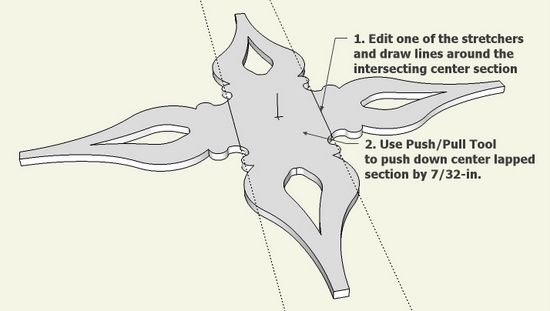
Step 7: Now to create the half lapped joint. Edit one of the stretchers by drawing lines around the intersecting center section. Then with Push/Pull Tool, push down the center lapped section by one half of the stretcher thickness.
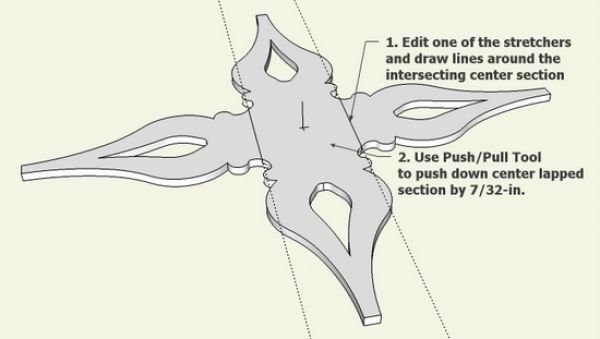
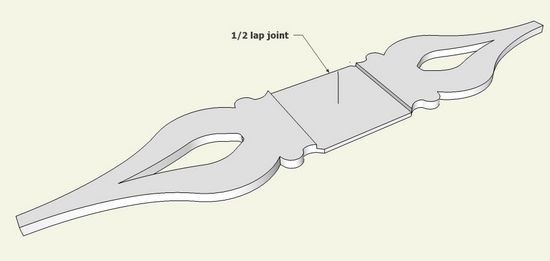
Step 8: Here is the resulting depressed center section showing the lap joint.
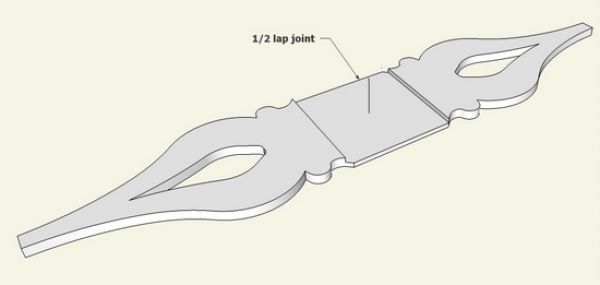
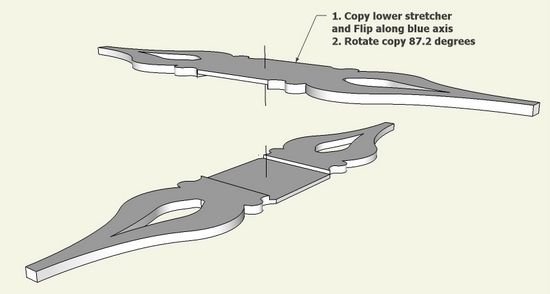
Step 9: Copy the lower stretcher and flip along the blue axis. Then rotate the copy 87.2 degrees and fasten the two pieces together at the joint.
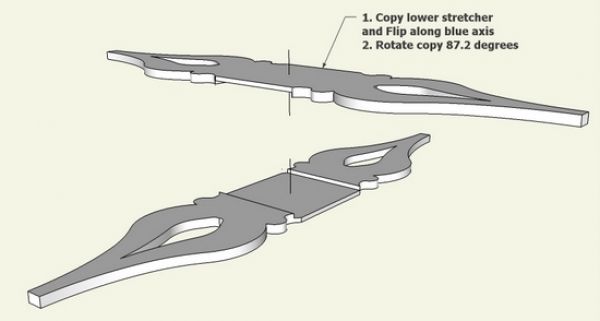
Step 10: Rotate the stretcher assembly and position within the table assembly.
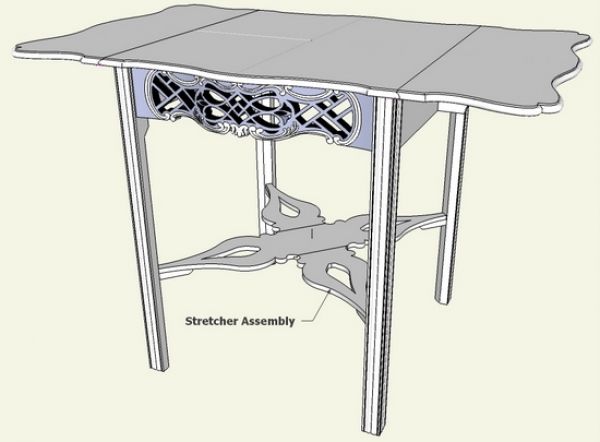
Finally, there are small supporting cleats that tenon into the legs and fasten to the stretchers.
This completes the construction of the Breakfast Table.






Log in or create an account to post a comment.
Sign up Log in