Finish While You Build
Pre-finish parts and then control squeeze-out for a fast, flawless finish.
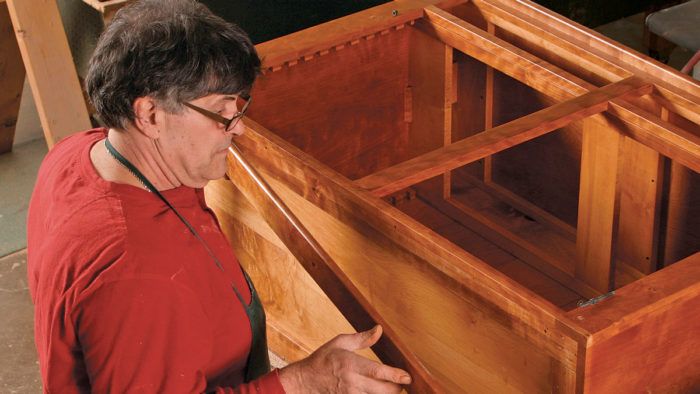
Synopsis: Before you start a project, you should be thinking about its finish. That’s Charles Neil’s approach, and it saves him both time and effort. By taking the time to plan his finish and break down each piece into components that can be pre-finished before assembly, he makes the task of finishing simpler. In this guide, he shows how to pre-finish interiors, protect them from squeeze-out, and build moldings that can be finished before they are attached. He also offers tips that will keep wood movement from ruining the finish on a frame and panel.
For most woodworkers, finishing is a chore to be put off as long as possible. So they wait until after a piece is assembled to figure it out. Instead, finishing should be one of the first things on your agenda; if it isn’t, you will work yourself into a corner—literally.
 At age 13, I ran across a guy who painted cars. I really enjoyed watching him work, and later learned to do painting and finishing myself. I worked for years in that industry, and along the way I learned a lesson that has become invaluable in my woodworking: Look at each piece as a collection of parts. Just as a vehicle breaks down into the hood, the trunk lid, the doors, etc., a piece of furniture can be broken down into components.
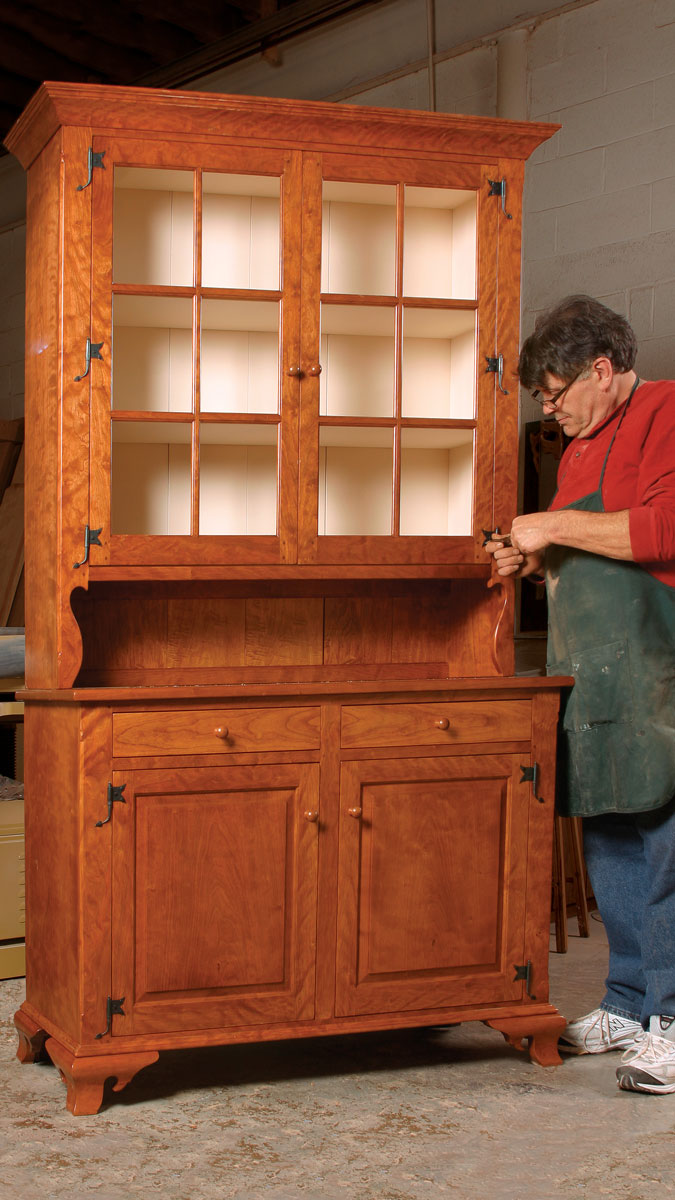
This step-back cupboard, for example, consists of the doors, the face frame, the shelves, the crown molding, and other distinct parts. Not only is it much easier to sand and pre-finish these parts before they are assembled, but I also have a number of ways to modify the design of the components slightly to simplify finishing.
On this cupboard, the upper cabinet interior is spray-painted and the rest of the piece is finished with Waterlox wiping varnish, but you can use my techniques with any type of finish.
Think finish before you cut and glue
Few woodworkers are handy enough with dyes to be able to harmonize boards of different colors. Therefore, spend some time at the lumberyard sorting through the boards for matching color and grain.
Once you get the wood home and begin to lay out the parts on the boards, it often pays to alter the dimensions of your piece slightly. Unless you’re building an exact replica, the design usually has a little flexibility. Say you have two beautifully matched boards that are ideal for the tabletop but are 1⁄4 in. narrower than your planned width.
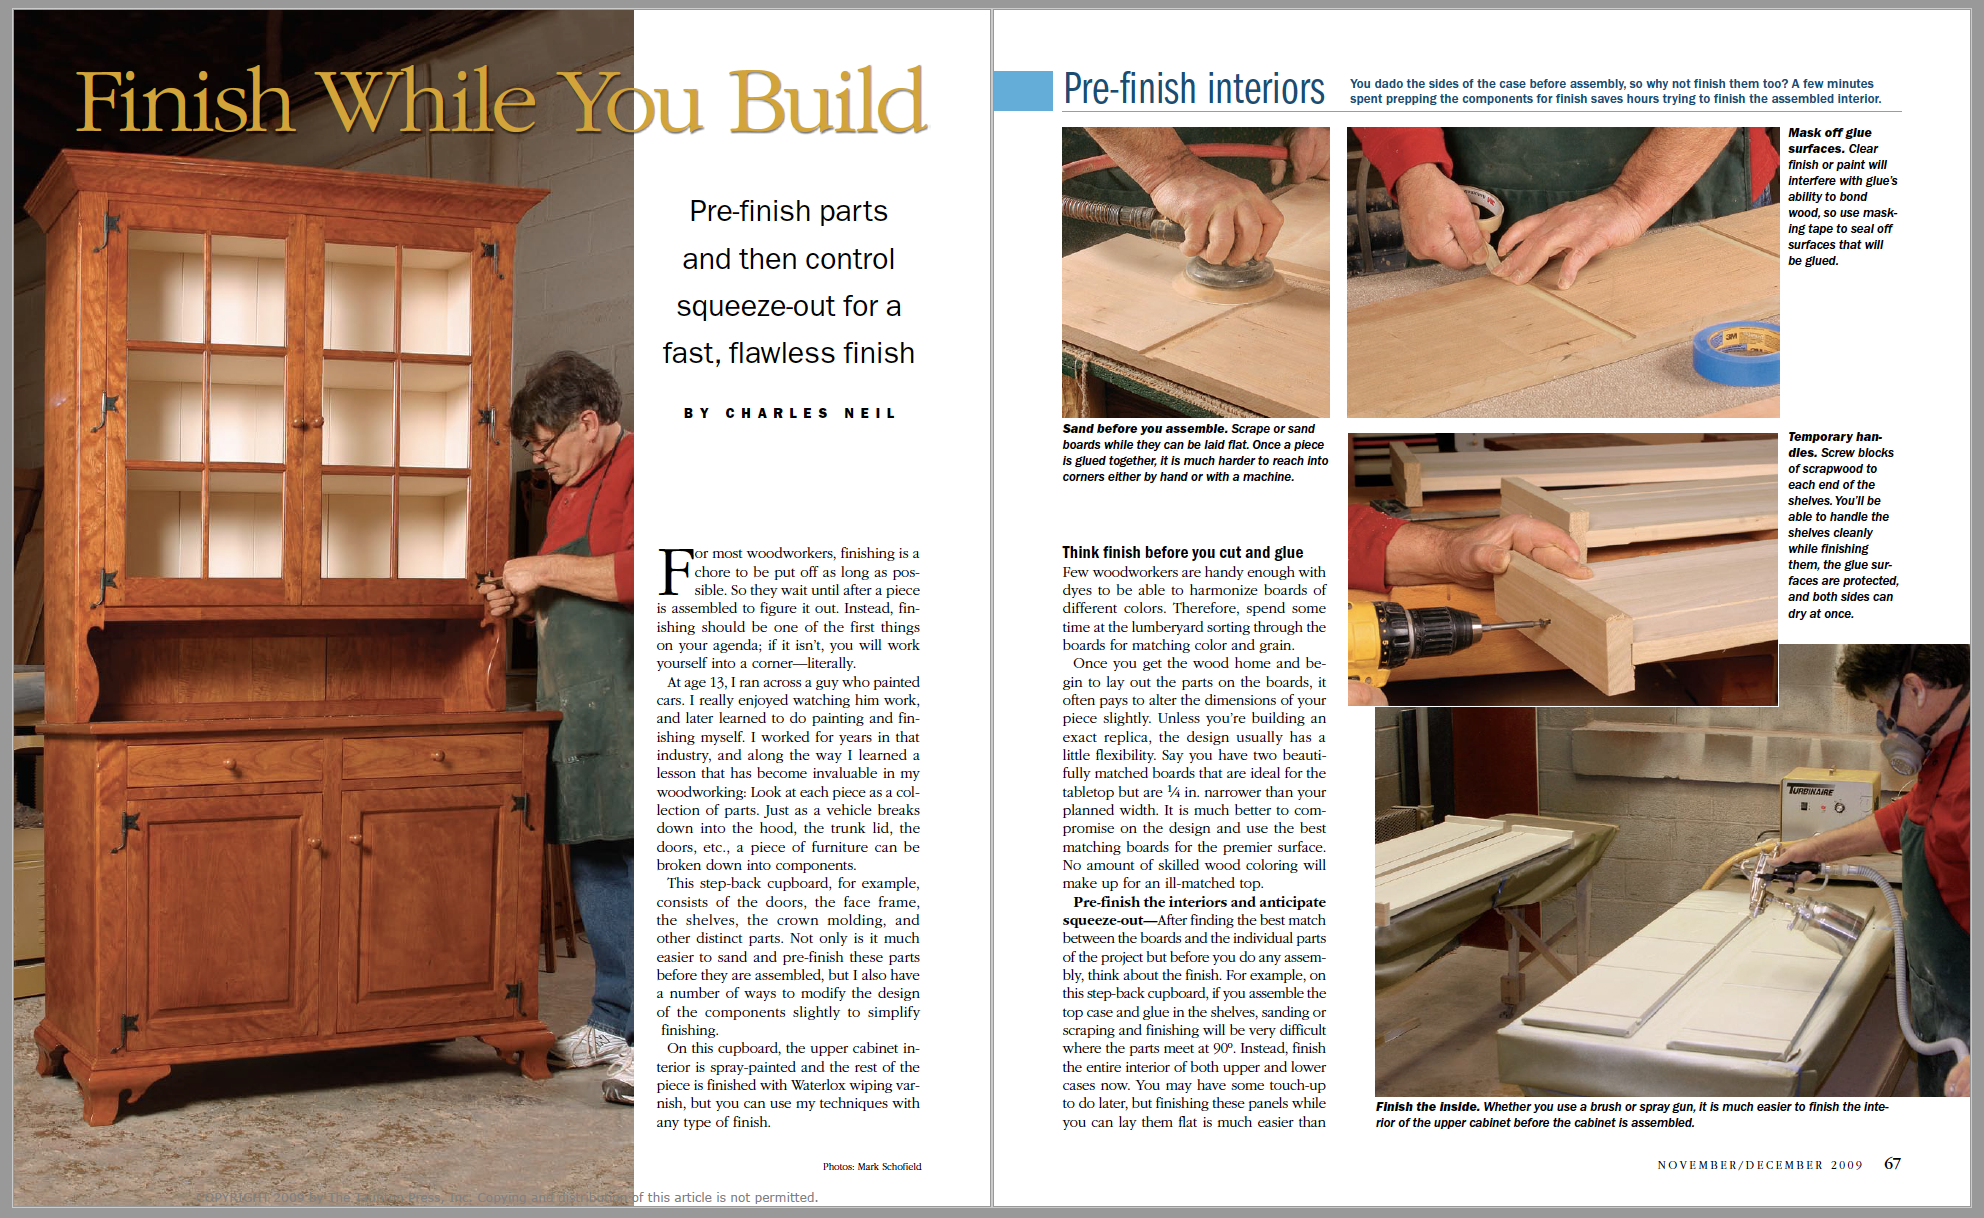 From Fine Woodworking #208
For the full article, download the PDF below:
Fine Woodworking Recommended Products
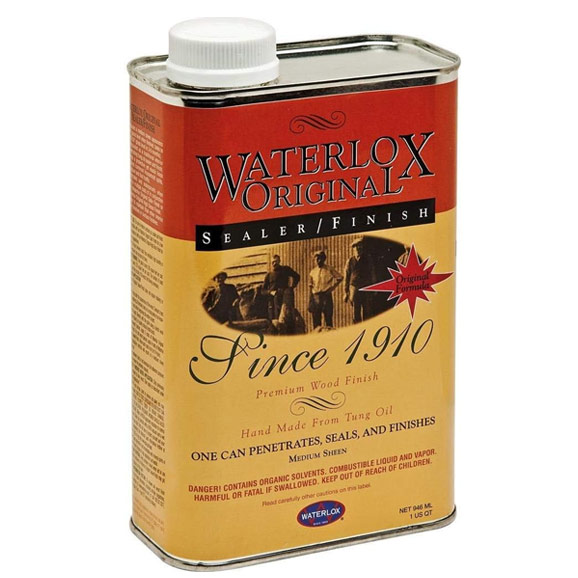
Waterlox Original

Bumblechutes Bee’Nooba Wax

Odie's Oil




Log in or create an account to post a comment.
Sign up Log in