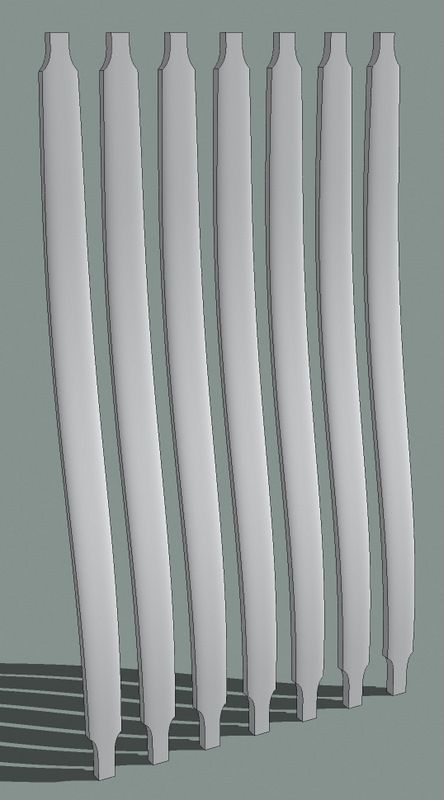
A friend of mine asked me about drawing some curved back slats for a chair. The slats I was thinking about are something like you might see on a Maloof-inspired rocking chair. I thought this would be a good job for the Shape Bender plugin*. Here’s how I went about it. Note: what I’ve drawn was just made up on the fly to illustrate the process. I realize it isn’t exactly like those Sam Maloof would have made. I was just eyeballing things as I went. That’s a nice thing about SketchUp. You can just make it up as you go along. If I’d been working from a plan or something else with specific dimensions, I could use those in laying out the slat and the curve it needs to follow.
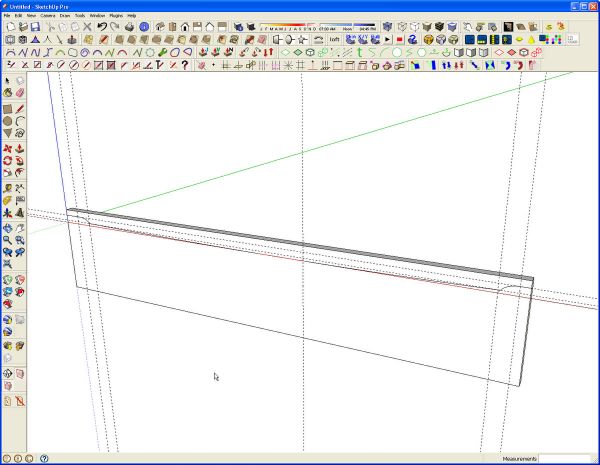
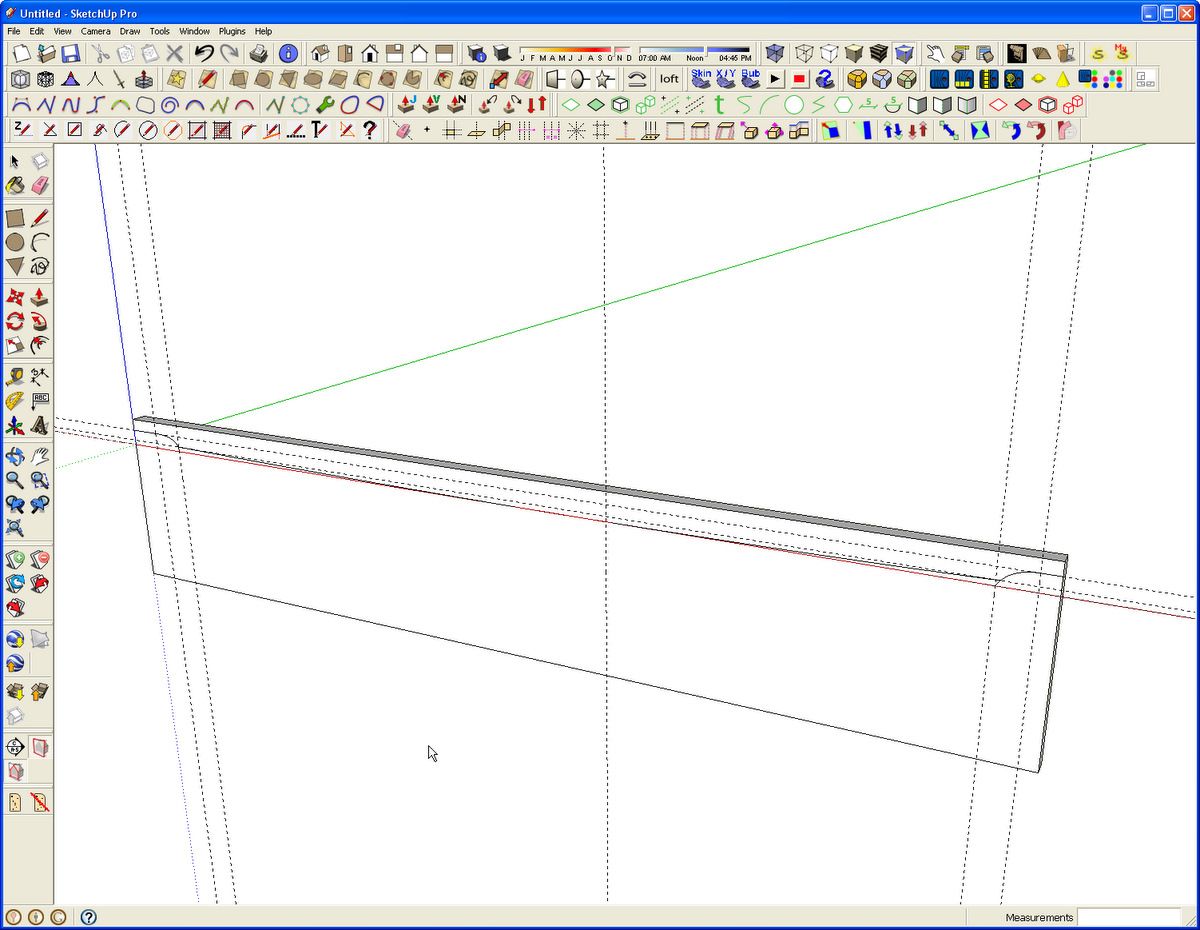
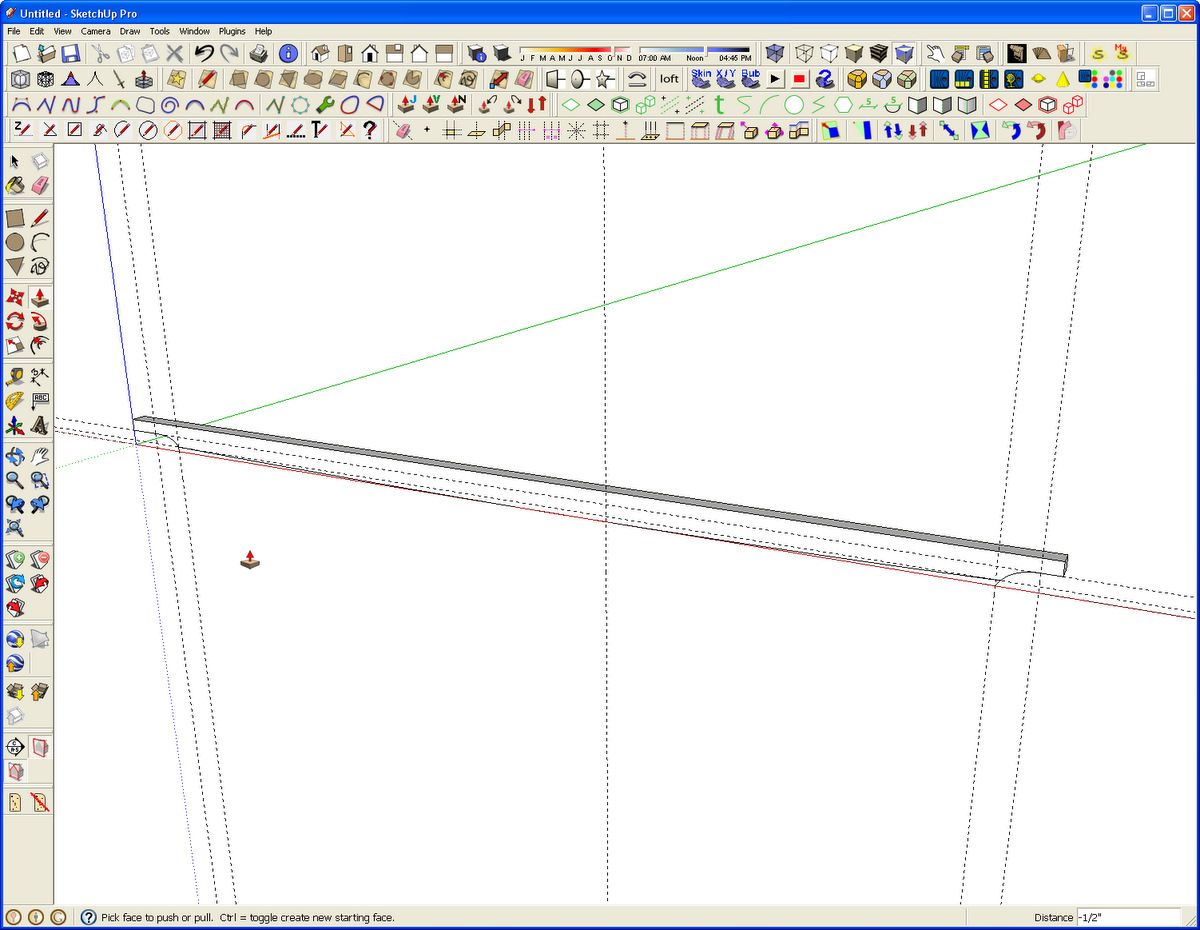
Normally I would draw components in situ in the model. Tim and I have both written about the benefits of doing that. In this case, though, I had to make an exception. This is because of the way the Shape Bender plugin works. So to start, I drew a rectangle on the ground plane. I made it 30 inches long by 1/2″ wide. I used Push/Pull to pull the rectangle up 3/4″ and down a bit. The distance below the ground plane isn’t critical. I just wanted a face to work on while drawing the curves. I used Bezier.rb to draw those curves and since the plugin is able to draw curves in 3D, the face makes it easier to keep the curves flat.
A few guidelines helped with laying out where the curves would go. The slats will be symmetrical so we can get away with drawing half of it to start.
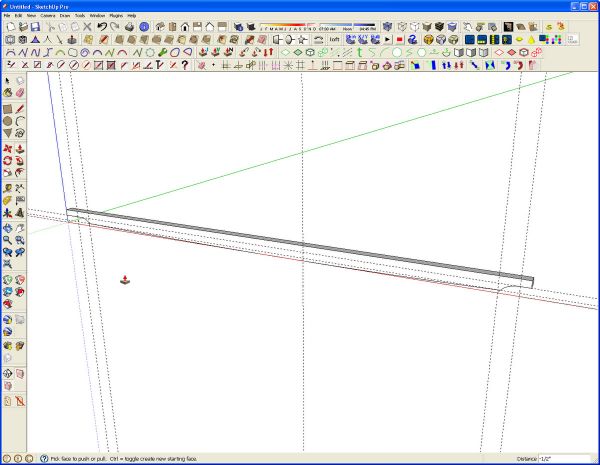
Push/Pull gets ride of the waste leaving half of the slat.
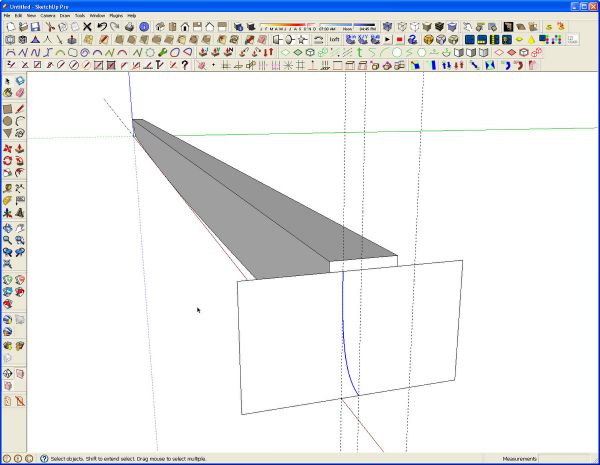
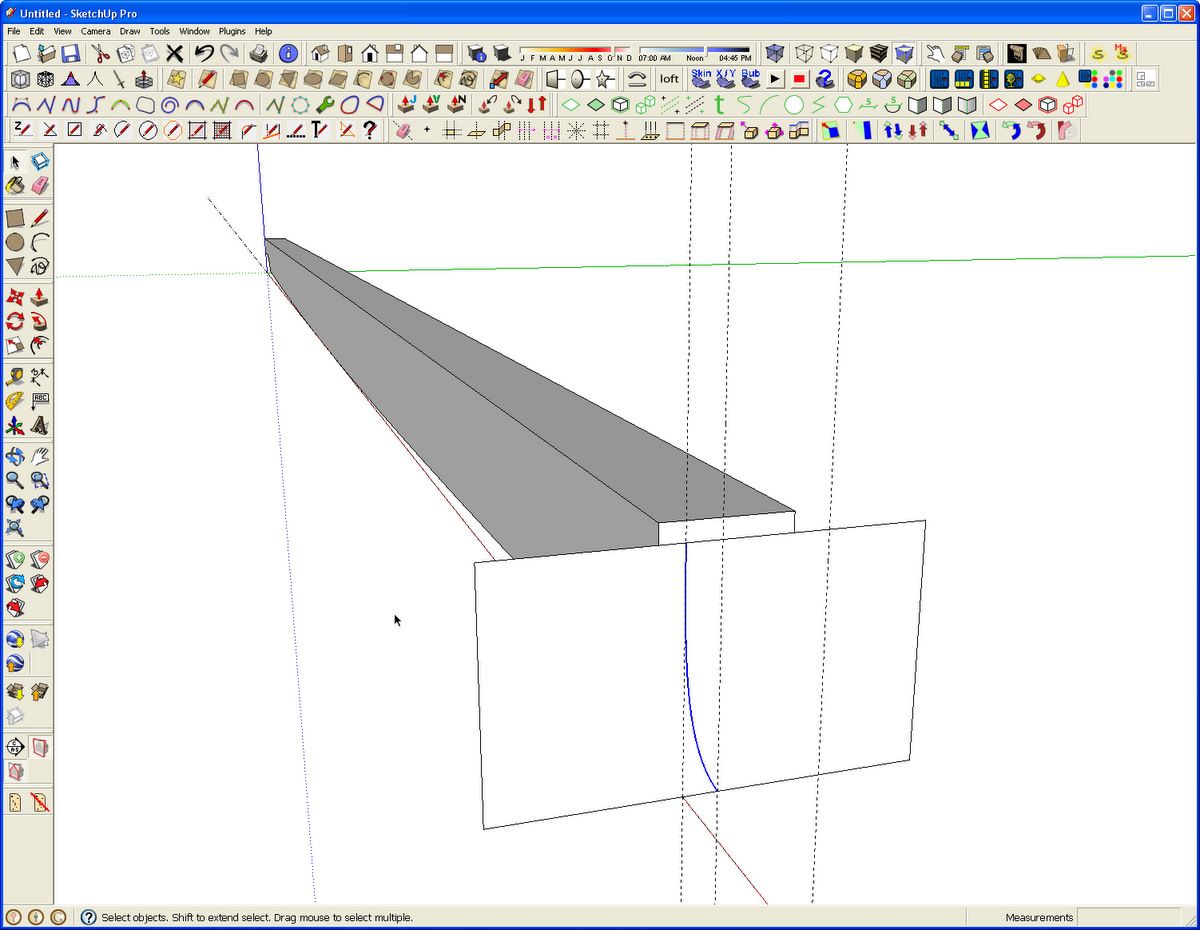
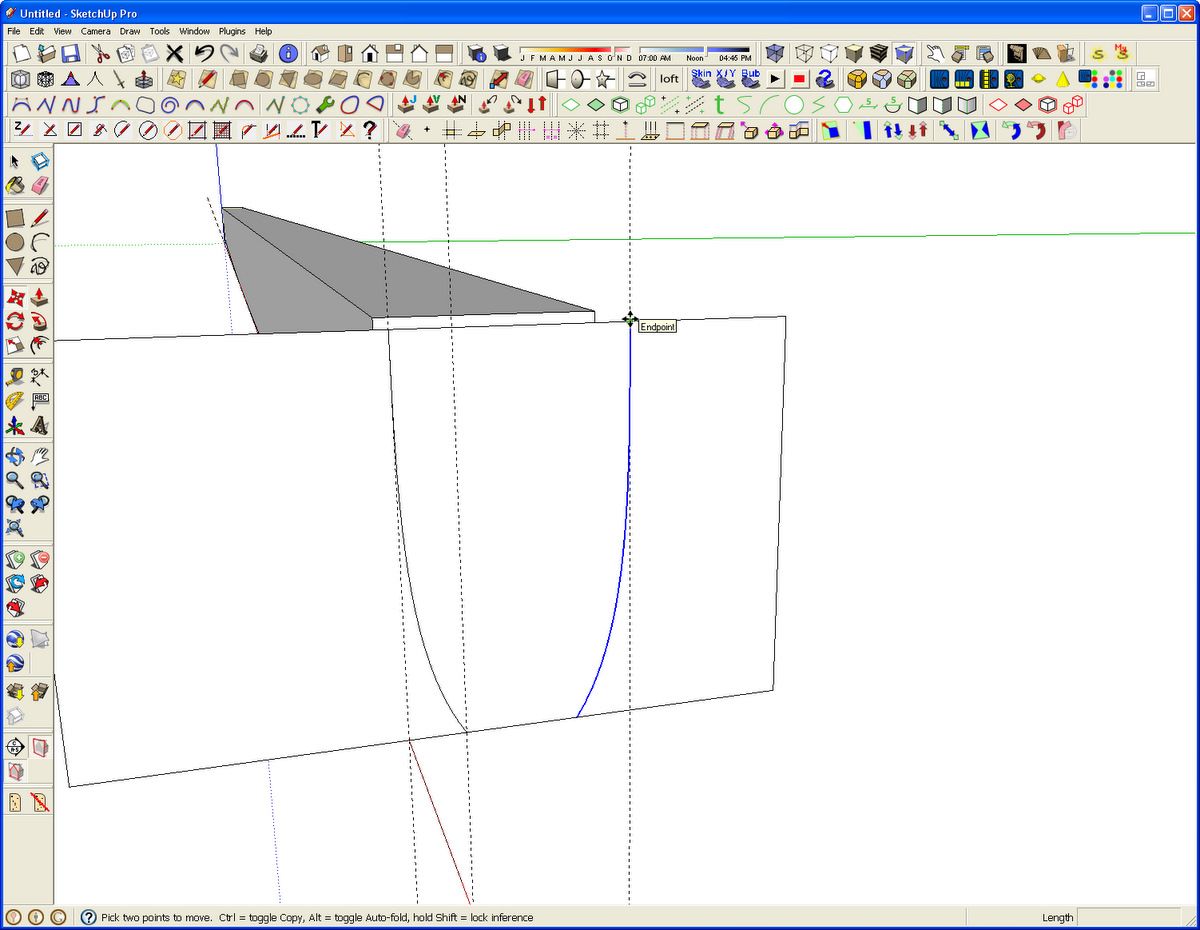
Next, I’ve drawn a face at one end of the slat. On that face I drew the curve for the end profile of the slat. I’m making this profile the same for both the front and back faces of the slat so only one curve is needed.
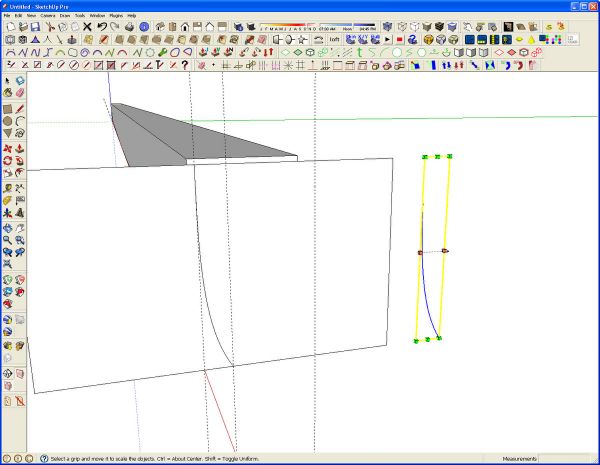
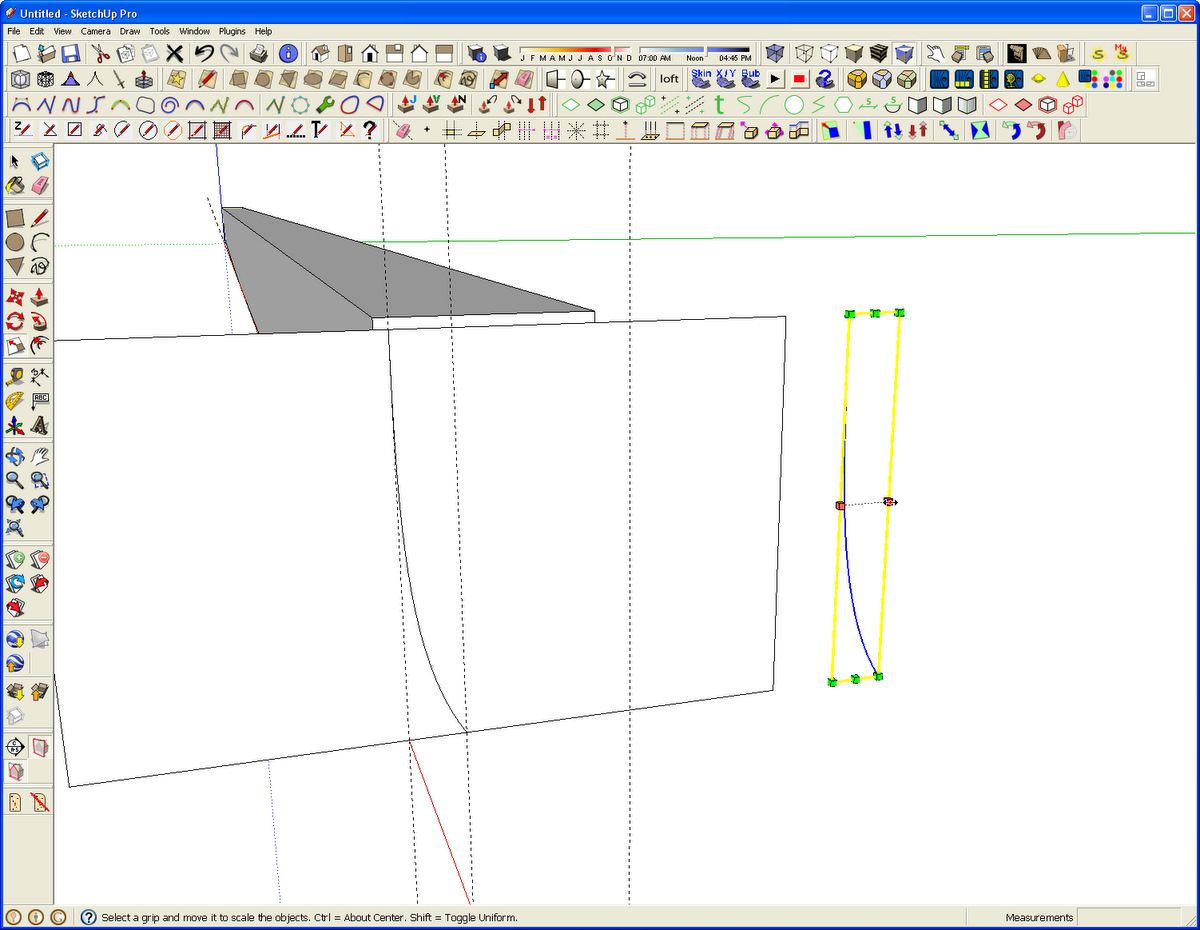
After selecting the curve, it can be copied over to one side with Ctrl+Move (Option+Move on the Mac). I copied it off to the side so it’s easy to see. Then it gets mirrored. Flip Along wasn’t available in the Context menu for this curve but Scale works just fine. Click on one of the side handles and move it toward the opposite handle. Move past and type -1, Enter. Presto! a mirrored curve.
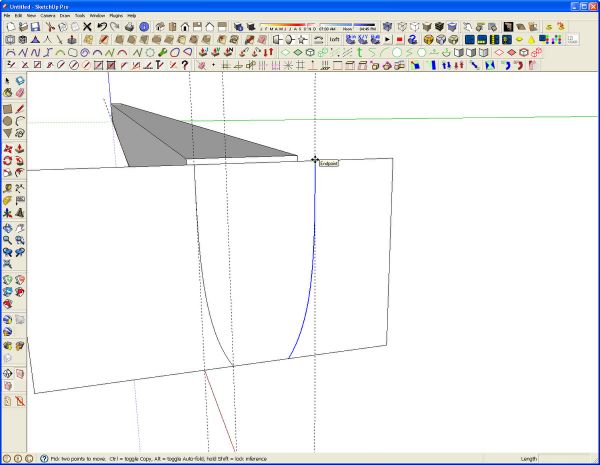
Use the Move tool to move the mirrored version of the curve into place. A guideline marks the location for the upper endpoint of the curve. Grab the curve at that point and bring it over to the guideline. When you get close the curve will snap into place.
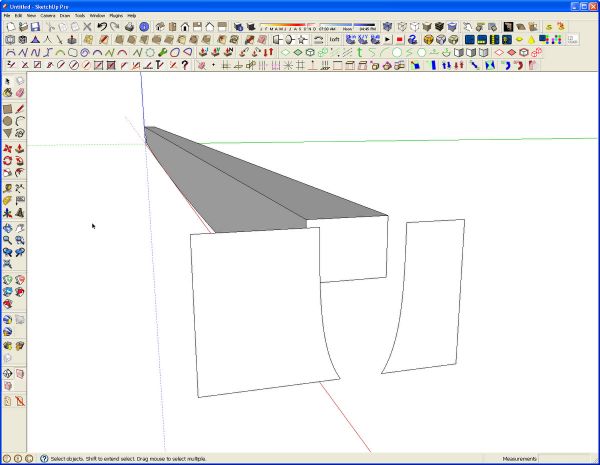
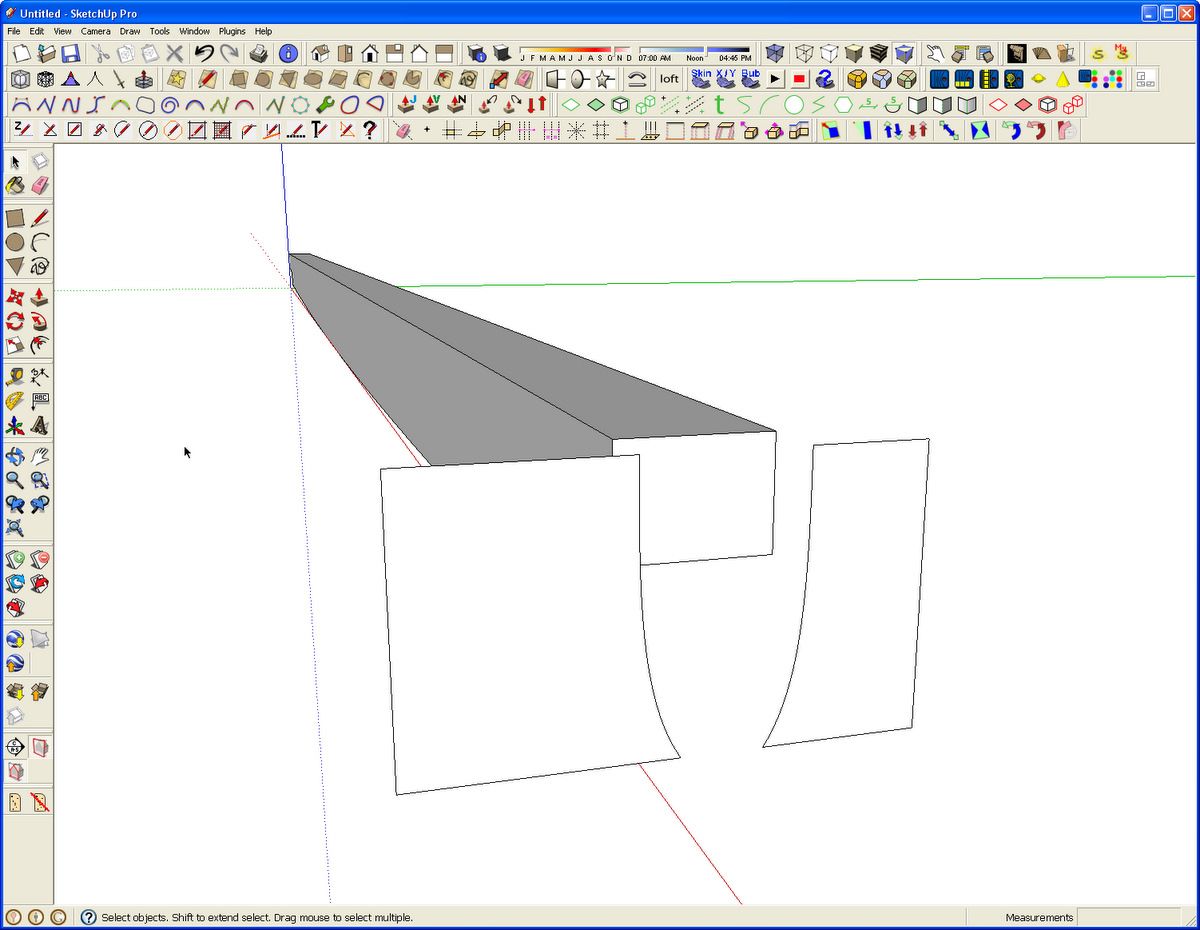
Erase the face between the two profiles to separate them.
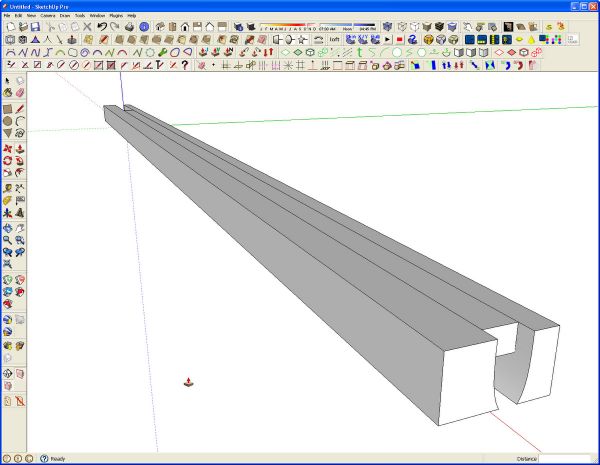
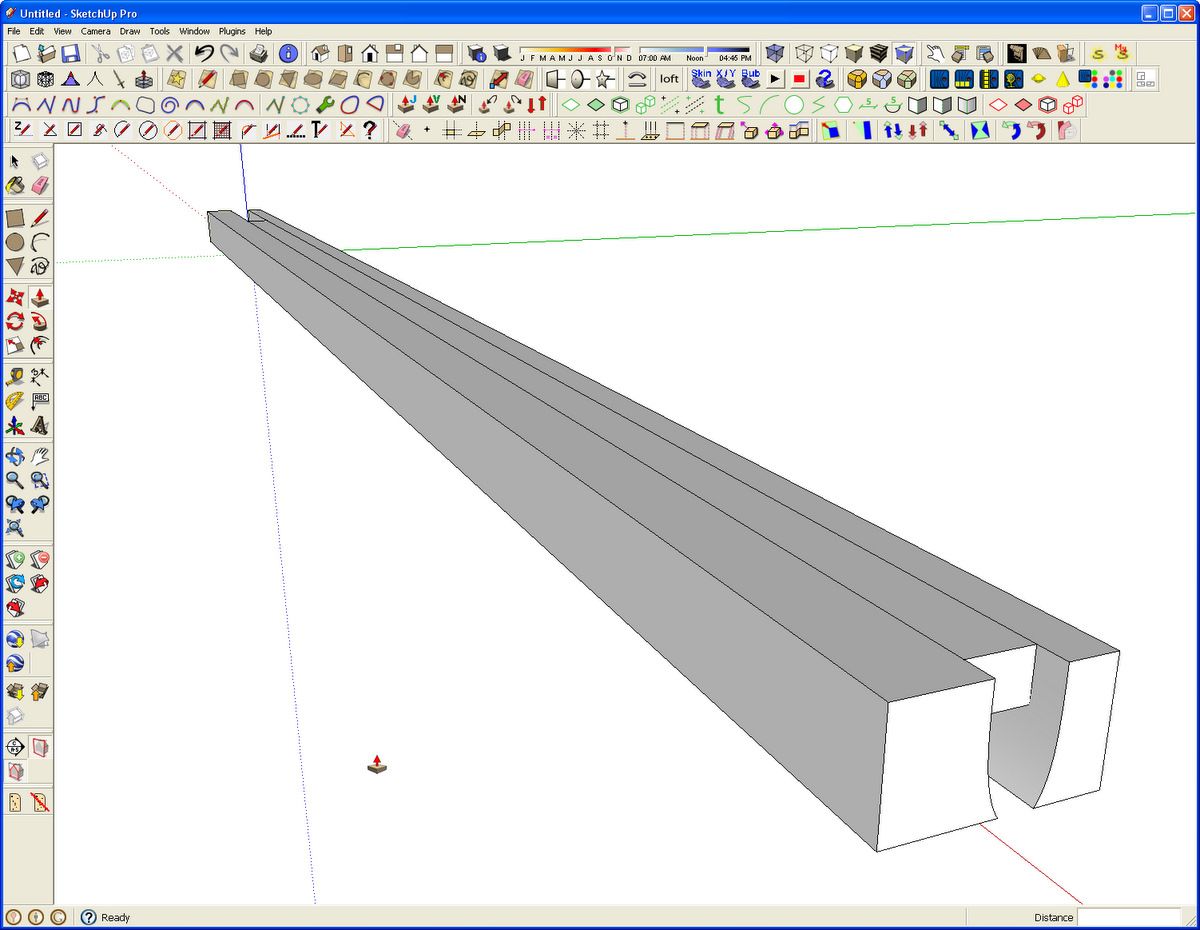
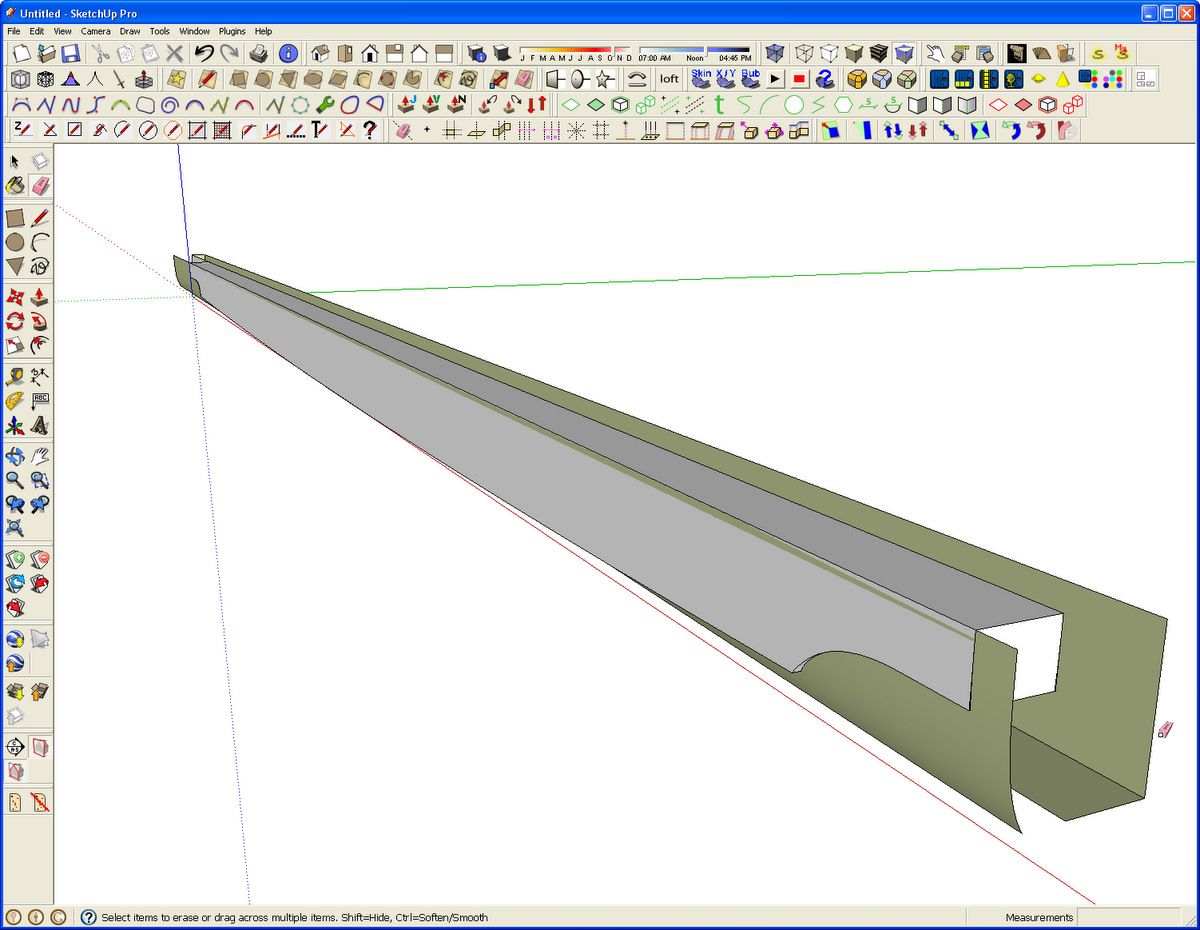
Use Push/Pull to extrude the profiles through the slat and a little beyond the end of it. Before going on, scale the model up. I did this with the Tape Measure tool. I measure the length of the slat which I know to be 30″. After clicking on the second endpoint while measuring, I typed 300 and hit Enter. This will scale the slat up to 300 inches long. This is a temporary move to prevent gaps in surfaces due to potential small faces.
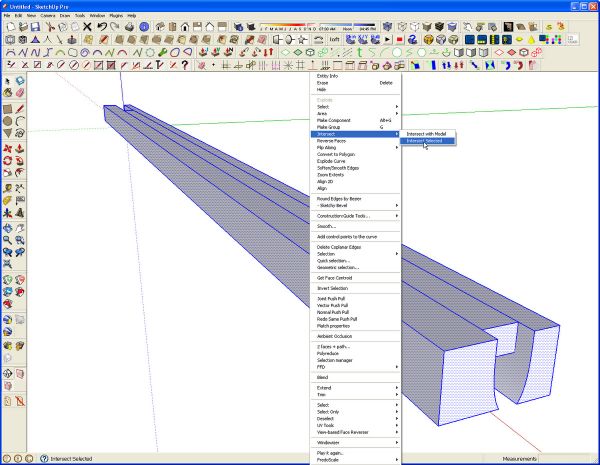
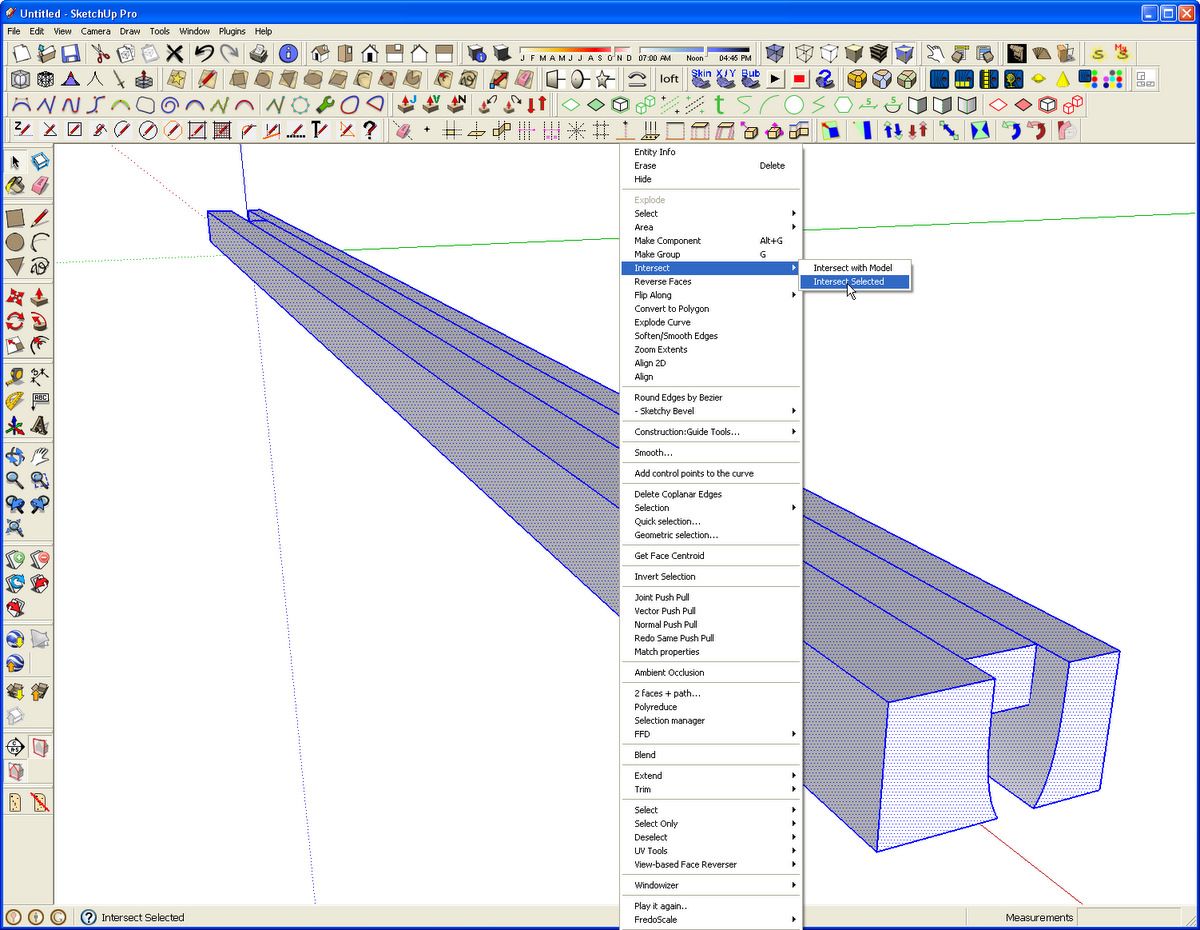
Select all of the geometry, right click on it and choose Intersect>Intersect Selected.
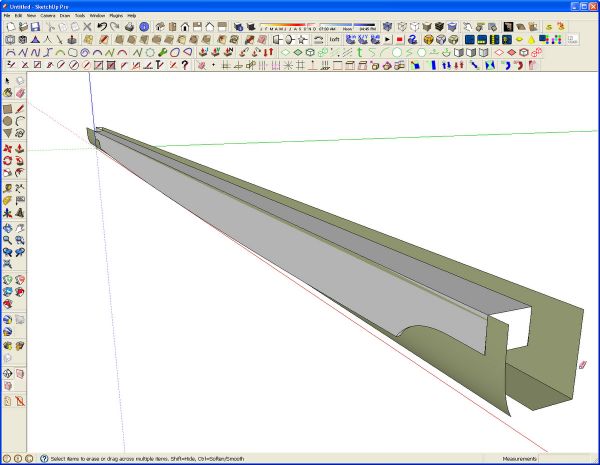
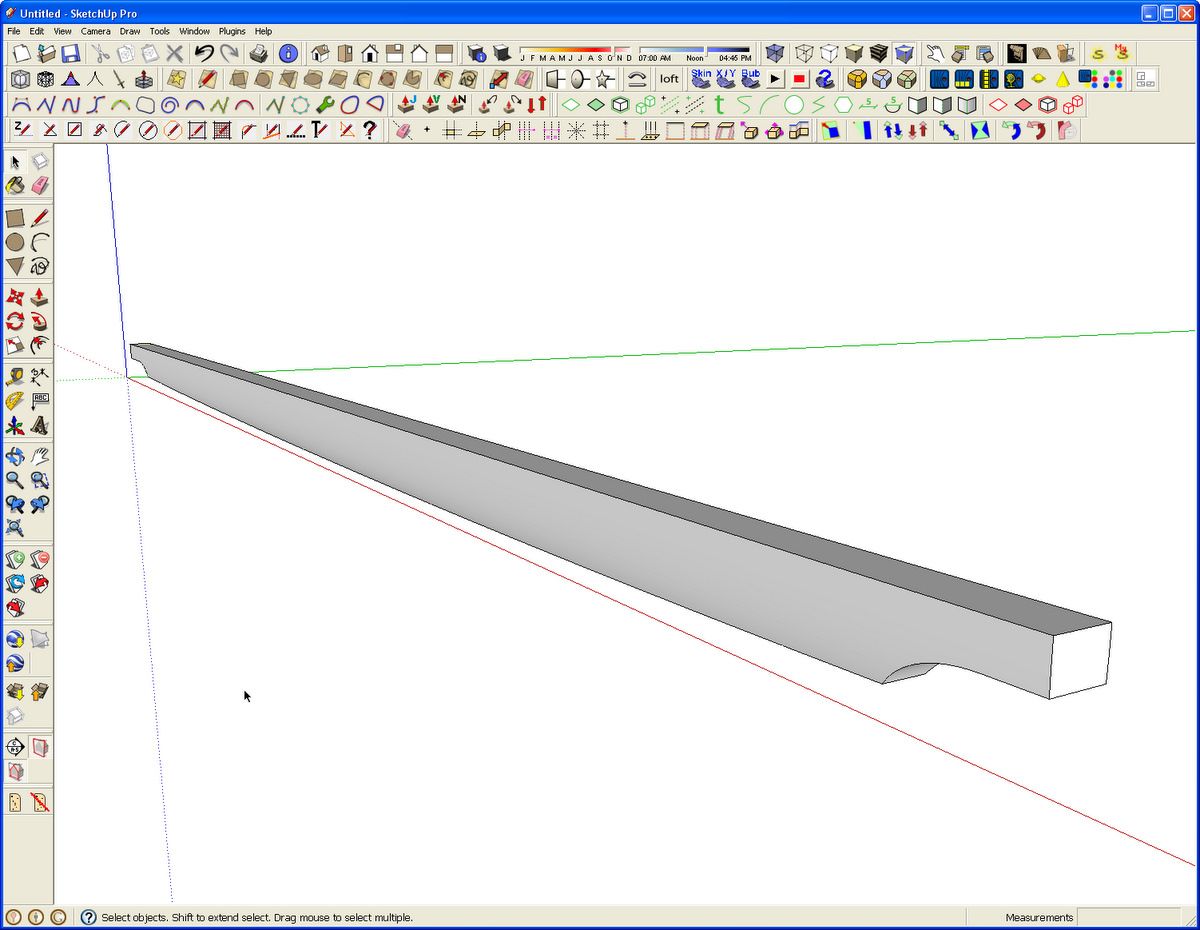
Get the Eraser tool and delete the waste. Heal any missing faces and correct face orientation as needed. Then get the Tape Measure tool and scale the slat back down to the correct size.
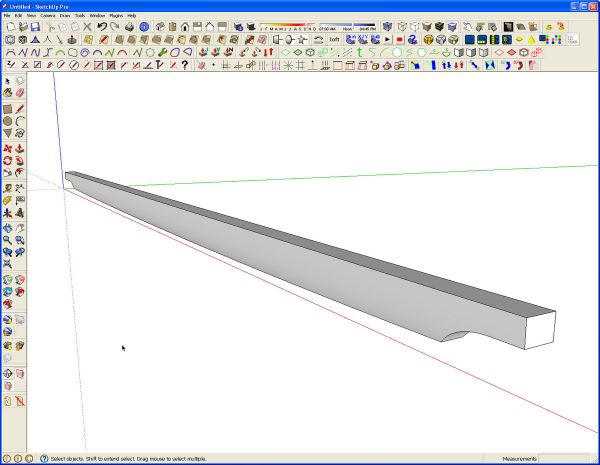
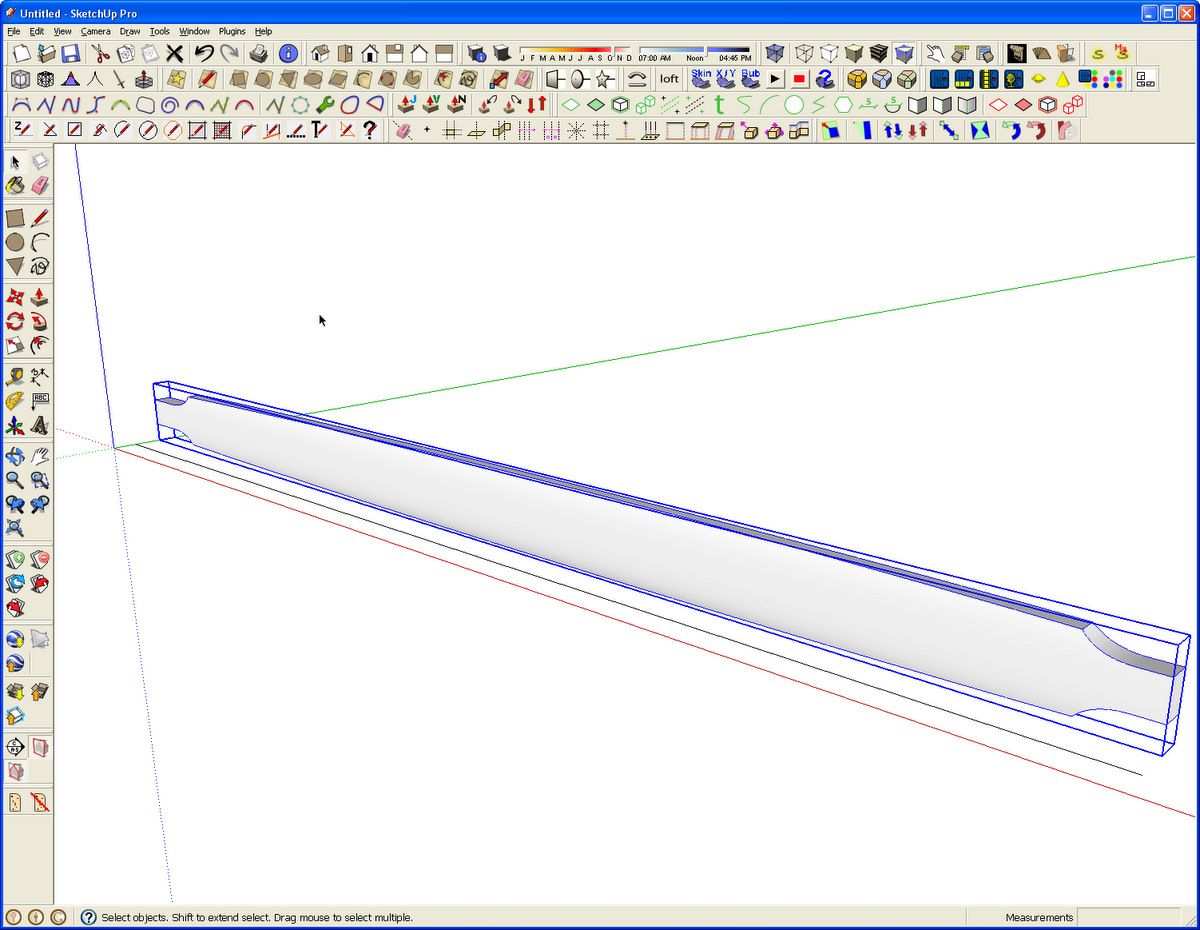
Now we’ve got half of the slat.
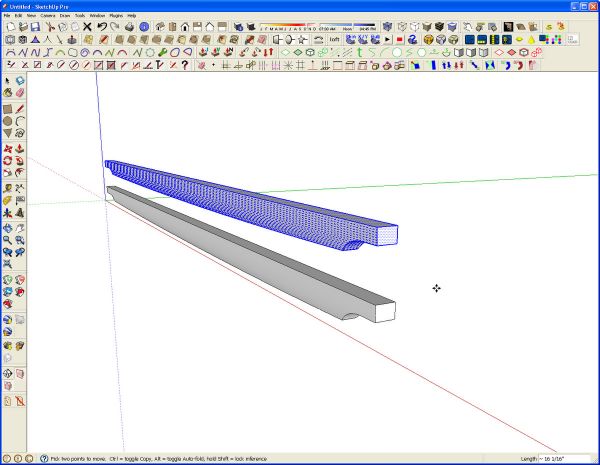
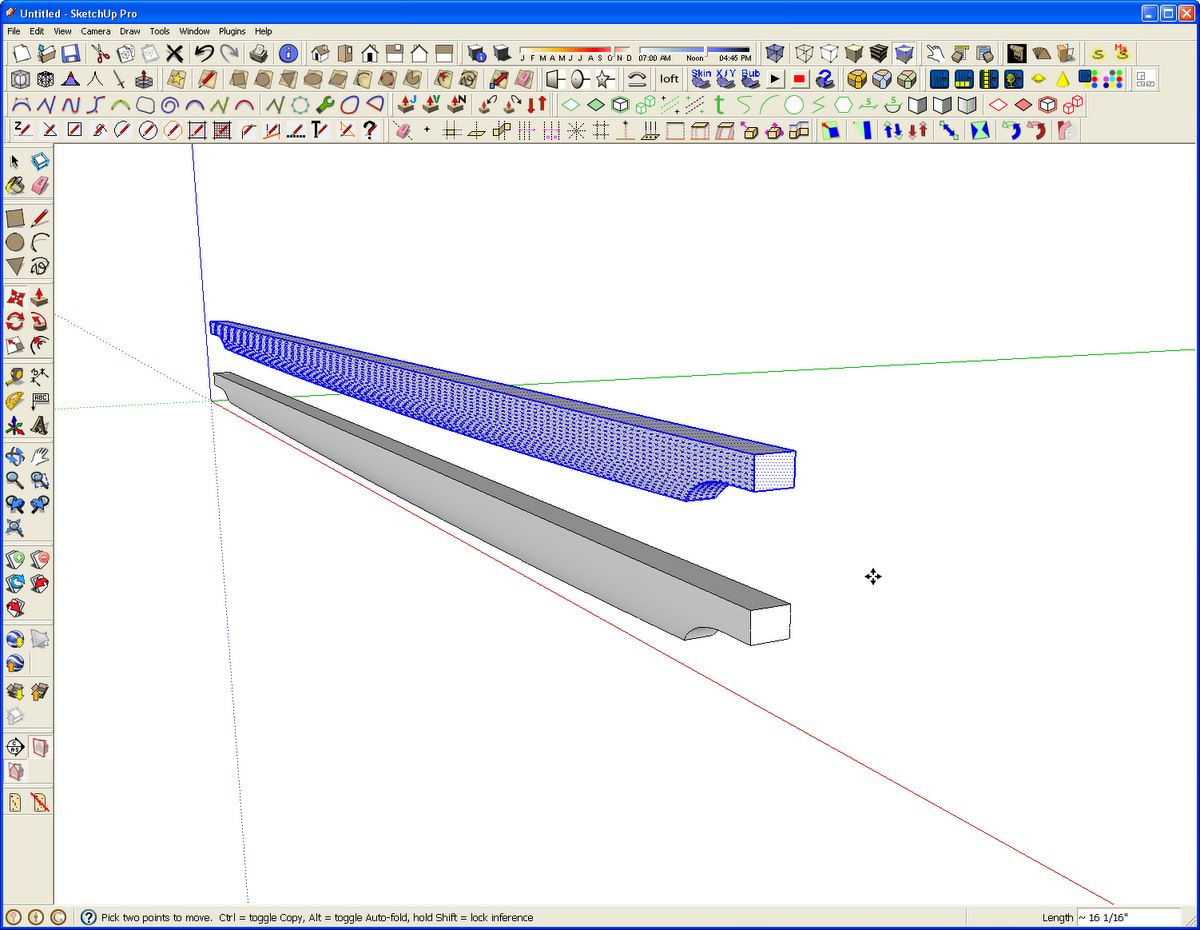
Select all of the geometry and copy it up with the Move tool. Right click and choose Flip Along>Blue Direction. then Move the mirrored geometry down to the original copy.
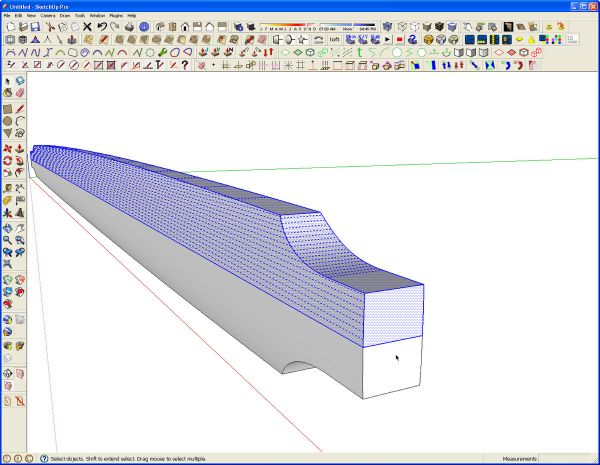
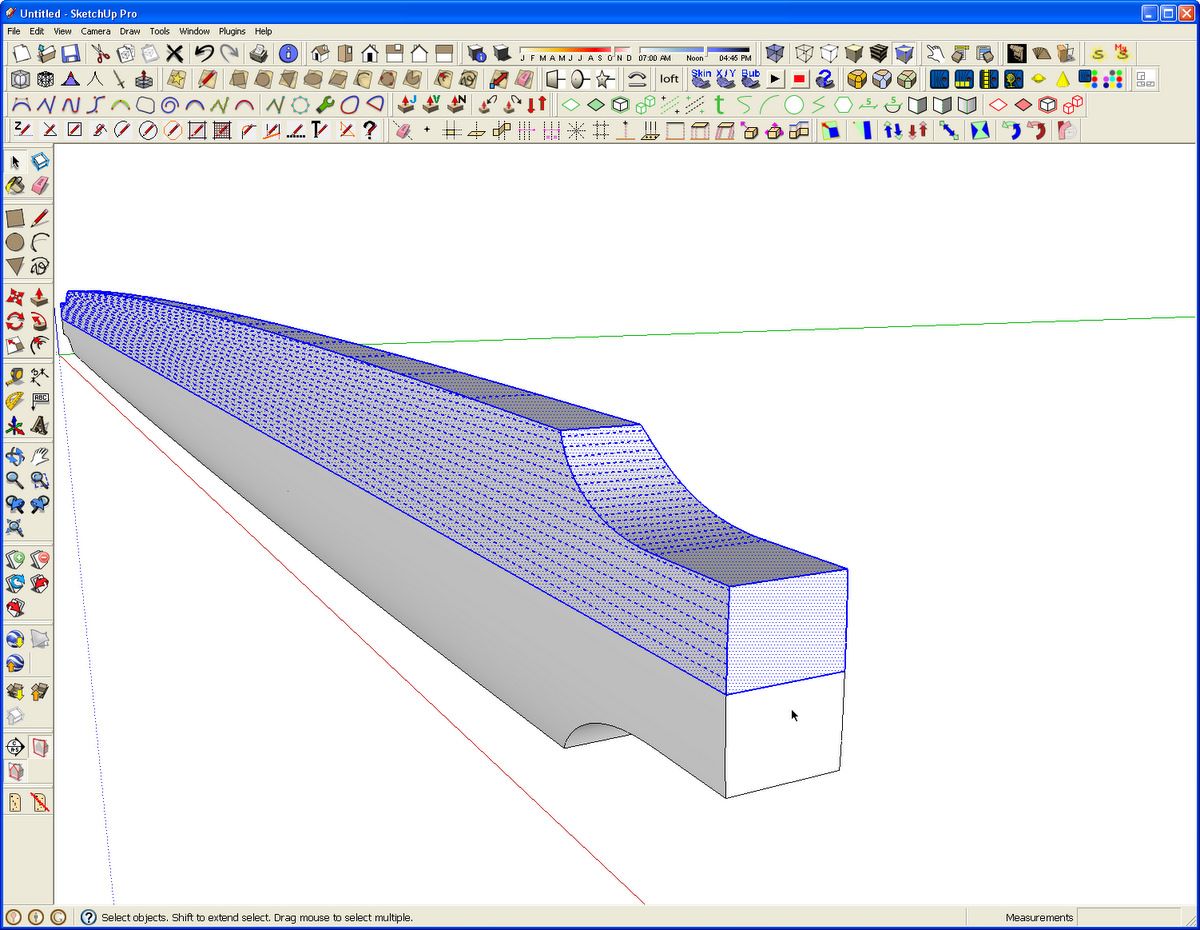
Delete the seam lines at the ends and soften the seam lines down the length with Ctrl+Eraser (Option+Eraser on Mac). Then make the slat a component.
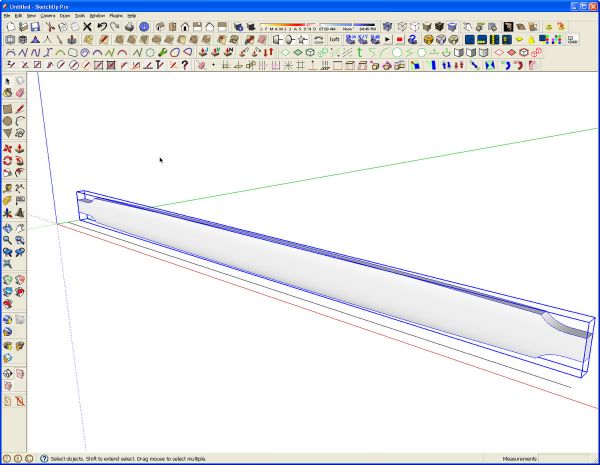
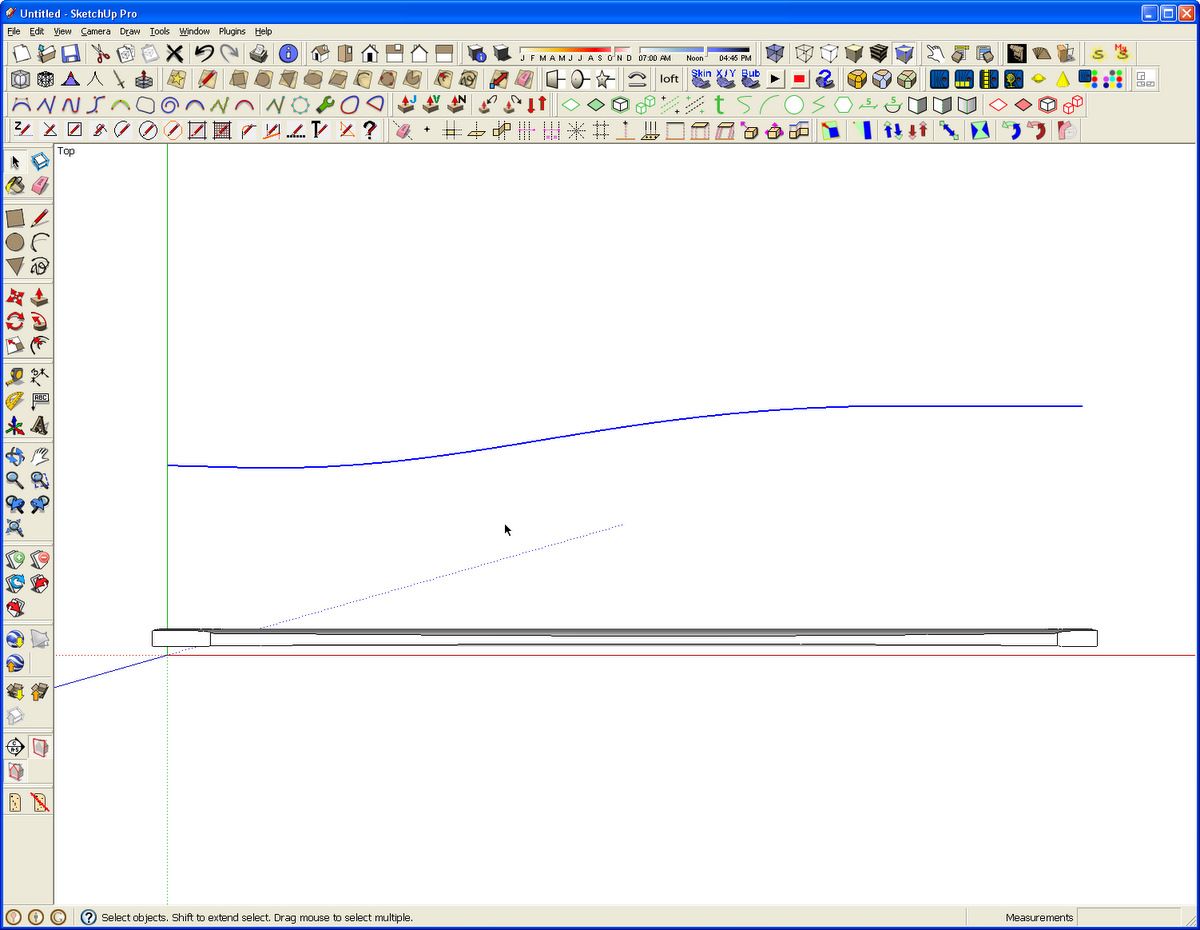
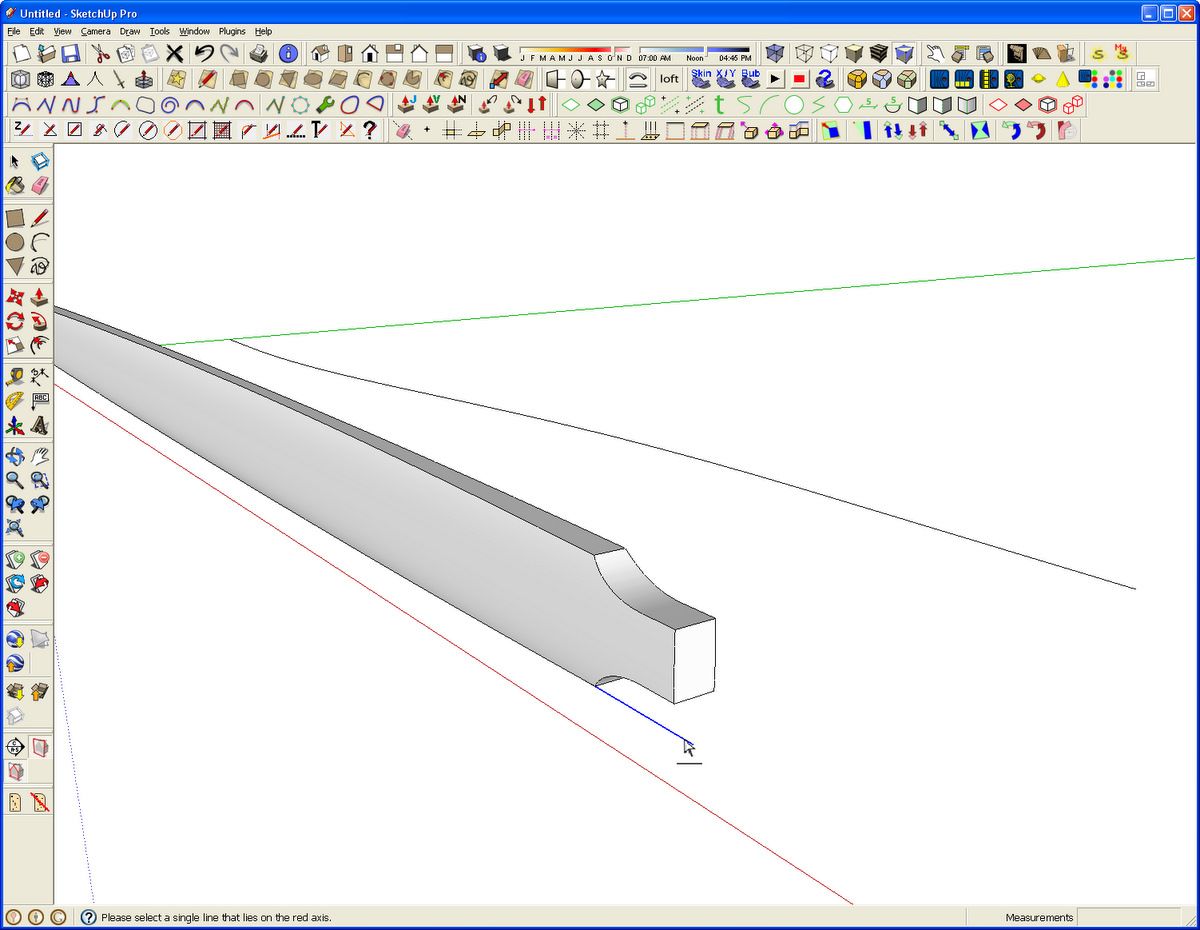
Now we’re ready to set up for the Shape Bender. Draw a line parallel to the red axis to the length of the slat. I’ve moved the slat component temporarily so the line can be seen.
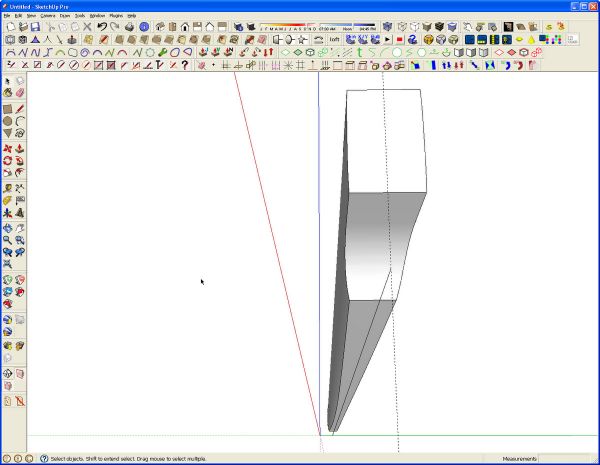
The bent version of the component will be located at the same distance from the curved path, which we’ll draw shortly, as the straight one is from the straight line. I’ll draw the centerline for the bent version so I’ll move the straight slat so it is centered over the straight line.
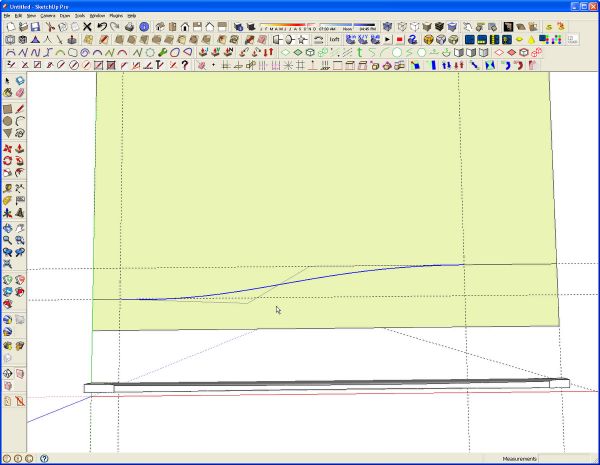
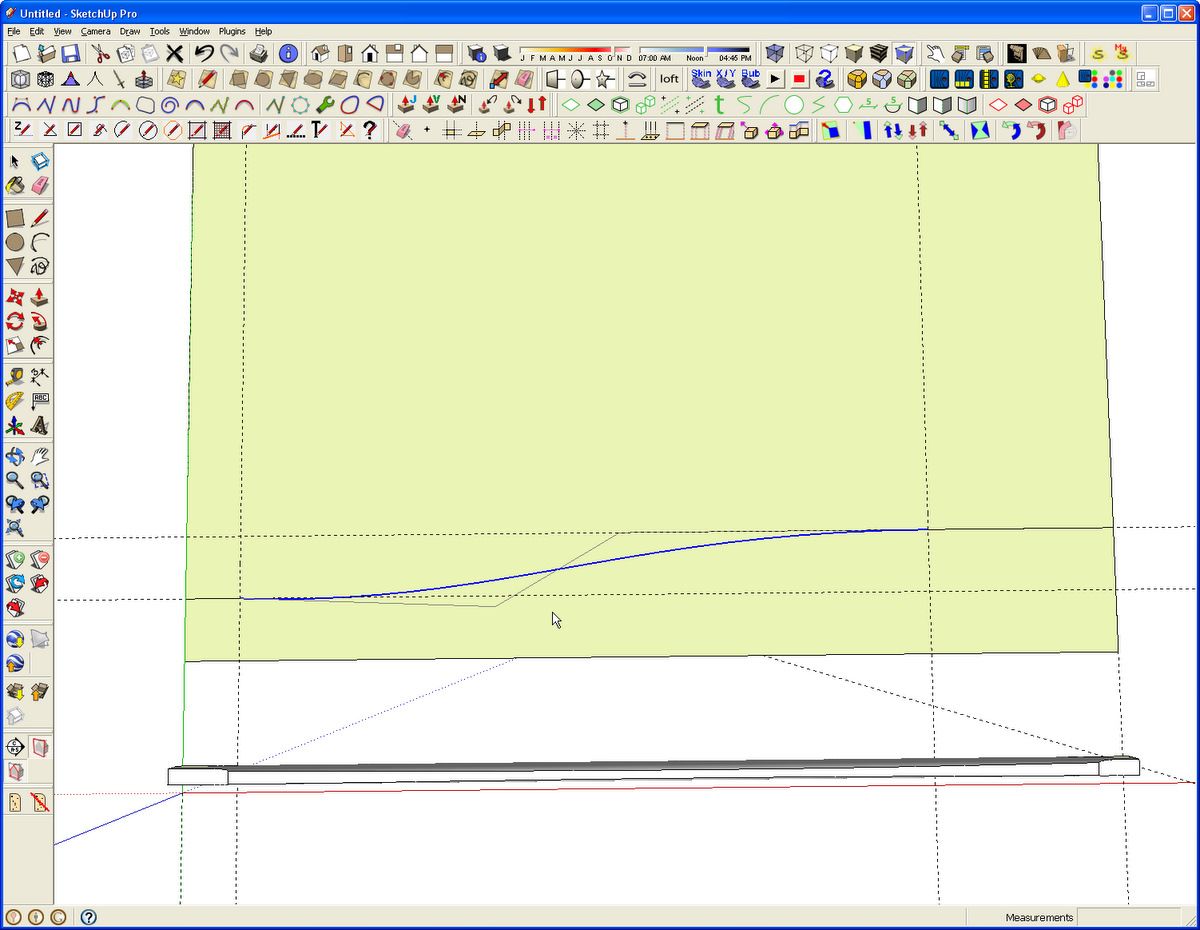
I drew a large face on the ground plane on which to lay out the curve for the slat. A few guidelines help to guide the shape of the curve. In this example there are straight lines at the ends. Bezier.rb was used to create the curve and after putting it in place, I edited it some to tweak the shape. Editing the curve is done by right clicking on it and choosing Edit Bezier Curve. Then you can move the control points at the ends of the gray lines as well as the lines themselves.
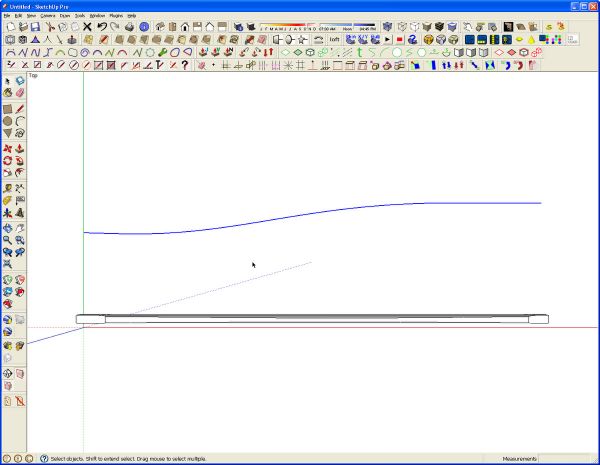
After you’re happy with the curve, delete the rest of the face and its edges.
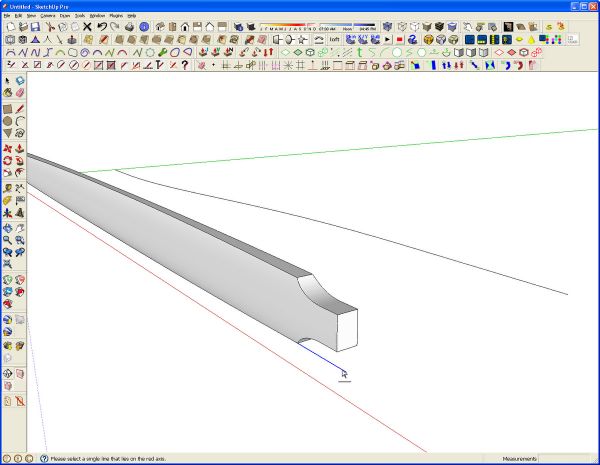
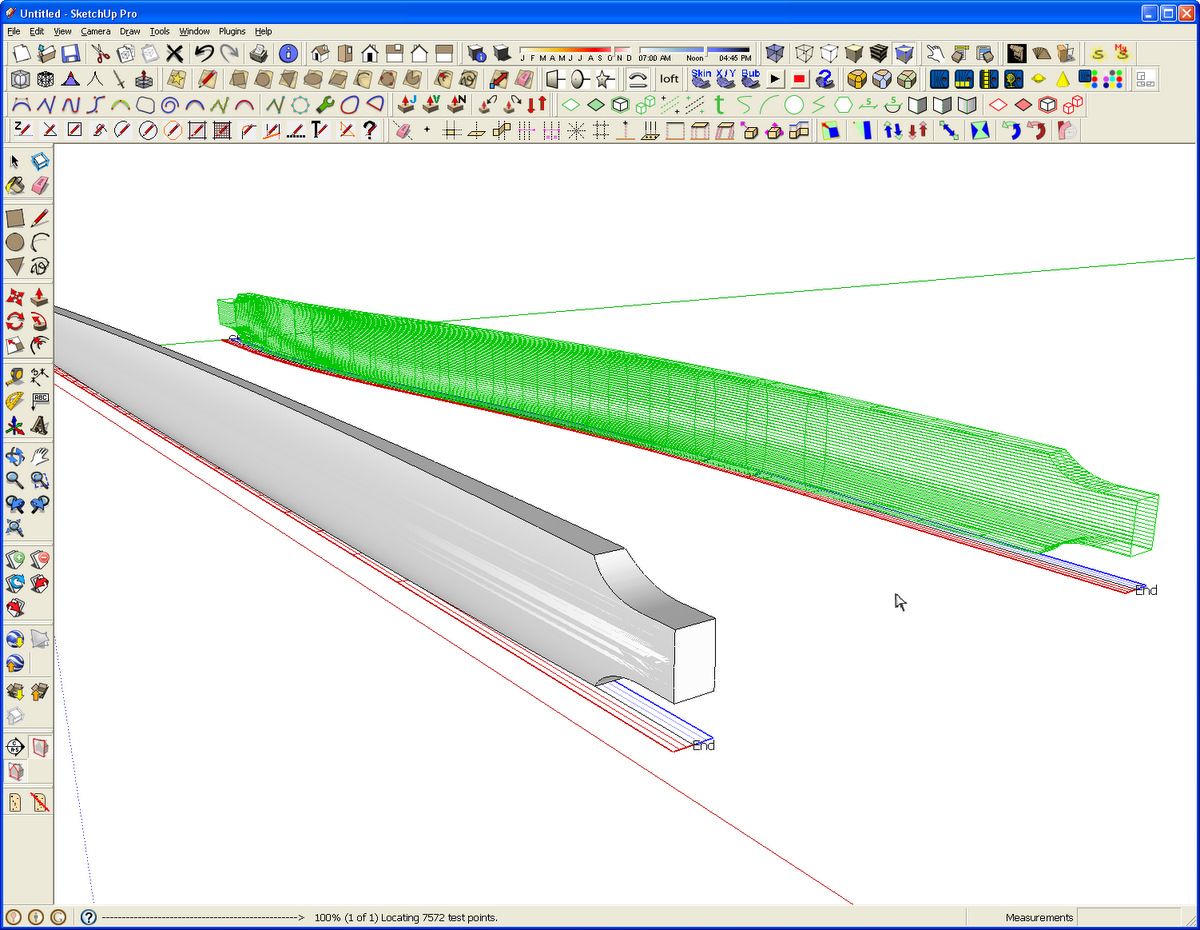
Select the slat component then click on the Shape Bender tool button. the prompt at the bottom of the drawing window tells you to click on the straight line. the cursor also has a straight line under it.
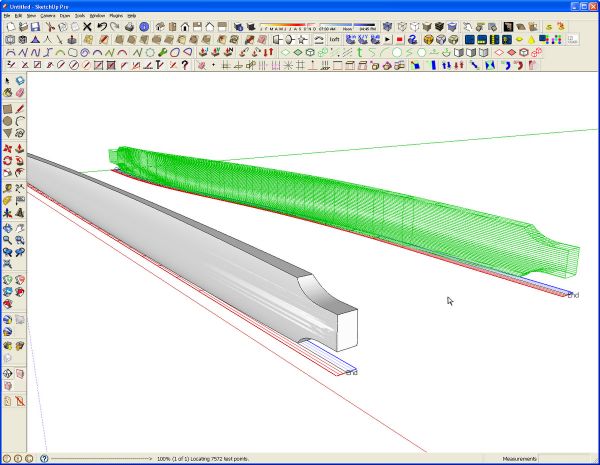
The cursor then shows a curved line under it indicating that we need to click on the curved line. After that, the plugin does its magic and shows a green skeleton of the proposed bend component. It also labels the ends of the line and curved path with Start and End to help identify the way the component will get modified. If Start and End on swapped on the curve as compared to the straight line, hit the Up Arrow key to switch them around. When you’re happy with the skeleton, hit Enter.
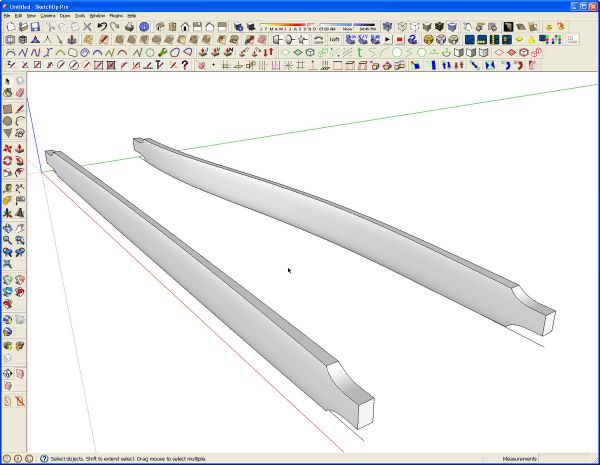
I’ve noticed that once in awhile, the plugin softens some edges that shouldn’t be softened. This is easy enough to take care of. Open the bent component for editing, turn on Hidden Geometry under the View menu and then use the Line tool to trace the edges that shouldn’t be softened.
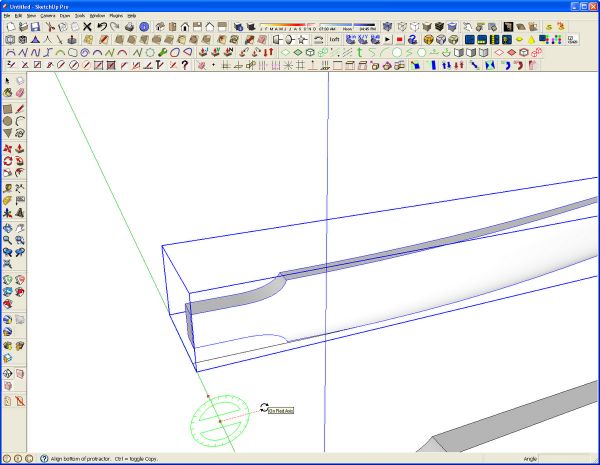
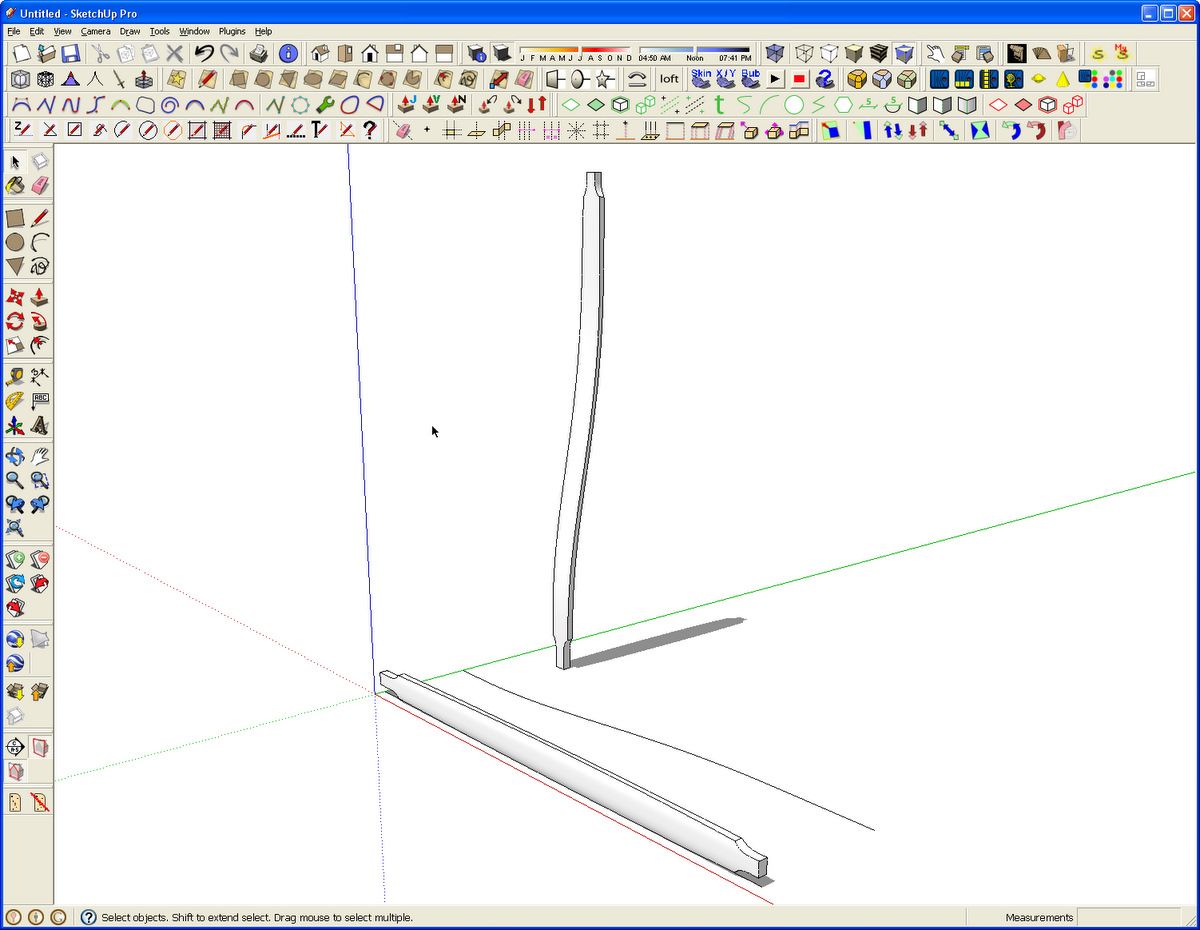
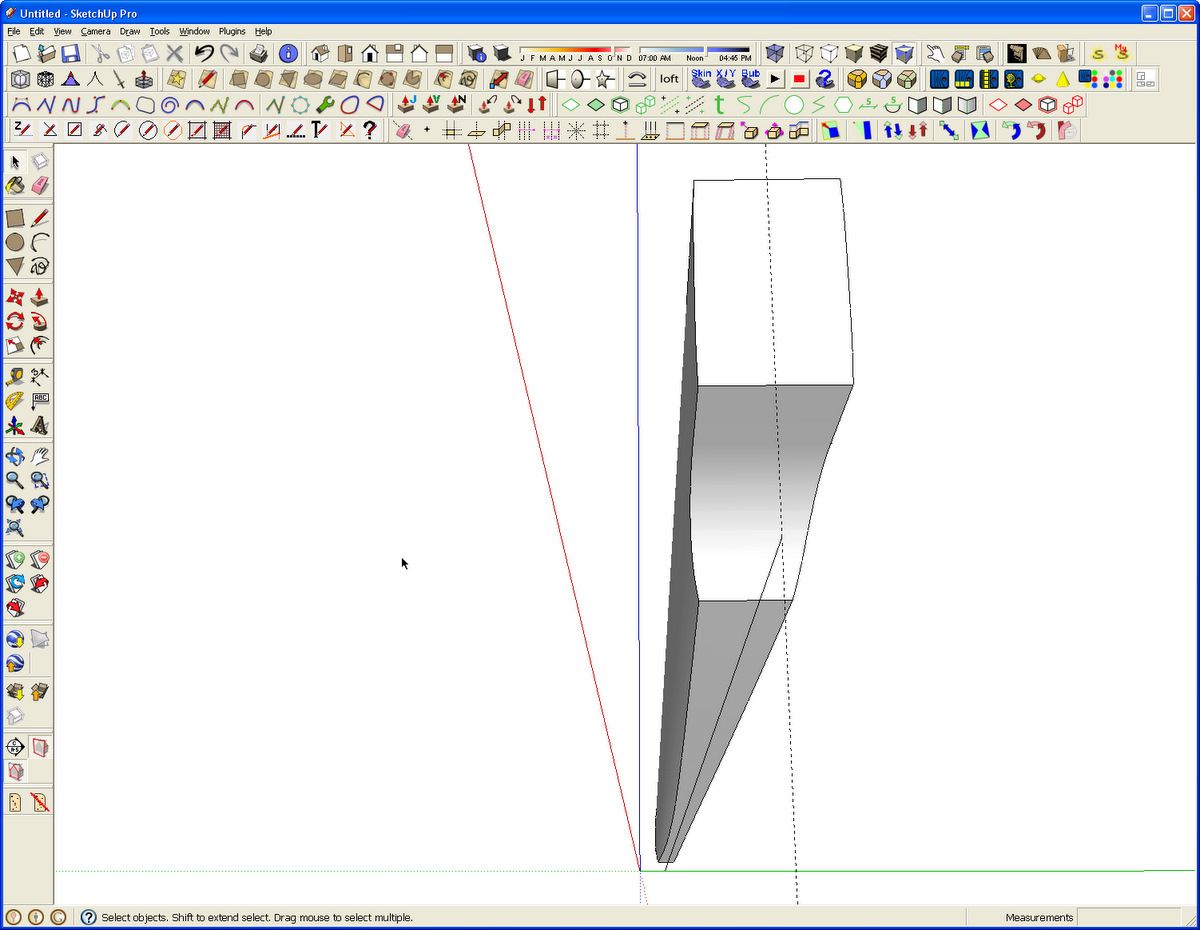
Next, rotate the component into the vertical position. Make sure the protractor is green. An easy way to do this is to position the tool on the green axis. Click, hold, and drag along the green axis. when the protractor is green, let up on the button and move the cursor over so the line trailing it turns red. Click again and then drag the tool up and around. Type 90 and hit Enter.
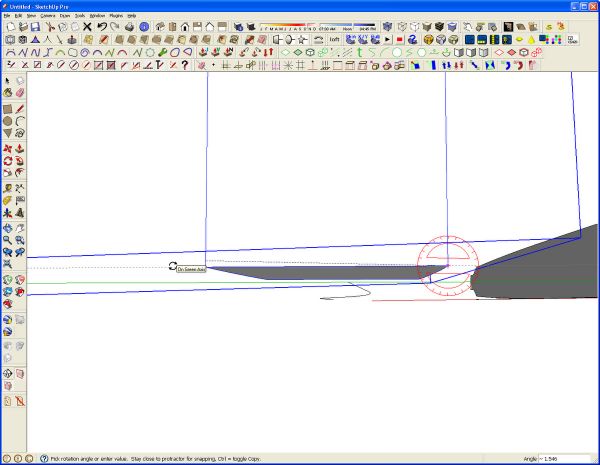
I also rotated the component so that the bottom end is flat on the ground plane.
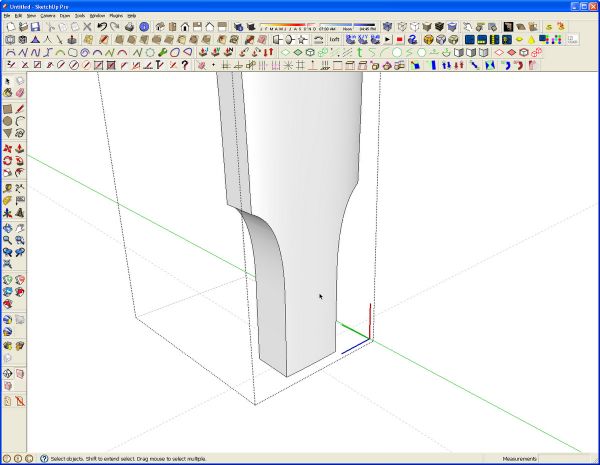
With the component open for editing, we can see the component’s axis orientation. If we were to bring this component into a model from the component library, it would insert laying on its side as it was when it was made. To give us better control over how the slat gets inserted, we’ll change the component’s axes. I set a couple of crossing guidelines on the bottom of the component. They intersect at the center of the end of the slat.
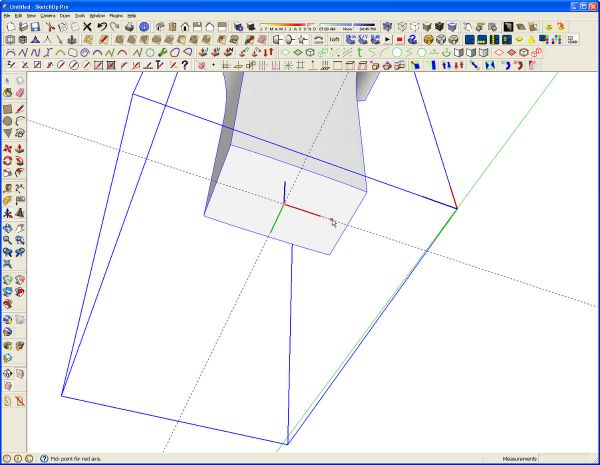
With the component selected but not open for editing, right click and choose Change Axes. Click at the intersection of the guidelines. Click along the guideline that is parallel to the red global axis then along the one parallel to the green global axis. Blue will take care of itself. Now when additional instances of the slat are brought into the model or if the slat is used in another model, the insertion point will be the center of the bottom end. This will make it easy to place the slats since the center can be located on a couple of crossing guidelines.
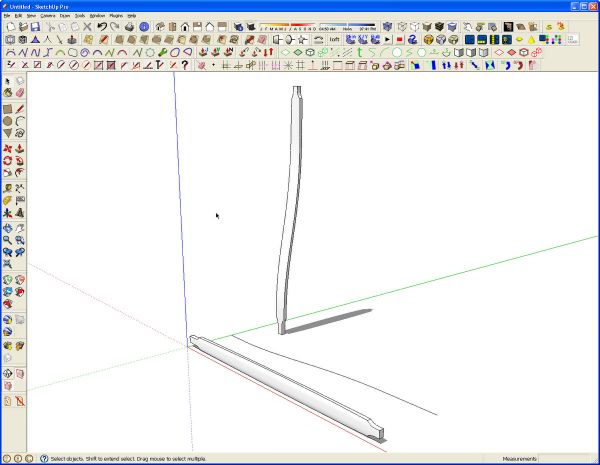
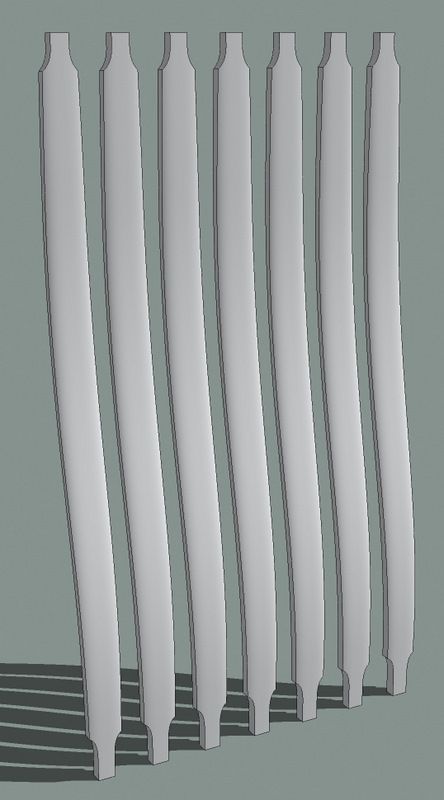
Now, after all that, make sure you save the slat for later use. Open the Components browser and open its secondary pane by clicking on the little + in the upper left corner. Select In Model in the upper pane and the desired library in the lower one. Then click and drag the component’s thumbnail from the top to the bottom pane. You might do the same with the straight one. You could use it later with a different curved path to create a different slat if needed.
As far as the rest of this chair is concerned, there isn’t any, yet. The crest rail, arm rests and rockers could be created in much the same way as the bent slat was made. In the case of the arm rests and rockers, you’d only need create one of each. The other side would be created by copying the original with the Move tool and then using the Flip command to mirror the copy.
Give this a shot and see what you can come up with.
*The link to the Shape Bender plugin goes to the Sketchucation forum. You must be registered there to download the plugin. TO my knowledge there is no other download location for this plugin. The plugin link is at the bottom of the first post in the thread. Please read the information there carefully and make sure you also get progressbar.rb if you don’t already have it installed.



Comments
This is great! and just what I was looking for. One bug, at least for me. the shape bender tool is stretching my shape at one end along the red axis by double. Is this a version 8 bug? or am I missing/adding a step?
I haven't run into this with Version 8. Would you be willing to send me your model so I can see what you're getting? Click on my name at the bottom of the blog entry to send me an e-mail.
Dave
Log in or create an account to post a comment.
Sign up Log in