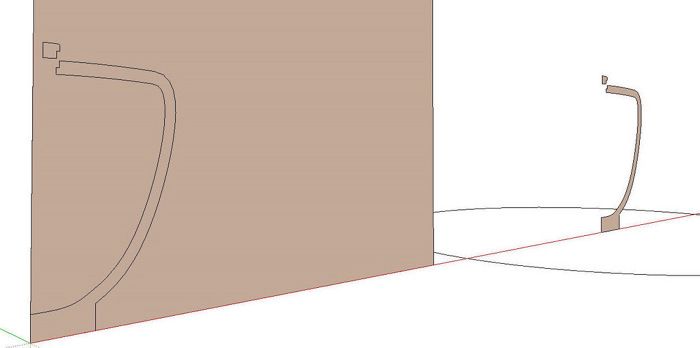

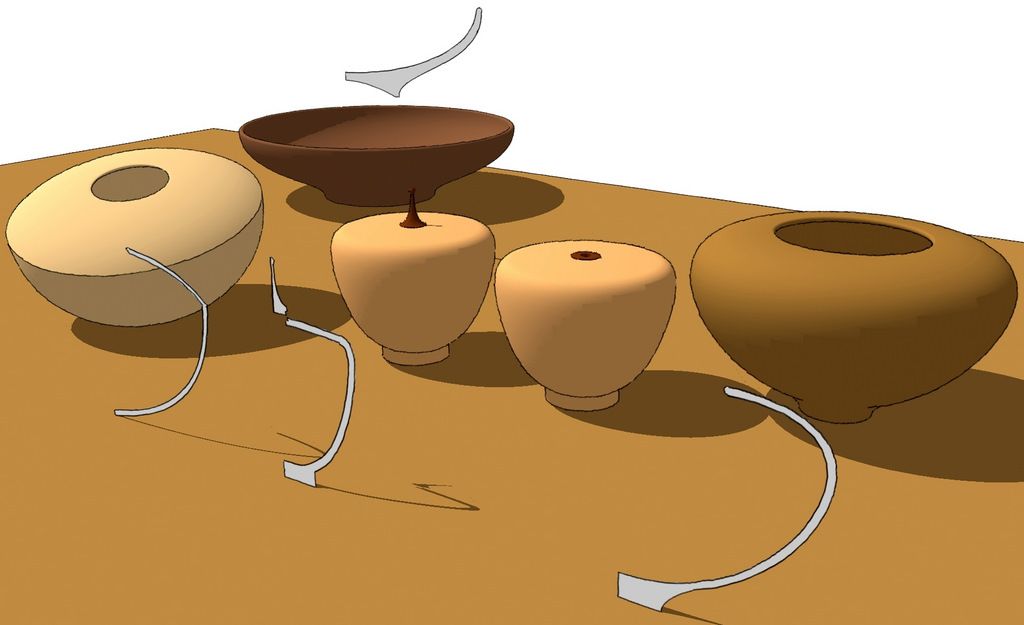
One of our readers asked me about the possibility of using SketchUp to design turned vessels. Tim and I have both shown examples of turned legs for tables and other furniture but there’s no reason the same sorts methods couldn’t be used for vessels. Creating the 3D model of a turned vessel is quite simple. Getting an aesthetically pleasing shape is another matter. Fortunately, with SketchUp, you can make changes to your heart’s content and you won’t end up with a toothpick.
Note: for this demonstration I used a plugin called Bezier.rb. If you don’t already have it, you can download it here. Right click on the link and choose Save Target as… Save the file into the Plugins folder under Google SketchUp 7. Make sure it has the .rb extension.
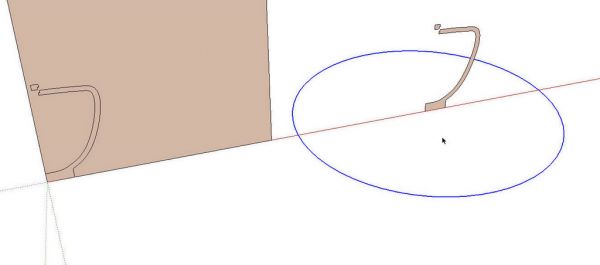
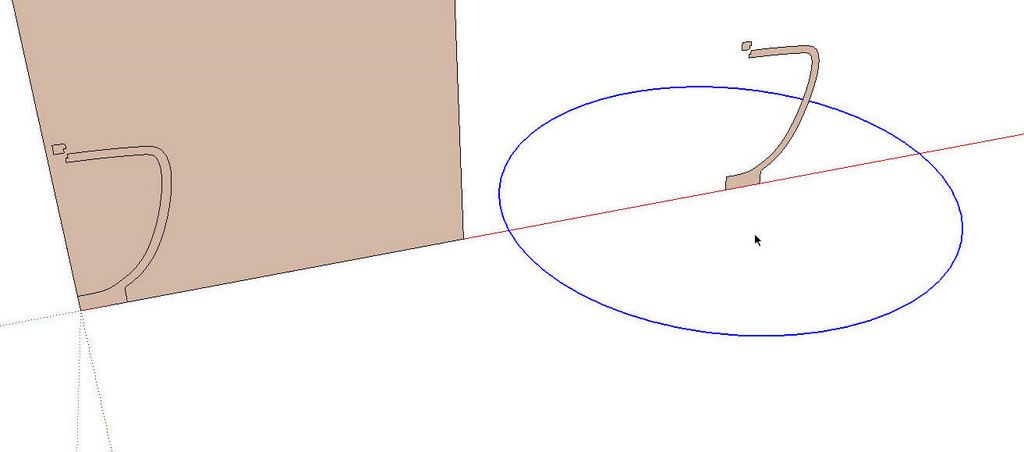
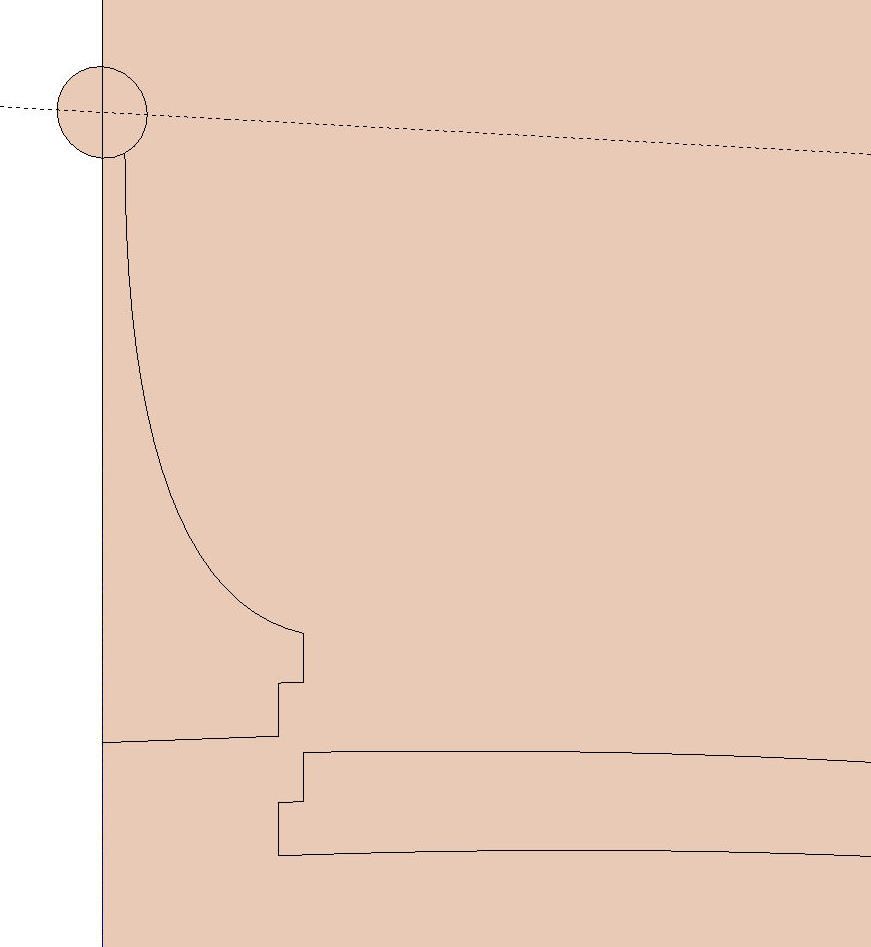
To begin, I drew a vertical rectangle that is larger than the turning. I do this because the Bezier plugin will draw 3D curves but in this case, I want only 2D curves. Drawing on a face makes that easy to do. Then I drew the profile of the turning with a combination of Bezier curves and the native drawing tools. You could set out some guidelines with the yellow Tape Measure tool to determine the limits of the curves so they don’t go beyond the edges of the turning blank. You can edit the shape of the Bezier curve as desired until you get the shape you want. Select the curve, right click on it and choose Edit Bezier Curve. You can then drag the control points until you are satisfied. We only need to draw half of the vessels section for this but you might find it easier to draw the entire cross section. Either way will work.
To make the 3D model of the turning we’ll use the Follow Me tool with a circle as the path. I set the center of the circle 20″ to the right of the blue axis and on the red axis. The 20″ value isn’t magic. It was just easy to remember. I deleted the face of the circle because Follow Me is subtractive when there is existing entities. Leaving the face would result in a missing face at the bottom of the vessel.
To make the turnings look nicer, I increased the number of segments of circle to 60. After getting the Circle tool but before setting the center point, type 60s and hit enter. Just remember, that segment count is now set for the rest of your drawing session unless you change it again.
Normally I don’t use high segment counts for circles and arcs because they will really bloat the file size and there isn’t much benefit. These turned vessels and circular table tops are a couple of exceptions, though.
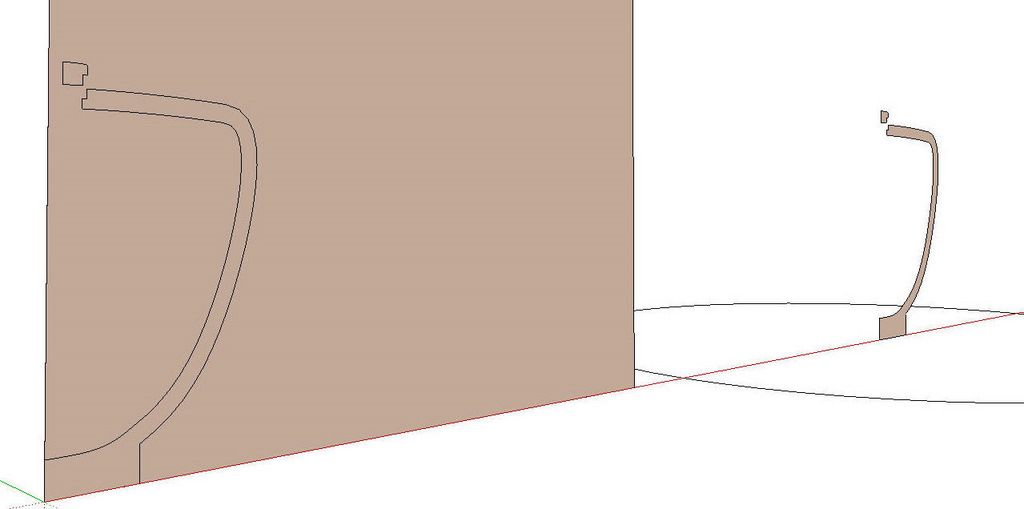
Now we’ll make a 3D version of the profile. Get the Select tool and double click on the face of the profile. This will select the face and its bounding edges. In this example there’s also a little collar so, while holding Shift or Ctrl (Option on Mac), double click on that profile as well.
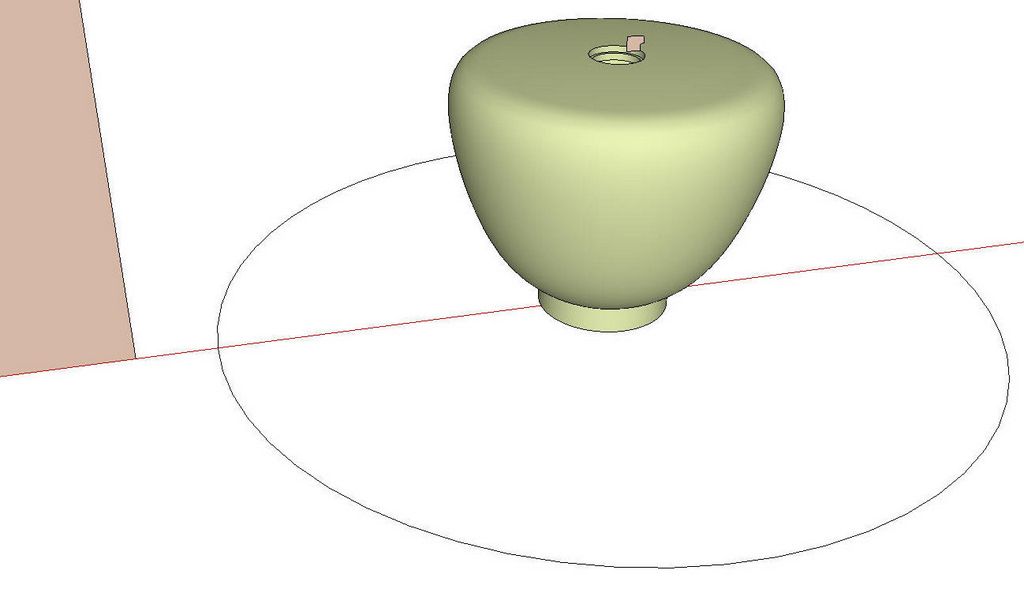
Get the Move tool and invoke the Copy function. Drag the copy to the right 20″. This will put the profile’s center on the center of the circle. Select the circle, get the Follow Me tool and click on the profile. Don’t be alarmed if nothing happens immediately. With the large number of segments in the path as well as in the profile, SketchUp will probably take a little time to draw the vessel.
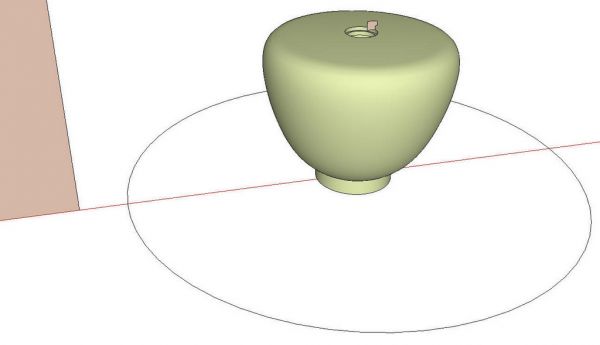
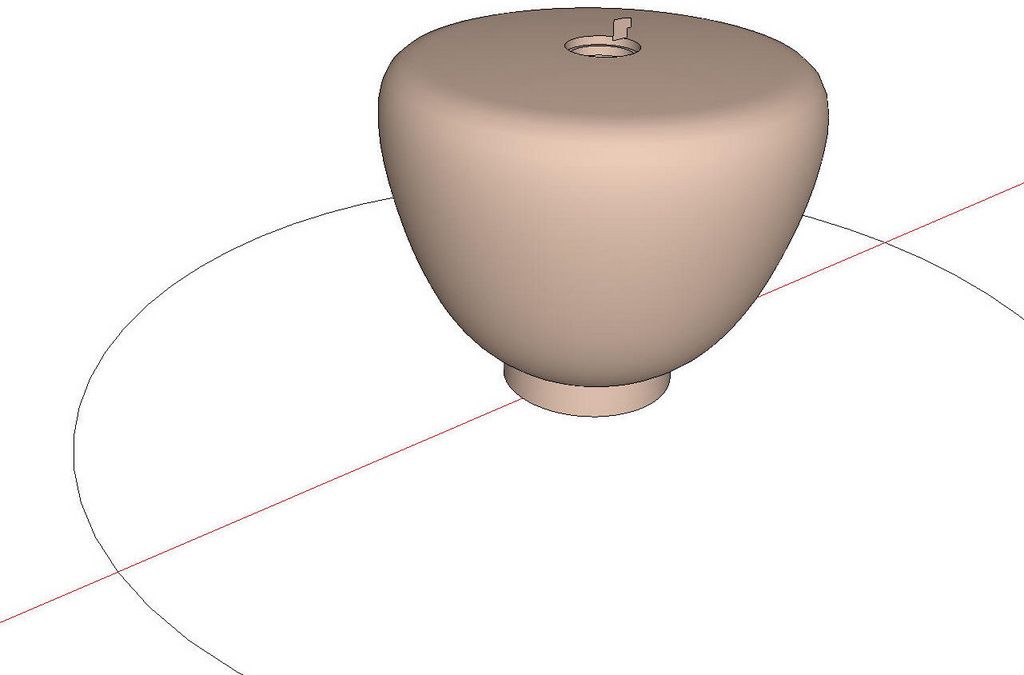
In this instance, the back faces of the turned vessel are facing out. Select them and right click. Choose Reverse Faces to fix that.
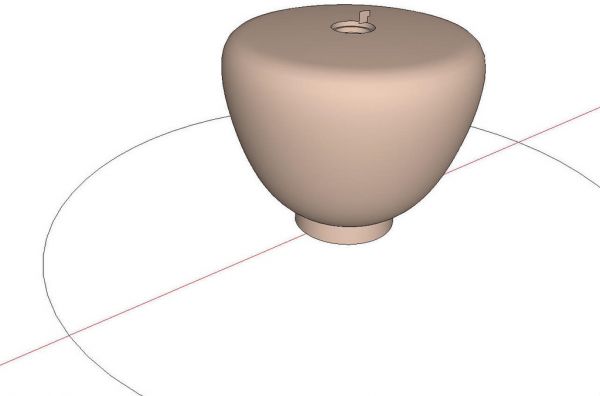
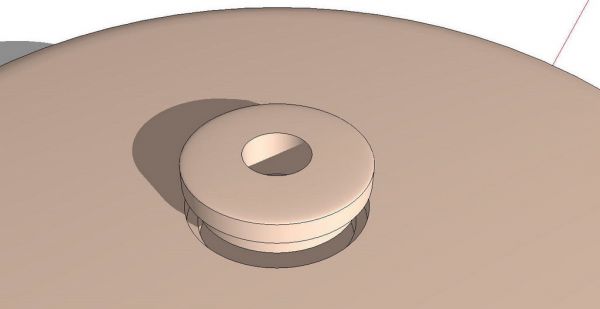
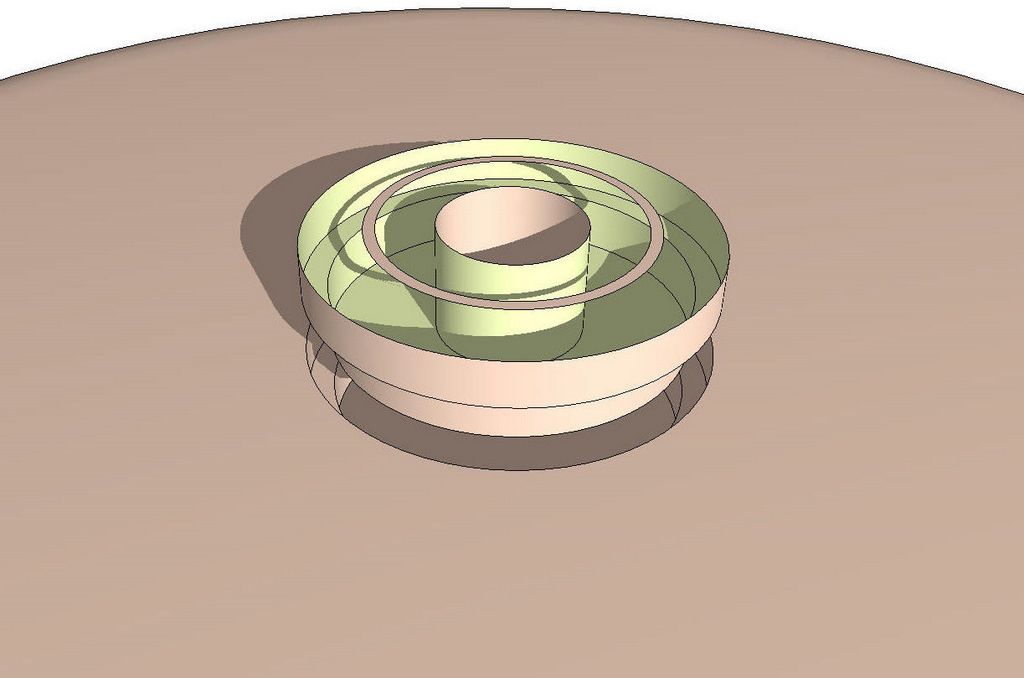
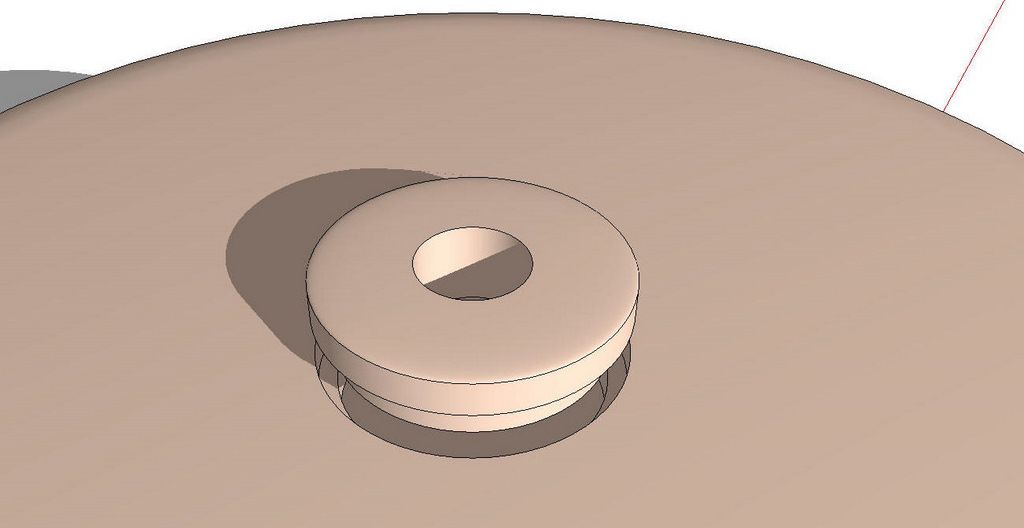
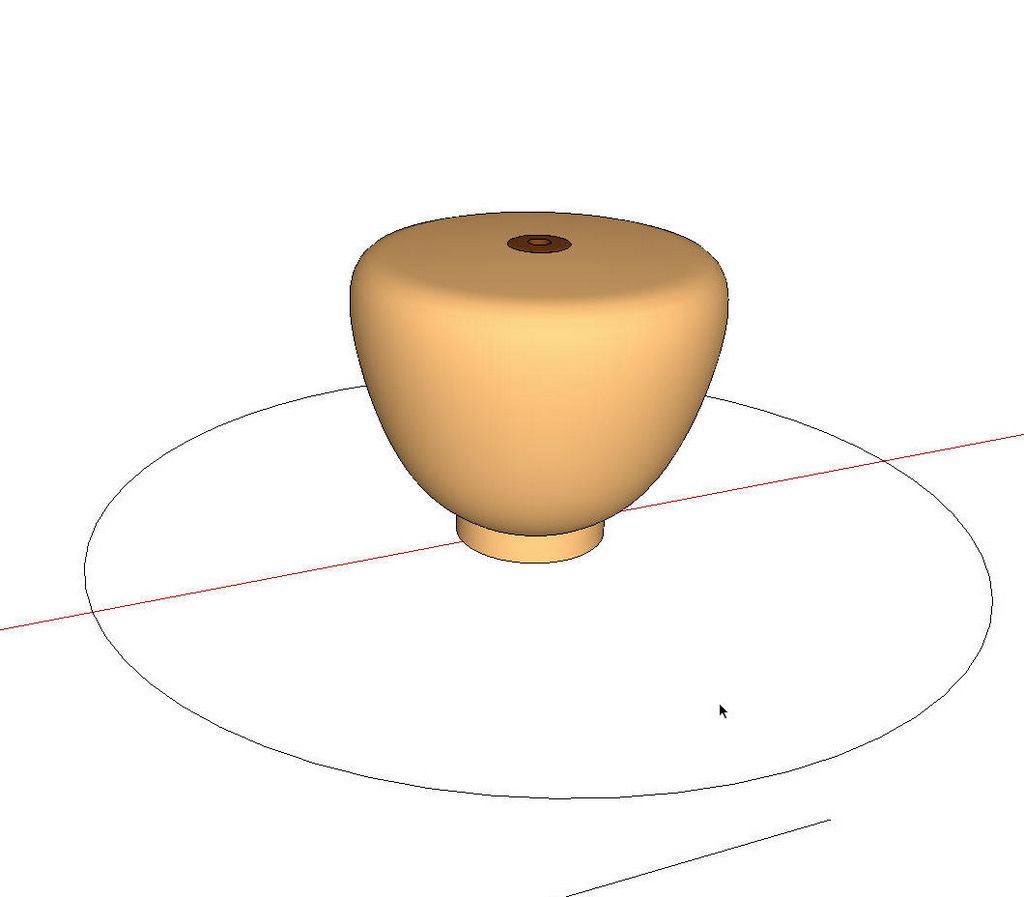
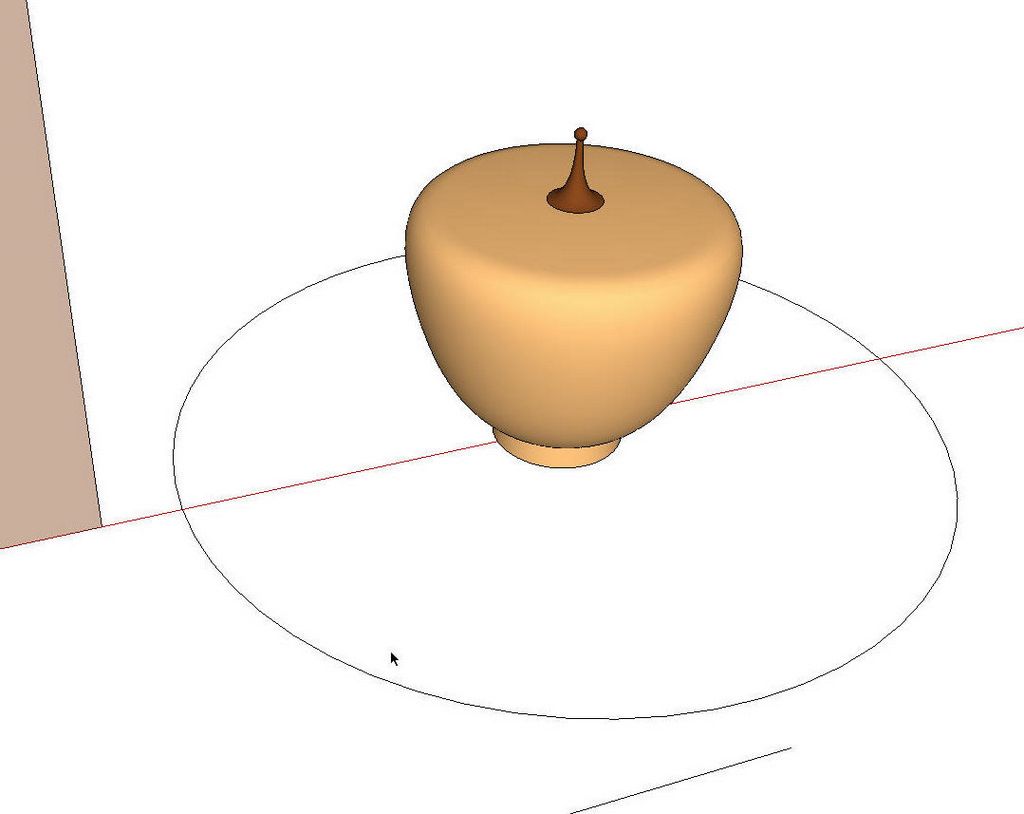
Before moving on, make the vessel a component. Then repeat the process on the profile of the collar. Below are the results of Follow Me on the collar profile.
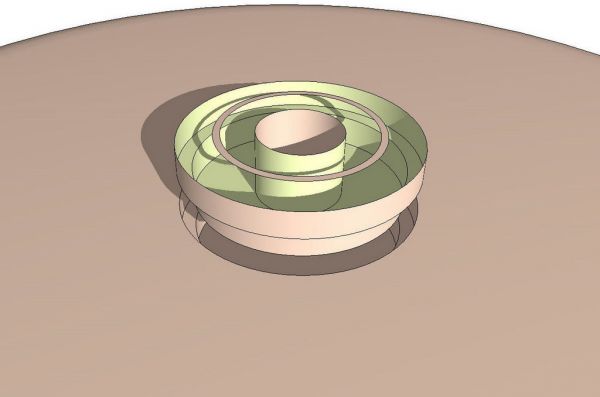
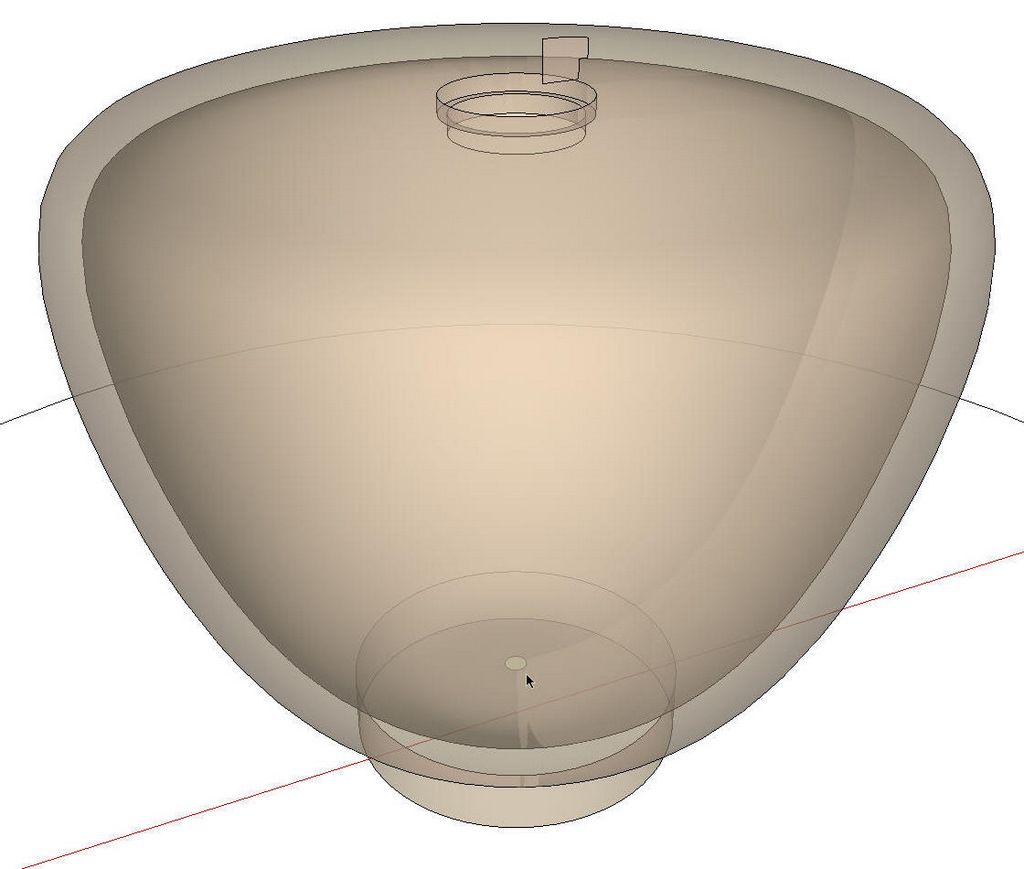
This is because SketchUp doesn’t like to fill in very tiny faces. There’s a hole in the bottom of the vessel for the same reason. You can see it by looking in from the top of by switching to X-ray.
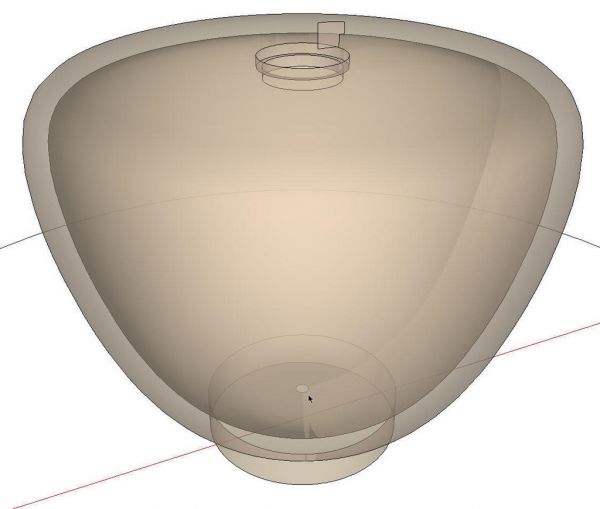
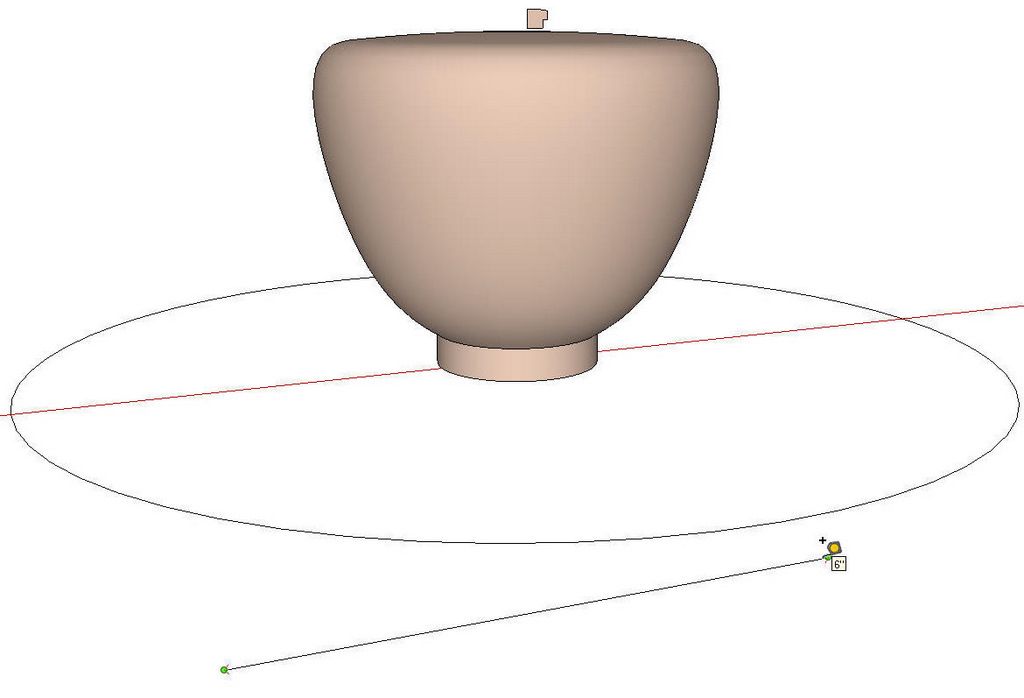
The hole in the bottom won’t be an issue but the missing faces on the collar will be so to get around this “small face” problem, scale the model up. We could use the Scale tool but I prefer to use the Tape Measure tool. I drew a line 6 inches long out of the way of the rest of my model. It doesn’t matter how long this line is as long as you can remember the length.
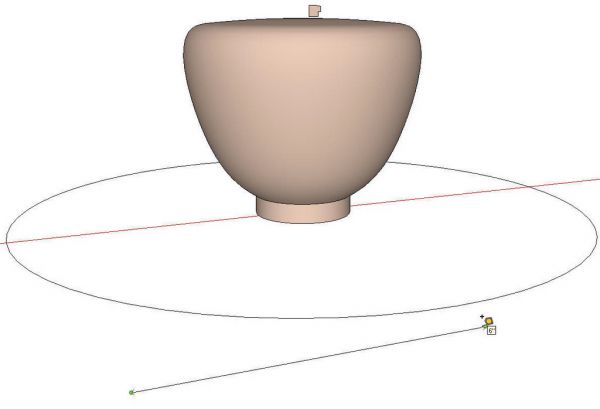
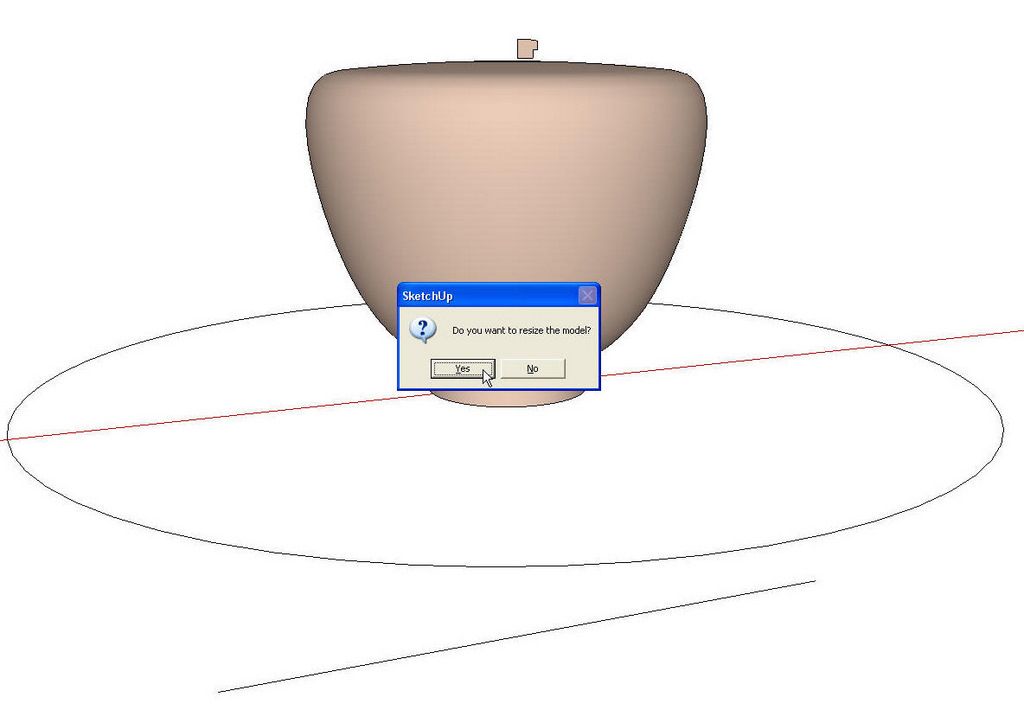
Use the Tape Measure tool to measure the line. Be sure to click at both ends. 6″ is displayed in the Measurements box. Type 600 and hit enter.
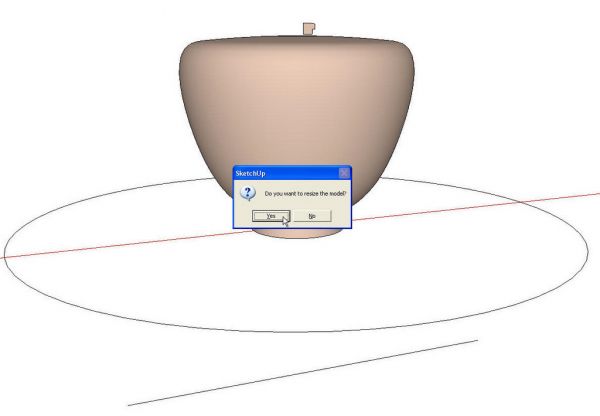
A message box will pop up asking if you want to resize the model. Click on ‘Yes’ and the entire model will be scaled up by a factor of 100. Run the Follow Me operation on the collar and scale back down by Reversing the scaling process. Type 6 and hit Enter after measuring the line.
By the way, this scaling method is frequently useful when drawing other things. It has the benefit of making sure the model remains in the original orientation relative to the global origin. You can use the Scale tool but you need to make sure you use the same scale handles for both scaling up and scaling down or the model will move in the model space.
By copying the profile before running Follow Me, the original is left for further editing. If you end up with a shape you like, make a copy of the profile and make it a component so it is protected from other geometry. This profile can be used to create a full size template if desired.
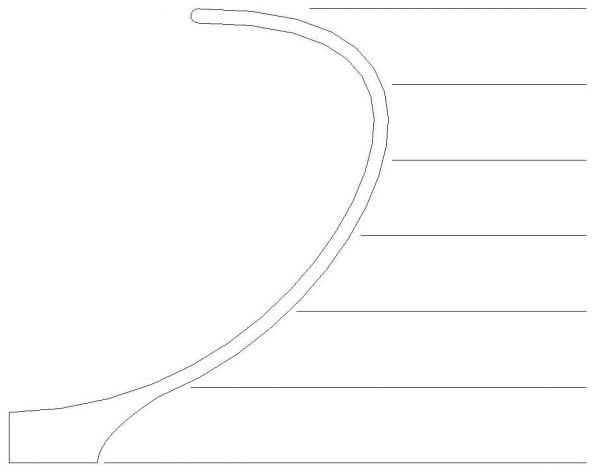
Give this a shot. You might find it useful for visualizing your project before you turn that expensive blank into a pile of wood chips.
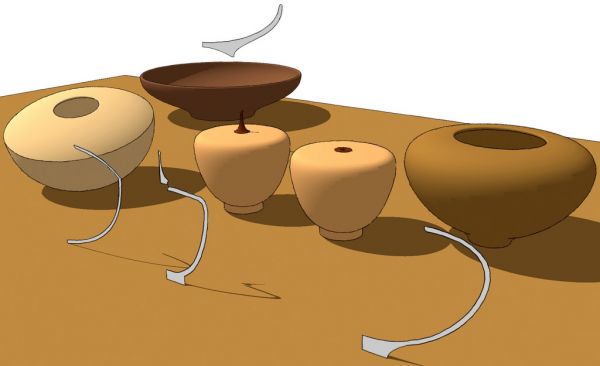
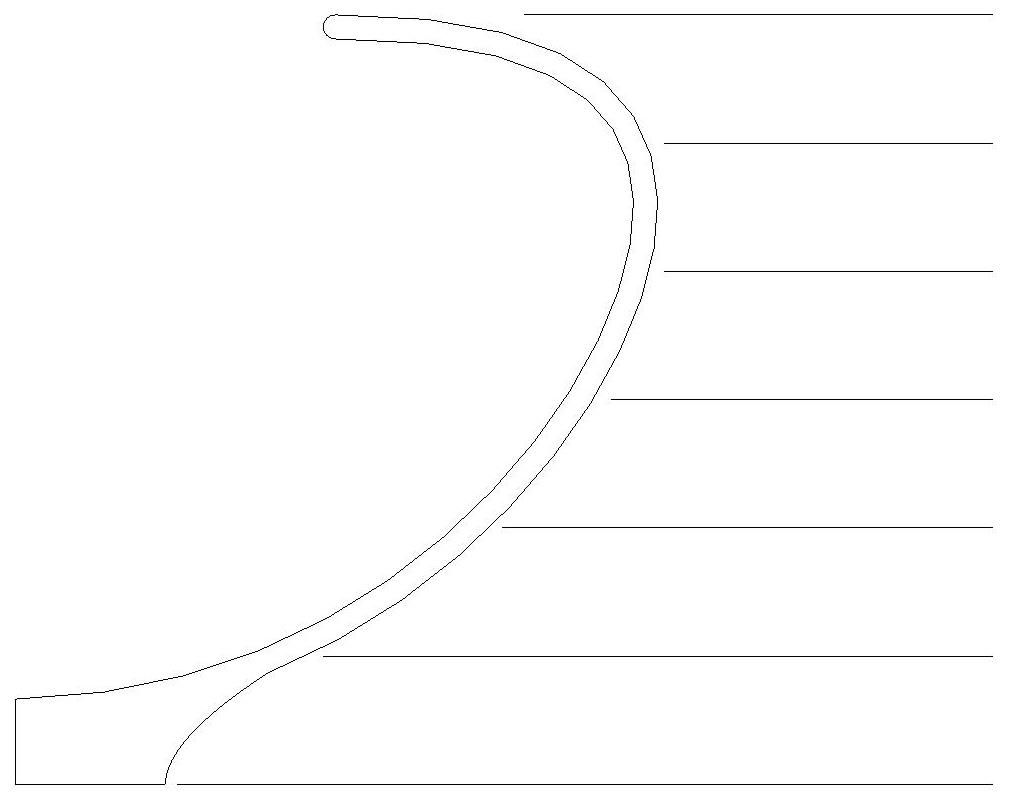
My thanks to Rich for providing me with images of some of his work. I used a few of them for inspiration for the profiles shown here.



Comments
Well done David and thank you ! SketchUp is an amazingly creative tool and rather user friendly ( with a little help from friends). I remember students in my school learning CAD and creating far less complex projects than what SU permits.
The visualization contributes to the creative process as well as the actual turning process.
Rich
I want to produce items such as Knobs and pulls for cabinet work, when the item has curved top to the profile I always get a hole through the centre. what am I doing wrong.
Ted Gibbs
my previous query is now cleared up I fixed it by scaling up
TG
Dave: Sorry about being so late responding to this blog entry. I had put it aside until I had acquired a nice thick turning blank and was ready to try my hand at designing something original.
You lost me with the statement: " in this instance, the back faces of the turned vessel are facing out" Can you please explain what this means and how it came about in this example but not in other "turned" items such as the scoop and recorder?
I enjoy your blog very much, particularly for the clarity. I think this is the first time I have been left with a question over meaning.
Regards
John, no worries about being late to respond. Sorry for the unclear statement.
Faces in SketchUp have a front and a back. I have the back color set to that green you can see in some of the images. The default color is a bluish gray. For the most part it is just good housekeeping to correct face orientation. There are some instances where face orientation matters more than others.
The thing that determines the orientation after a Follow Me operation in these turnings is the direction that the profile and the path are drawn. I used to try to pay attention and work to make the face orientation come out correctly in the beginning but it's too easy to draw an arc or line segment in the profile in the wrong direction and have it turn out inside out anyway. Fixing the orientation is easier than avoiding it anyway.
Sometimes when I am making the images for these blog posts I skip showing the reversed faces and just mention to correct the orientation if needed.
Dave
Log in or create an account to post a comment.
Sign up Log in