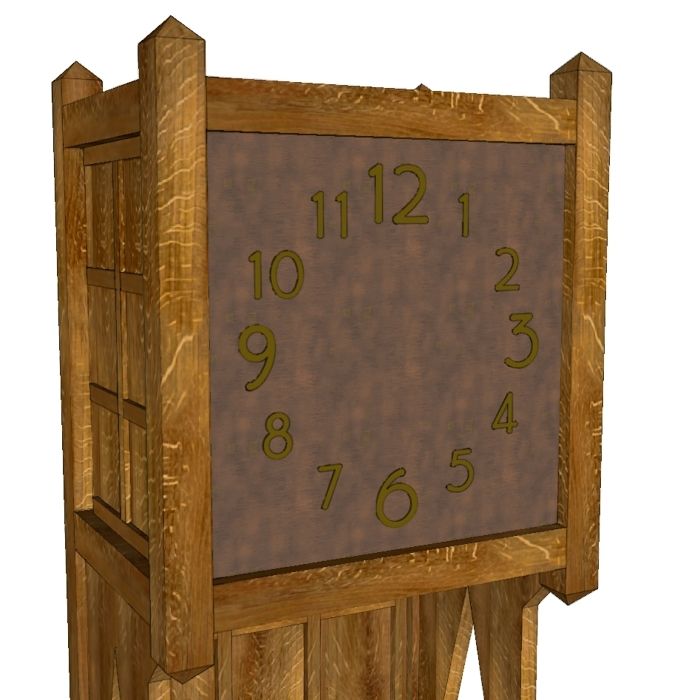
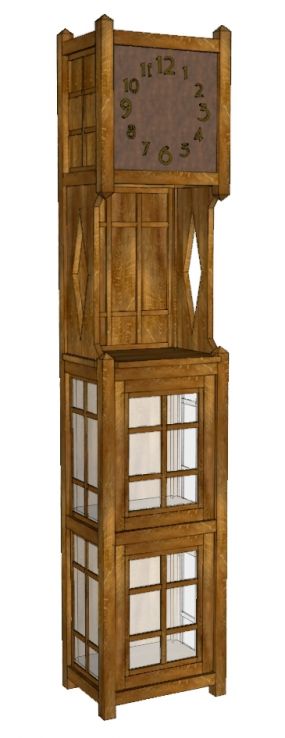
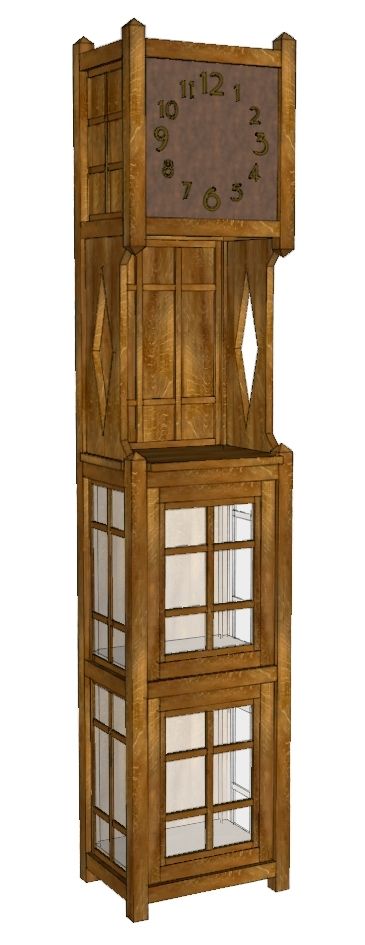
Recently I’ve been doodling out a mission style hall clock based on one shown in an old book titled “Mission Furniture: How To Make It. After hunting around for a suitable clock face image, I decided to make my own. the 3D Text tool is perfect for this sort of thing but without some preparation, the numbers can be difficult to place exactly where you want them. Fortunately the preparation is easy and the time it takes to do is more than made up by the ease of placing the numbers. And, when you get finished, you have a library of numbers you can use again.
The video shows how the process goes but here’s an outline of the process.
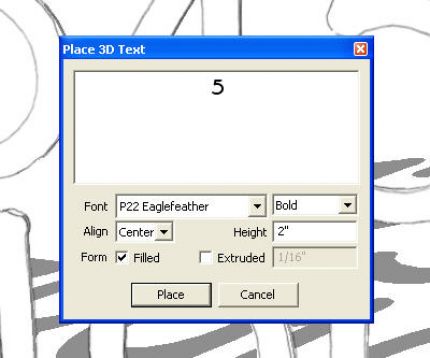
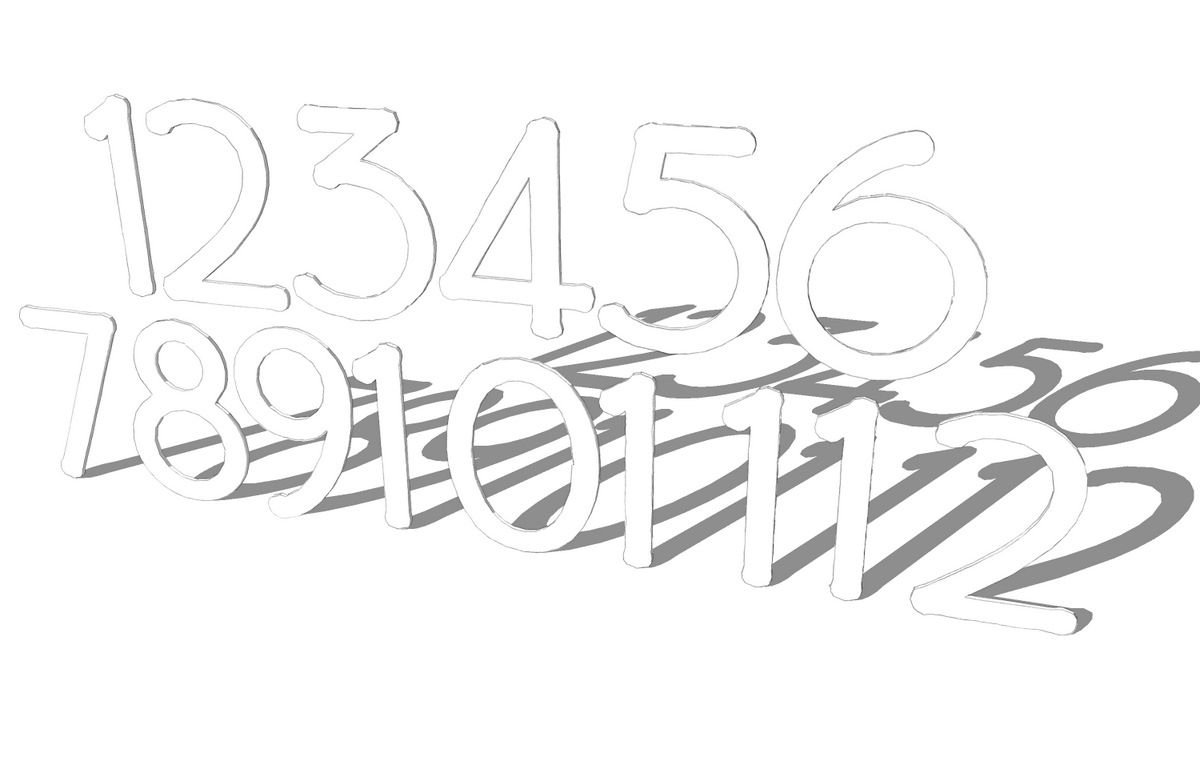
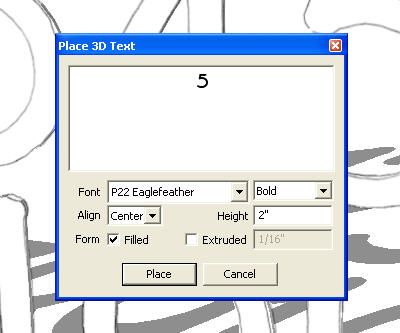
First, make the numbers one at a time using the 3D Text tool. Choose the font and the height of the letters. Although I set the height to 2 inches, the actual height of the letters is slightly less. This has to do with the way the font was designed. Do not extrude the numbers at this time. Click on Place.
The 3D Text tool will only place the text so it is laying flat on the ground plane. We want to use the numbers in a vertical position so rotate the component to the vertical position. Repeat the process for the rest of the numbers. For 10, 11 and 12, make those as single components.
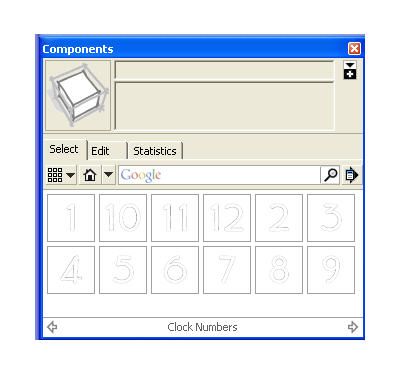
Due to the way the component thumbnails are created, we need to explode the components and remake them. If you’ve place the components so there’s enough space between them, select them all, right click and choose Explode. Then select them one at a time and remake the components. Name them 1 through 12. As you create each component, you’ll be asked if you want to replace the component with that name. Choose the affirmative answer.
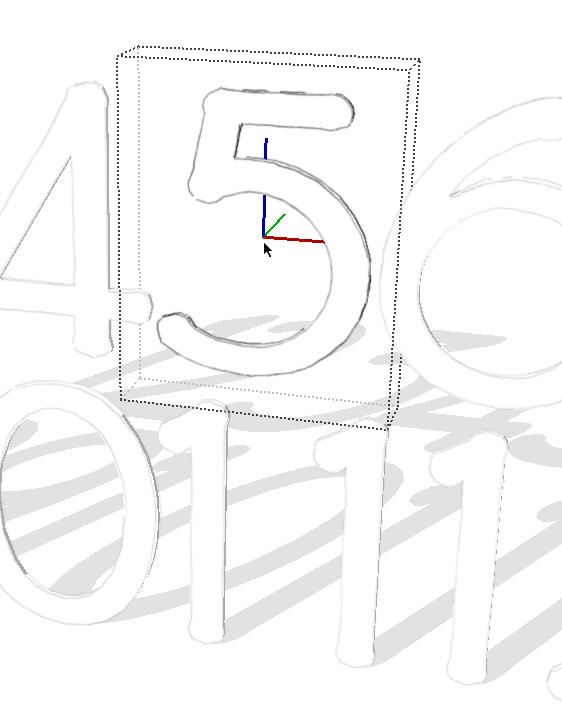
The next step will require a plugin called Centerpoint. Select each component and run the plugin. This will place a guide point at the center of the component. This is where we’ll locate the insertion point for the component. Right click on the component and choose Change Axes. Click on the guide point and then set the red axis so it is parallel to the red global axis. Set the green axis parallel to the green global axis. The blue takes care of itself. Do this for each number component. Open each component and use Push/Pull to add the desired thickness. Extrude the numbers so that the axis origin remains at the back face.
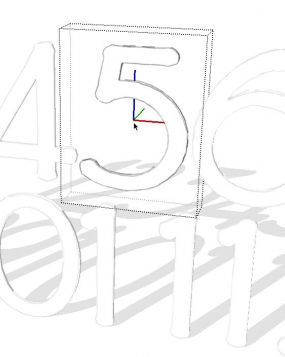
When you’ve finished changing the axes and extruding the numbers, open the Components browser. Click on the little black arrow that points out to the right. Choose Open or create a local collection… Create a new folder in the Components folder under SketchUp and click OK. Click on the arrow again and click on Add to favorites.
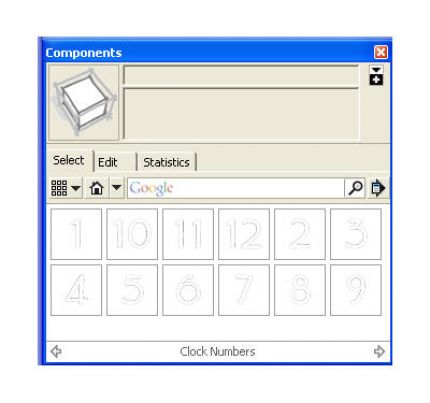
Now you have a library of clock numbers to be used in your clock model.
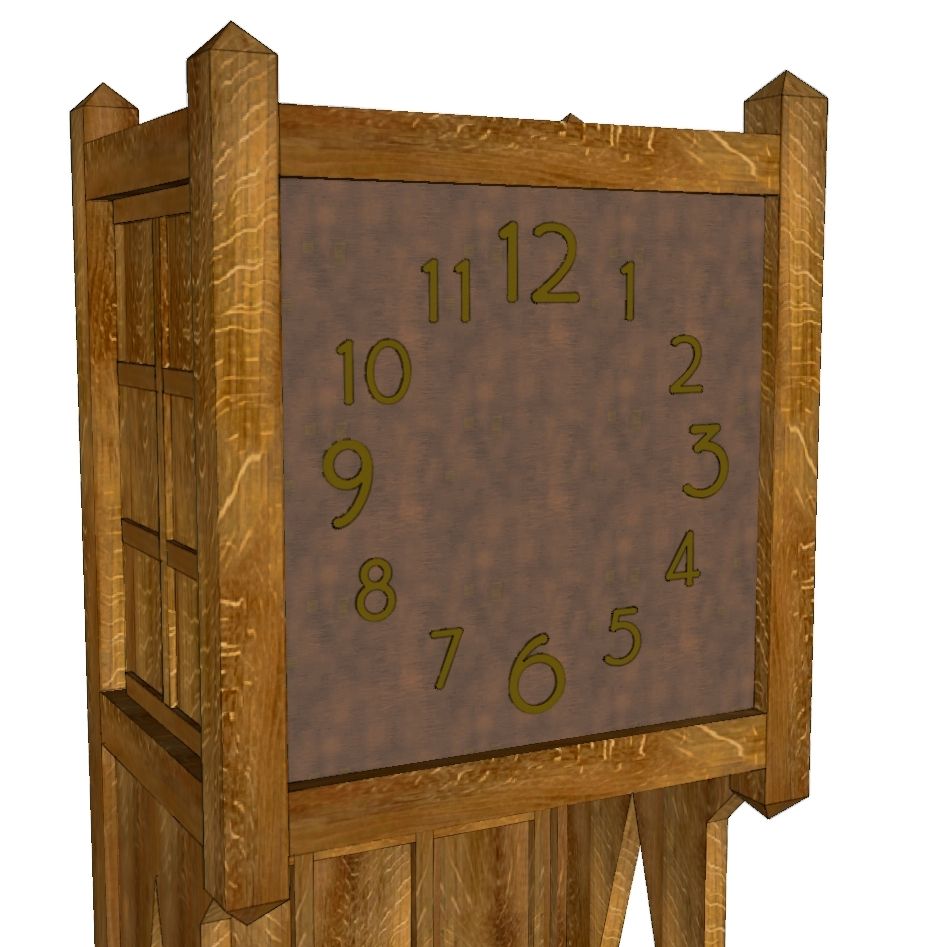
Open your clock model and locate where you want the centers of the numbers. I used a 12-sided circle centered on the clock face. The vertices of the circle are the locating points for the numbers. Select the number components one at a time from their library and place them in your model. They’ll naturally snap to the vertices on the circle. If you’ve set them up correctly they will be placed on the face of the clock. When you’ve finished placing the components, delete the circle.
In the video, after placing the number components, I painted them with a dark bronze color. I did a couple of them to show how I opened the components, selected all of the faces and applied the material. that is kind of tedious so I demonstrate using a plugin the can replace materials in a selection of components. It is called Global_Material_Change_13.rb.
I’ve written about changing component axes before. This demonstrates only one use for this. think about any components you might make and how you want to be able to insert them. What part of the component do you want to use to locate it in the model? Place its component axis origin at that point and align the axes so that the red one runs from side to side and the blue one points up. When you bring the component in to your model, it will come in predictably and accurately.



Comments
Dave,
I find your insights on Skecthup extremely useful, and creative, keep it coming!
David,
I, too, find your tutorials very useful. I do have two questions, however. First, is there any info on DCB or elsewhere written for someone such as me,an admittedly slow learner (although I'm up and running in Sketchup) for how to load plugins? I mean a foolproof, even-a-child-could-follow-these-directions sort of guide, not a "go to Google's plugins and load them into Sketchup" sort of guide. And second, I notice in your tutorials that you have a ton of undoubtedly cool tools (plugins, mainly?) that I don't know about on your toolbar. I'd love to have either a list of the tools (plugins) you have which you find useful, or a tutorial that would name the tools (not necessarily showing how to use them). If you have the time, of course.
Hi Andy,
I think I've covered how to install plugins and in the past I've talked about the plugin toolbars I have displayed. The plugins have changed and there are some new onnes so I should do a new blog post listing those.
As to installing plugins, it is a matter of saving them into the Plugins folder under SketchUp. On a PC the path is normally C:Program FilesGoogleGoogle SketchUp 7Plugins. On a Mac it would be Macintosh HD/Library/Application Support/Google SketchUp 7/SketchUp/plugins.
In the case of plugin files that you download as Zip files, make sure the folders are extracted into the plugins directory along with any other files. Once extracted, the folder and file structure in the Plugins directory should be the same as what you see when looking at the Zip file.
Make sure that the script files have the .rb extension. Some folks have told me that on their computers Windows will change the extension to .txt. If that happens you can rename the file and change the extension to .rb.
If you need more help with installing plugins, drop me an e-mail by clicking on my name at the end of the blog post.
Dave
Dave,
Thanks for the reply. I'd really love it if you blogged about the plugins you find most useful -- again, even if it was just an overarching blog simply naming the tools and briefly defining what they do. Links to archived blogs you've written on the subject of loading plugins or tools you find useful would also be swell, to use biscuit joinery terminology.
Log in or create an account to post a comment.
Sign up Log in