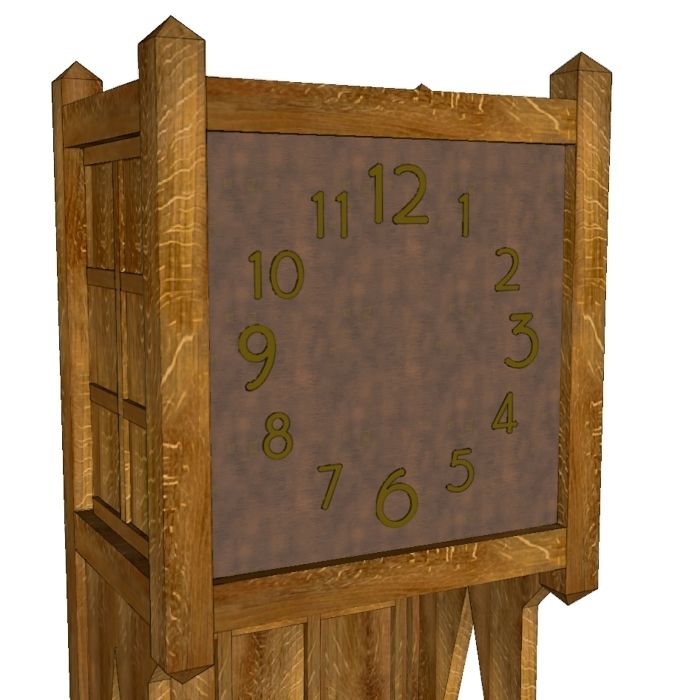
As Chuck Miller over at Fine HomeBuilding is wont to say, “There’s a better way.”
In SketchUp there’s nearly always more than one way to do something and sometimes one way is better than the others. Today, I was working on something totally unrelated to the clock project in my previous blog entry. In fact it wasn’t even SketchUp related. Suddenly, it popped into my head that there is a faster way to prepare the numbers for the clock. This would also be useful for other applications where you need to add 3D Text.
In my previous post, I exploded the number components after bringing them into the model space and rotating them to vertical. Then I remade the component. The primary reason for this was to make the component’s thumbnail readable after changing the axis orientation. It also resulted in removing the component’s gluing characteristics. Normally, 3D Text components will glue themselves, or align themselves to the surface on which they are placed. The method I think is better won’t eliminate the gluing plane
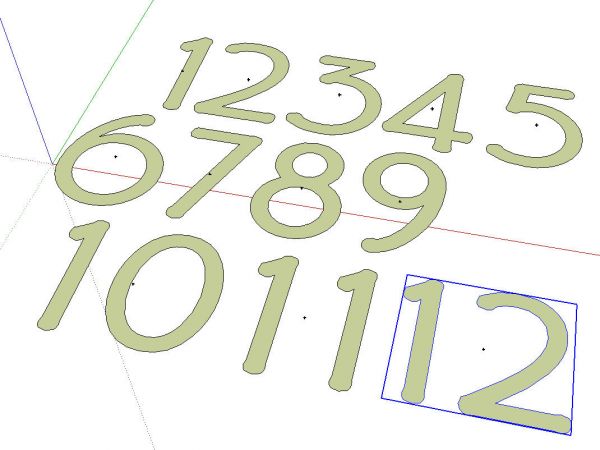
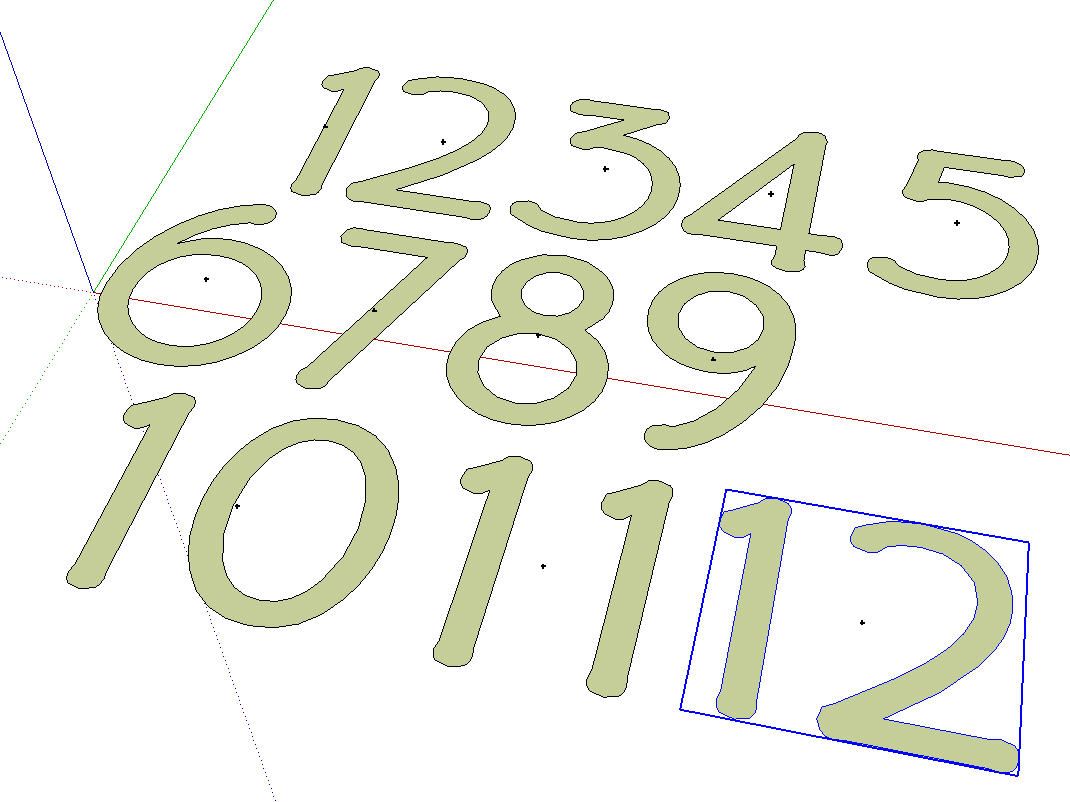
To begin this time, place the numbers out on the ground plane. The location isn’t very important. Just keep them fairly close together so you don’t spend a lot of time orbiting and panning to get to all of them. As before, they aren’t extruded at this point. We want them to be flat to make it easier to place the axes when we change them.
Run the add center point plugin as before to locate the centers of the components. You’ll have to run the script for each of the components.
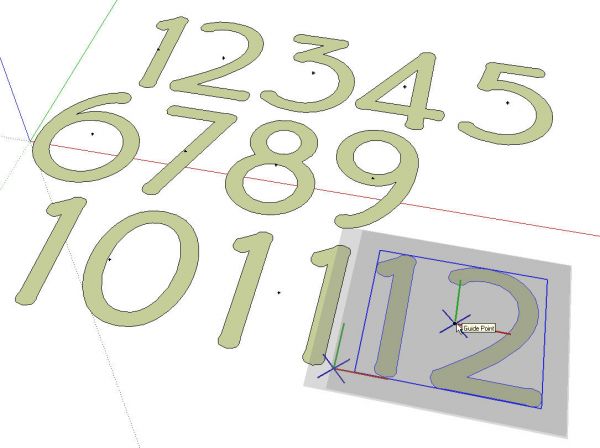
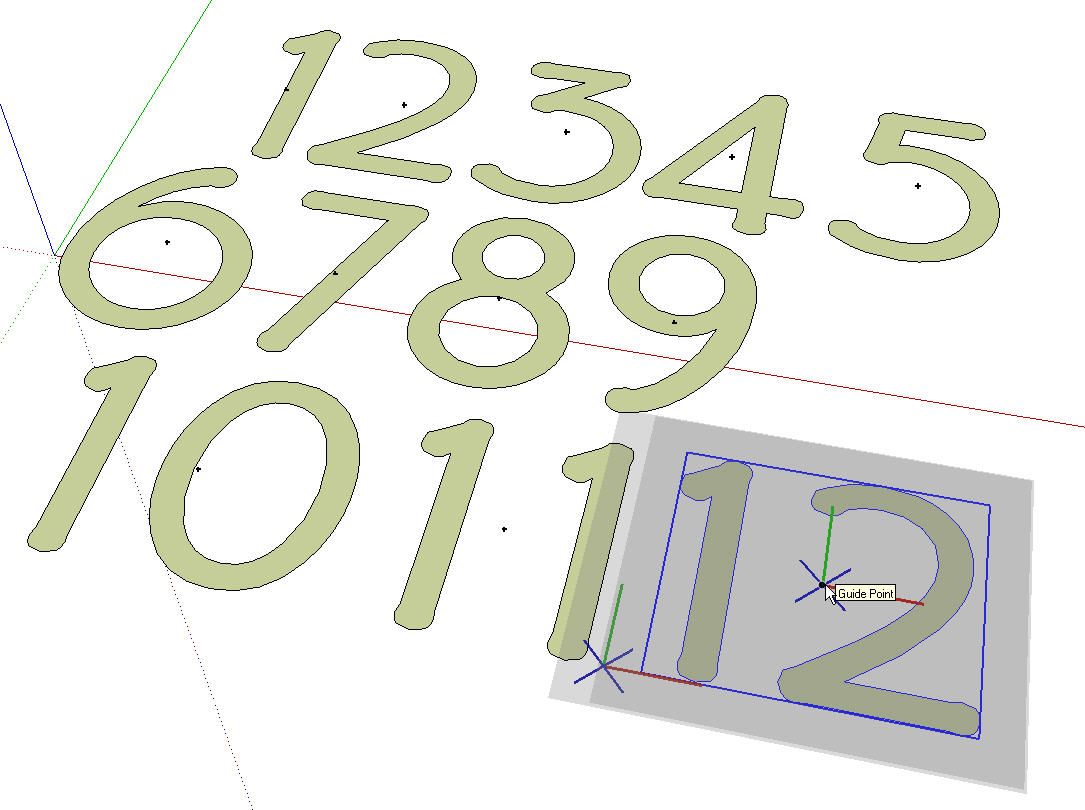
Right click on each component and select Change Axes. Note that as before, the component is not open for editing for this step. Set the origin of the component axes at the guide point created in the previous step. Maintain the same orientation as the original axes display. I find that after clicking to set the origin, I just dragged out to the right along the red axis and clicked twice to set the axes. Do this for each component. Then delete the guide points.
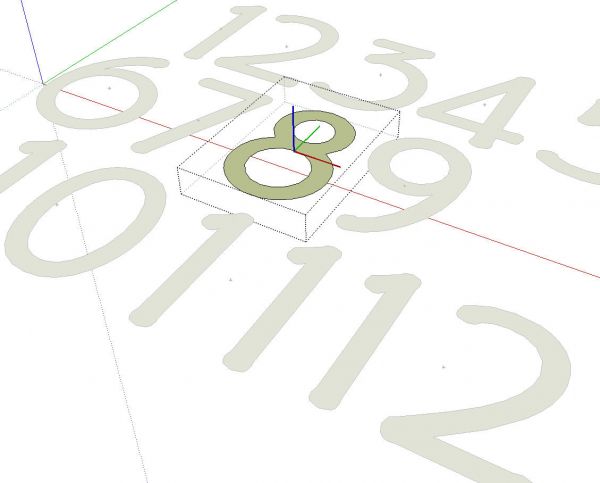
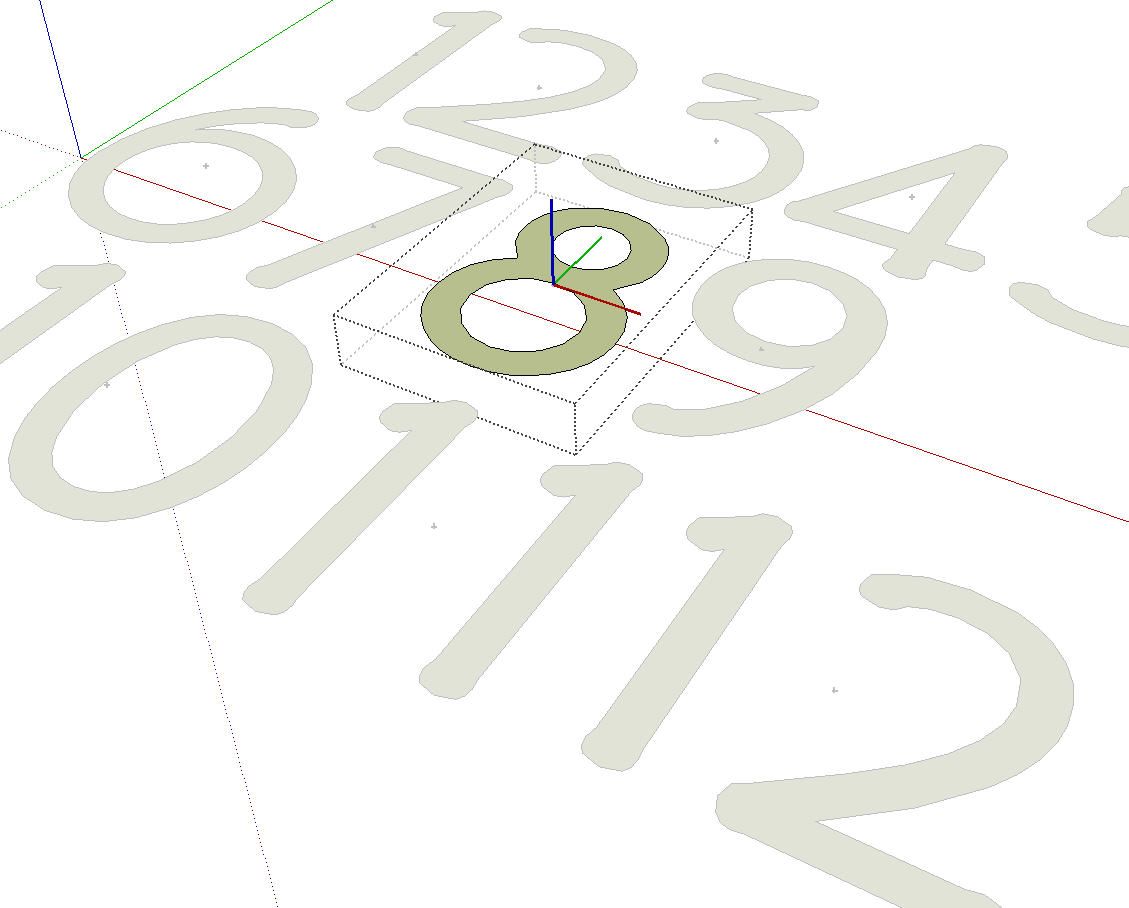
When you open each number component for editing, you can see how the axes are oriented.
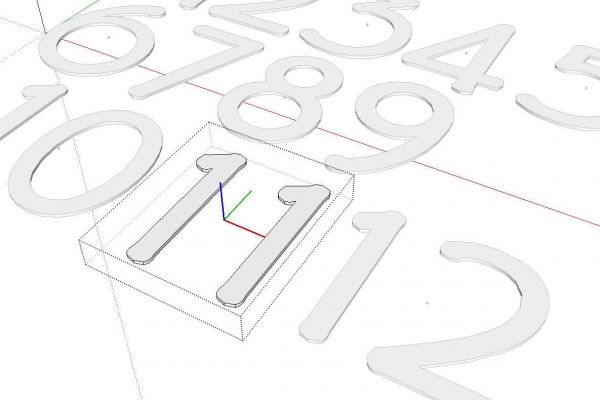
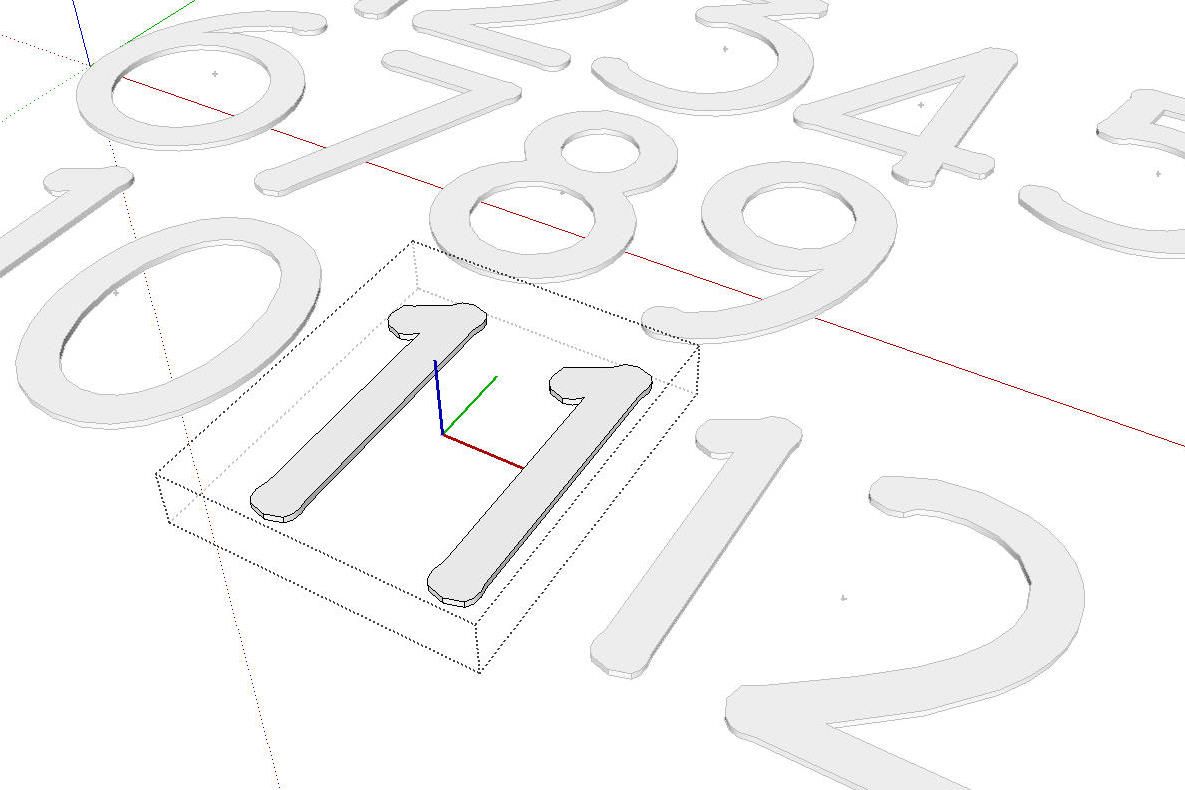
Open each component for editing and use Push/Pull to extrude the faces upward. As before, we still want the component axes to be at the back surface of the numbers so that when they are inserted on the clock face, they will lie on that surface and not be recessed.
Proceed as I showed before to save the In Model components as a new local library and you’re all set to use the numbers on your clock or whatever you’re drawing.
This process is much faster and more efficient than the one I showed before. Another benefit is that the numbers will lay properly on any face no matter what its orientation is. You could put them on an angled plate for a desk plaque or on a tapered column for house numbers.
I might even make more number sets for other clocks.
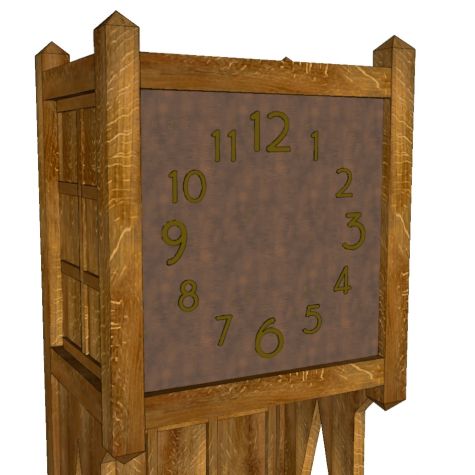

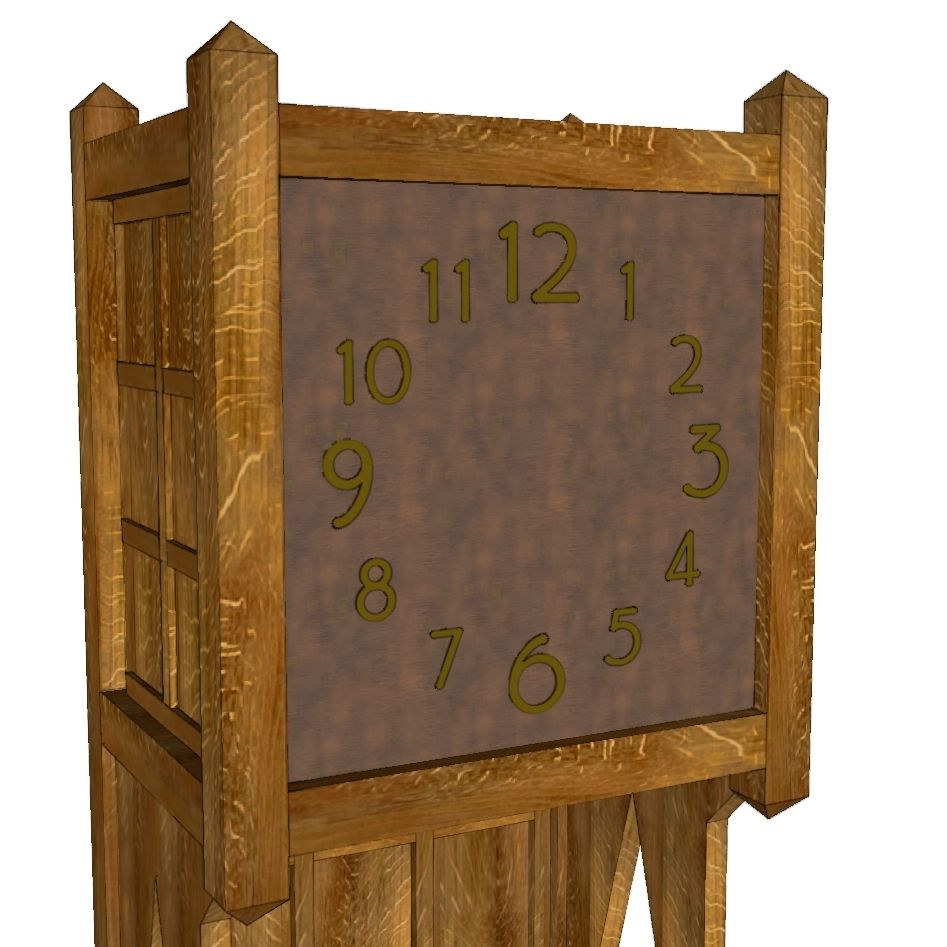


Comments
And to make the things even faster we can use Axis components plugin to set the component's axis.
http://forums.sketchucation.com/viewtopic.php?f=323&t=21635&p=182551&hilit=+center+component#p182551
Indeed. That will work also. Thanks for reminding me of that plugin. I'd forgotten about it until you did.
Actually, it works with multiple components - that's great!
I didn't pay attention till tried your example with the clock! Allays something new!
Log in or create an account to post a comment.
Sign up Log in