
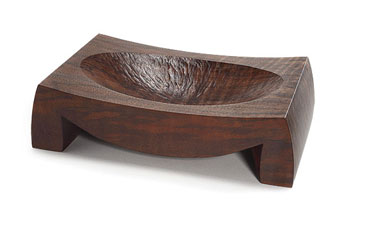
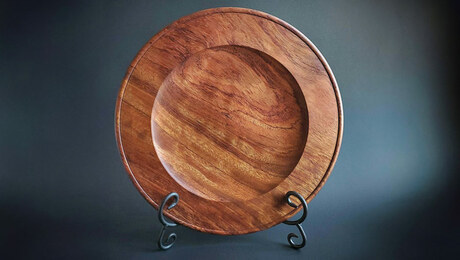
Hank Gilpin’s designs are driven more by the wood than by a preconceived notion of how the form should look. In another shop, the wood for these pieces might have ended up in the stove or scrap pile, but Gilpin saw a better use in them. As with his larger pieces, these smaller examples narrow the divide between sculpture and function. The design is sparse enough to let the wood’s color, texture, and grain show through, but still interesting enough at first glance to capture attention. To build this bowl and tray, all you’ll need is a steady hand at the bandsaw and a few hand tools. As for the talent to design others like them, that might take a decade or two to develop.
Begin at the bandsaw
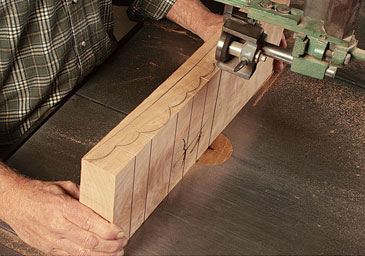
| Cut the bottom, then the top. After sketching the design on the blank with two larger bumps serving as the “feet,” Gilpin makes stop cuts that end where one curve meets another. |
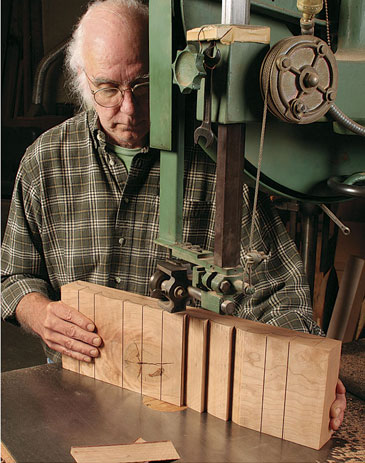
| To remove the waste, he starts near the center of each semicircle, and cuts the material up to the next notch, removing a triangular slice. |
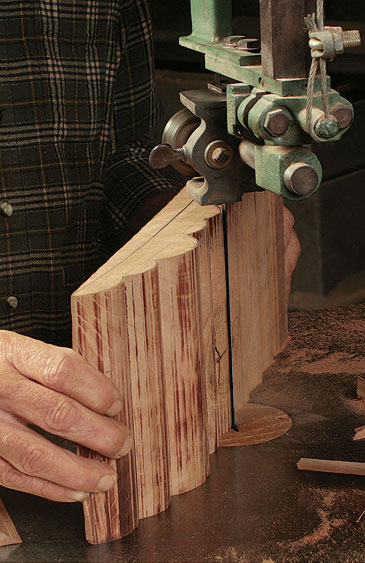
| When one side of all the semicircles has been cut, he turns the board to repeat the process in the other direction, removing the rest of the waste. |
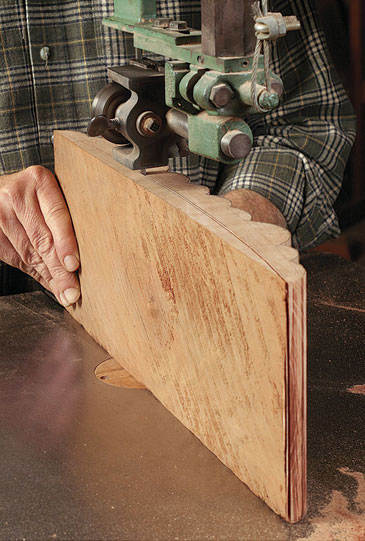
| Gilpin’s bandsawing is very precise, taking him nearly to the finished surface. He often uses the bandsaw as a rasp, smoothing the surface and sneaking up to a pencil line. Once the bumps are cut, Gilpin carefully cuts the long curve on the top of the tray. |
Smooth with hand tools
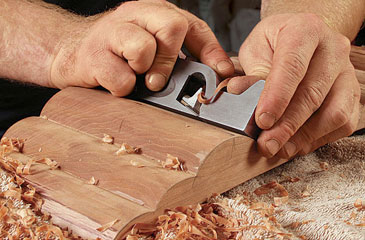
| Faceted curves. Although the bumps of this tray look perfectly smooth, they are actually lightly faceted using a rabbet plane across the grain. Few tools fit into the corner where two curves meet as well as the rabbet plane. |
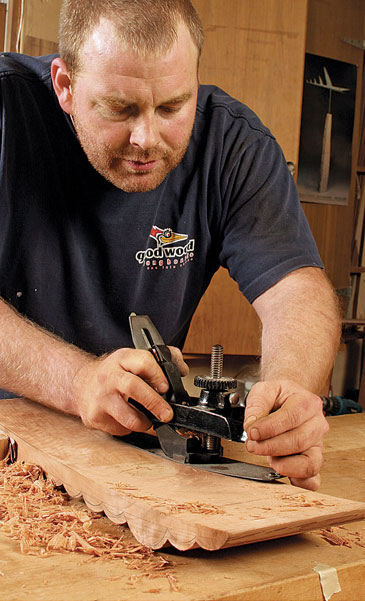
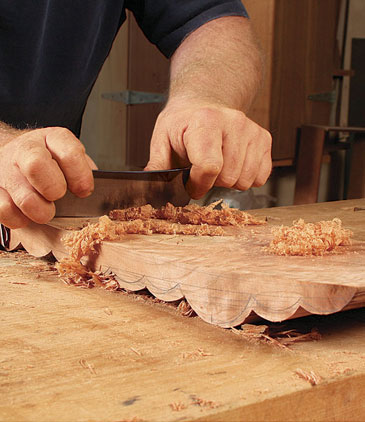
| Smooth the long, curved top. Gilpin’s apprentice, Mark Gower, uses a compass plane (above) and then a scraper (below) to smooth the top. He smooths the top with sandpaper, but leaves the underside’s handplaned look. |
Hand-carved details
| Like the tray, this bowl starts on the bandsaw, then goes in a different direction with hand-carved shaping and texturing. |
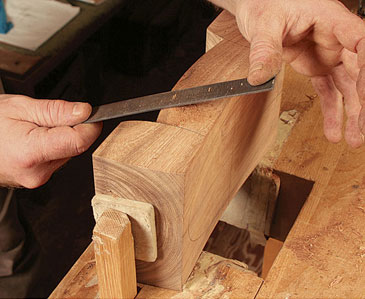
| Subtle cut-in adds to design. On the example he made for us, Gower decided to undercut the sides to break up the flat surface and emphasize the grain. He defined the basic shape with a chisel, and then faired the surface with a rasp and files. |
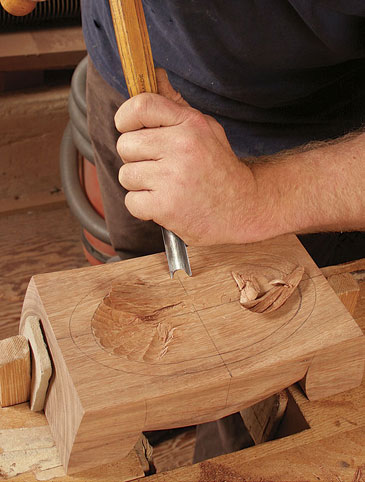
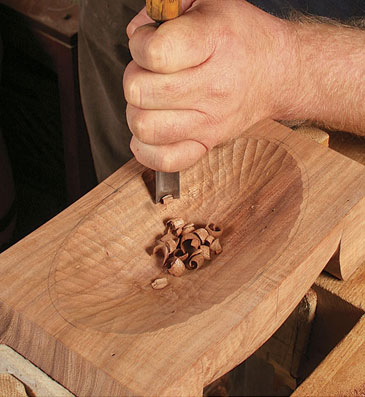
| #8 gouge does it all. Gower drives this gouge with a mallet, moving quickly around the bowl and roughing out material. Going across the grain produces less tearout than moving with it (above). Once most of the material is gone, he works with hand pressure alone, taking smaller and more precise cuts to produce the finished texture (below). |
Photos: Anissa Kapsales (action); Karen Phillipi (finished pieces)
Fine Woodworking Recommended Products

Suizan Japanese Pull Saw




Log in or create an account to post a comment.
Sign up Log in