Surface-Prep Shootout
A contest in the FWW shop reveals two great paths to a perfect finish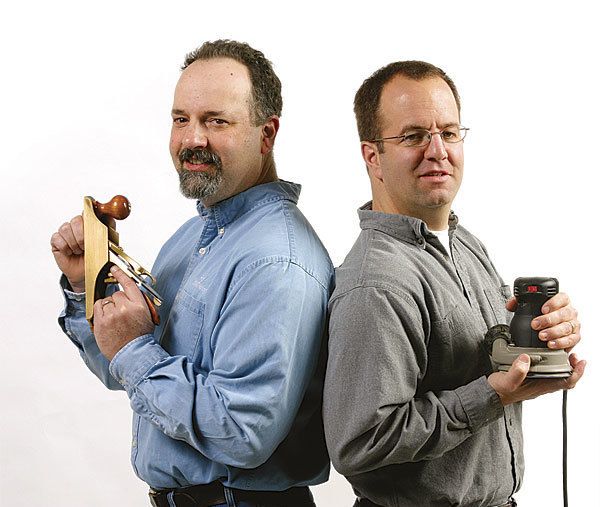
Synopsis: Which method works best when preparing wood for a finish — handplane or sandpaper? To find out, we set up a friendly competition between two FWW staffers. Each contestant was given the parts for a Shaker table with tapered legs. Milled to final dimension and with the joinery already fitted, the parts were ready to be sanded or planed. Art director Michael Pekovich demonstrated handplanes and scrapers. Editor Asa Christiana used sandpaper, with a random-orbit sander and by hand with sanding blocks. Afterward, each contestant applied a coat of Waterlox, a wiping varnish. Who completed the job first? Whose finish looked the best? And will this result change the way either of them works?
One of the happiest moments in any woodworking project comes when you begin applying a finish. It’s then that you see the wood’s final appearance deepening in color and character before your eyes. But the results won’t be satisfying if you haven’t prepared the wood’s surfaces for the finish, which tends to highlight flaws instead of disguising them. The surfaces must be smooth, flat, and free of milling marks, scratches, tearout, and other imperfections that can detract from the beauty of your work.
Preparing the surfaces usually means using one of two time-honored cutting technologies: sandpaper or handplanes. which is best? To explore the question, we recently set up a friendly competition in our shop. Each contestant was given the parts for a Shaker table with tapered legs. Milled to final dimension and with the joinery already fitted, the parts were ready to be sanded or planed in preparation for a finish. we broadcast the event live on Finewoodworking.com, and invited local woodworkers to our shop to watch and judge the results.
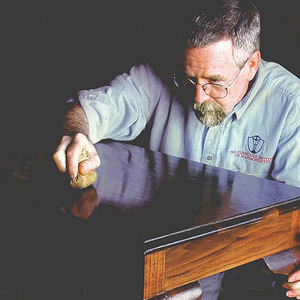
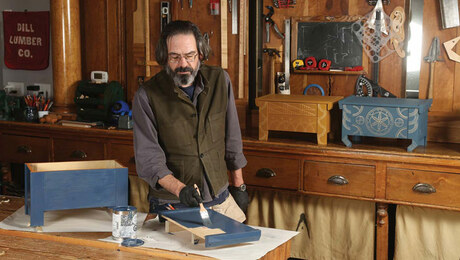
Art director Michael Pekovich demonstrated handplanes and scrapers. Editor Asa Christiana used a random-orbit sander and handsanding. Afterward, each contestant applied a coat of waterlox, a wiping varnish, as a way to check the results.
We put each contestant on the clock to see who crossed the finish line first. But we were even more interested in knowing whose finish looked best at the end.
As it happened, Mike and his handplanes appeared to prevail on both counts. He finished his prep with a half-hour to spare, and the audience judged his finish to be superior. In truth, if you follow either method carefully and thoroughly, you’ll get great results.
‘No sharpening required: Sanding is a sure and simple way to get flawless surfaces’
When I started out as a woodworker, I didn’t know much about sharpening and therefore couldn’t get my hand tools to work well. So I used sandpaper to prepare surfaces for finishing. Sandpaper has a short learning curve, and I picked up most of the tips I needed from a great Taunton Press video on finishing by Frank Klausz.
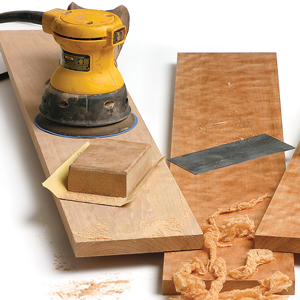
Truth be told, I’ve since switched to handplanes for a lot of my surface prep. A few passes with my sharp No. 4, and I usually have a dead-flat surface ready for finish. But the handplane doesn’t work with every type of wood and figure, so I still break out my random-orbit sander and trusty sanding blocks quite often.
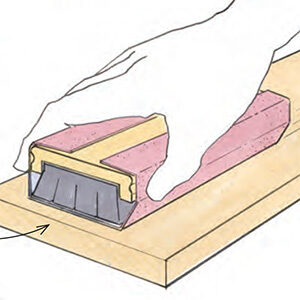
I don’t mean to say that sandpaper works better than handplanes and scrapers. But sandpaper is a great equalizer: It works on every wood and in nearly every situation, while handplanes must be perfectly tuned and razor sharp to work at all. With sandpaper and a few tips, anyone can create flawless surfaces.
From Fine Woodworking #212
Make sure you watch the video event for this Surface Prep Shootout.
For the full article, download the PDF below:
Fine Woodworking Recommended Products
Bumblechutes Bee’Nooba Wax
Foam Brushes

Odie's Oil






Log in or create an account to post a comment.
Sign up Log in