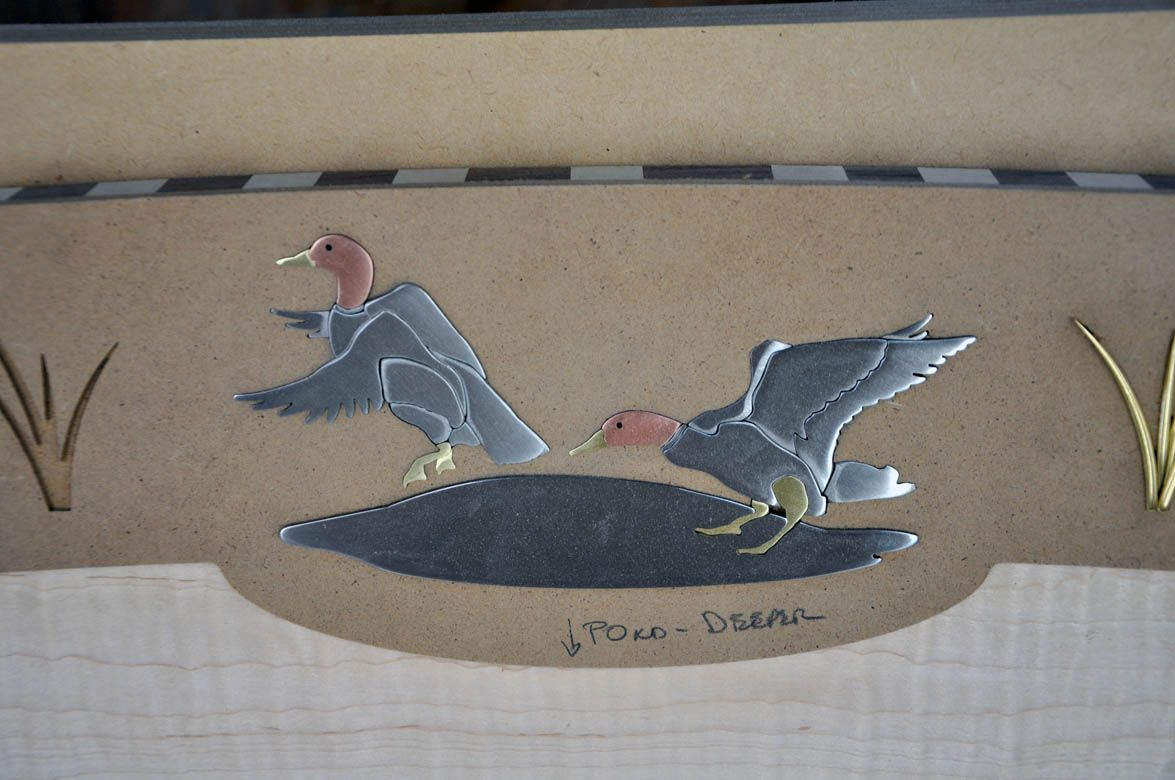
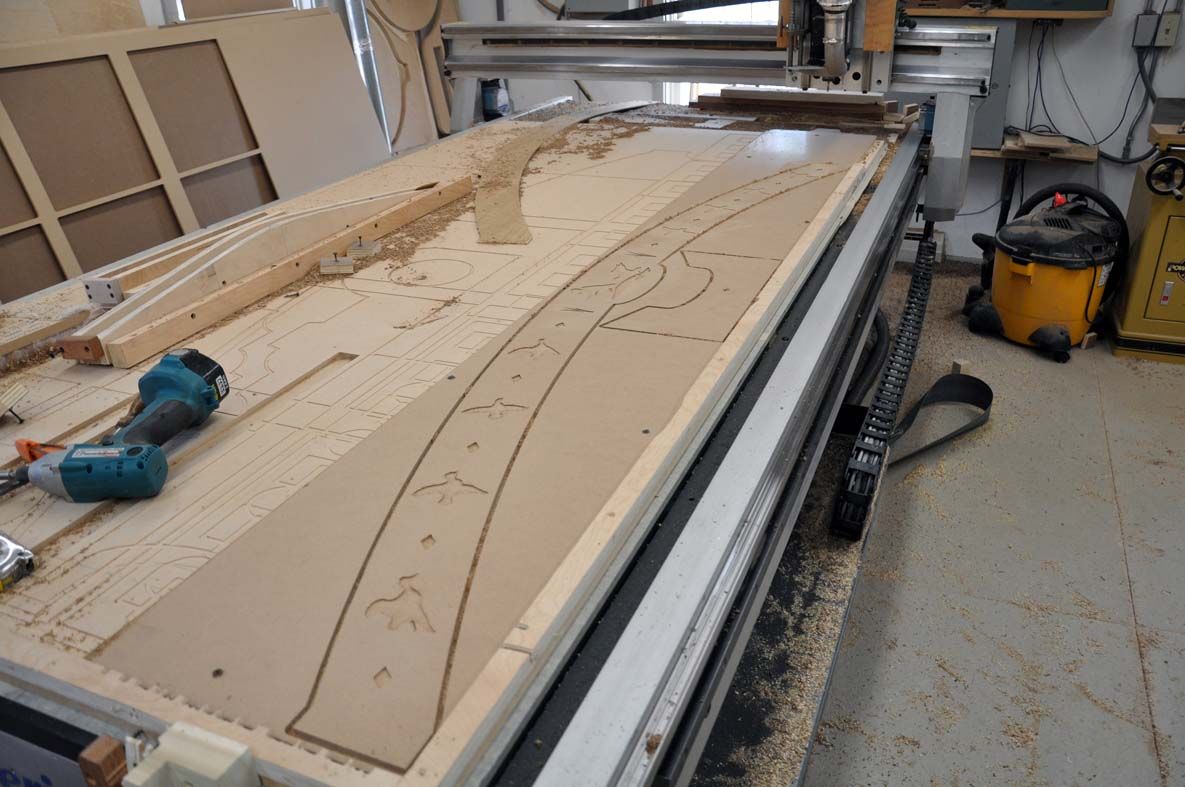
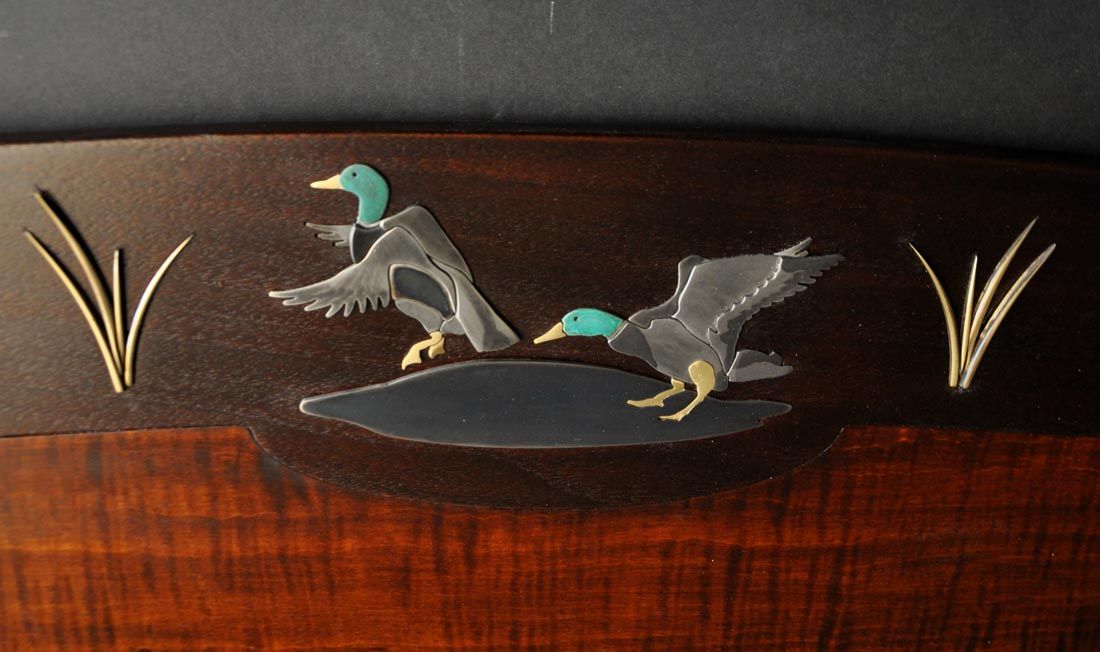
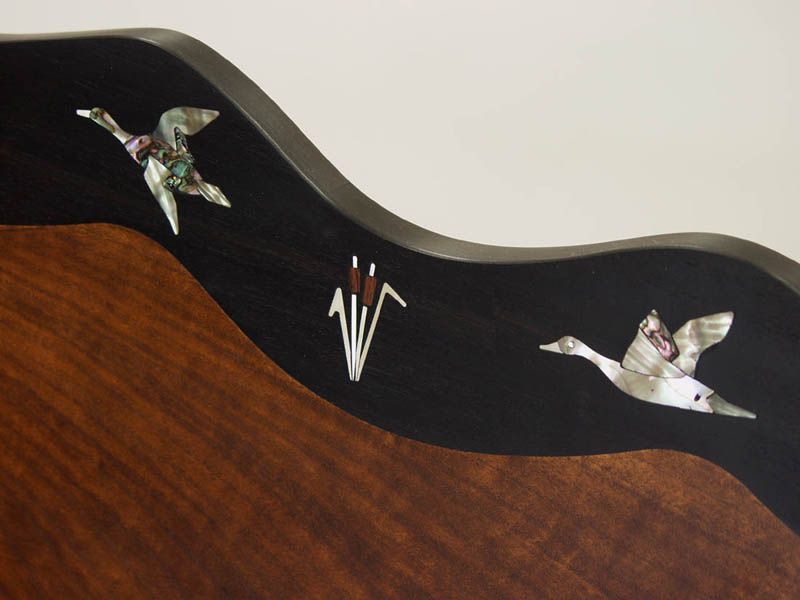
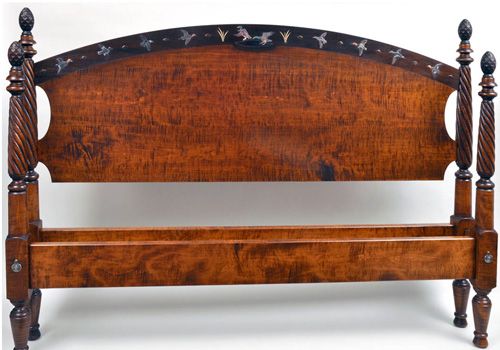
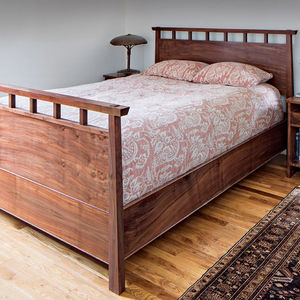
Back in the mid 1990’s, I was commissioned to build a bed for a client that included abstract abalone inlays of stylized birds and leaves. Over the next ten years, we did other versions of the abolone inlaid headboards, including one in 2005 for a client in Tennessee featuring ducks. All those designs featured flush sanded inlays of various motifs including bears, deer, snowflakes, pine cones and other geometric images. When one of my longtime clients requested a new king size bed featuring the ducks, we decided that the inlays should reflect the gold inlay work that you often see on fine shotgun receivers. It was a stretch, but the process was similar. We just had to have someone with a water jet cut the inlay parts from our CAD drawings.
|
|
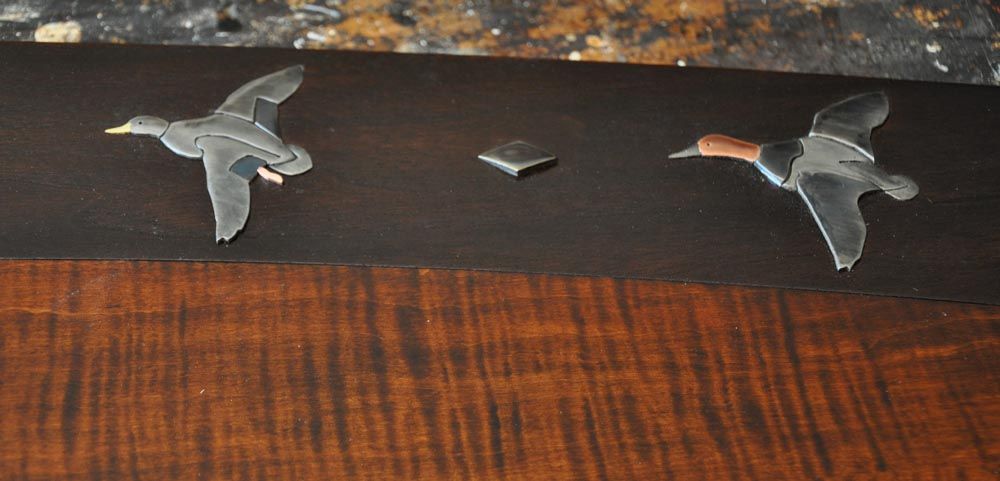
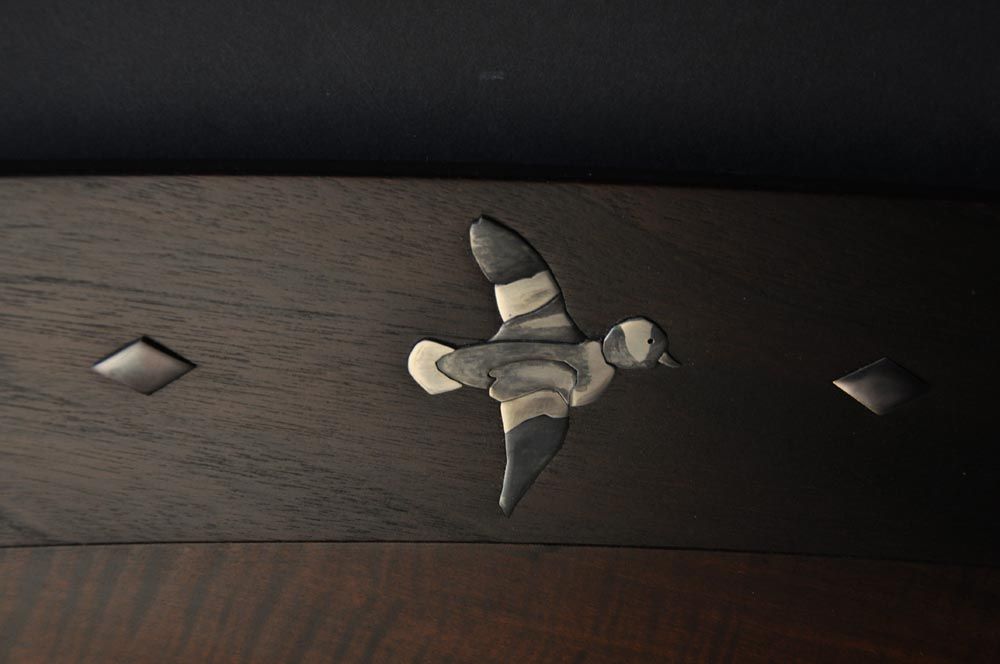
After the bed, which included extensive spiral turned carving and carved impressionistic pinecones, was completed, it was time to home in on the inlay work. Our first sample inlay was done using aluminum as a test, but the real inlays were made from steel, copper, and brass, all with color variations accomplished using various patina solutions. The patina process was one of trial and error. The chemicals we used included Vans cold gun blue and other chemicals from Sure-fin and Triple S Chemical Company. All of these patinas were applied cold and one of the keys to stopping and fixing the copper color, which is actually a salt, was to spray it with an aart chemical called “moveable fixative,” typically used for stabilizing pastel paintings. The blackening and bluing processes were controlled by timely applications of 3-in-one oil.
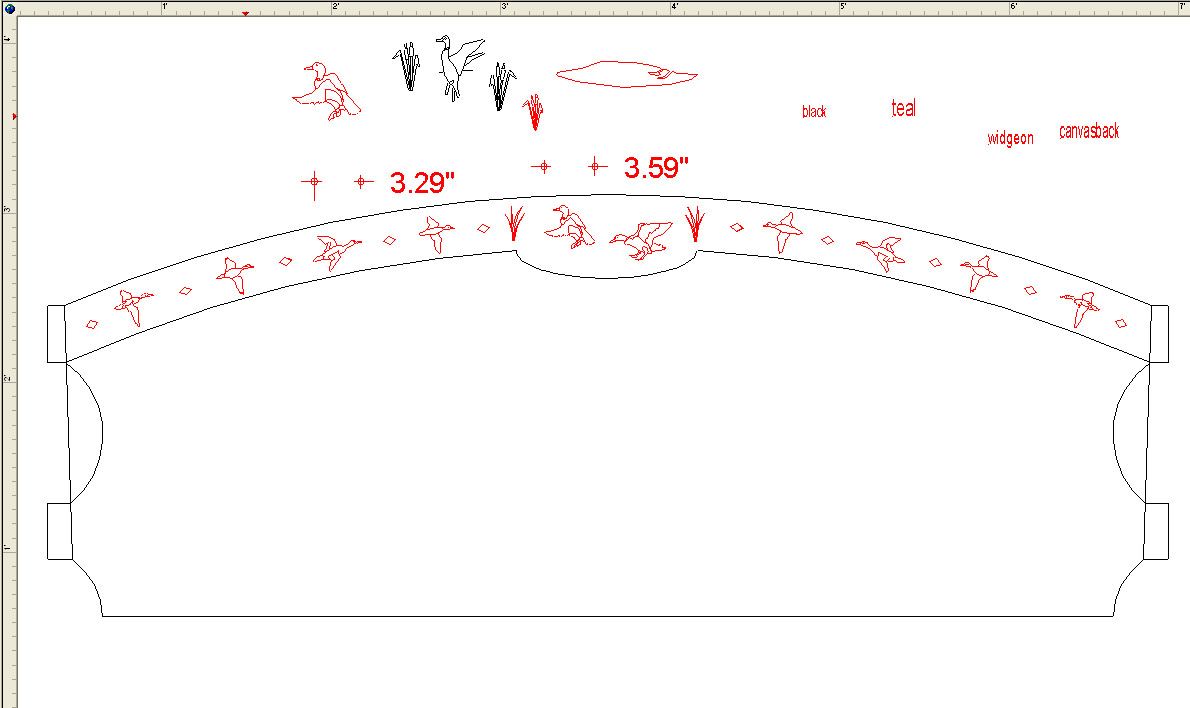
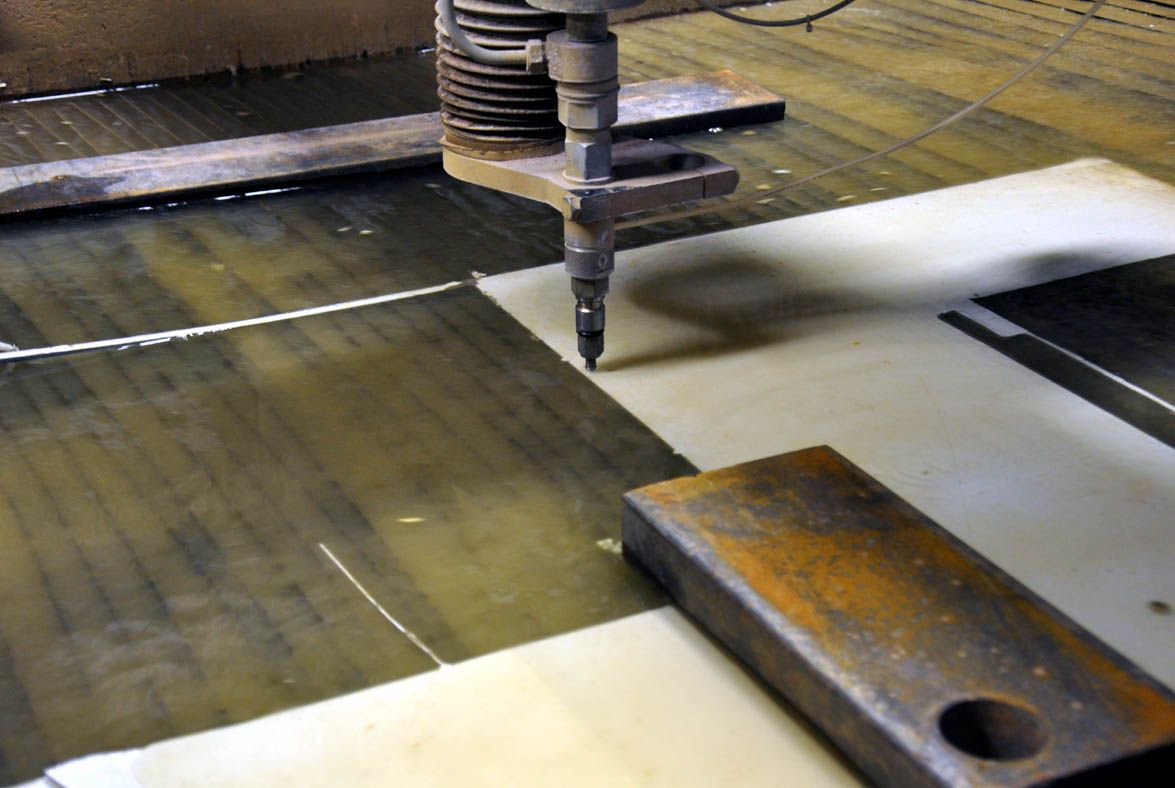
[[[PAGE]]]We began the inlay process by laying out the art in CAD, and emailing it to A.L. Melanson for cutting on an enormous water jet machine. Interestingly, this machinery was first explored as a possible anti-tank weapon–water jets are capable of cutting through materials over eighteen inches thick–but their short range and the advent of newer, high-tech armors lead to the research being discontinued.
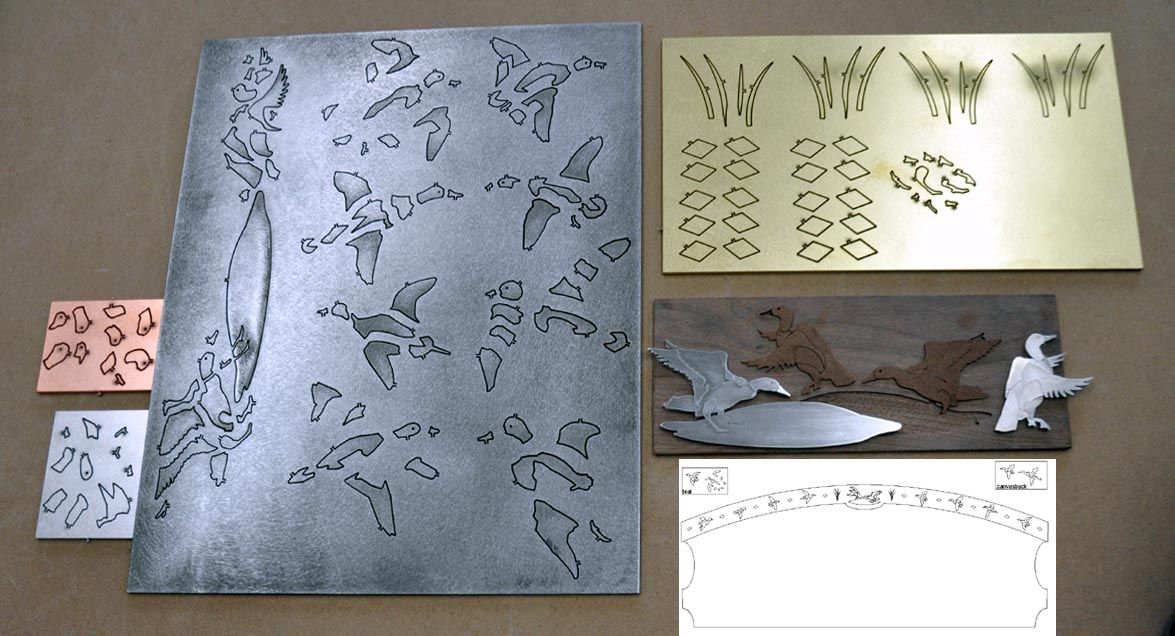
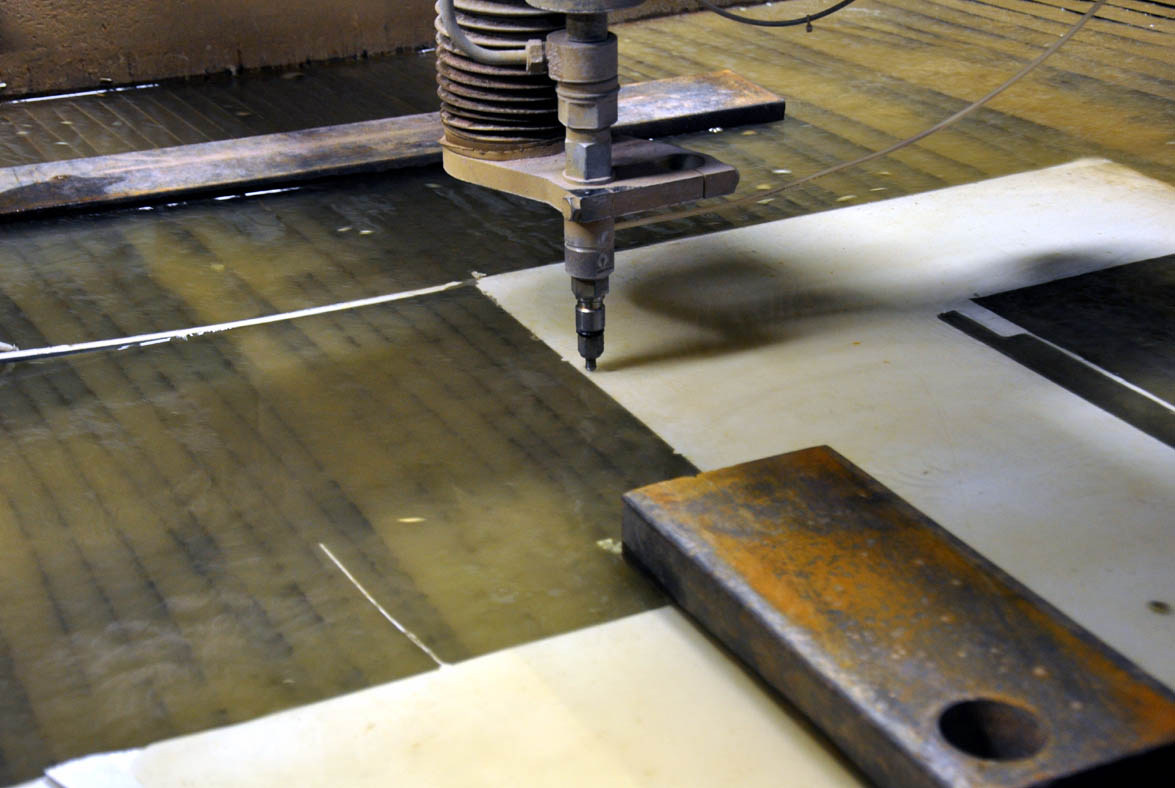 The water jet makes quick work of cutting the inlays out from the metal blanks. |
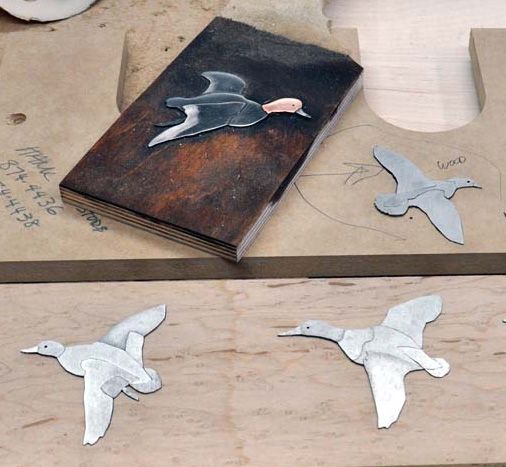
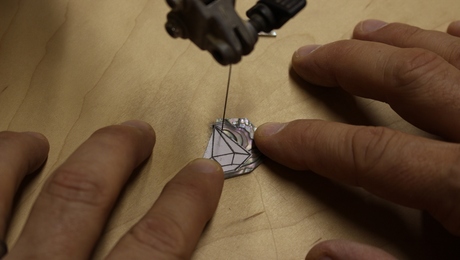
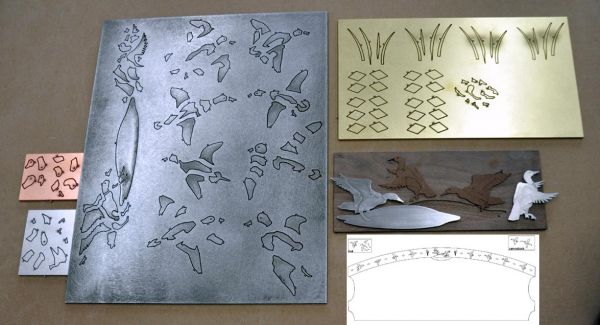 Once the plates are cut and water is drained, there’s still plenty of work to be done, separating the individual pieces from the blanks. |
The cutting crew input our CAD drawings into the machine’s computer and got to work quickly. The machine’s surface is actually flooded, and the material is under water when it’s cut. Since there is no “force,” the material is held in place usually just by gravity on the supporting bars you see in the photo. The work isn’t over when the water is drained, however. All the bridges that connect the parts to the larger plates need to be drilled out. The tabs left behind are then sanded or filed off.
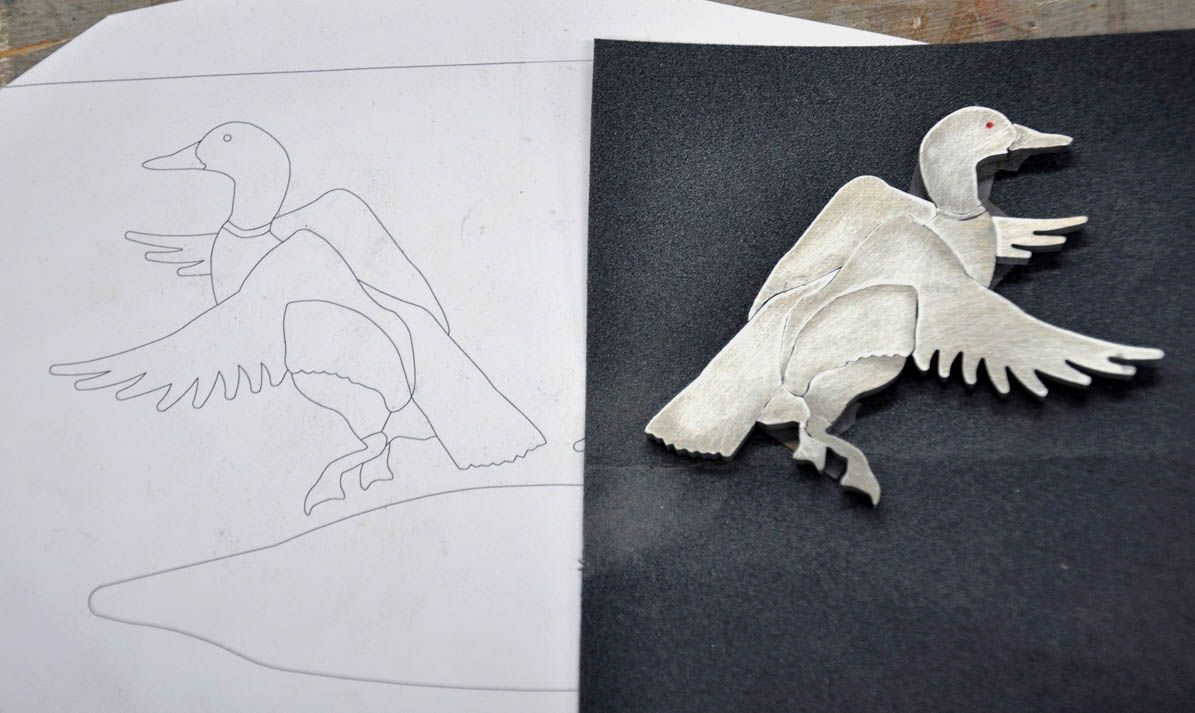
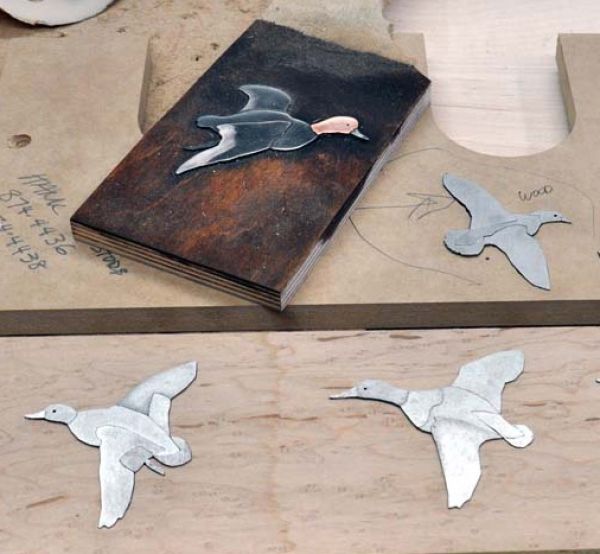 Individual ducks ready for grinding and sculpting. |
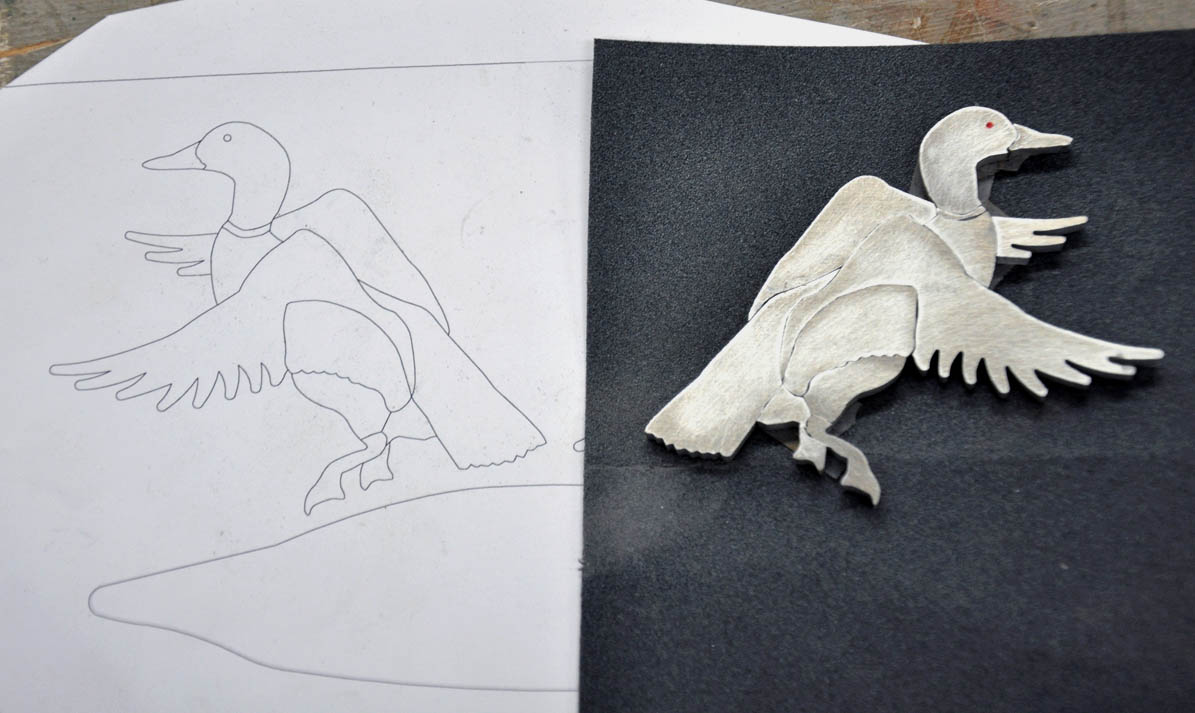
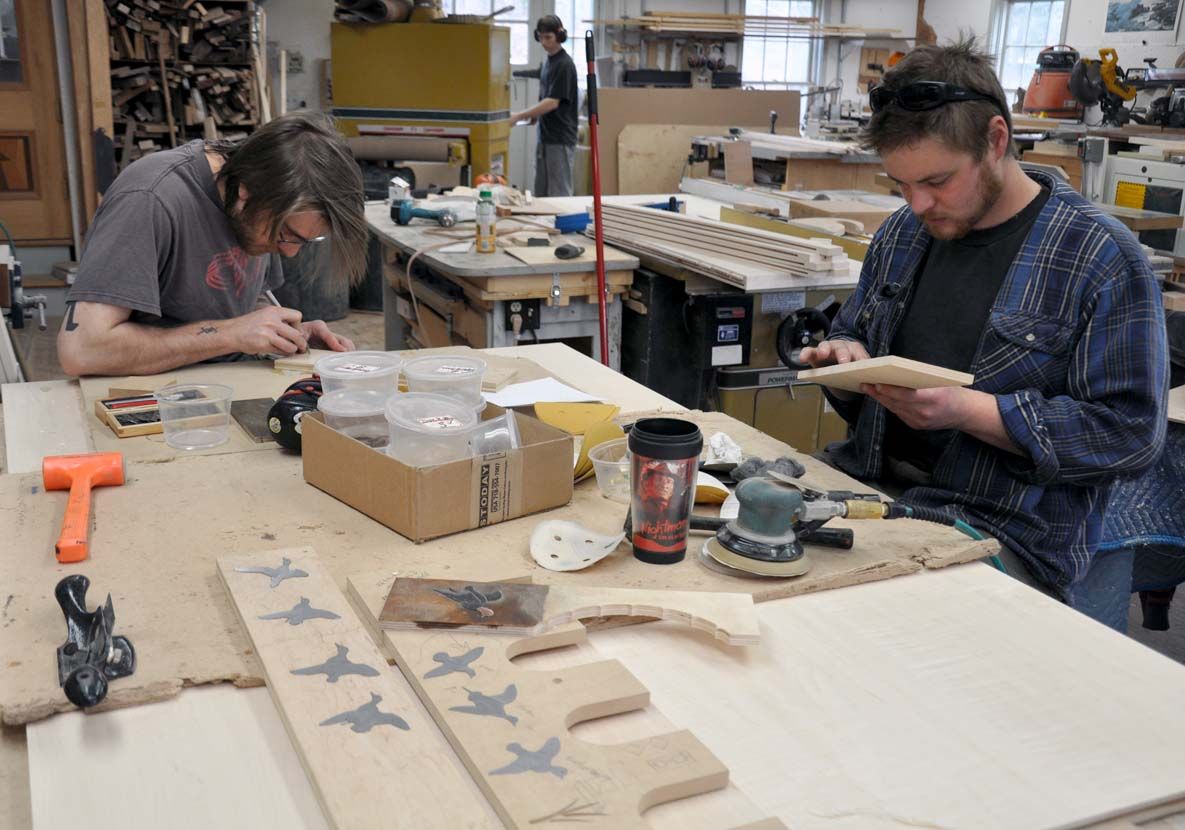
Next, each individual piece of inlay needs to be filed and beveled where it meets any adjoining piece. The material was all the same thickness, but it was ground and sculpted in a sample MDF pocket with a dynabrade, which eliminated steps where the pieces meet. One of the interesting tricks we employed here was the use of thinner material for parts like beaks, wings and feet. The thinner profile creates the illusion of depth. And finally, once all the inlays were sculpted and patinated, they were glued into the headboard using Loctite 5-minute epoxy.
A New Bed Project
Cutting with a Water Jet
Bed Update
Duck Inlays





Comments
Cottage Doors have a large range of Oak Internal Doors including, Ledge and Brace Doors, Cottage Doors, Frame and Ledge Doors and our Antique Reproduction doors.Please go to http://www.cottage-doors.co.uk/ for our avail product details.
Log in or create an account to post a comment.
Sign up Log in