Modeling a Ruhlmann-Influenced Leg in SketchUp
At first blush it might seem like a challenge to draw in SketchUp but it is actually quite simple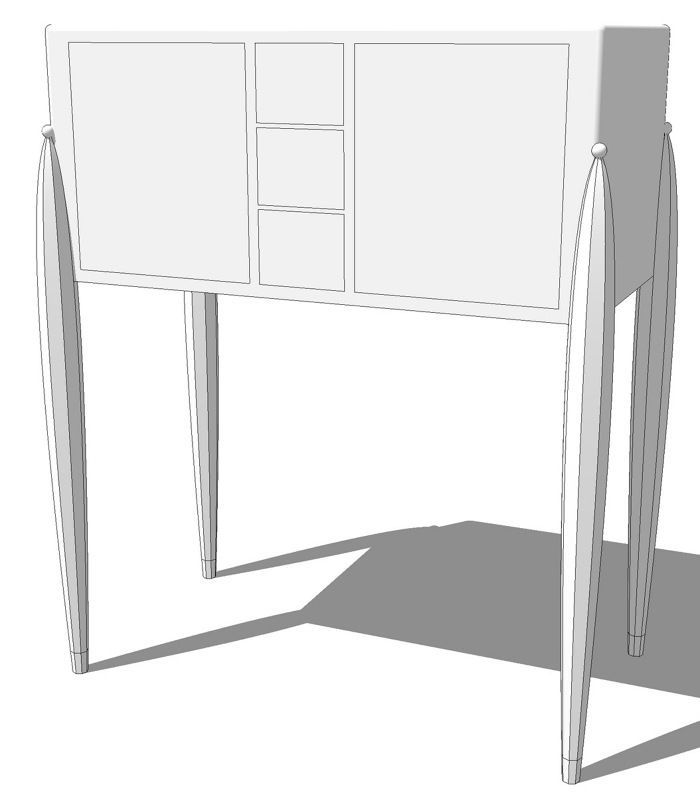
Recently I was looking around for ideas for a small cabinet design. I saw a piece by Émile-Jacques Ruhlmann that was interesting. I decided it would be a good starting point for my own design. Then I got sidetracked into drawing the classic Ruhlmann-style legs for the fun of it and thought it would be a good sort of intermediate level thing that some folks might like to try.
The typical Ruhlmann-style leg has an octagonal cross section and a sort of torpedo profile. On the top there is a little ivory ball and on the bottom an ivory or light colored wooden foot. At first blush it might seem like a challenge to draw in SketchUp but it is actually quite simple. Here’s how I went about drawing it.
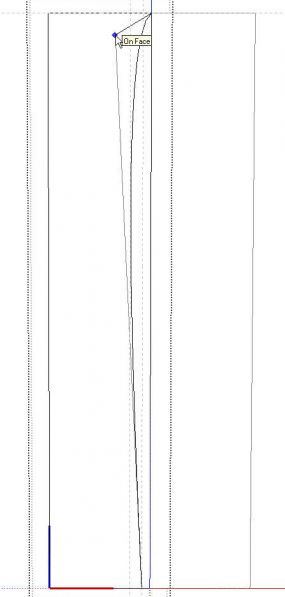
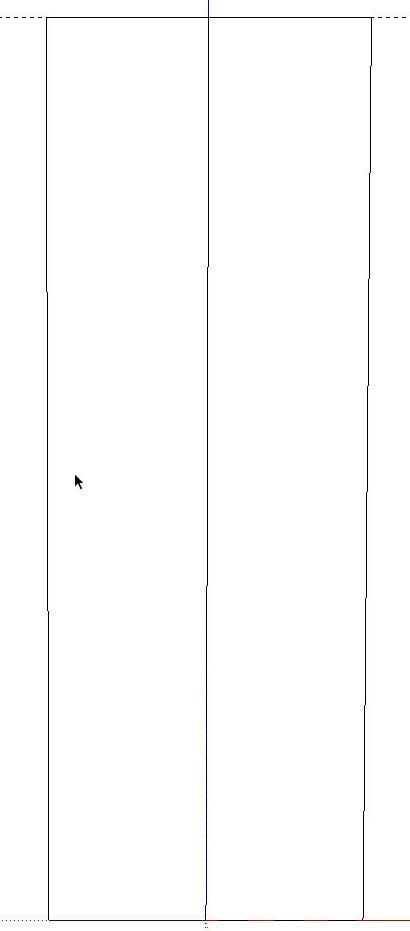
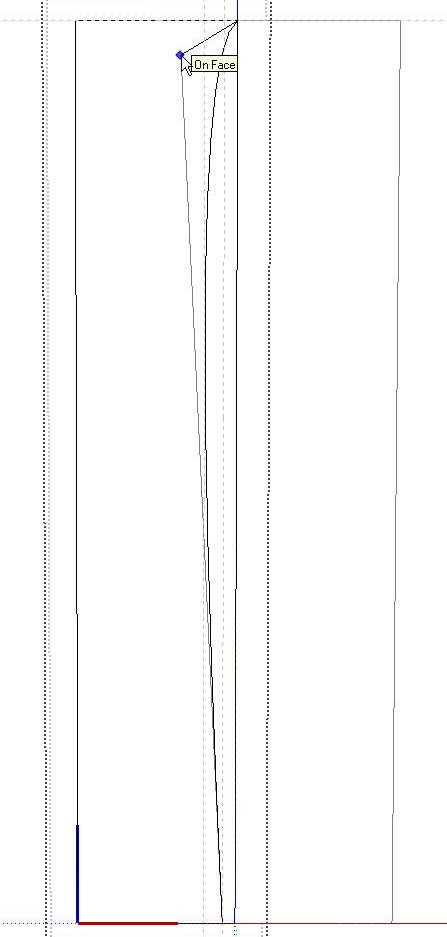
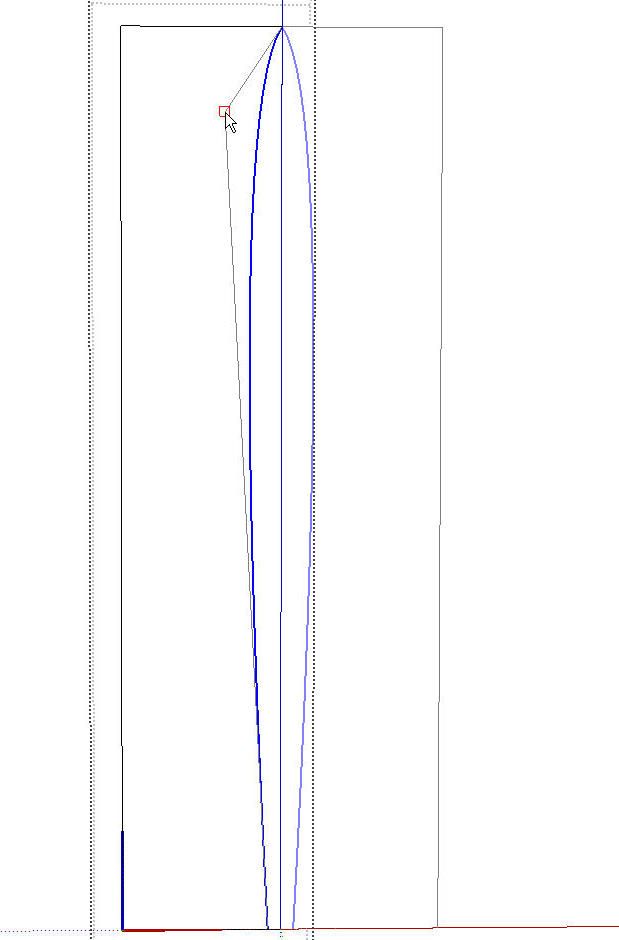
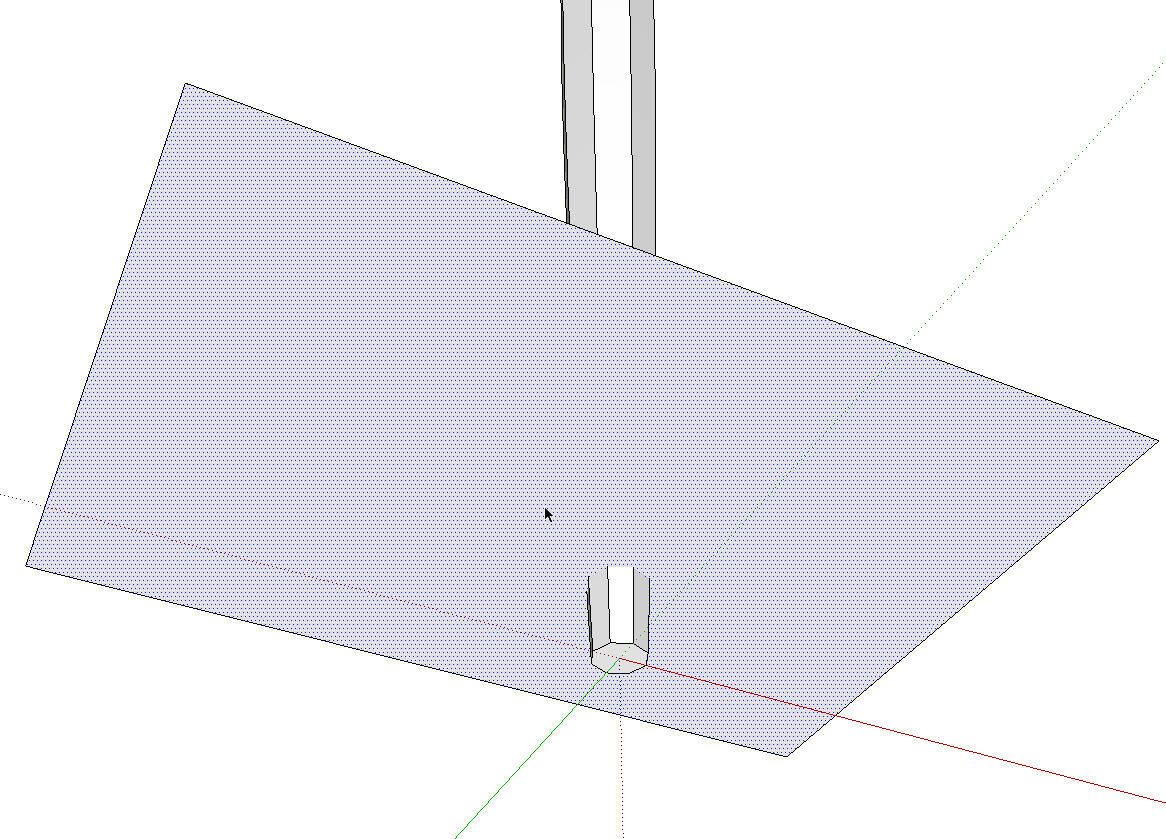
I started with a vertical rectangle with one vertical edge on the centerline of the leg. The height of the rectangle was the height of the leg and the width was arbitrarily chosen. I made a component of the rectangle, copied and flipped the copy along the red axis. Then I edited one of the rectangle components and laid out the curved profile of the leg using the Bezier plugin. I got the curve close and then finalized it so I could take a look.
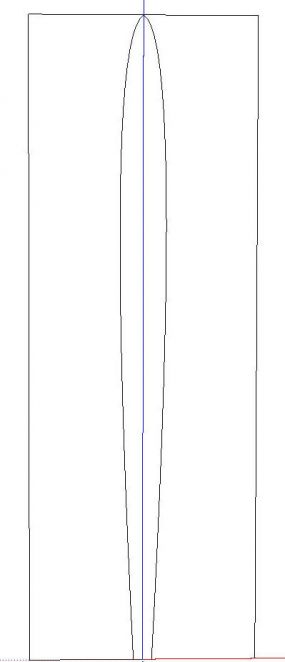
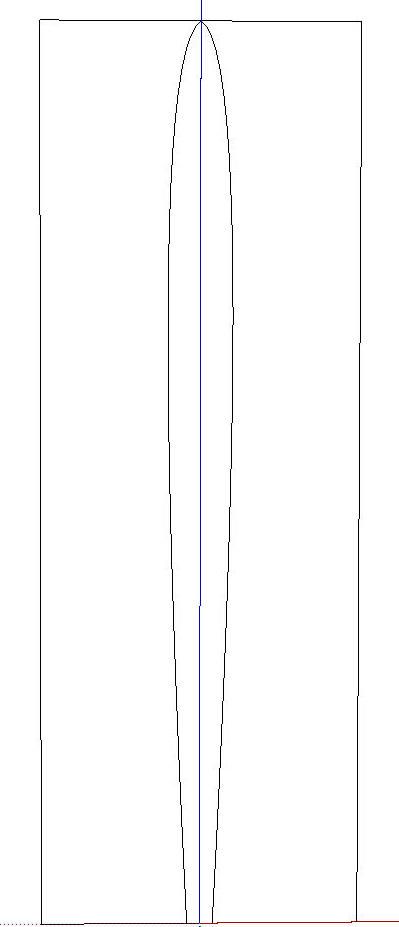
The copy of the component allowed me to see the profile as a cross section of the leg and get a better idea of the shape.
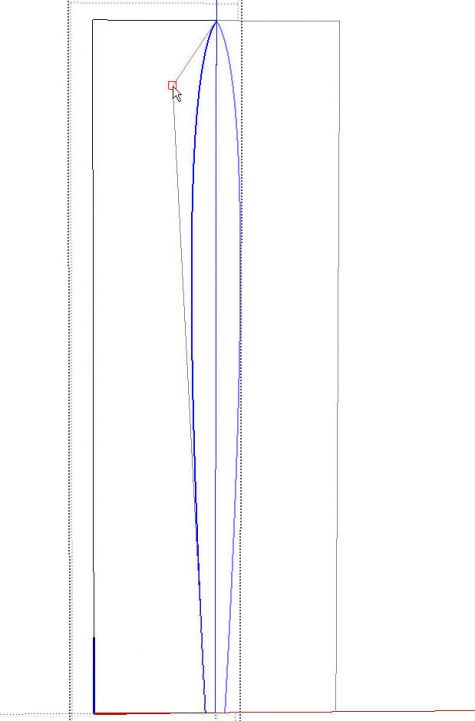
I decided to edit the curve’s shape a little bit to make it a little more pointed at the upper end. After I got the curve adjusted to my liking, I deleted the copy of the component and deleted the unneeded edges leaving just the profile of the leg.
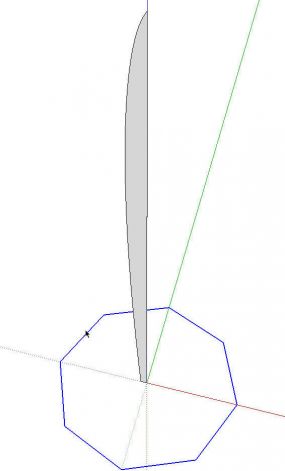
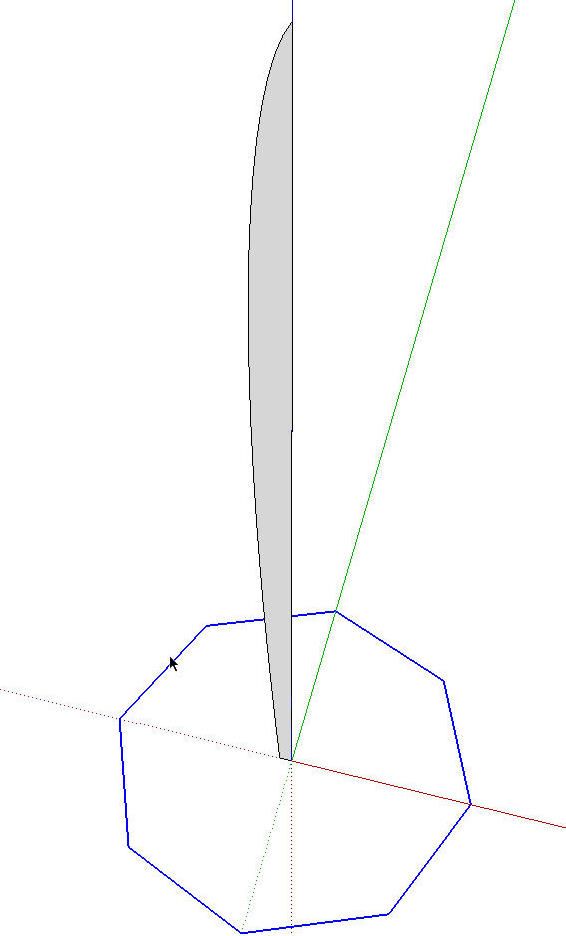
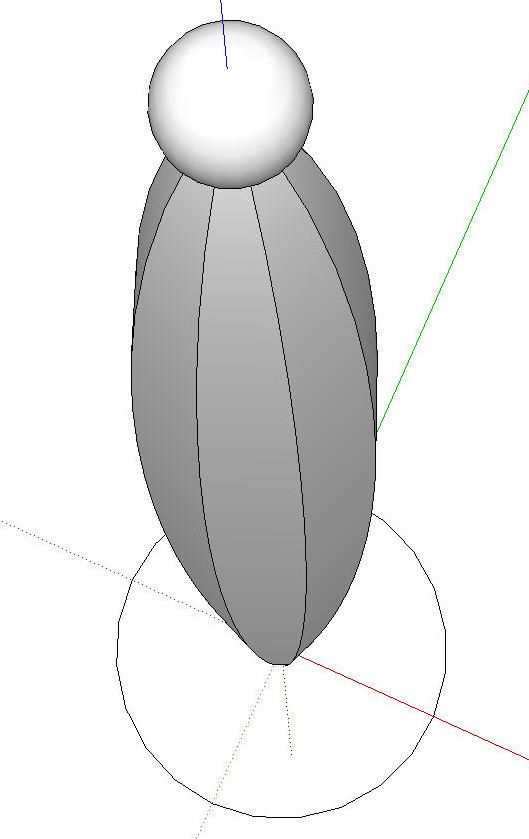
Then, with the Polygon tool I drew an octagon centered on the centerline of the leg. The size of the octagon isn’t important. Just make it larger than the bottom of the profile. This will be the path for Follow Me. Delete the face of the octagon. If you don’t, the bottom face of the leg will be missing. You can fix that later by tracing an edge to heal the face but deleting this face avoids that. Select the octagon and get the Follow Me tool. Click on the profile and most of the job is done.
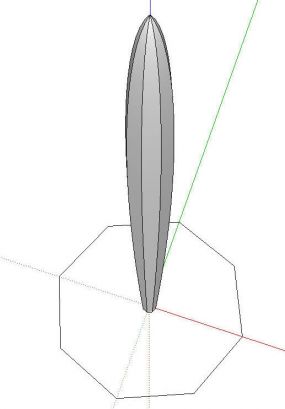
Remember to correct the face orientation if needed. The octagon can be deleted because it is no longer needed.
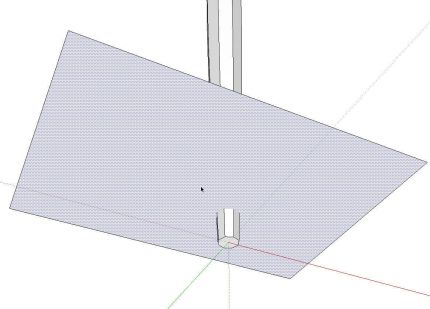
To delineate the foot I drew a rectangle 1-1/2 in. up from the ground plane. You could do this in a couple of ways. Either use some guidelines to layout where the rectangle needs to be or draw the rectangle on the ground plane and off to one side of the leg. Move the rectangle up and over. Select the leg and the rectangle and context click to access Intersect>Intersect Selected. After the intersection is created, delete the rectangle. If the leg isn’t a component already, make it one now.
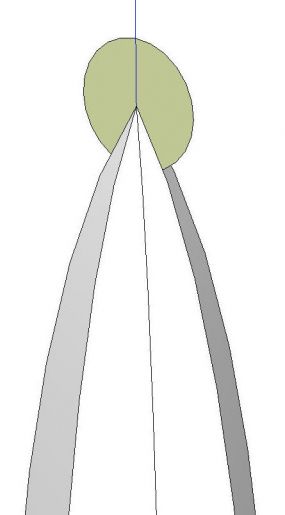
Next I added the little ball at the top. I don’t want the ball to be part of the rest of the leg component so it is drawn outside the component. Drawing it in place on the top of the leg eliminates the need to move it around afterwards. It saves time and reduces the chance for errors. I started by drawing a circle centered on the point of the leg.
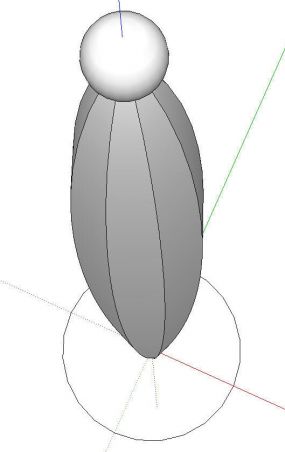
Then I drew a circle on the ground plane centered on the origin. This circle is the path for Follow Me. Select it, get the Follow Me tool and click on the circle at the top of the leg. Correct the face orientation if needed and make the ball a component. Select the leg and the ball and make a nested component of the two and the leg is complete. Copy and flip it as needed to the other corners of the case.
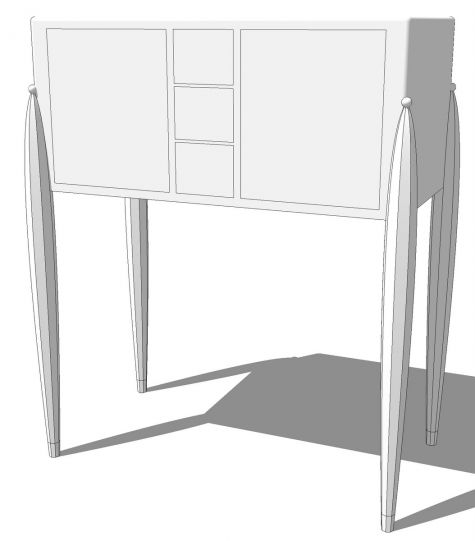
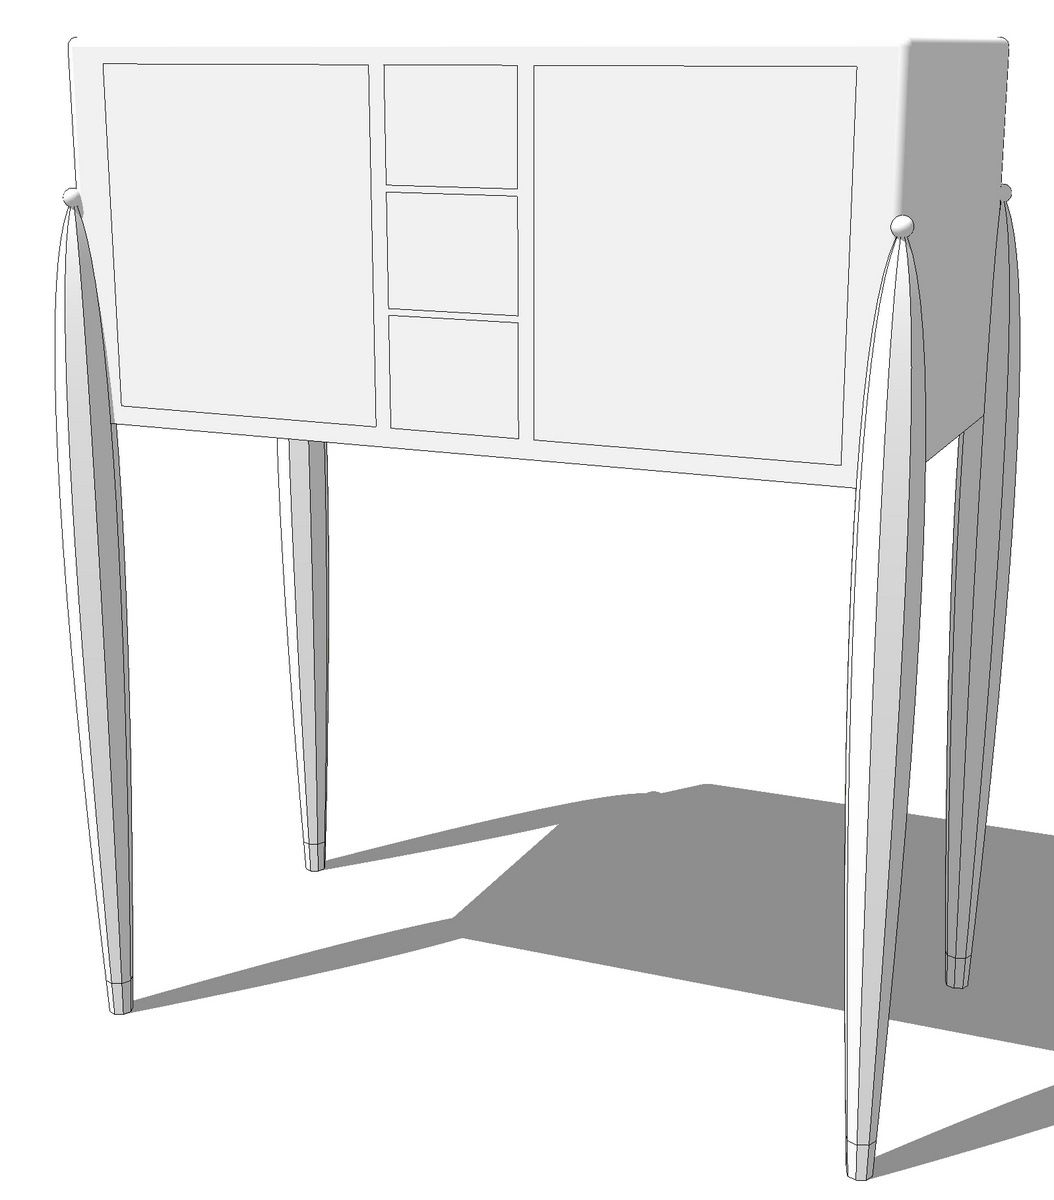
Now I just need to refine the case a bit.







Comments
Dave
There is a general discussion regarding Ruhlmann over at Tommy MacDonald's 207 forum in case you or anyone reading this is interested. The thread is available without being a member:
http://www.tchisel.com/forum/viewtopic.php?f=17&t=1547&sid=881fb95d8dcc76b2bcb973f5c63a8aa3
Thank. I hadn't seen that.
cool--nice work as always, Dave.
Log in or create an account to post a comment.
Sign up Log in