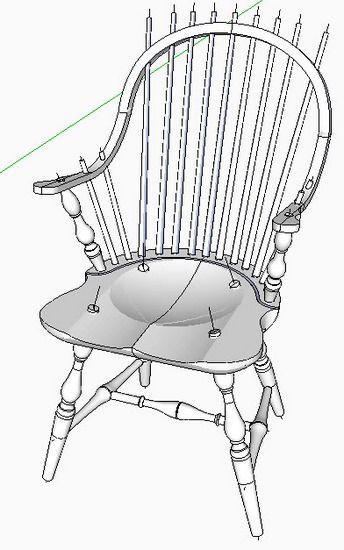
For years I’ve struggled with shaping the seat in SketchUp for a Windsor, or for that matter a Maloof, chair. I continue to look for easier ways than my brute force method using shaped “cutters” built in SketchUp along with Intersect. Recently I heard that a plug-in, ExtrudeTools may help so I downloaded the plug-in at this location: http://forums.sketchucation.com/viewtopic.php?f=323&t=25362&sid=8faee44ab1caca1b72306dd8ab5e5472
Dave Richards just recently used this same plug-in in the Barley Twist blog entry.
I’ll tell you at the outset, that I need to keep looking for a solution, as this plug-in does not solve the problem efficiently. I can see where this tool is very effective in making organic-shaped objects. But for shaping a Windsor seat, I found it to be difficult without providing an improvement in results.
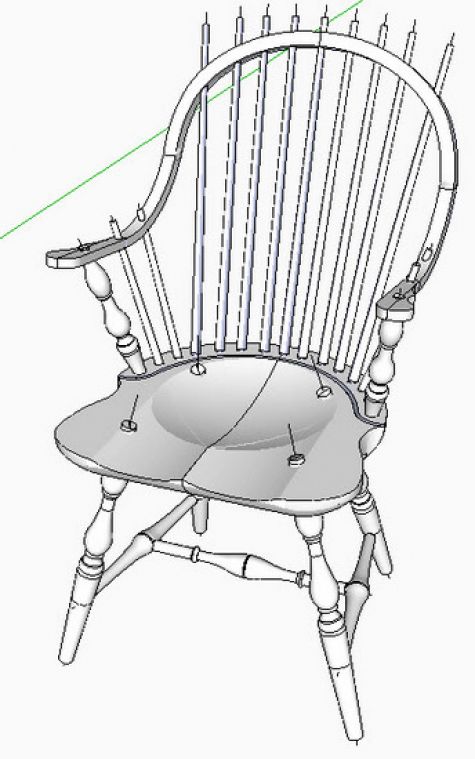
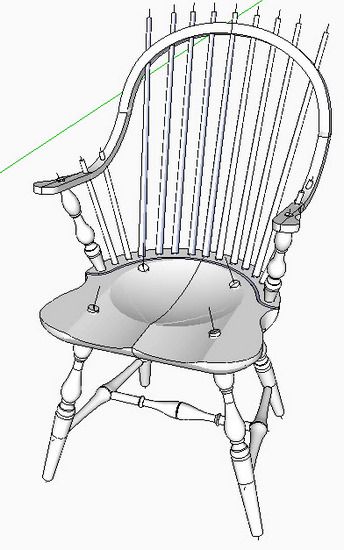
I’ll show you how I used the tool in the following steps using a Continuous Bow Arm Chair that I’m building in the shop now and is shown below. (This model has a seat shaped with my crude “cutters” method.)
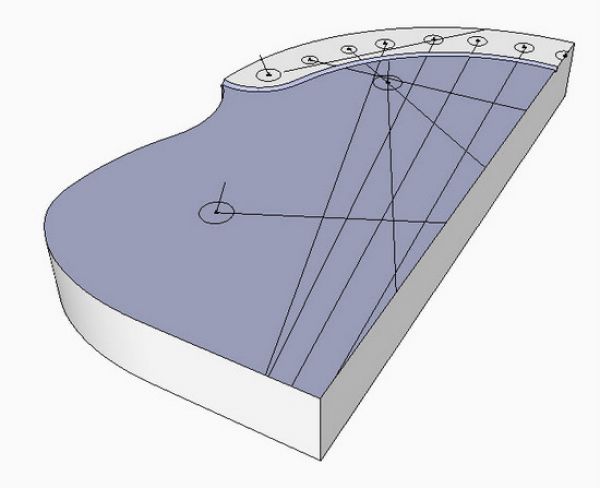
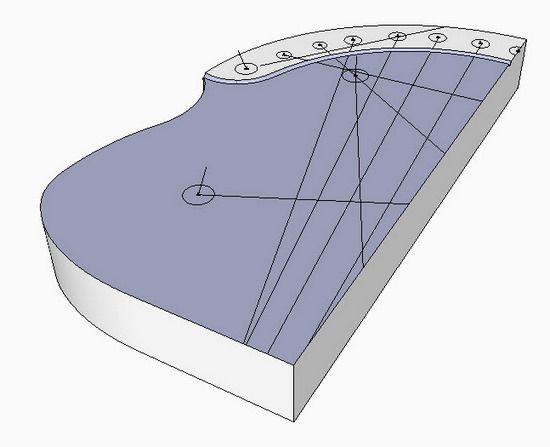
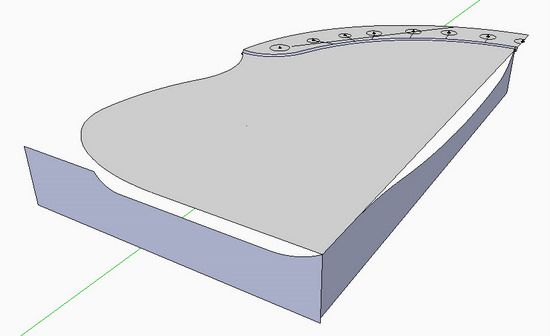
Step 1: Start with the half-seat blank (unshaped).
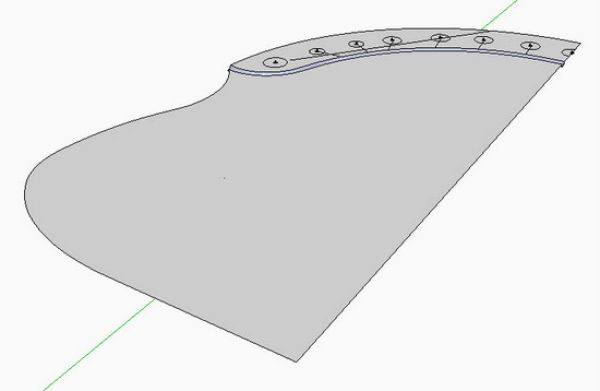
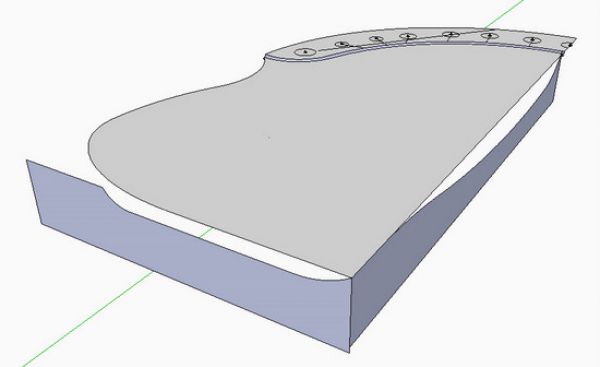
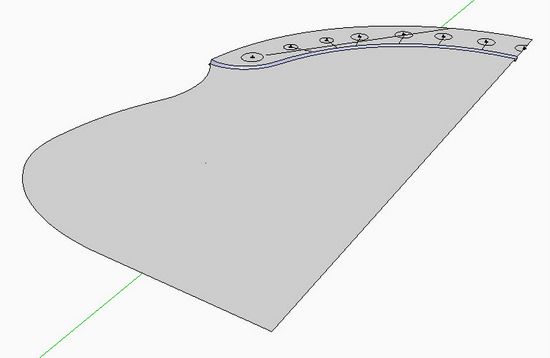
Step 2: Make a copy of the top surface of the seat shape as shown below. I’ve removed all the “sight lines” used for drilling the sockets. Although still shown in the illustration, I also remove the back flat area including the gutter and spindle sockets.
Step 3: I prepare seat profiles from both directions and line them up with the top surface.
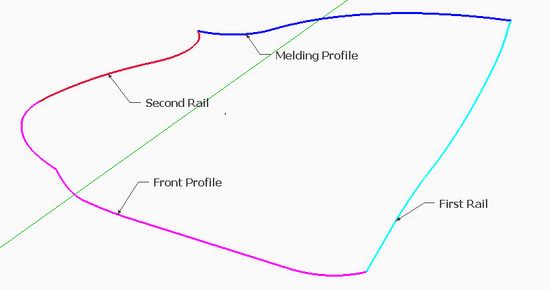
Step 4: There are several options for using the ExtrudeTools plug-in. I will use the option “Extrude Edges by Rails”, which uses a Front Profile, First and Second Rails, and a Melding Profile. I’ve prepared these profiles and rails from the seat edge shapes taken from Step 3. I’ve shown these four edges in different colors for illustration purposes only. The profiles and edges must be “welded”, not a sequence of individual arcs. I used the popular Weld plug-in to assemble my pieced arc segments.
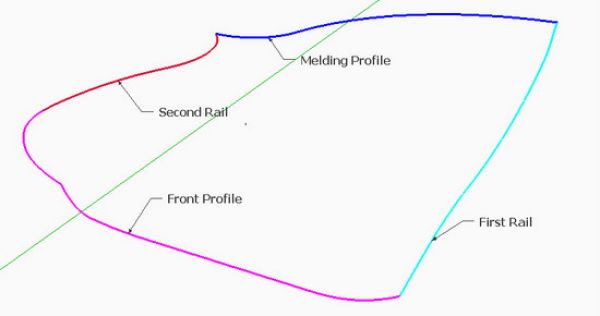
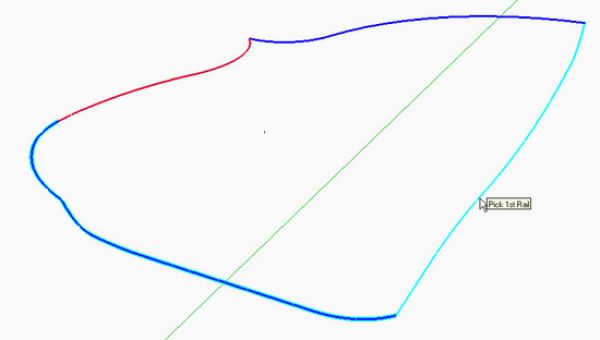
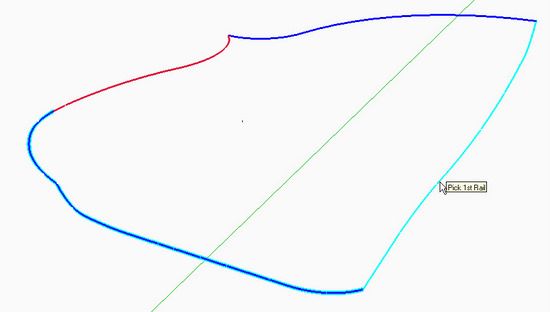
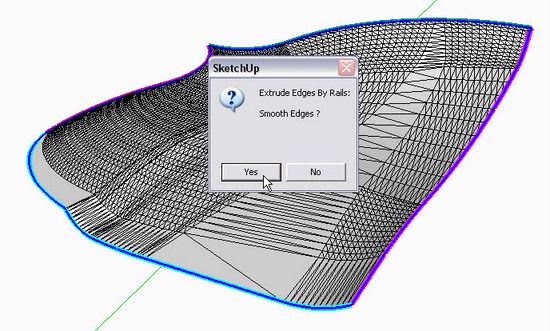
Step 5: Pick the Extrude Tool, using the option stated above. The tool steps you through the process, first clicking on the front profile, then 1st rail, 2nd rail, and finally melding profile. This is a complicated surface, so my computer took several minutes to create the shaped surface.
Step 6: The tool steps you through several options to which you answer yes or no. My only yes is this last question on whether I want the tool to Smooth Edges.
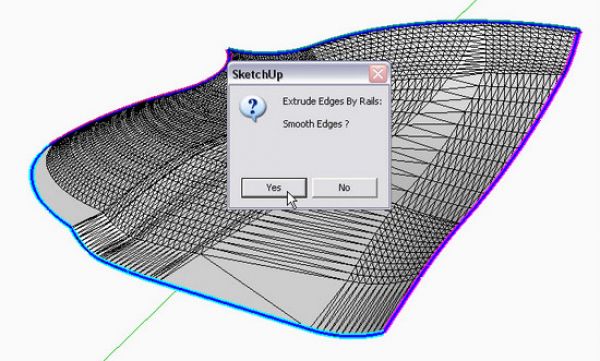
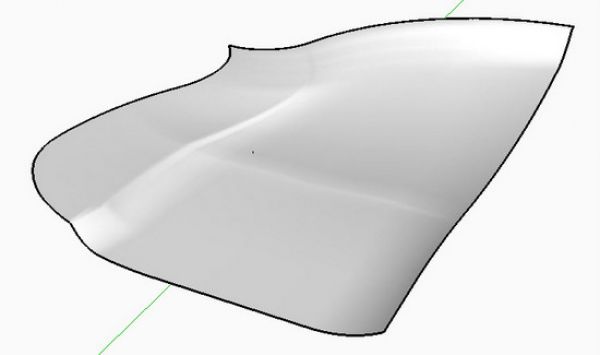
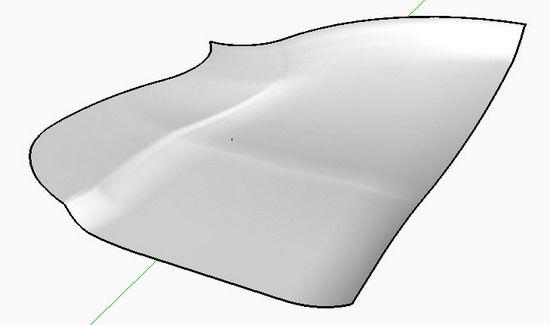
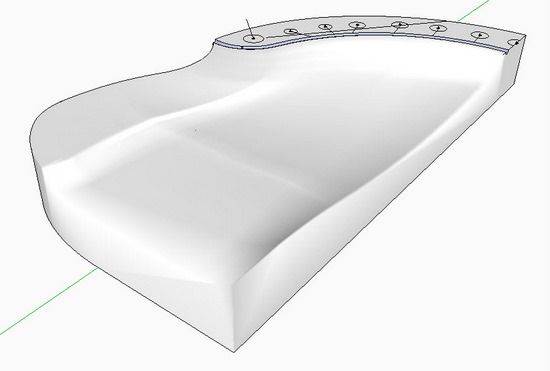
Step 7: Here is the resulting sculptured seat top surface. But now this needs to be turned into a complete seat with thickness.
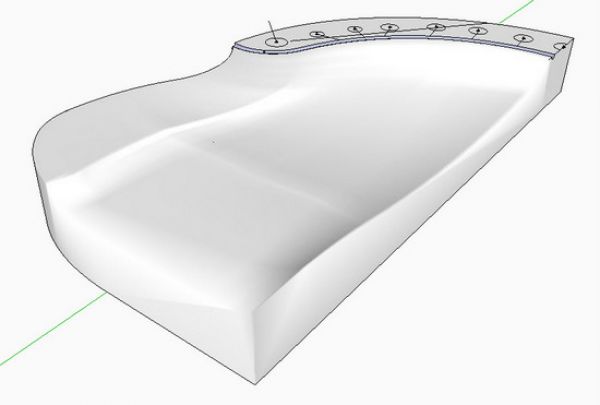
Step 8: I attach this sculptured surface to the lower section of the seat as shown below.
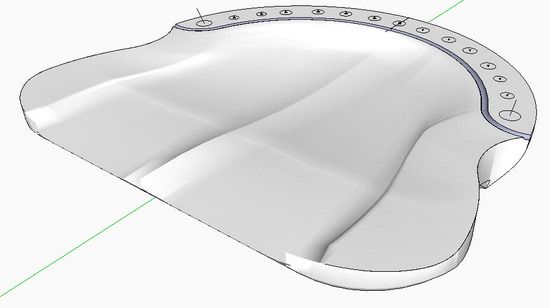
Step 9: Unfortunately, the seat is also aggressively shaped and rounded on the bottom edges. I do this using Follow Me and Intersect, providing the final shaped seat.
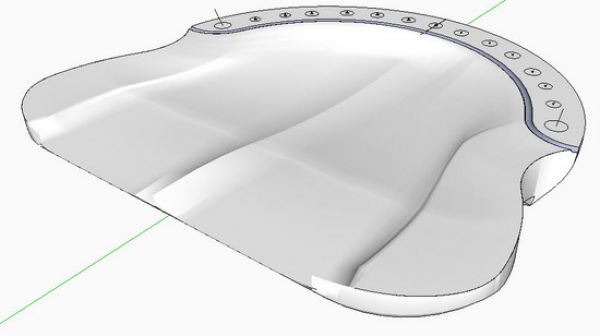
As I mentioned above; this process is not easy and is just not worth the effort. I will continue to use my shortcut method until I find a better way. Although the SkechUp model is critical to the reproduction effort, I really don’t need a sculptured seat to be included in that model.
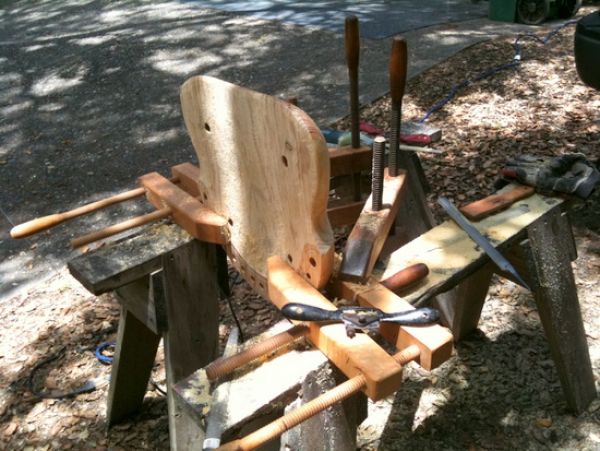
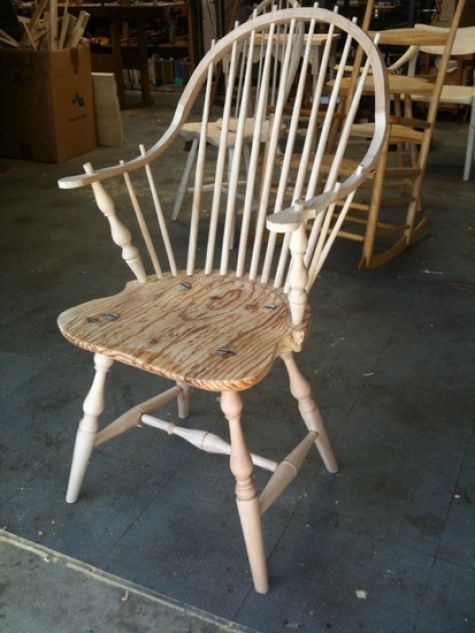
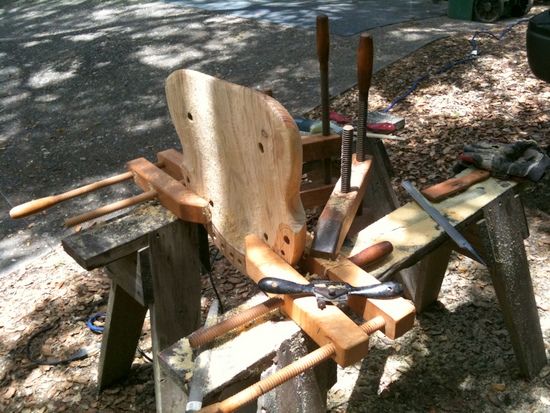
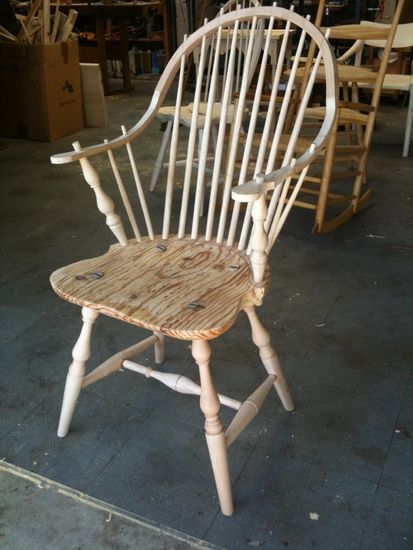
Here’s a couple pictures of the shop construction in ash, pecan, and Monterey Pine. The seat uses the Monterey Pine, heavy, strong, and unforturnately full of pitch.




Log in or create an account to post a comment.
Sign up Log in