A Woodworker’s Guide to Photography
Take great furniture photos with the camera you already own
Synopsis: Learn how to take professional-quality photographs of your furniture using a basic point-and-shoot digital camera and a few inexpensive supplies. Fine Woodworking Art Director Michael Pekovich shares a stripped-down version of the process we use at the magazine to get perfect photos, whether you want to build a web site or a portfolio, or simply share your work with others.
Ten years ago, if you had asked me how to get good photos of your work, I’d have told you to hire a pro. Not today. With simple lighting and a digital camera, you can use pro techniques to take great pictures.
This is possible largely because a digital camera’s display screen provides instant feedback that lets you craft a shot step by step. Also, even a basic digital camera has all the image sharpness you’ll need to create eye-catching photos of your work for the Web, or for printed photo albums, post cards, etc.
Getting started is easy. From camera setup to lighting to fine-tuning a shot, I’ll share a stripped-down version of the process we use at FWW to get magazine-ready pictures.
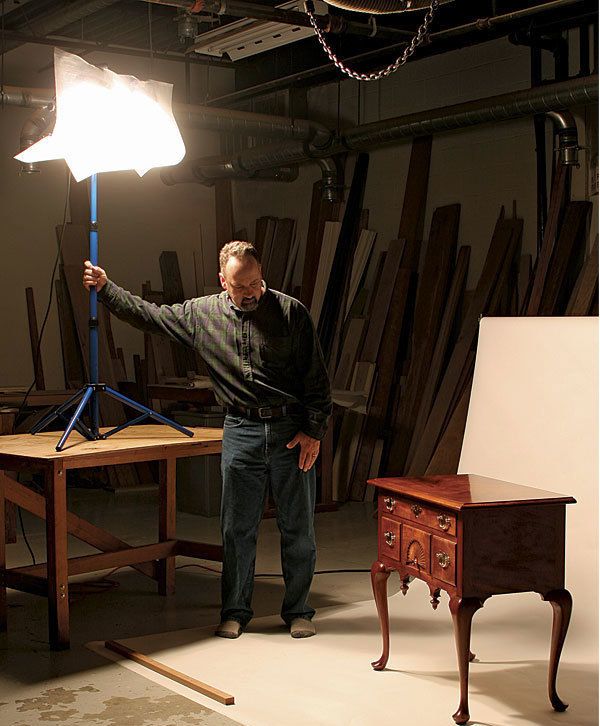
Why do so many pictures of great furniture turn out badly? The three basic components of a shot are the camera angle, the background, and the lighting. Most home photos fall down in all three. Taking a picture of a piece from a few feet away using an on-camera flash will typically yield a distorted shot with harsh glare, dark shadows, and a distracting background. The fix is simple: First, set the furniture on a white backdrop. Second, move the camera back and put it on a tripod so you can turn off your flash. Then add a couple of utility lights to create natural shadows and you’re well on your way to a great shot.
Set the scene and read the camera’s manual
Work in a place where you have enough room to arrange the camera and lights. A garage or shop is fine; a living room can work if you move the other furniture out of the way. To remove background clutter and to isolate the piece of furniture, place it on backdrop, or seamless, paper. Pull out enough paper for the piece to sit on, with a gradual curve where the paper meets the floor. This creates a subtle gradation and pleasing shadows in the photo’s background.
Now move the piece into place. A good rule is to angle the furniture to the camera so that the front and one side are visible, with emphasis on the front. Place the camera roughly at eye level—the height from which furniture is normally viewed. This is also a good time to set your camera’s controls for the best quality shot. Start by turning off the built-in flash and adjusting the ISO setting to its lowest level. The ISO controls the camera’s sensitivity to light; a higher setting requires less light but yields grainier pictures.
From Fine Woodworking #213
For the full article, download the PDF below:
Fine Woodworking Recommended Products

Suizan Japanese Pull Saw


Log in or create an account to post a comment.
Sign up Log in