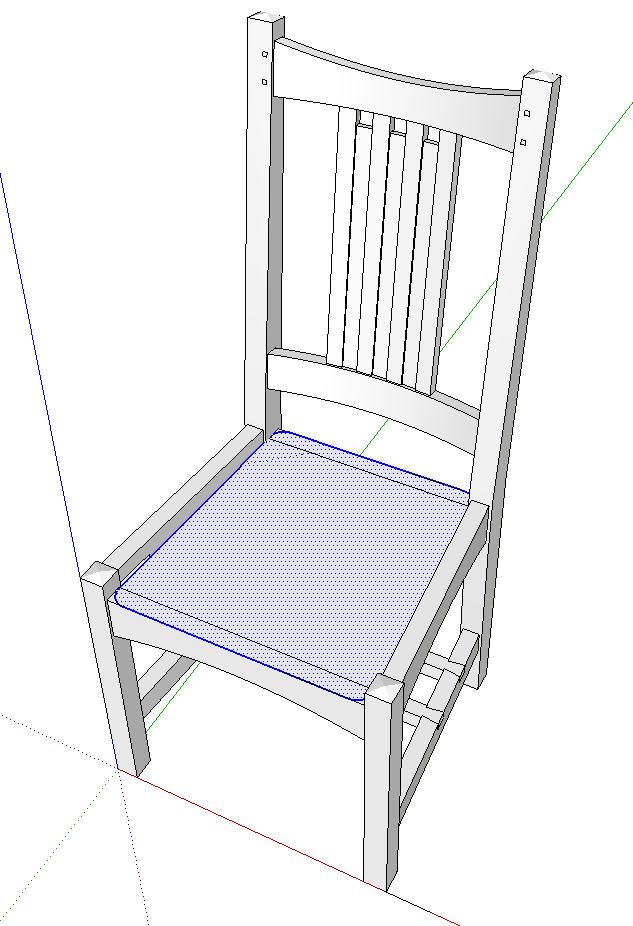
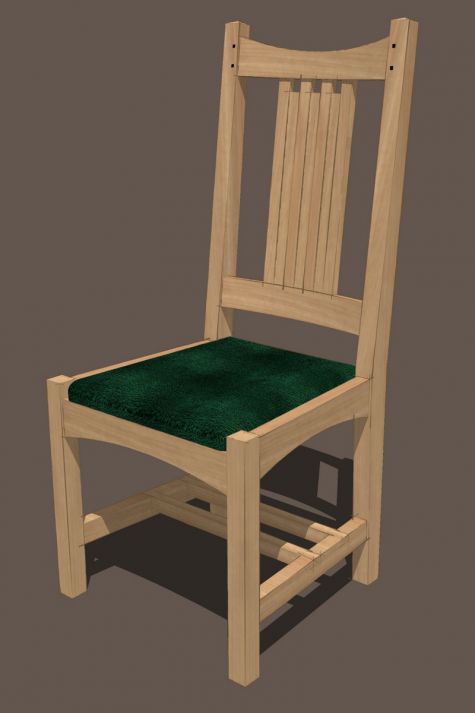
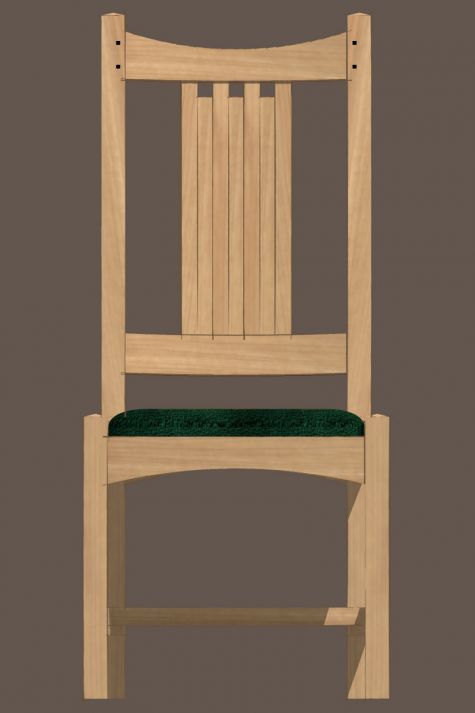
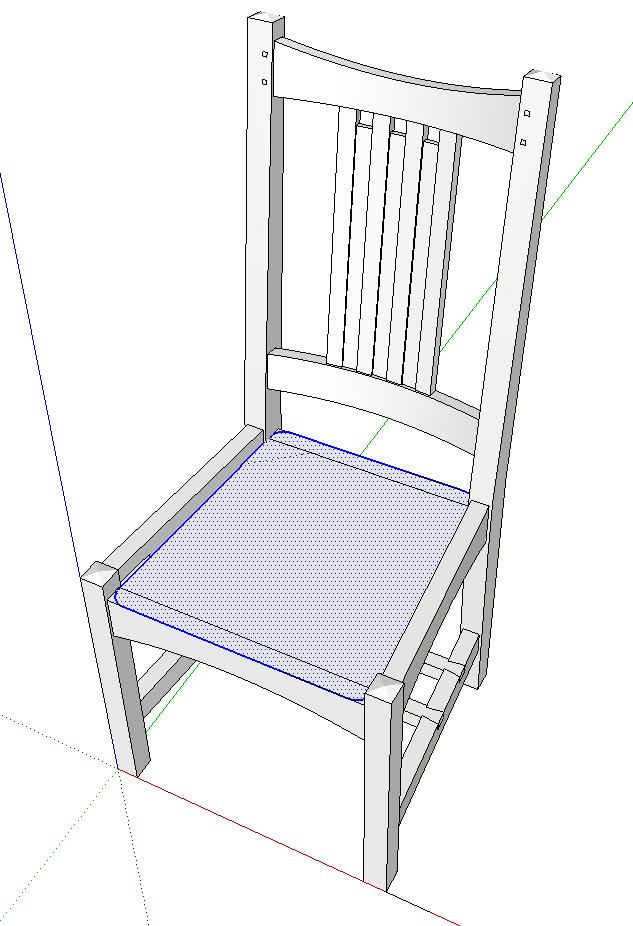
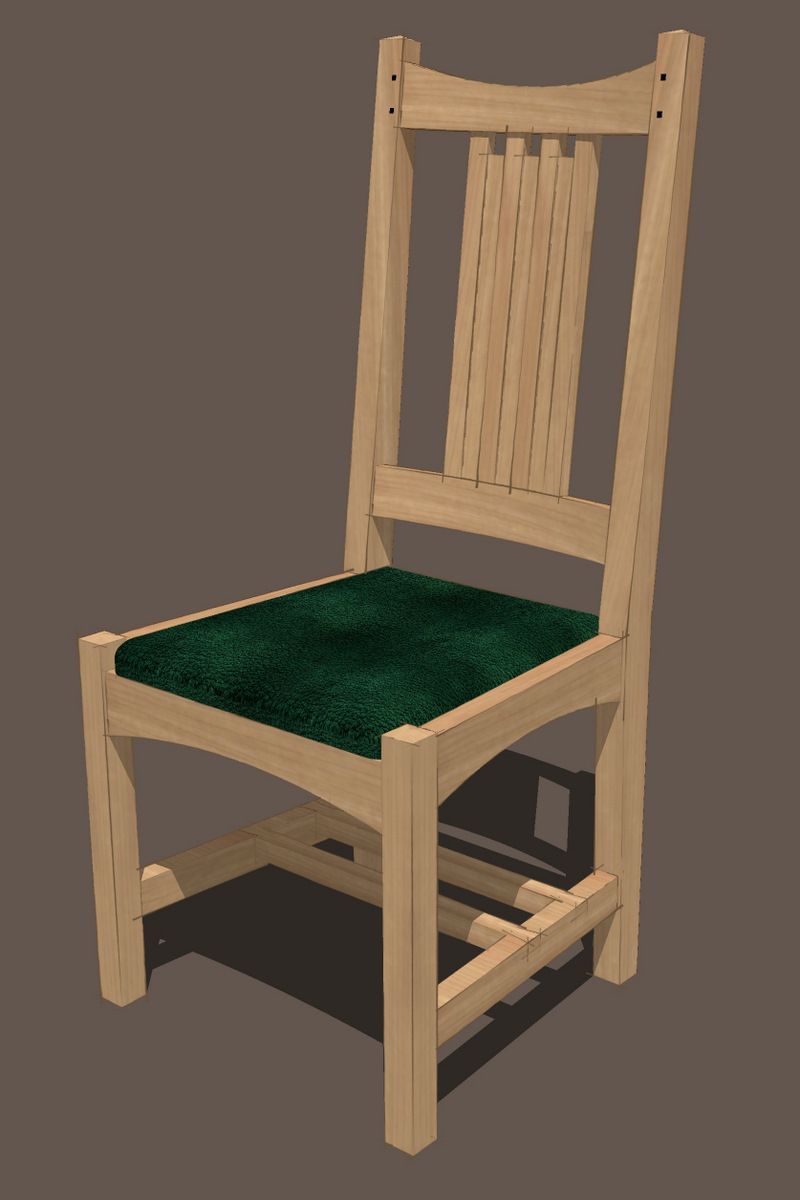
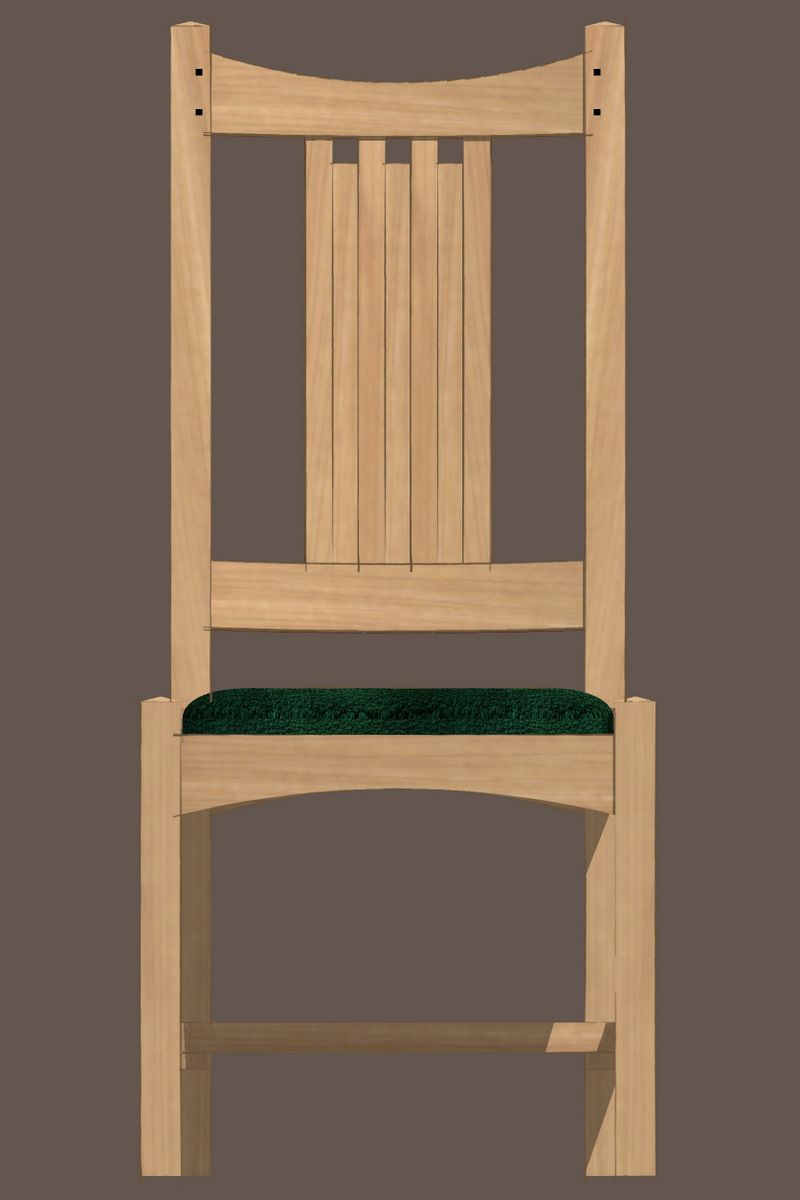
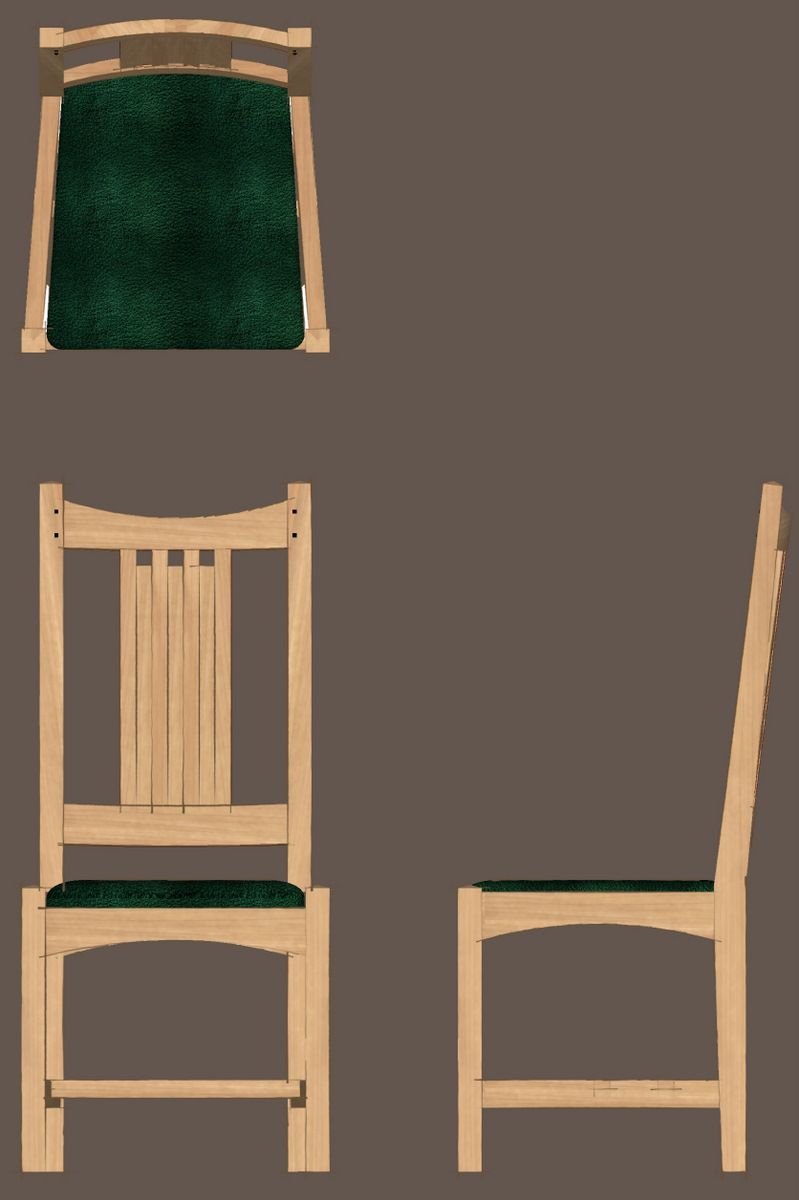
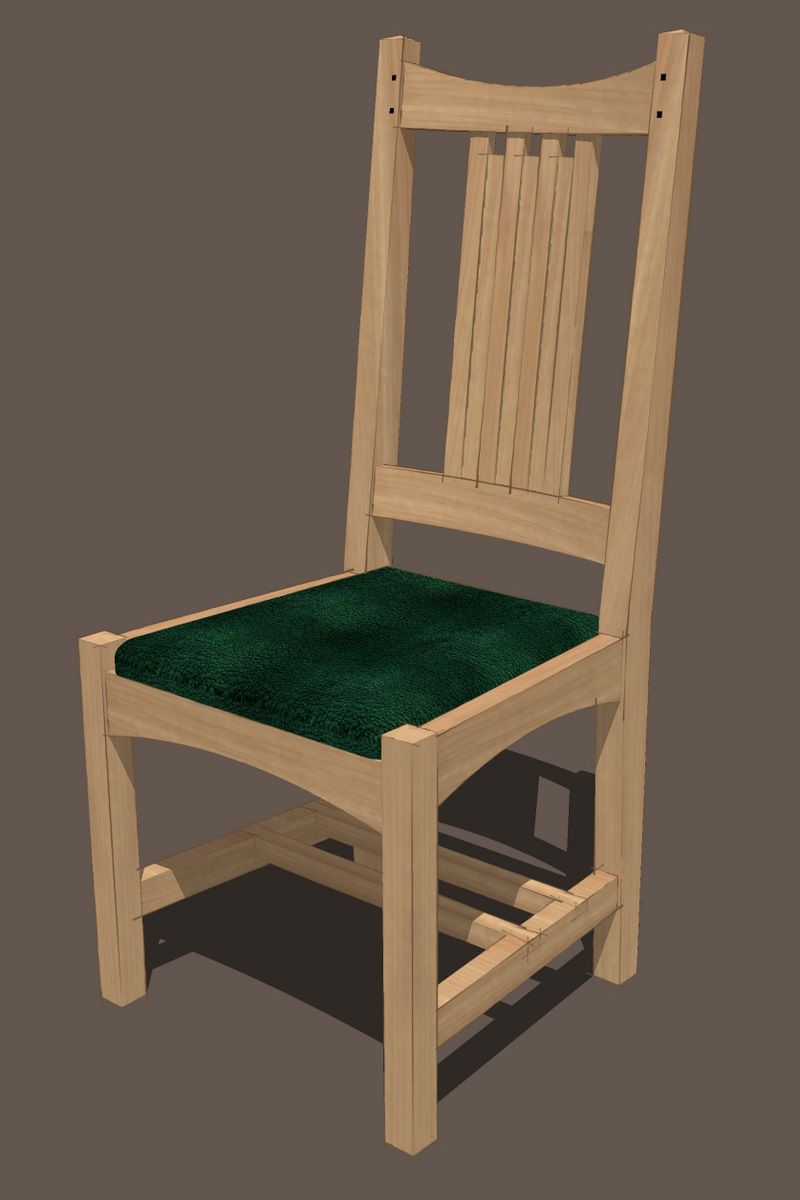
Our reader, Nollie, asked about how to make a cushion for a dining chair he’s working on. Here’s a simple approach to create a cushion. I’m using a model I did awhile back of Kevin Rodel’s Arts and Crafts Side Chair for this example. In this method of creating the cushion, I’m just after the look of a cushion so I didn’t worry about the parts inside the upholstery.
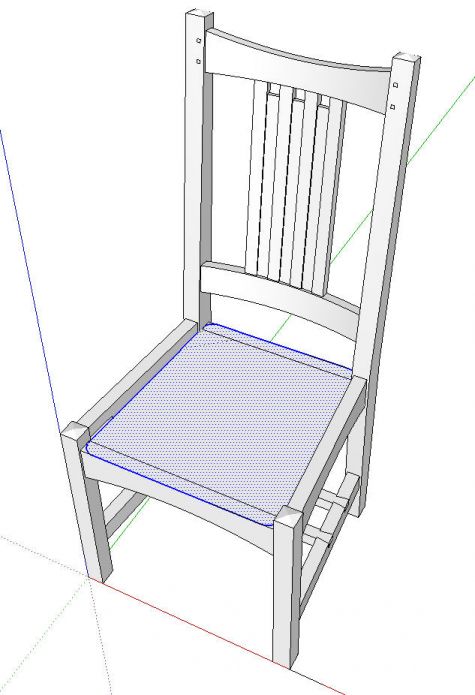
To start I drew a face for the bottom of the cushion. I drew it in place on the chair so I didn’t need to worry about any dimensions to make it fit. I rounded the corners at this stage.
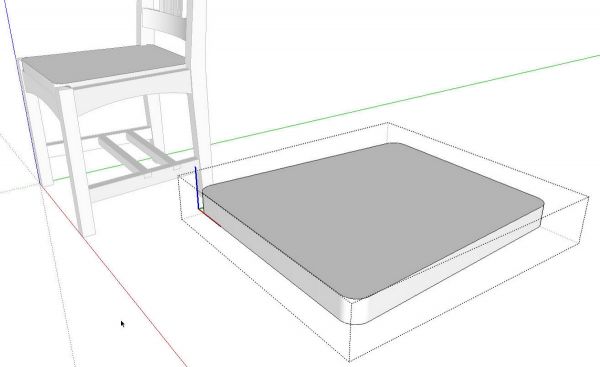
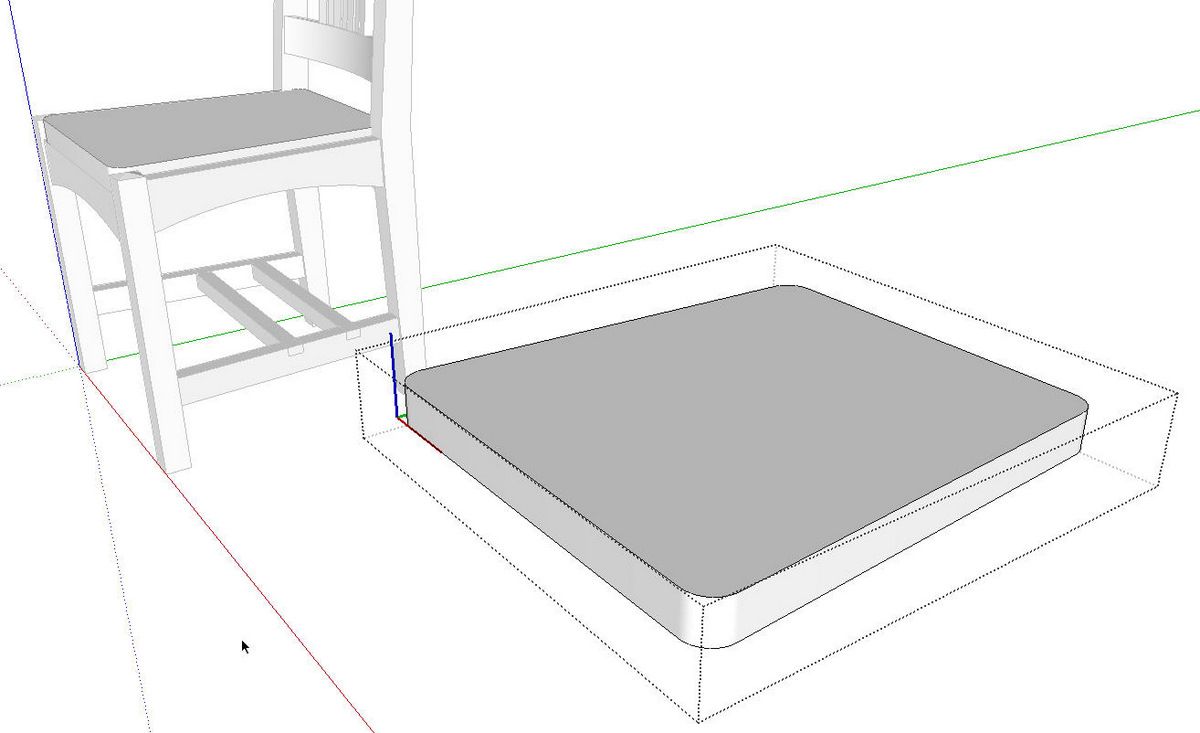
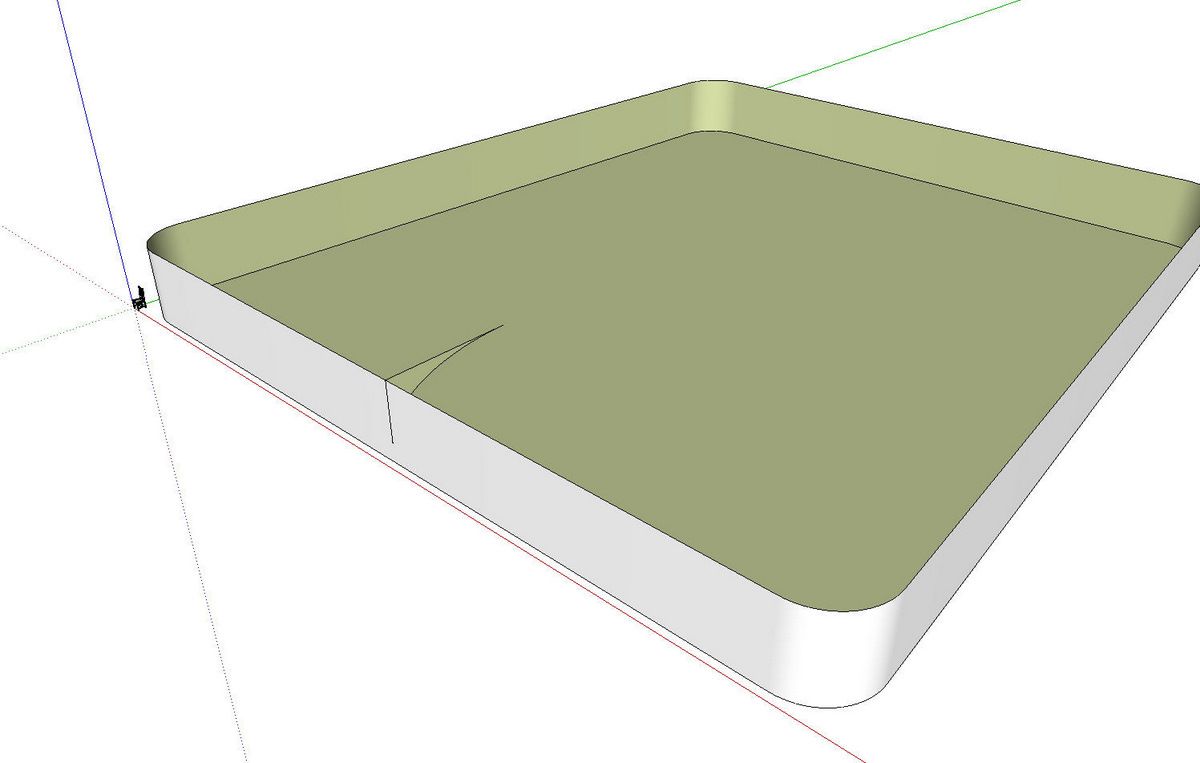
I extruded the cushion to height, made a component of it and copied the component over to one side. In some following steps there is a potential for the creation of some tiny faces that SketchUp won’t fill. To bypass that problem I’ll work on a copy which will get scaled up before those faces are made.
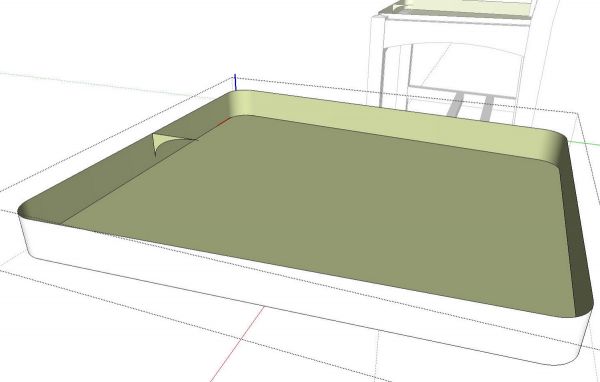
Then I temporarily deleted the top face of the cushion and drew in a profile for the round over. I could have foregone the Push/Pull operation and drawn the profile of the round over up from the bottom face but the cushion is slightly lower at the back than the front and so having the edge surface to use as a reference makes it easier to draw the profile correctly.
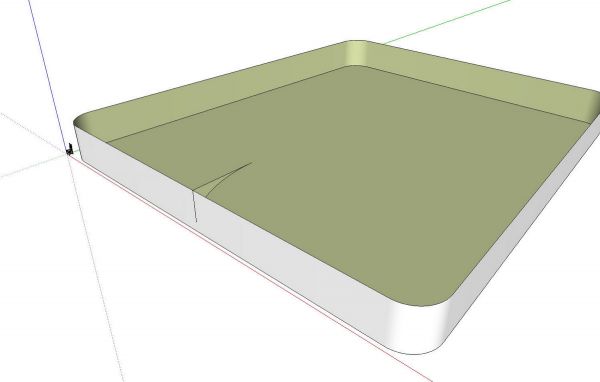
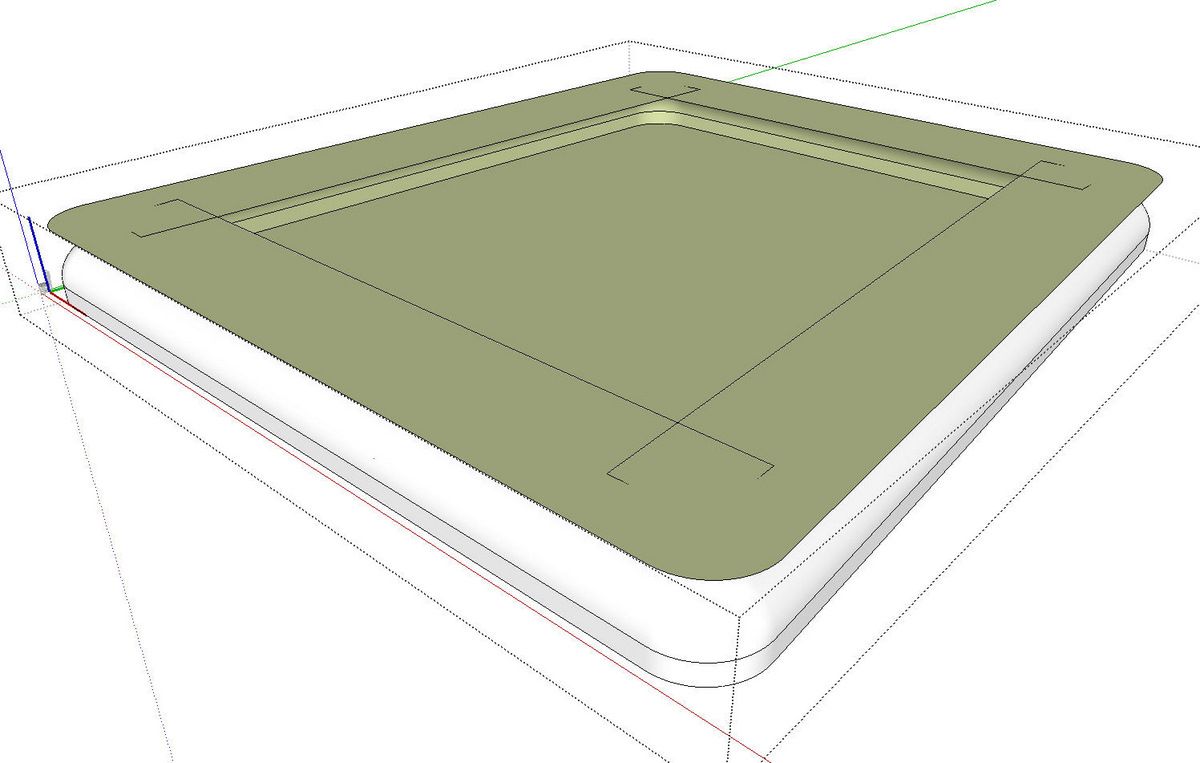
Next we’ll scale the copy of the cushion component up by a factor of 100. The exact value isn’t important. Just make it big. You can see the chair near the origin in the screen shot, above.
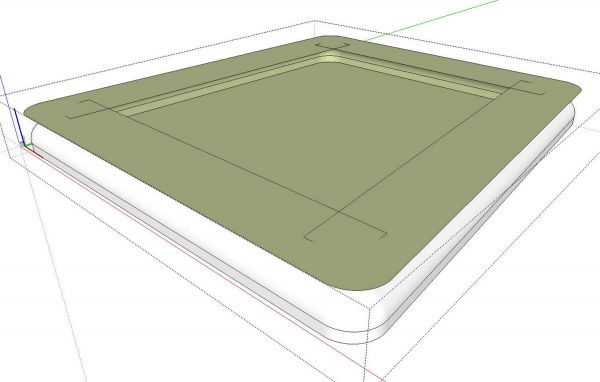
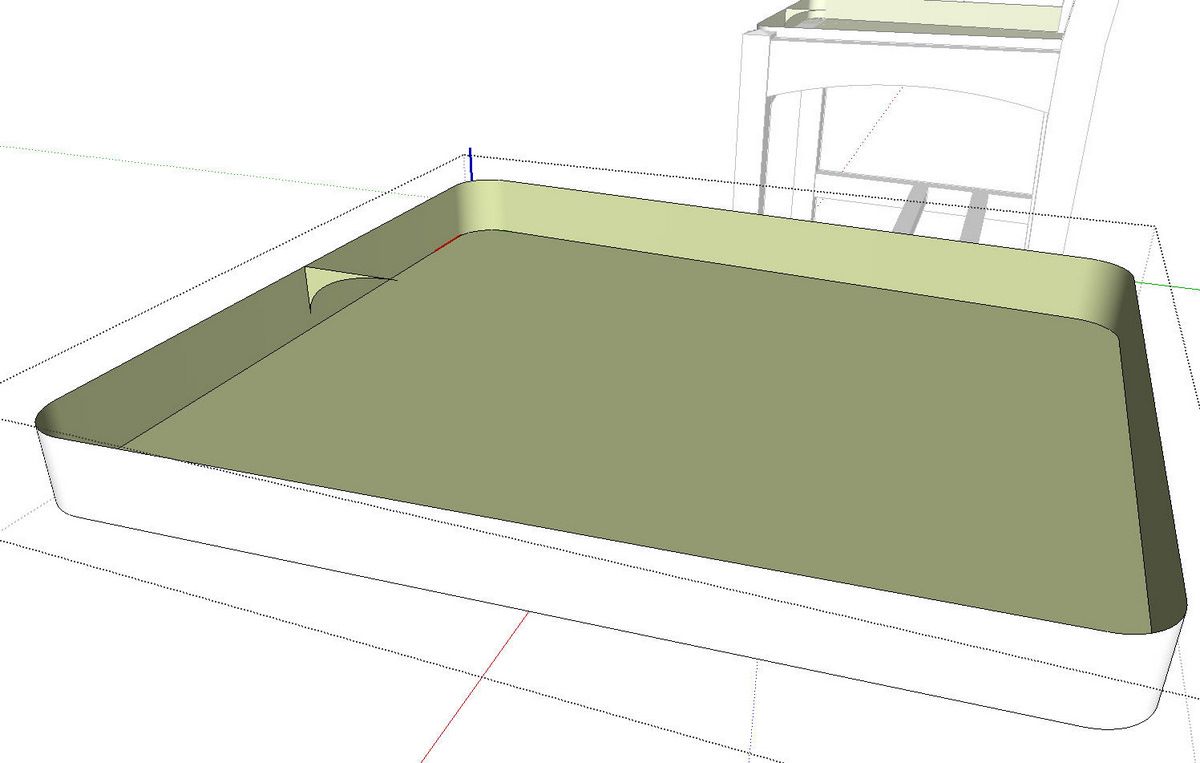
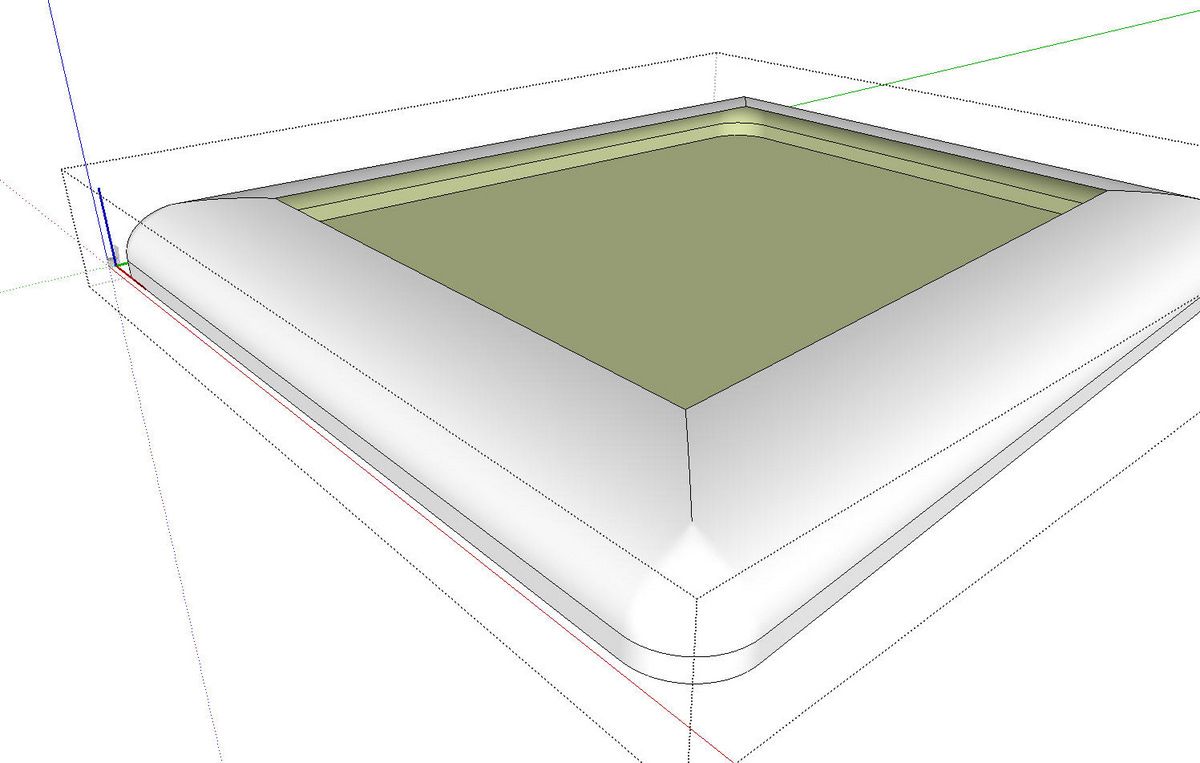
I selected the bottom face of the cushion, got the Follow Me tool and clicked on the profile. Follow Me creates some unwanted geometry which we’ll delete. The green face on the top can be selected and deleted. Then the exterior edge of that face can be deleted.
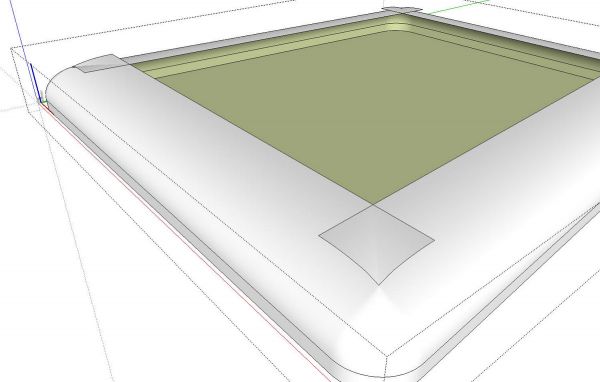
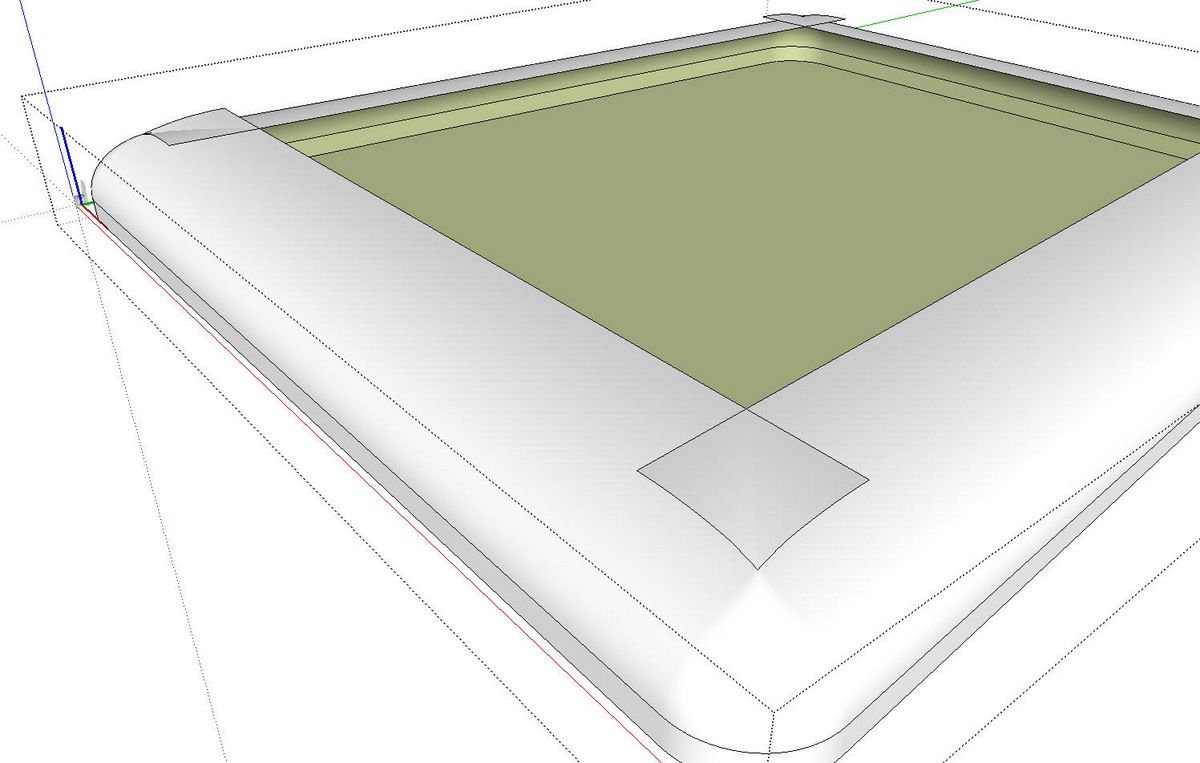
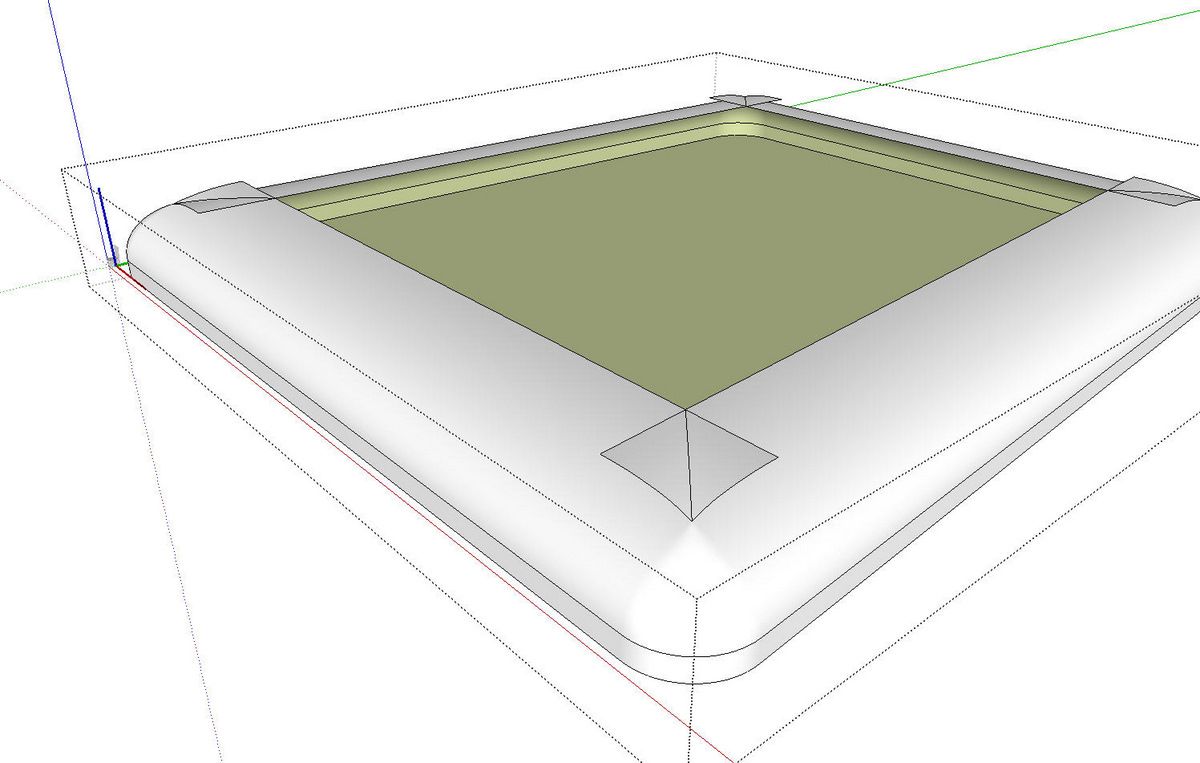
You can see that with the top face removed, there are some “wings” at the corners. This is a normal thing because the profile was wider than the radius of the corners. Notice there is no intersection between the two wings at the corners. At this stage the wings are part of the curved surface of the cushion.
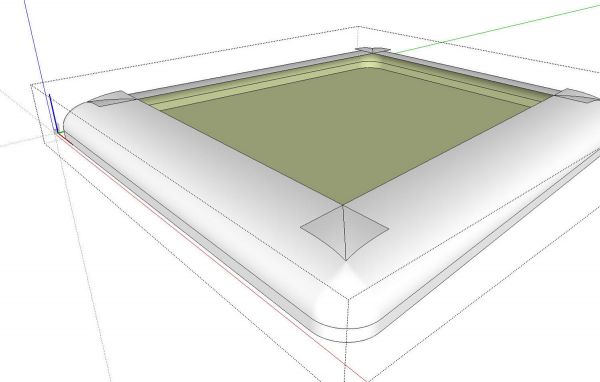
Before we can delete those wings, then, we’ll select all of the cushion geometry, right click and choose Intersect>Intersect Selected. In the image, above, you can see there is now a line dividing the wings. They can now be deleted. After deleting the wings, we’ll get the line tool and trace an edge of the large opening to fill in the face over that opening. Deselect the component and then delete the large one. Hit Zoom Extents to return to the chair and presto! You have a cushion.



Comments
Thanks very much David. It is very handy to have Folks like you and all the others on the web to help out. Here in SA it is learn all by your self.
Nollie
Log in or create an account to post a comment.
Sign up Log in