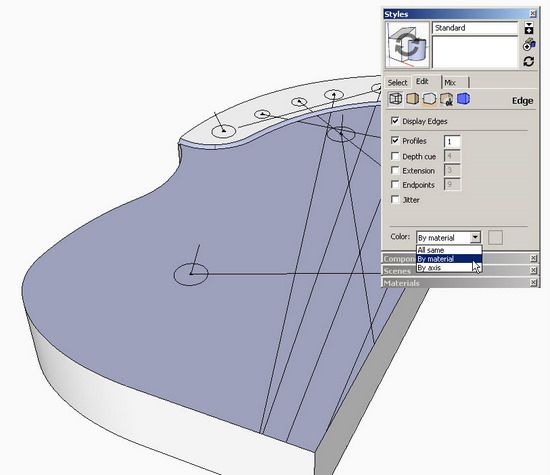
In this second coloring example, I will shown how to color edges or lines different than the standard black. Often, I like to show the sight lines on a Windsor chair seat in a contrasting color.
Step 1
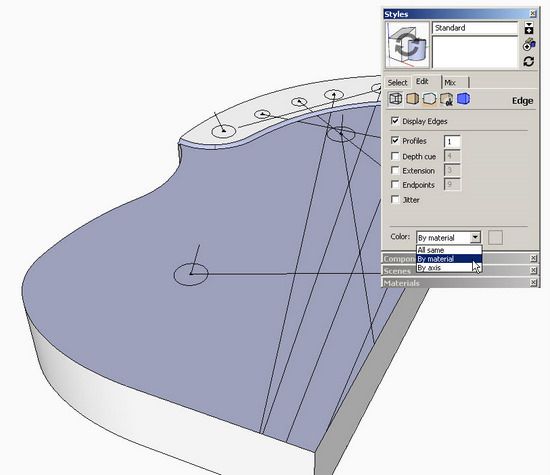
Open the Style dialog box as shown below. Edit the Edge Settings by clicking on the first cube in the line up of five cubes. Note the “Color” text box at the bottom of the dialog box. The default setting is “All same”, that is black. Change the setting to “By material”. Don’t forget to save the changes by clicking on the Update Style icon in the upper right section of the dialog box.
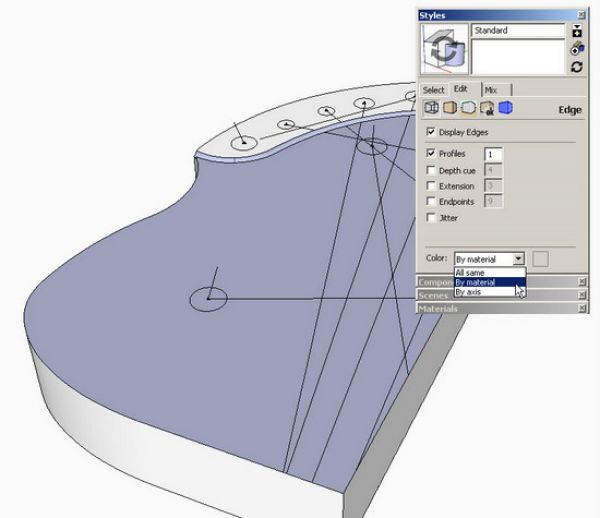
Edit the Style for edges to have colors “by material”
Step 2
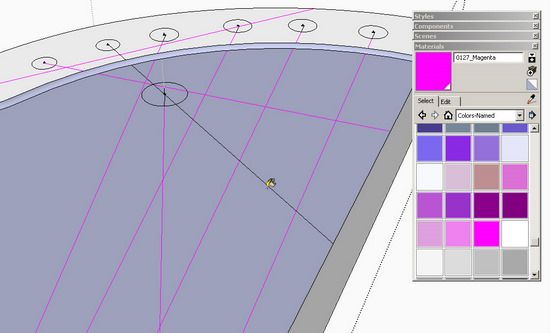
Open the Materials dialog box and pick a color (I used magenta). Click on the paint chip in the upper left hand corner of the dialog box. Use the Paint Bucket to paint each sight line. This will require the opening of the component for editing. You will need to zoom in close to efficiently paint each of these line segments. If you mistakenly click on the face of the seat, use the Undo function to erase the erroneous coloring.
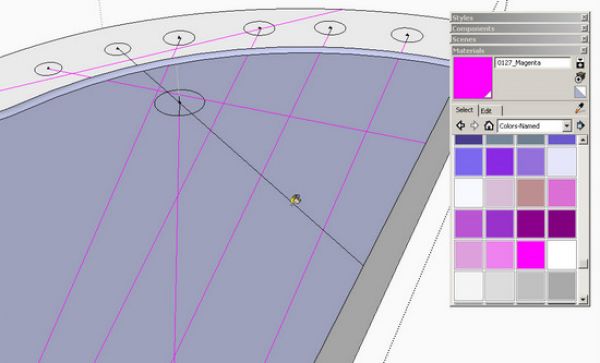
Use the Paint Bucket to color the sight lines.
Next week I’ll show texturing with wood grain.
Tim


Log in or create an account to post a comment.
Sign up Log in