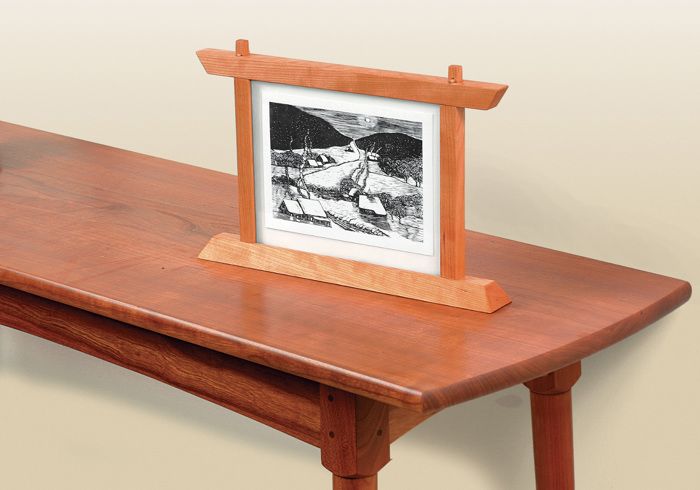
With Father's Day fast on our heels, it's time to turn out some gifts for dad. Learn how to build four small projects like this two-sided picture frame by Christian Becksvoort.
I admit it. I’m a bad son. Every year, I completely forget about both Mother’s Day and Father’s Day. Well, it’s not that I forget about them, it’s just that I don’t remember I’ve got to do something until only a few days before the big day. If you’re in the same boat I’m in, fret not. I’ve compiled a simple, short list of projects that would make great gifts for dad in 2010. From something as simple, yet elegant, as a bookmark–to a beautiful picture frame (do yourself a favor and slap a photo of yourself in there before delivery) with two faces, these projects are sure to please.
The Humble Bookmark

I think Alan Bradstreet has something akin to a dream job. Humble? Simple? Maybe, but he’s his own boss, lives in beautiful Maine, gets to work wood every day, and produces something simple, beautiful, and well-loved by thousands-upon-thousands of people. Ladies and gentlemen, I give you: the beautiful bookmark.
Made from hardwood scraps, the bookmarks measure in at about 7-in. x 1 3/16-in. You can easily produce a stack of these in an afternoon.
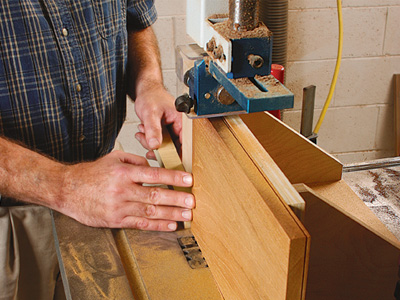 |
If you’re starting from scraps that have already been surfaced, it’s simply a matter of resawing and handplaning your blanks down to a thickness of about 1/16-in. |
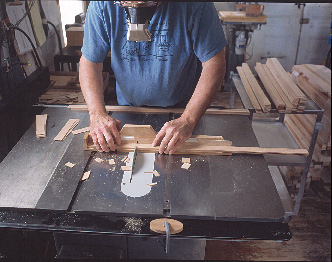 |
Next, stack your bookmarks together and crosscut them to length. Bradstreet built a miniature crosscut sled for cutting the blanks to length one stack at a time. He keeps an eye out for even tiny imperfections in the wood. |
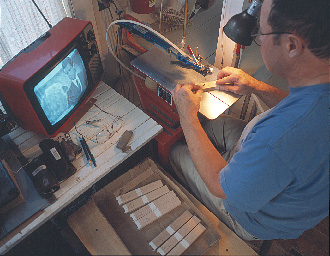 |
You’ll need to trace the silhouette of whatever object it is you wish to cut into your bookmarks. Now it’s just a matter of cutting the entire stack at once on the scrollsaw. Once you’ve cut out your silhouette, sand the sides and corners of the bookmarks while they’re still stacked together as one block. |
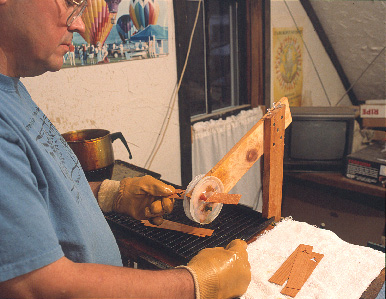 |
For finishing, use linseed oil. If you really want to get crafty, you can go the same rout of Bradstreet, who devised a clever tool made from plastic coffee can lids to literally squeegee the excess oil off the wood. |
Cutting Boards for the Bread Lover
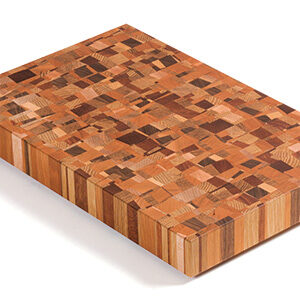
The only problem with a cutting board is the fact that your father may very well opt out of actually using it. I decided to toss out my grubby white plastic boards recently, after having built a beautiful banded board of maple, cherry, and mahogany. Trouble is, I’ve really had a hard time putting a knife blade to all that beautiful wood. Maybe it’s just the woodworker in me and the fact that I made it with my own two hands. I just can’t bear to mar the surface!
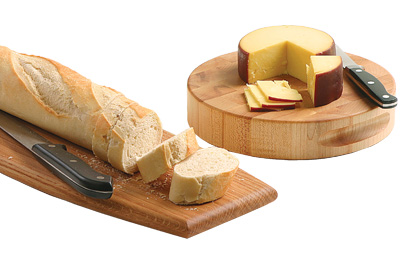
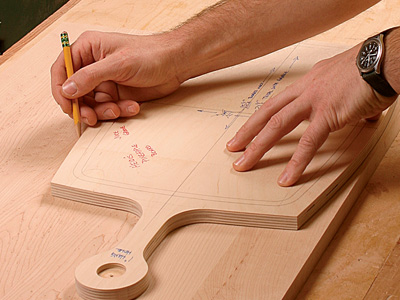 |
Begin by cutting out an MDF or plywood template of your final design. A template allows you to fine-tune the cutting board’s shape before actually cutting into good wood. Once you’ve settled on the design, trace the shape onto your stock. |
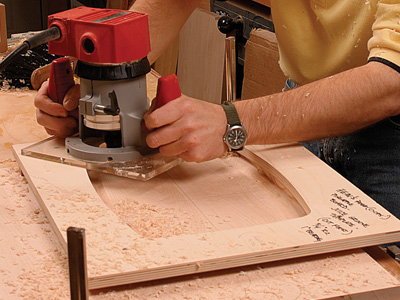 |
If you’re board is meant for more than just bread, you might want to consider adding a perimeter juice groove. Use the first template to make an outside template, which will guide a top-bearing, roundnose router bit. |
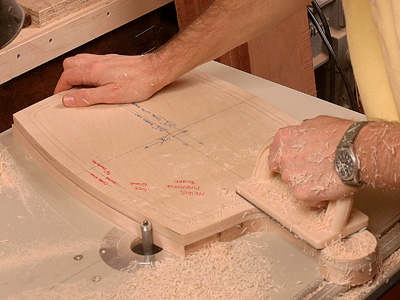 |
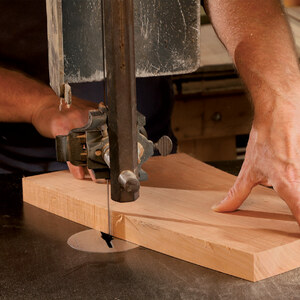
Cut out your profile at the bandsaw, leaving a bit of extra material. Now route the edge flush to the template using a bearing-guided flush-cutting bit at the router table. |
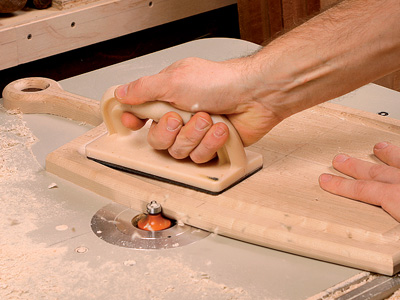 |
Finally, use a bearing-guided profile bit to make a partial roundover on the board. Flip and repeat to complete the profile. |
A Note on Glues and Finishes
For board designs that require adhesives, use water resistant polyvinyl acetate (PVA) glue like Titebond III and keep in mind that wooden cutting boards are not meant to be submerged in water. Instead, they should be cleaned with warm water and just a bit of soap, towel dried, and left to air dry further. Full soakings and dishwashers are a recipe for disaster.
Fine Woodworking contributor Tim Albers likes to do most of his heavy sanding on the blank, before the profile has been cut. Working a slab with square ends just makes life a bit easier. Sand to P150-grit, cut and shape the profile, then sand to P400-grit for a blotch-fre oil finish.
For a food-safe finish, look no further than either mineral oil or walnut oil. Flood the board with oil and let it dry, wiping away any excess after about 20 minutes. I applied several coats, then wet the board to raise the grain a bit, knocked off the fuzz using sandpaper, and re-oiled.
A Simple Desk Organizer
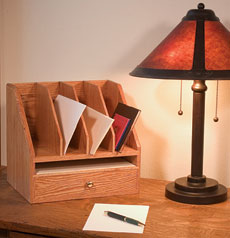
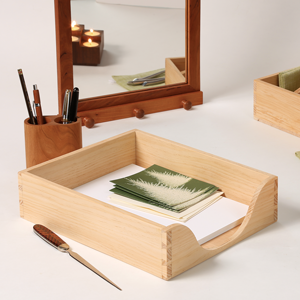
I REALLY want one of these. My desktop is home to innumerable piles of letters, bills receipts, and, well–junk! This organizer is made of white oak and features a series of vertical dividers for divvying up your papers, a slot for scrap paper storage, and a simple drawer. You should be able to build it in two to three days.
Read the online article and download the free plan.
A Standing Frame with Two Faces
While you may know him primarily for his Shaker furniture, Chris Becksvoort’s done plenty of experimentation on smaller-scale projects. His two-faced picture frame has an unmistakably Japanese timber-frame feel to it, and comes apart quite easily.
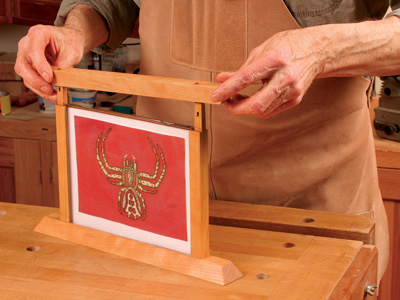
Although the joinery may seem straight forward, don’t be fooled. Executing this design on such a small scale is still a challenge. The two sides are joined to the base using wedged mortise and tenons. Up at the top of the frame, exposed tenons are held in place using tiny 1/8-in. diameter pegs. When it comes time to change the photographs, simply pop out your dowels, lift the top piece off, and you’re in business.
Download the article and build it today.





Log in or create an account to post a comment.
Sign up Log in