This is the third entry of a series on Materials, Colors and Textures. The first two blog entries covered the easy application of colors. This entry moves on to the application of wood grain finish to your models.
Textures in SketchUp are images made from photographs. These images can then be “painted” over the faces of your woodworking project making the SketchUp models more realistic looking.
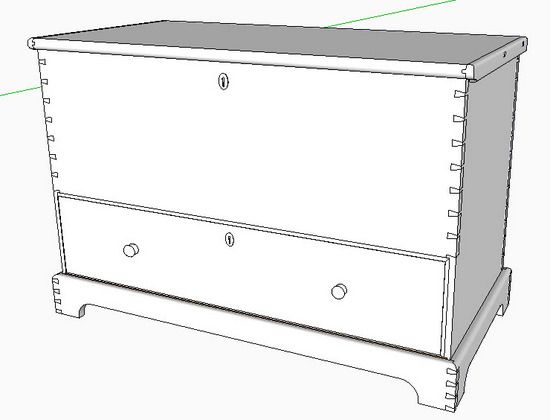
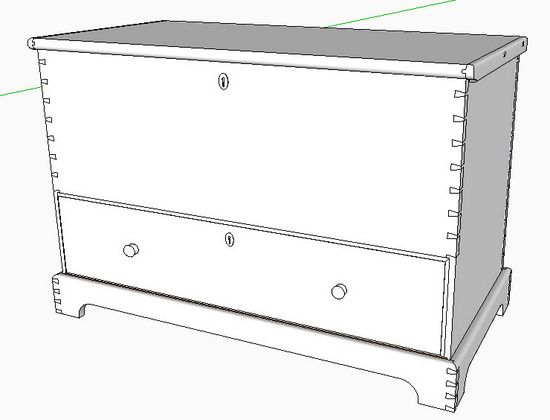
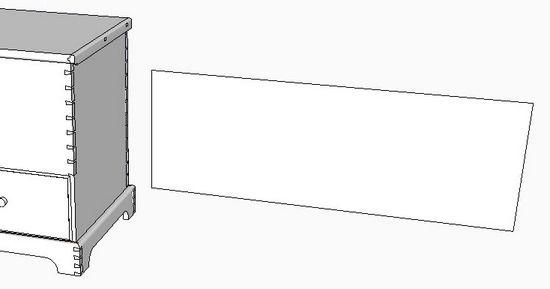
I’ll show how it works using a model of a pine Shaker blanket chest, shown with default face colors in the figure below. My preferred finish for pine is French polish using seedlac shellac. I do not stain, therefore most of the color comes from the linseed oil, but mainly the shellac. So I’ll use a picture of an already finished pine piece and use this picture to “paint” the blanket chest.
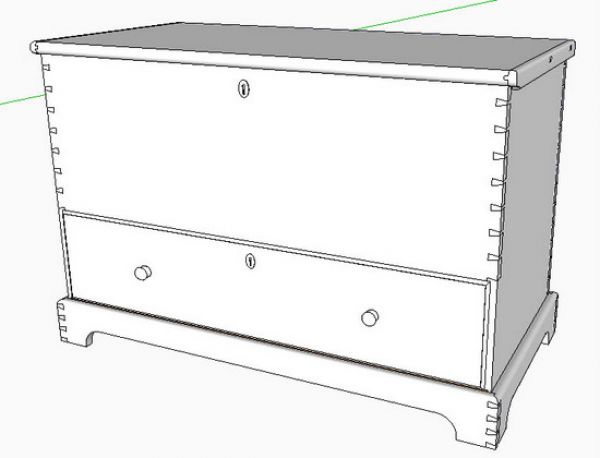
In general I try to get away with painting textures on components without editing the components. This is faster and much easier than executing this “painting” within the definition of the component. It also does not affect all the copies of the components in a model.
The only limitation to this procedure is that you are not able to edit, move, rotate, or reposition the texture if you simply coat the component without editing the component face. So I try to set up my textures to eliminate this editing. This may not work in all cases, so occasionally you may have to resort to texturing within the definition of the component.
In any case, I usually do texturing in a separate SketchUp file, after all modeling is complete. In this way, I do not have a detrimental impact on computer performance which texturing typically causes.
In the next few steps, I will texture the blanket chest. Note I have horizontal grain only and I can make the textures large enough to avoid editing.
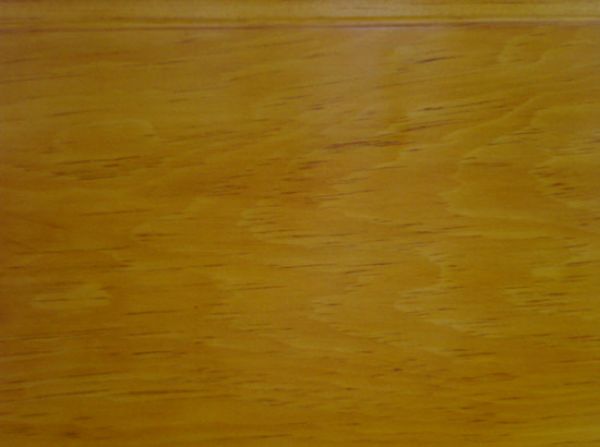
Step 1 Locate an existing finished piece of furniture that matches closely to the desired finish. Snap a close-up picture (digital) of the existing piece. Choose a flat wood grain in the picture -no moldings, handles, hardware, or other obstructions. Try to get the largest photo possible as this will help to eliminate “tiling” of the texture.
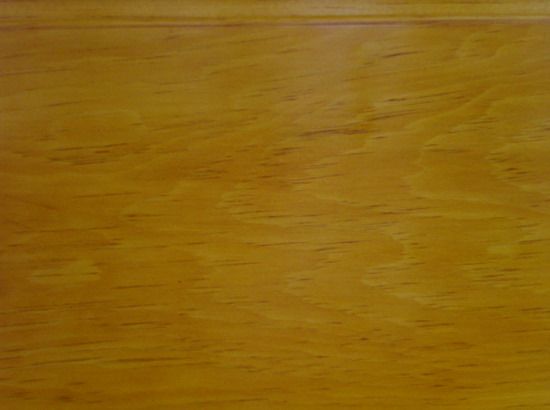
The following picture shows the photograph of the pine finish used on an already completed piece. I use a photo editor to get a clean picture of the wood grain only -cropping, adding or subtracting light, reducing glare, or slightly modifying the color.
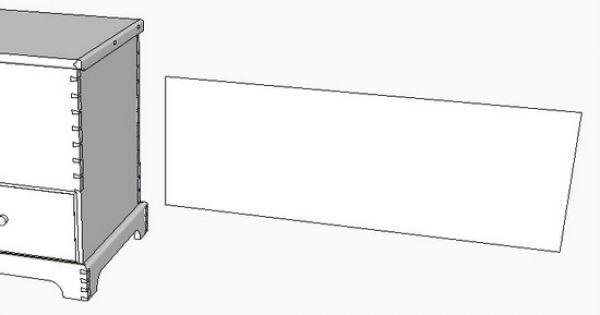
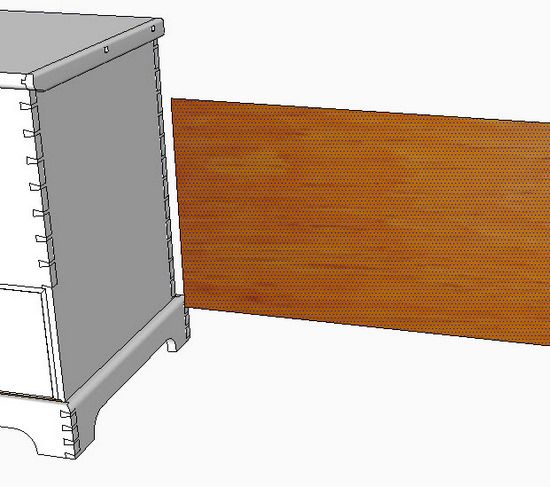
Step 2 When you import a texture, SketchUp requires that it be placed on a face in the model. I create a separate rectangular face off to the side.
Create a rectangle face which is at least the size of the largest face to paint. In this case I’ve made a rectangle which matches the overall front face of the blanket chest (not including the drawer) as shown below.
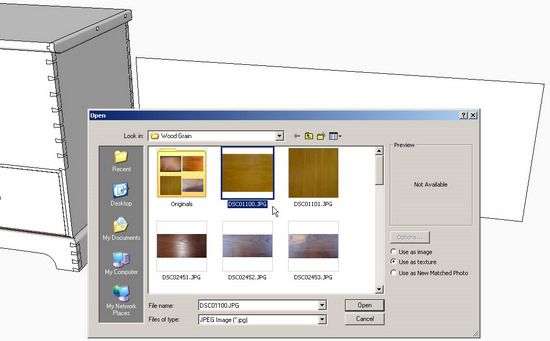
Step 3 Click on File/Import from the Menu Bar. A dialog box will appear as shown. In the dialog box, select “Use as Texture” as the import option. In the dialog box, browse to the location of your photos of wood finishes. (I maintain a folder specifically for various wood grain finishes). Pick the wood grain photo and click the Open button.
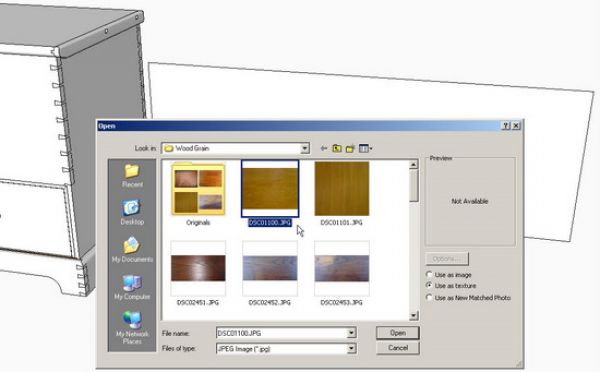
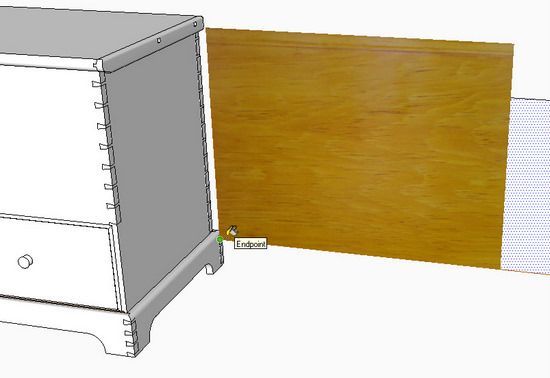
Step 4 The mouse icon changes to a “Paint Bucket” and drags the texture chip into the model. Place the paint bucket on the face of the rectangle and click on the lower left hand corner of the rectangle face. This starts the sizing of the texture. Begin to move the mouse upward and to the right to size the texture on the face.
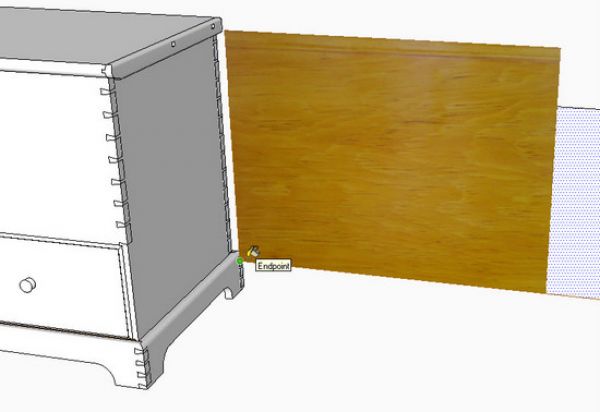
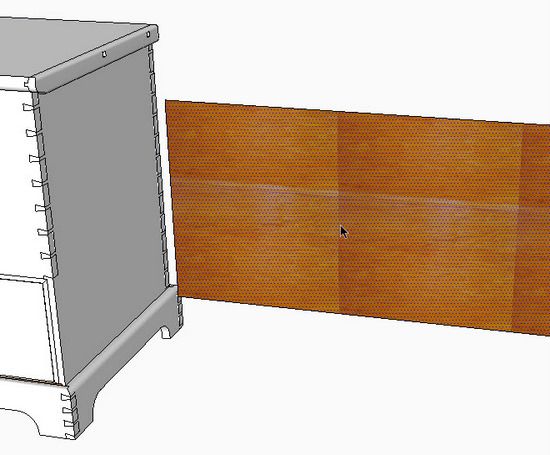
Step 5 If you click to create a small texture (one that does not cover the full size of the face) SketchUp places multiple tiles to fill up the space of the rectangle. This causes the distracting seams between the tiles and is unacceptable as a smooth finish.
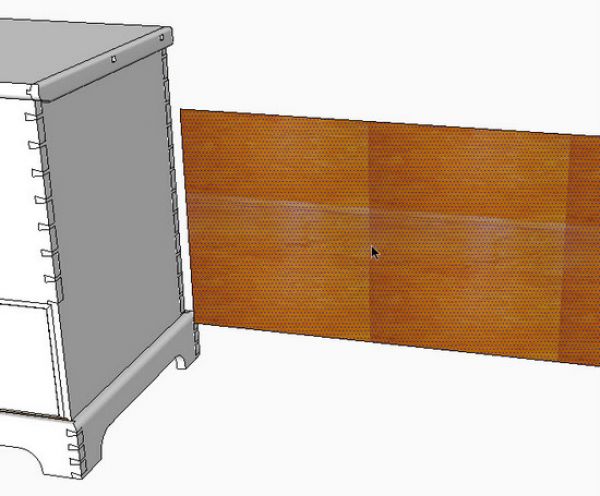
Step 6 It is preferable to size the texture chip to completely cover the face of the rectangle. This eliminates unacceptable tiling shown in the previous figure. However, the grain of wood may be enlarged depending on how big the original photo was. I usually have acceptable results even considering grain size expansion.
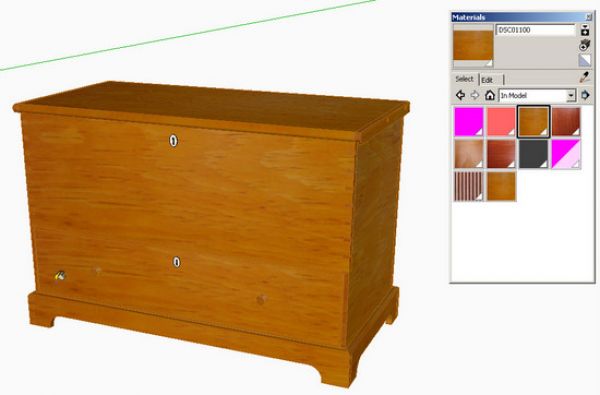
Now that the texture has been imported, it is captured as a “paint chip” in the Materials dialog box. The rectangle face can now be deleted. Anytime we wish to “paint” a face in the model, we can choose the texture from the Materials dialog box.
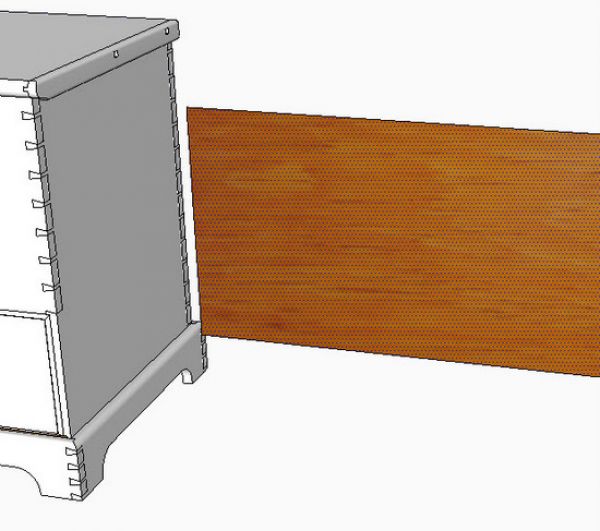
Step 7 Open the Materials dialog box and click on the pine grain texture chip. The mouse icon changes to a paint bucket.
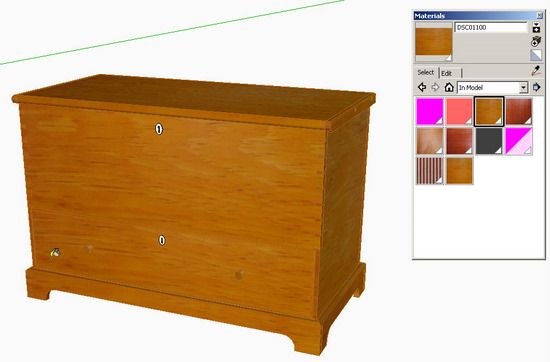
Click the paint bucket on the various components of the blanket chest model. In this case I’ve not opened the components for editing, rather applied the texture directly to the selected component. The texture will cover all the faces of the the component.
Note that the horizontal grain of the texture works well for this blanket chest and no editing or rotation is required.
Next week I’ll show how to apply the texture within the definition of a component, then make edits to the applied texture.
Tim




Log in or create an account to post a comment.
Sign up Log in