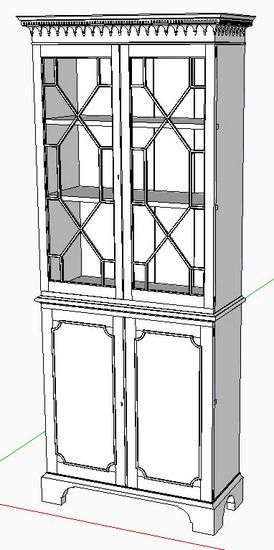
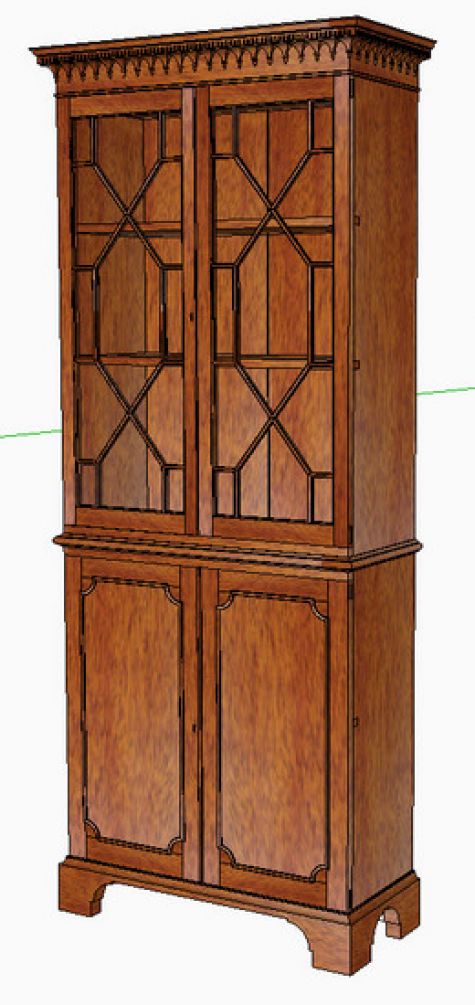
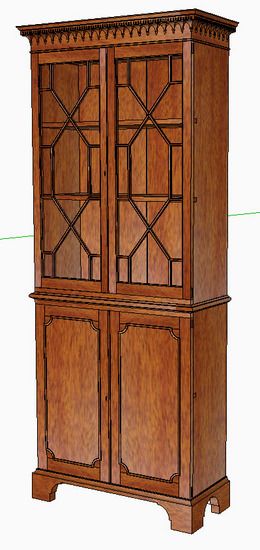
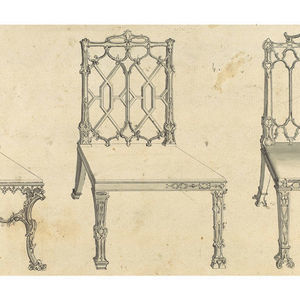
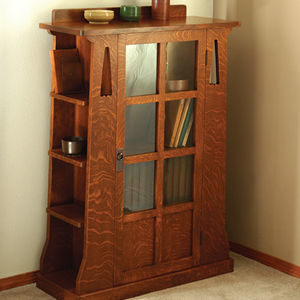
Here is another example of texturing using an 18th Century mahogany bookcase, as shown below. This example has both vertical and horizontal grain components, so requires a different procedure from that used on the blanket chest shown in my previous blog post.
As stated previously, I prefer to not texture within the definition of a component. This means that I need to make textures that hopefully will not need rotation, movement, or editing in any other way.
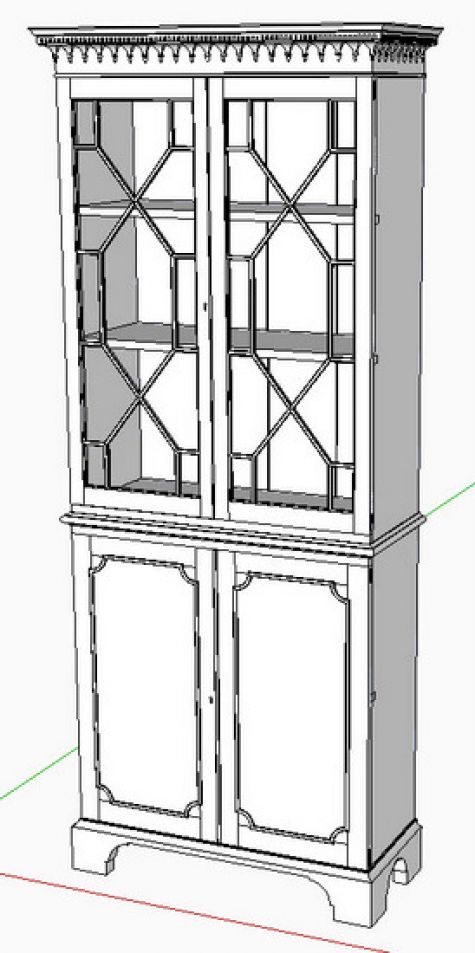
Step 1:
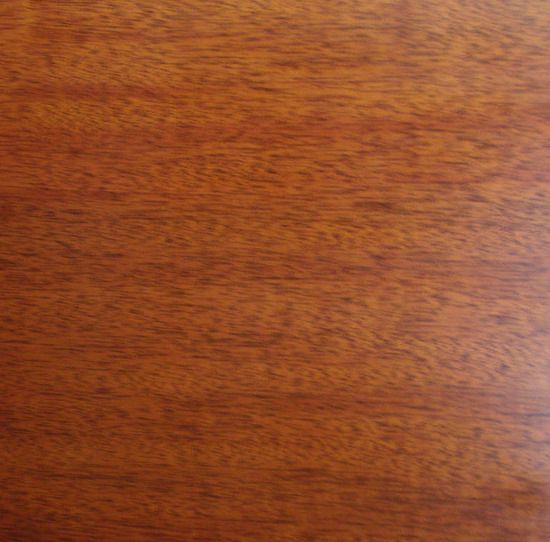
For mahogany I prefer a chemical stain and filler along with a dark shellac French Polish. My first step is to take a picture of this finish on an existing piece of furniture.
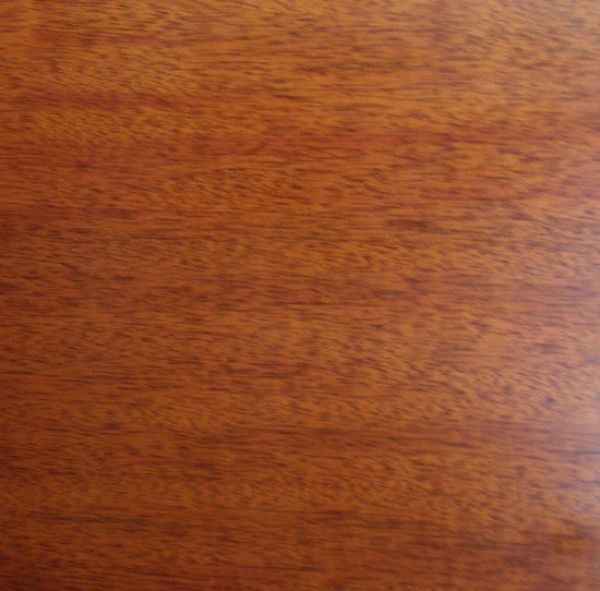
Step 2
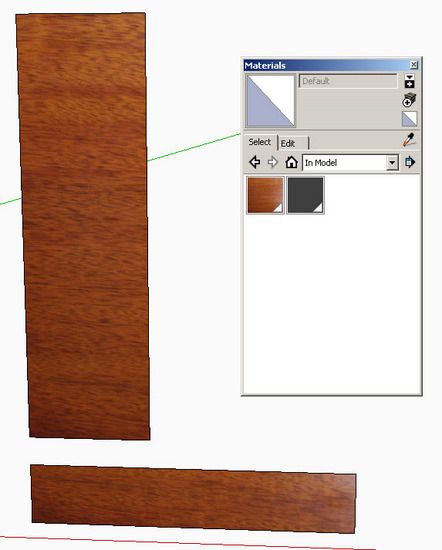
Create two rectangles – one for the largest face of vertical grain, and another for the largest face of horizontal grain as shown below. Import the mahogany texture into each of the rectangles. Since the picture was of horizontal grain only, I need to rotate the grain in the vertical rectangle.
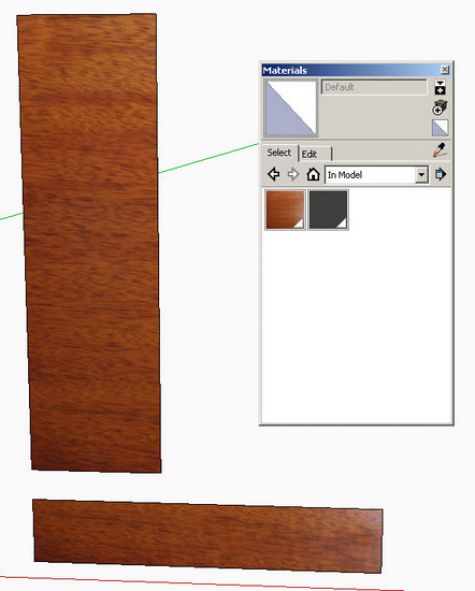
Step 3
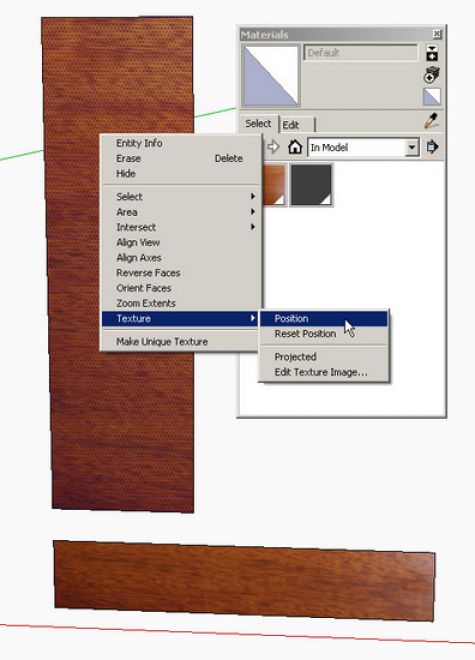
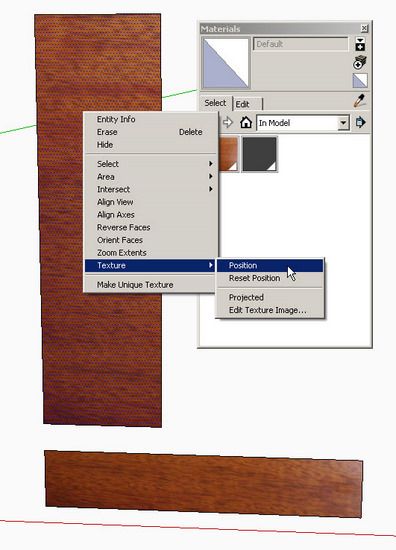
Right click on the texture of the vertical rectangle and select Texture/Position.
Step 4
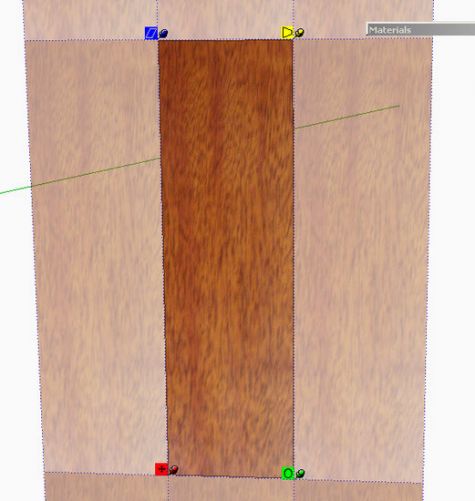
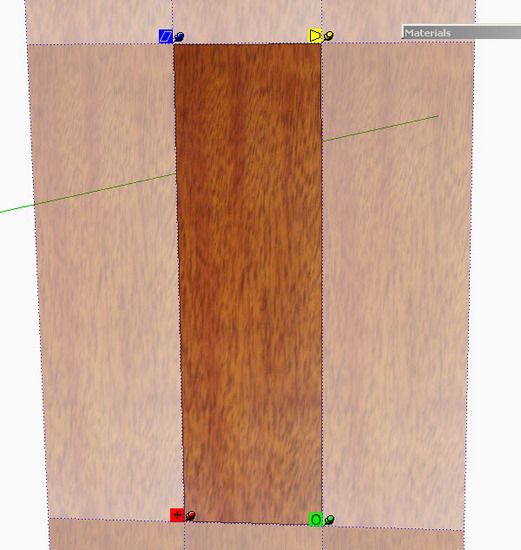
Use the texture corner pins (primarily the green one) to rotate the grain to a vertical orientation.
Step 5
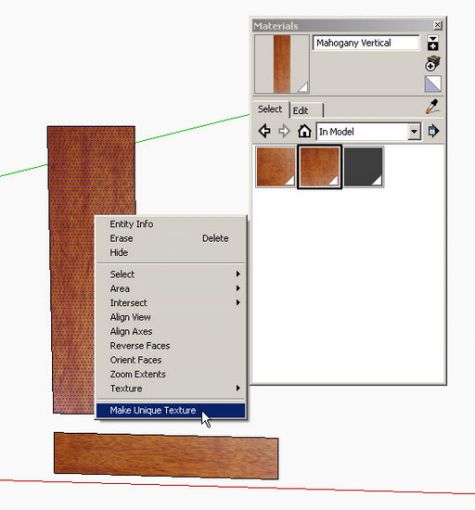
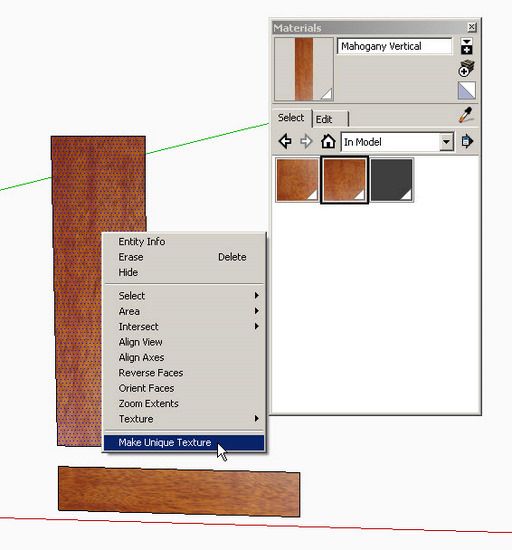
Right click on the vertical texture and pick Make Unique Texture from the pop-up menu. In the Materials dialog box, change the names of the two mahogany textures – one Mahogany Vertical, the other Mahogany Horizontal.
Step 6
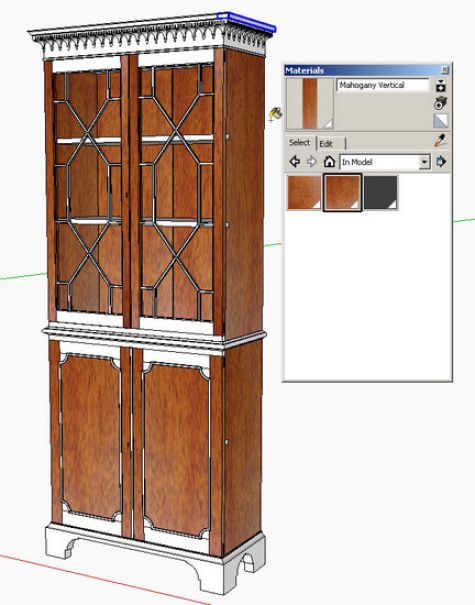
Click on the vertical grain texture in the Materials dialog box and use the Paint Brush to click on all the vertical grain faces (no need to open the component for editing).
Step 7
Finish the texturing with the horizontal grain placement with the paint bucket.
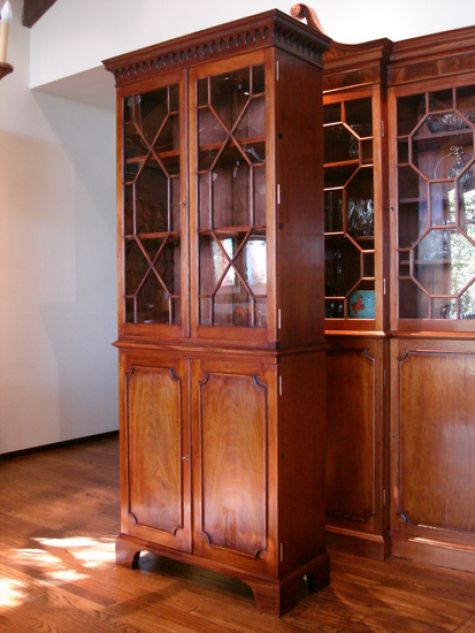
Here is a picture of the finished piece in real mahogany…….
This completes my series on Materials, Colors, and Textures.





Comments
Tim,
Thank you for your work.
Is there a way to add a wood texture that you use frequently to the default woods in the materials section. That way I would not have to do the import, rotate, etc each time.
Rooms
Rooms, I must admit not knowing the answer to your question until I did some investigation. I did not know you could save your own wood grain to the default wood materials. Here's what I found, and executed without difficulty.
After you've imported the texture and it resides in your Materials dialog box, do either of the following:
Right click the wood grain chip and select Save As. Now you can browse to the Wood default folder under Google/SketchUp 7/Materials. Save your wood grain there in that folder and it will be available to new models in your Materials dialog box.
You could also click the down arrow/plus sign icon in the upper right of the Material dialog box to open a second pane. Point to the Wood material folder. Then drag and drop the new texture from the In Model library to the lower pane. This procedure does the identical action by saving your new wood grain into the default Wood folder.
Tim
Tim,
Wonderful, thanks again for your work.
Rooms
Hi Tim,
Good entry and a good way of creating textures.
Is there a reason that you create the texture on a separate piece of material instead of right on the component in the model. I do all the same steps but I do it right on the component.
How about scaling of the grain? One of my concerns is that as we stretch the material the grain etc is magnified. Is this just something that we live with or is there a way around it? One of my clients with an eagle eye noticed this...I played dead as is advised by your cohort.
I created several materials that I use and saved them into my own library.
Ken T
KenT, I don't make the texture by appling to a face in the component, rather place the texture on a separate face. I do this to avoid opening the component. I think it is harder to place the textures within the definition of the component. It goes faster for me to keep out of the component. Also with this procedure I'm not editing the component which avoids changing all the component copies in the file.
You are right about expanding the grain, but so far I haven't used grain structures that are noticeable or sensitive to this. I suppose larger photos would help, but is not always possible.
Tim
Isn't the computer wonderful? Now you can create gorgeous pieces of furniture without so much as lifting a chisel. Gone are all the unpleasant odors of liquids and machine dust. Wive's will applaud this and maybe even join in the creation of furniture of their own. Glory be! Glory be!
Log in or create an account to post a comment.
Sign up Log in