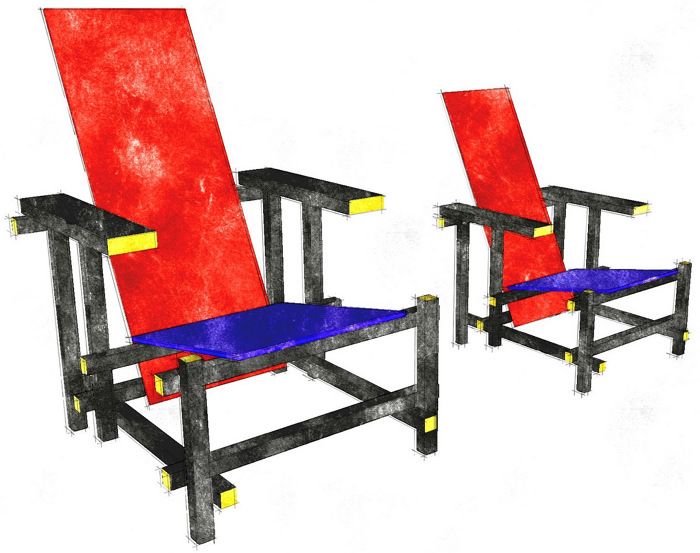
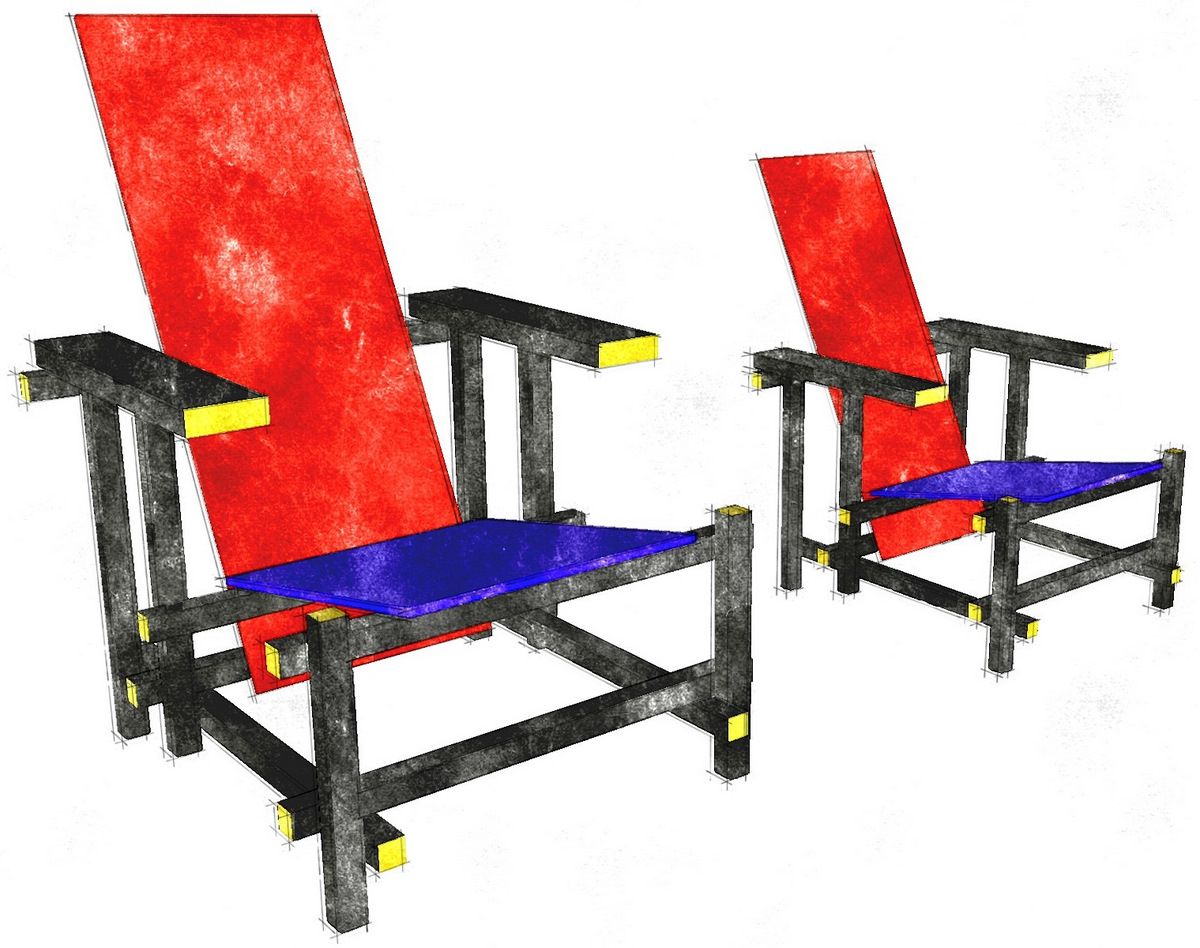
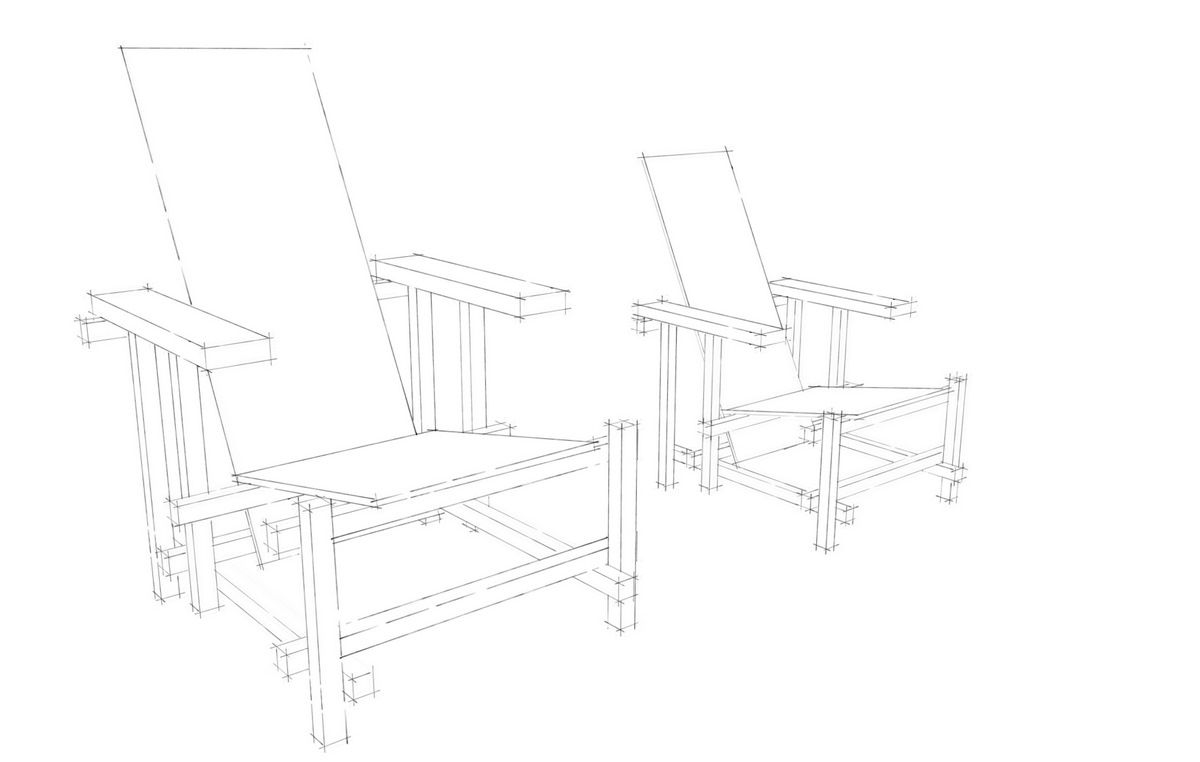
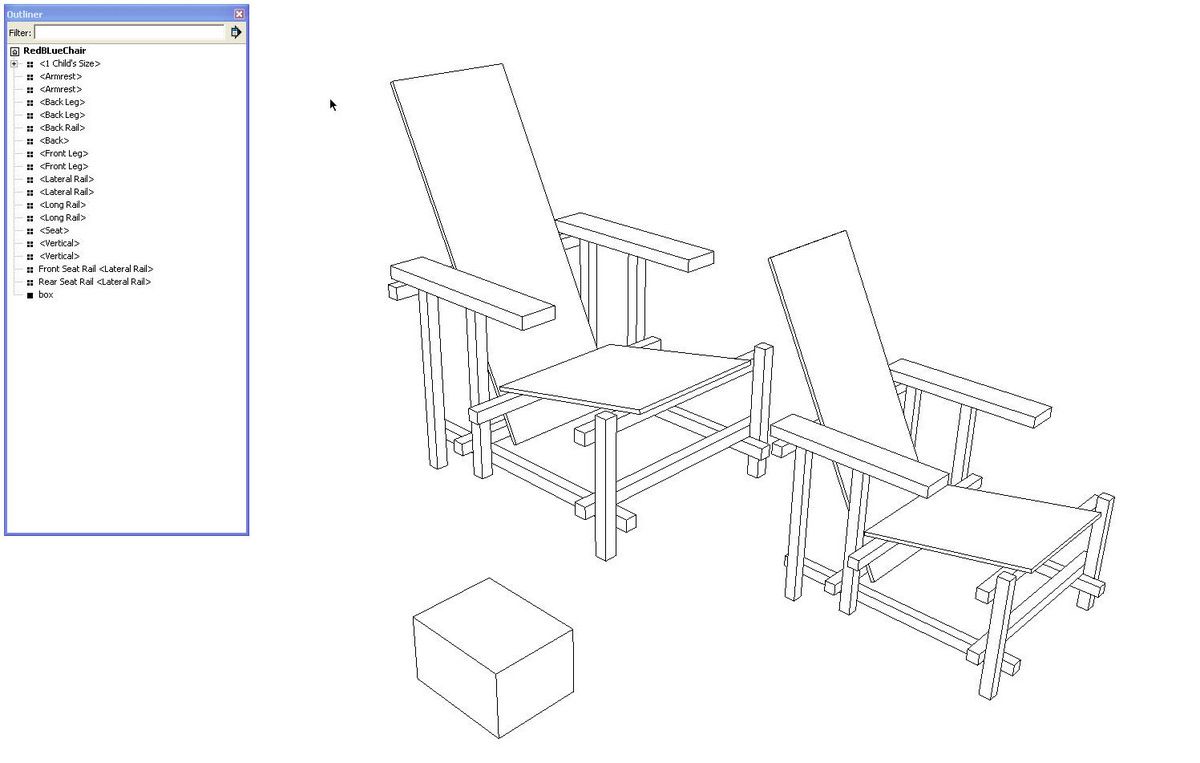
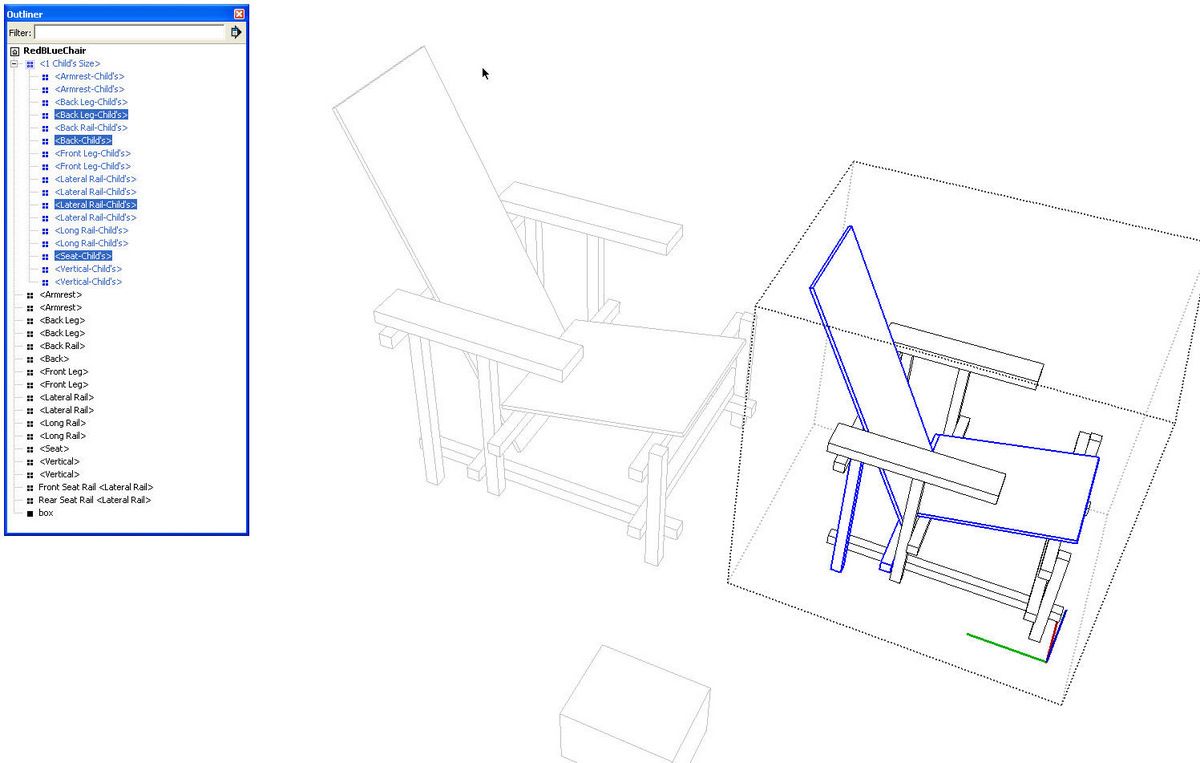
Sometimes a SketchUp model can become complex enough that it is difficult to locate specific parts easily. They may be located inside the model or otherwise out of sight. If you use a lot of nested components, it can be difficult to keep things straight. There is a handy tool in SketchUp called Outliner that can help you sort these things out and perhaps troubleshoot your model. If you have the Pro version of SketchUp, there’s also a tool called Report Generator that will give you details about the components and groups in your model. Here’s a brief look at these tools. I’m using a model I drew of Gerrit Rietveld’s Red-and-Blue Chair. The smaller version of the chair in the images is a child-size version I did for a friend who built it.
Click on image for a larger view.
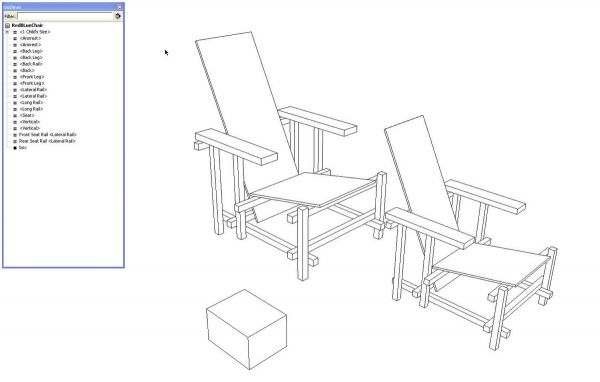
You’ll find the Outliner under the Window menu. As with the most of the other dialog boxes found under the Window Menu, clicking on the title bar will collapse the box. If you find it useful enough, you might want to leave it out where you can open it easily by just clicking on its title bar. The Outliner displays all of the components and groups in your model. If a component is on an invisible layer, though, it won’t be displayed in the list. Entites in your model which are not components will not be included in the list. And while dimensions, leader text and screen text aren’t included, 3D text will appear because it is inserted as a component.
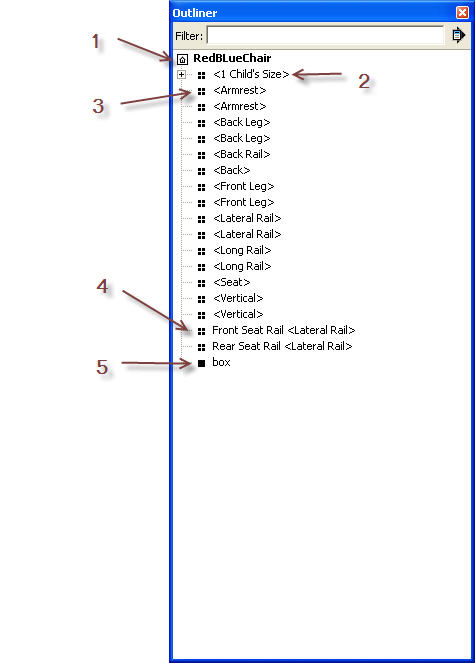
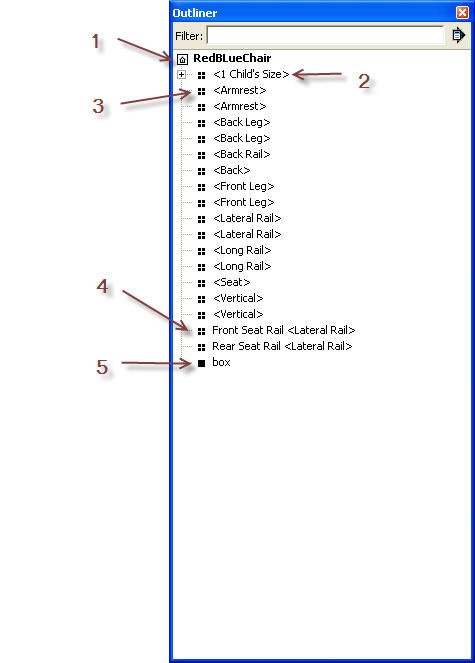
Here’s a quick tour of the information shown in the Outliner.
- The model name.
- The plus sign indicates this is a nested component. Click on the plus sign and the nested component will be expanded to show the components within. The less than and greater than signs, <>, indicate the name is a definition name.
- The array of tiny black squares indicates a component
- These two components have been been given entity names which are different from the definition name.
- The single black square indicates that entity is a group instead of a component. Groups don’t have definition names so you can also use the <> symbols to quickly identify which entities are components and which are not.
Click on image for a larger view.
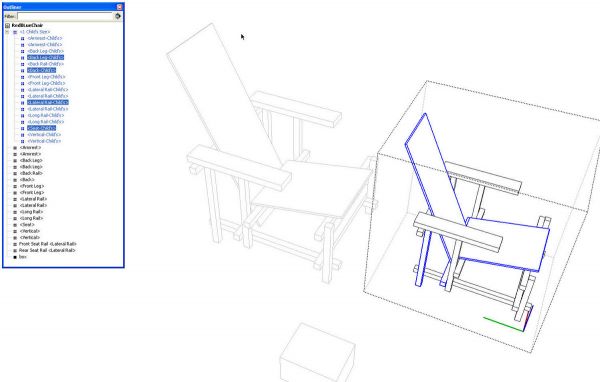
Using the Outliner, you can select components as you would directly in the model. Double click on the name and the component will be opened for editing just as it would if you double click on the image of the component. You can then go to working on that component in the model. The Context (right click) menu works as it would if you right click on the component and selections are made the same way. Hold Shift or Ctrl (Option on the Mac) to add to the selection and Shift to subtract from the selection. Selections you make in the model will be reflected in the Outliner as well.
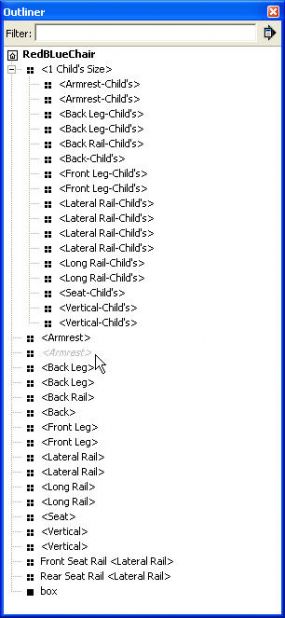
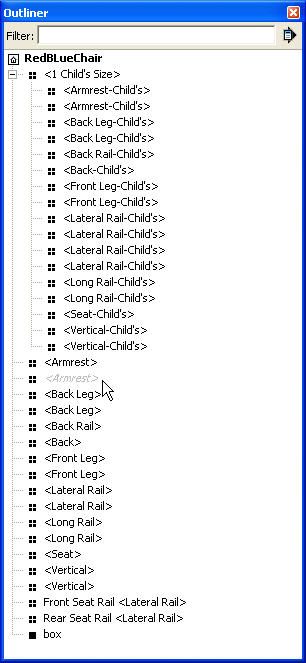
If you’ve hidden a component its name will be grayed out.
You can also drag components and drop them either into or out of nested components. This can make it easy to organize your model.
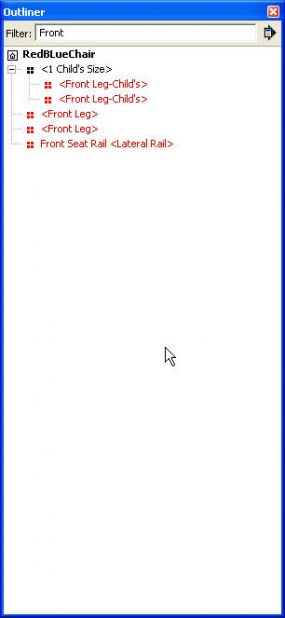
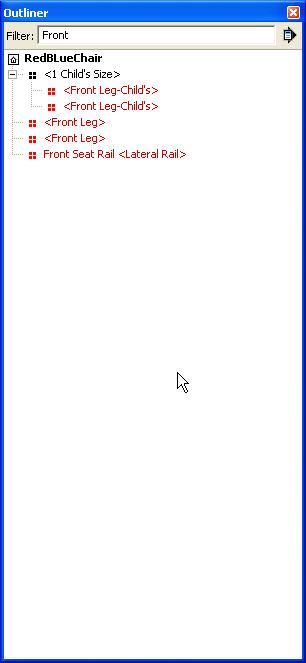
The Filter box allows you to filter down the components shown in the Outliner to just those whose names contain whatever you’ve typed in the box. Those components will be displayed in red text. To cancel the filtering, delete the contents of the Filter text box.
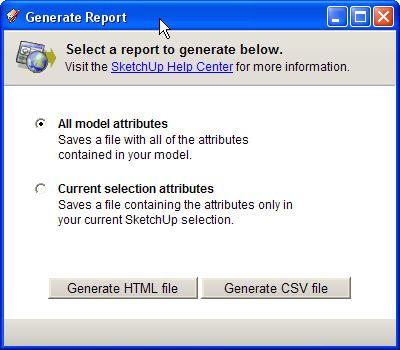
For the users of the Pro version of SketchUp the Report Generator can be another source of useful information. To access this tool, go to File>Generate Report… A dialog box will pop up as shown below.
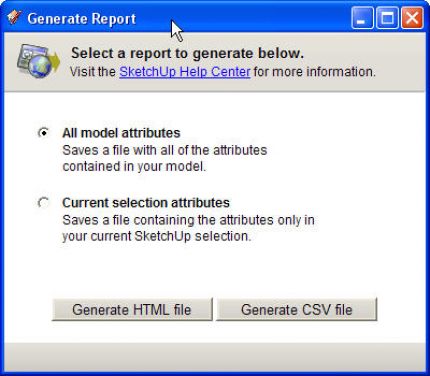
Make your choice to get attributes for the entire model or for just that part which you have selected. then decide on the format of the data file. The resulting file will be saved in the directory where the model is saved. If you choose to make a CSV file, you can open the file in your favorite spreadsheet program to manipulate the data as you need.
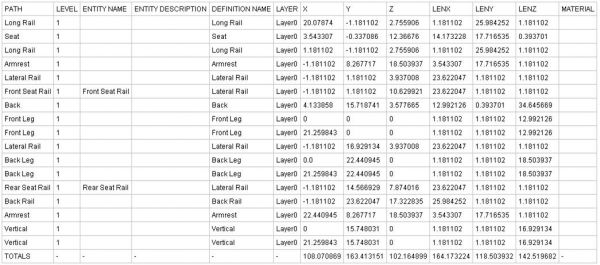
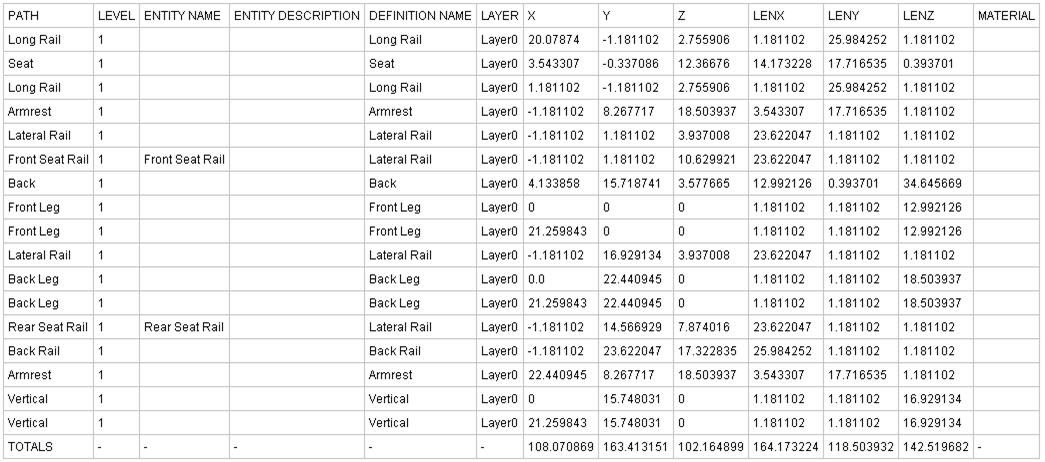
For the example, above, I selected only the larger version of the chair. Click on the image to see a large image of the report for the entire model. Looking at this table from left to right most of the info is self explanatory,
Path: This is much like what you would see in the Outliner. In a report for the entire model this would show you how components are organized in the model. In this model for example, the report generated this path: Model/1 Child’s Size/Lateral Rail-Child’s showing the entire mode, the nest and the component inside the nest.
- Level: The Level number is relative to the selection. In the example above, all of the components are shown to have a level of 1. In the report of the entire model, the model is on Level 1, the components of the adult-sized chair and the nest component for the child-sized chair is on level 2 and the components in the nested component are on level 3. This can help you understand at a glance how your model is organized.
- Entity Name: If you’ve given your component an entity name it will appear in this column. Entity name is referred to as “Name” in the Entity Info box.
- Entity Description: If you’ve entered a description when making the component, it will be displayed here.
- Definition Name: This is the name normally entered when making the component.
- Layer: The layer name with which the component is associated.
- X, Y and Z: This is the location of the component’s origin displayed in inches. I drew this model in centimeters because the original dimensions were given that way. Unfortunately Report Generator only exports these values in inches. these numbers would be useful if you are making Dynamic Components.
- LenX, LenY and LenZ: These display the dimensions of the component’s bounding box. These numbers are also displayed in inches only. They can be useful for identifying possible errors in dimensions of your components. Since the Report Generator shows all levels of components in the model as well as the model itself, you can quickly see the dimensions of nested components as well as the individual components in the nest.
- Materials: If you’ve assigned a material to the component or to its faces, that material will be displayed here.
Although the component origin locations and the component dimensions are shown in inches, you could easily convert these values to other units in a spreadsheet.
If you haven’t done so, take a few minutes to get aquainted with the Outliner and, if you have it, the Report Generator. You’ll probably find ways to put them to use as you organize your models.



Log in or create an account to post a comment.
Sign up Log in