
In the previous blog entry I demonstrated a couple of ways to make raised panel doors. I ran out of space for images in that post but I wanted to show how to make the intermediate rail in a tall door when you have made separate components. Rather than draw the intermediate rail as a new component, I just modify an existing component.
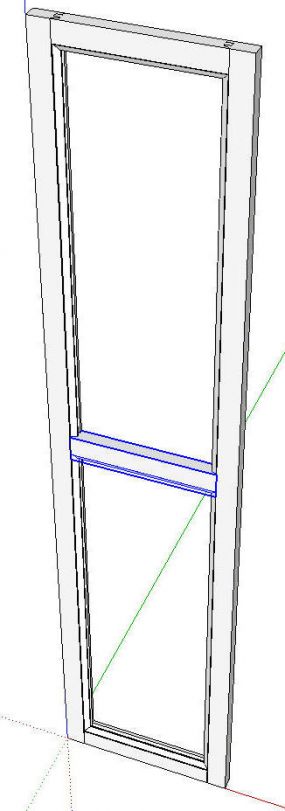
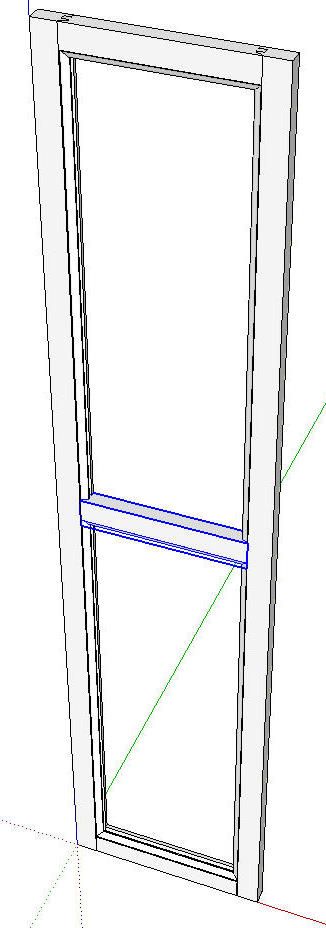
To start, I copied the top rail down to the middle of the door. You can use a guideline to locate where the center is but if you grab the rail component at the midpoint of the vertical edge on the back, you can snap it to the midpoint on the vertical edge of the stile. After moving the copy down, I right clicked and chose Make Unique.
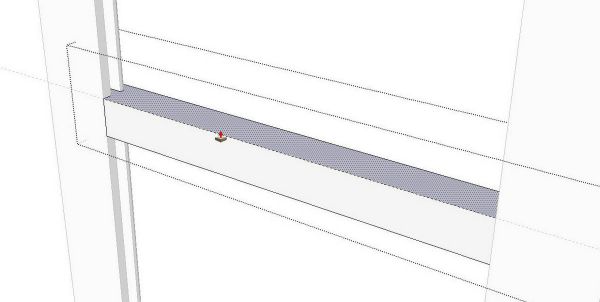
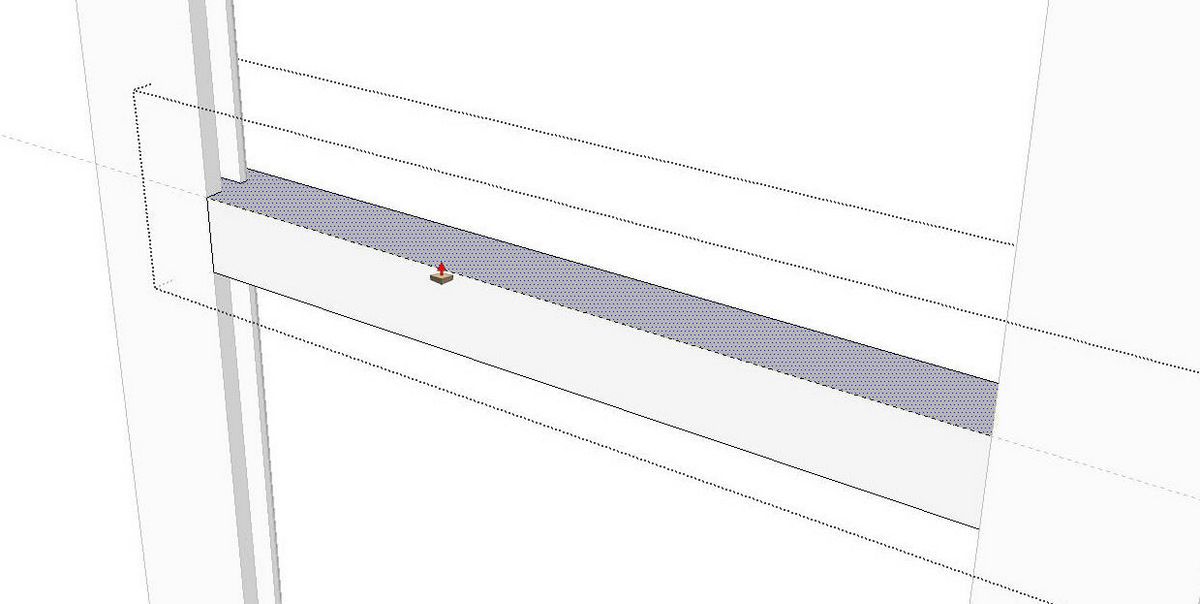
I did place a guideline at the centerline of the rail. Then I opened it for editing and used Push/Pull to make the rail half as wide as the top and bottom rails.
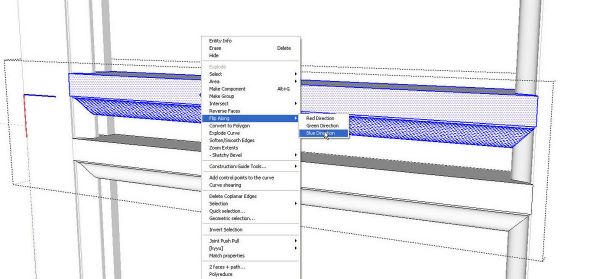
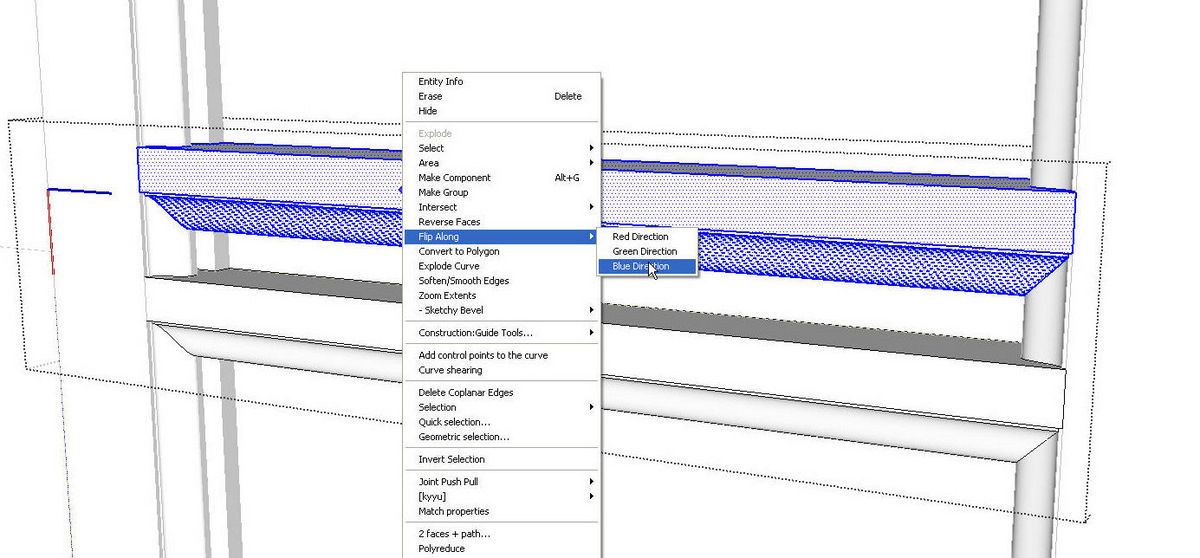
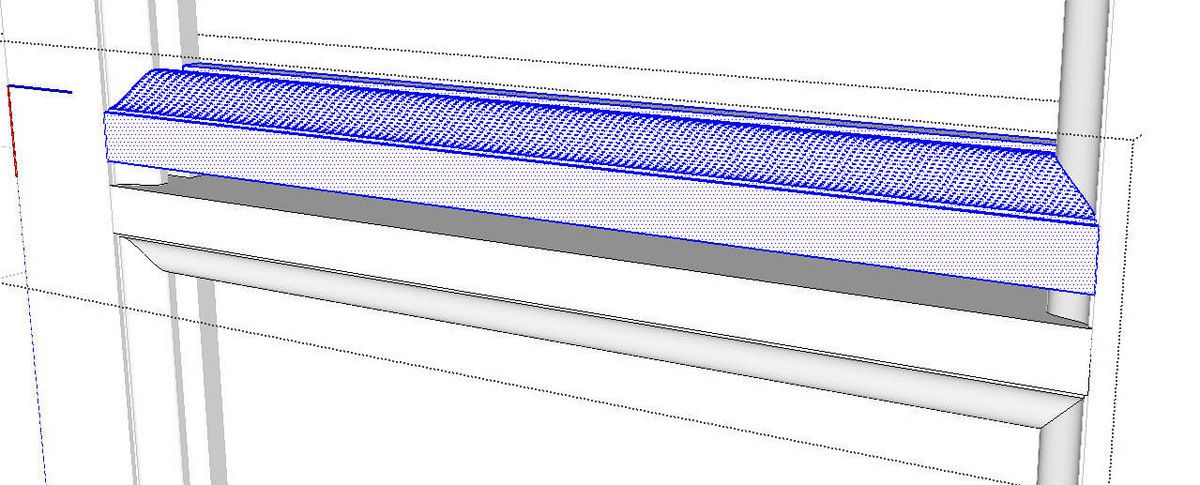
Next, while the component is open for editing, get the Select tool and triple click on the rail to select all of the geometry. Get the Move tool and hit Ctrl (Option on Mac) and then copy the geometry straight up. the distance isn’t important as long as the copy clears the original. While the copy is selected, right click on it and choose Flip Along>Blue Direction.
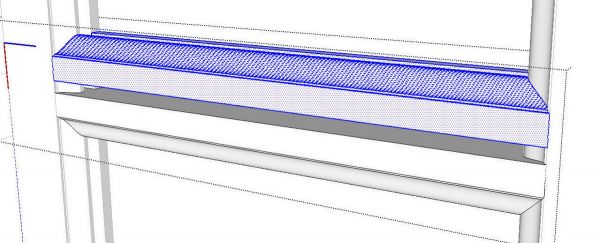
You now have the top half of the rail.
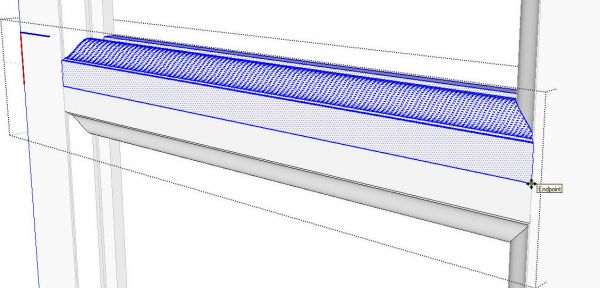
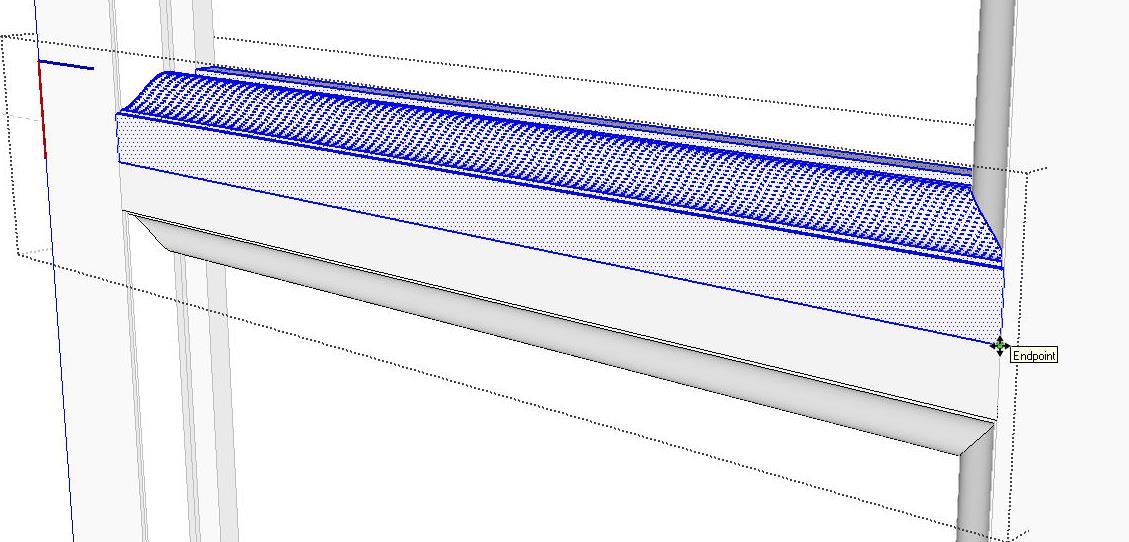
Move that half down to snap to the lower half. Grab the top half at a lower corner or edge and move to the corresponding corner or edge on the lower copy.
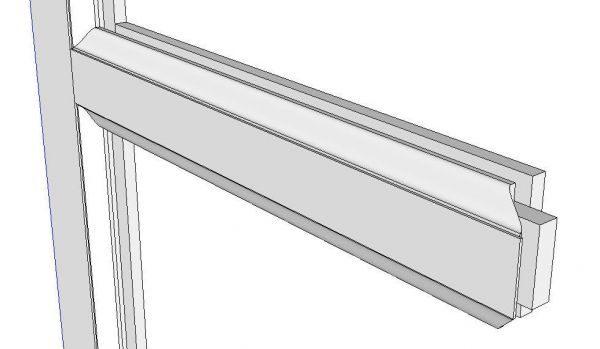
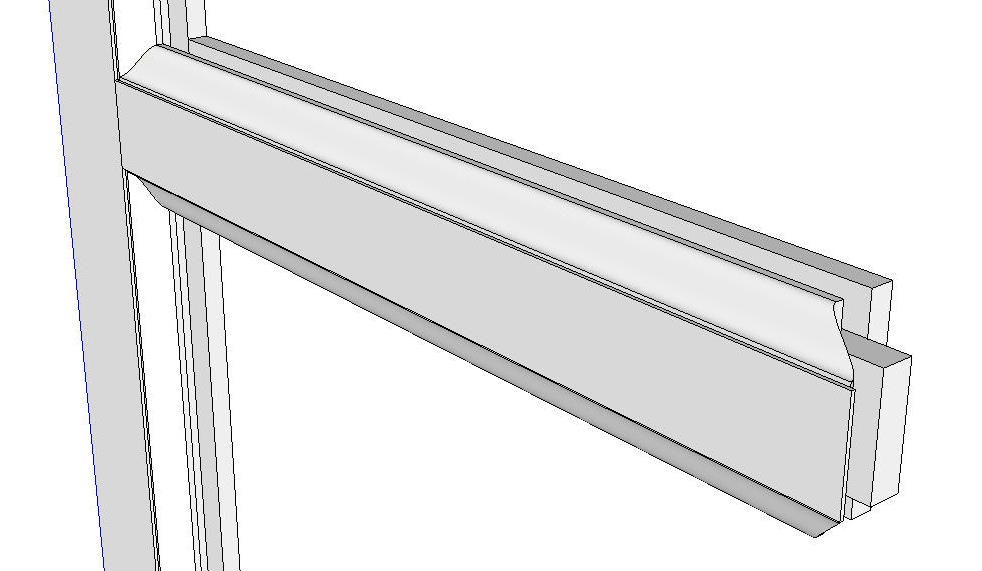
Delete the coplanar edges that form the seam line and you’re done. Rename the component in the Entity Info box and size the panels to fit. In this case, since the intermediate rail exactly divides the door, the top and bottom panels are the same size so they should be instances of the same component.
And now you have an easy modification to a single panel raised panel door for the broom closet




Log in or create an account to post a comment.
Sign up Log in