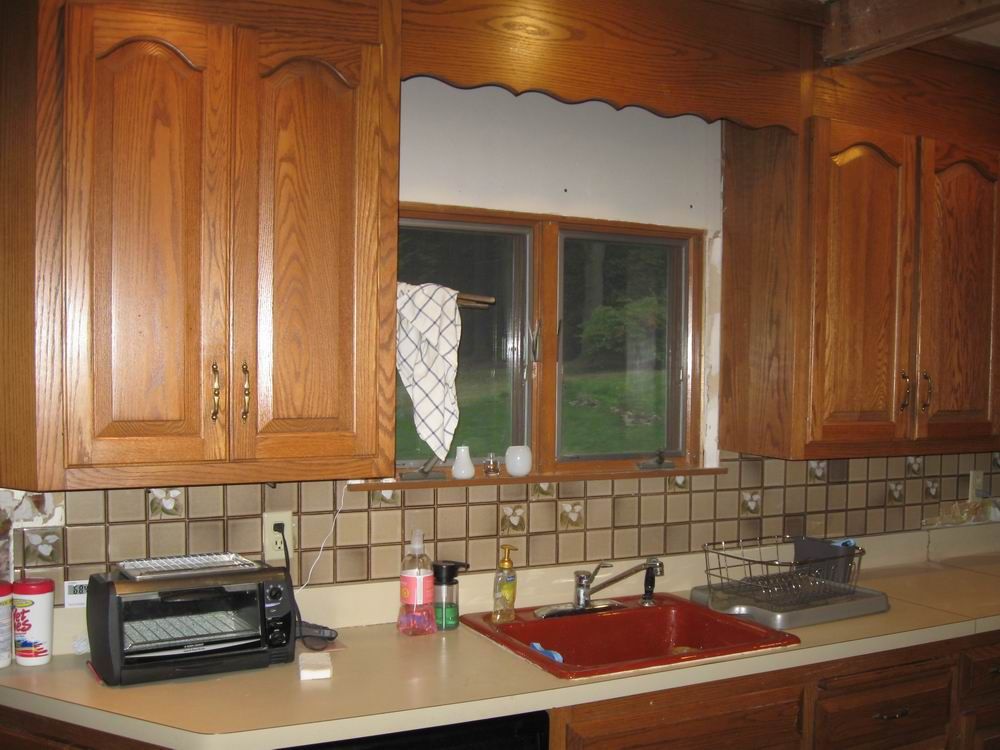
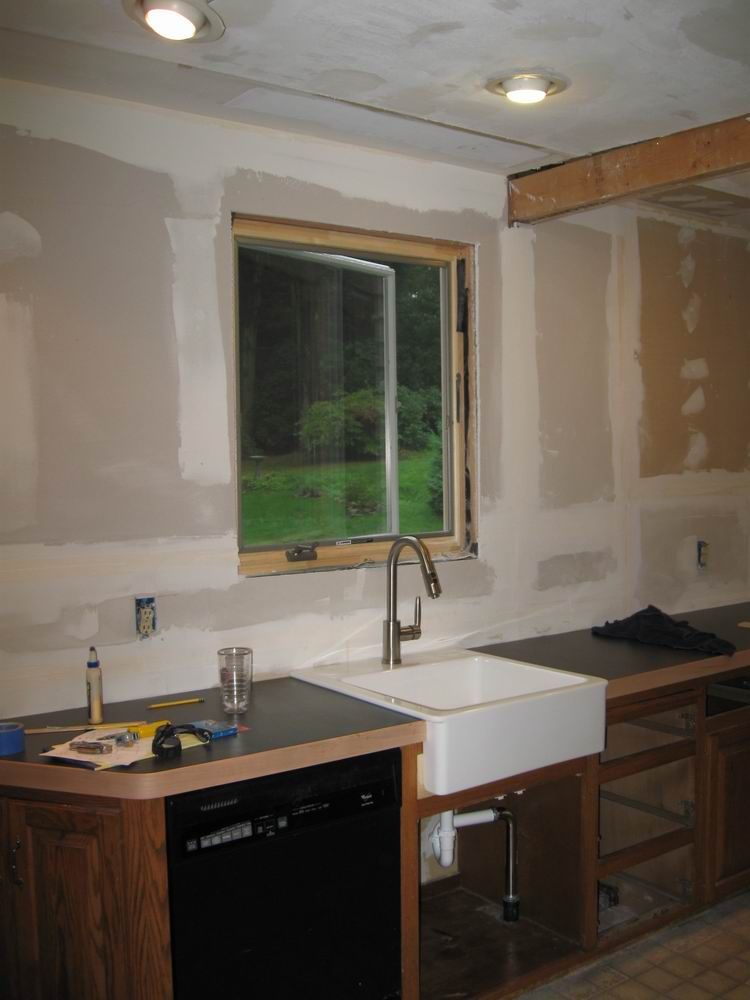
I live in a house that is about 100 years old. It was remodeled and given an addition some time in the 1980s. It hadn’t been touched since. Needless to say, it was a bit dated. Not long after we moved in, my wife and I started to renovate the house. The kitchen has been a huge project. Over the winter I took down part of a wall to create an opening into the dinning room. The stove is on the kitchen side of that opening and I made a countertop that fits around the stove and moves into the dining room to become a breakfast counter. I then installed a new rangehood, framed out for a small bookshelf, etc. This past weekend, I tackled the other side of the kitchen, putting in a new window (really, my colleague Patrick McCombe put in the window), did some demo to get rid of an ugly tile backsplash, moved some plumbing, made and installed new countertops, and installed a new sink and faucet. It was a busy three days.
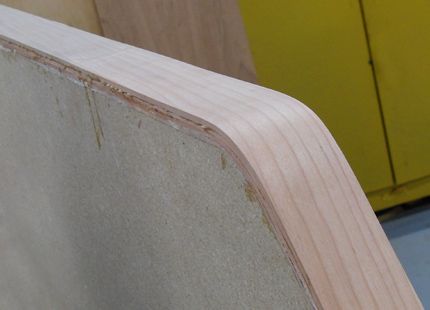
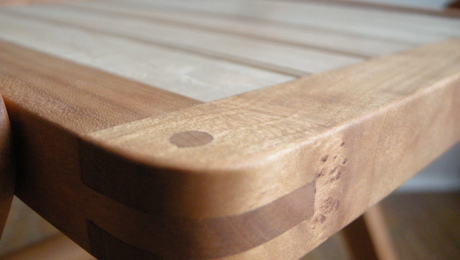
I didn’t figure to get much woodworking in, but I was wrong. The new countertops are laminate with solid cherry edge banding. One section has two tight curves in it and I had planned to make thin plys of cherry and laminate them to the countertop one at a time. That didn’t work, the curves were too tight. So I decided to try steam bending for the first time. It worked great and really wasn’t hard. I think what made it go so well was the fact that I combined bent lamination with steam bending. Each ply needed only about 20 minutes of steam. And because they were so thin, they were easy to bend. It was also nice that I could glue them directly to the countertop, rather than putting them in a form, letting them dry and then gluing them down.
| More on Steam Bending • Free-Form Steam Bending • Video Demo: Hot Pipe Steam Bending • Steam Bending |
Here’s what I really want to stress: Don’t be afraid to just try something. I had never done any steam bending. I was flying by the seat of my pants. I’m sure that someday my willingness to just give something a try will let me down, but based on past experience I know that it works out way more than it doesn’t. So don’t hesitate to try new techniques or even to cook up something new.
One more thing: In case you’re wondering, the cabinet boxes are staying, but I’m making new inset doors and drawers. Then we’ll paint the cabinets.




Comments
Very nice!
About 3 years ago I had a job for a friend to rebuild an antique baby stroller. The bent wooden springs were broken and needed to be replaced. I came up with a steaming rig very similiar to the one you described using 4" PVC tubing, a stainless tea kettle and a length of garden hose. I stood the 5 foot long PVC tube on it's end and attached it to a lolly column in my work shop. Then I plumbed the tea kettle into the bottom. I steamed several strips of Maple to be able to bend them around a form I built to create the new wooden springs.
My friend was very satisfied with the outcome and his wife has the baby stroller on dispay in their front room.
MATTHEW
Tightbond III on wet wood & it stuck ????
Being steamed it had to have a moisture content......
TOMMAN
Why did you steam the whole piece? seems like less work and clamps to only steam the bend area.
Totally impractical- if the gods in the FW shop run out of clamps, what hope is there for us mortals?
Tomman: The Titebond III has held just fine so far. The plies were very thin (1/8 in.) and not in the steambox for very long, so they were never all that wet. And they dried out quickly as well.
Uncledean: I could have used a smaller steam box, but I used what was available. As for the number of clamps needed, I don't think that would have changed much. What would have lessened the number of clamps needed is a few cauls shaped to fit the curves. I do wish I had done that.
BobboMax: Admittedly, I had a ton of clamps at my disposal, plus 3-4 helpers. If you don't have as many clamps, use clamping cauls. They will distribute the pressure over a wider area than just clamps and so you need less clamps.
I too have used PVC pipe as a steam chamber and would caution anyone who plans to do so that PVC gets quite soft at normal steam temperatures. The first time I used PVC for this the pipe was only 4 feet long and was supported in the middle yet both ends sagged within minutes of applying steam and the pipe also collapsed to an oval cross section. I also used a threaded pipe cap to seal the end (with a vent hole in it and using Teflon tape to minimize sticking) and when the pipe changed shape from the heat the first time the cap fell off. The chamber worked OK otherwise but plan for these problems and provide adequate support for the pipe.
So the plastic pipe is not the best solution for a steamer.... it softens just as the wood does.
We always used metal pipe. What I think was well casing ie: about 1/4 in think by 6 in pipe with one end welded closed with inlet fittings welded on it and the other end with a hinged cover welded on.
In the boat business you find yourself needing to bend up to 3 in of oak so up to 2 hours is needed for steaming. With this more extreme bending a relief valve and pressure guage is a must.
So my thought related to Matthews job here is that with a little time spent on the steamer for his next steam job you can eliminate the laminating requirement all together and bend one piece.
Ted
Hi Matt,
What did you decide about the kitchen wall cabinets? Look like they might be solid Oak?? OK? Live with the mismatched grain and the tombstone raised panels...? Or new doors and paint? Or??
Be sure to show us, whatever you do..:>)
Chris
I made things years ago requiring bending and just boiled the wood. It worked fine. Why is steam bending better?
Log in or create an account to post a comment.
Sign up Log in