
A friend of mine has been learning to use SketchUp. He decided to use a model of the beautiful Welsh stick chairs he builds. It’s a pretty complex thing to draw, especially as you’re learning the program, but he has been doing a great job and is almost there. One of the parts that’s been slow in coming was sculpting the top surface of the seat. We’ve been talking about various ways to deal with it. Here’s a pretty simple method. I must give credit to John Marks for the basics of this and to ‘Fredo6’ for his new Curviloft plugin. It came at just the right time for my friend.
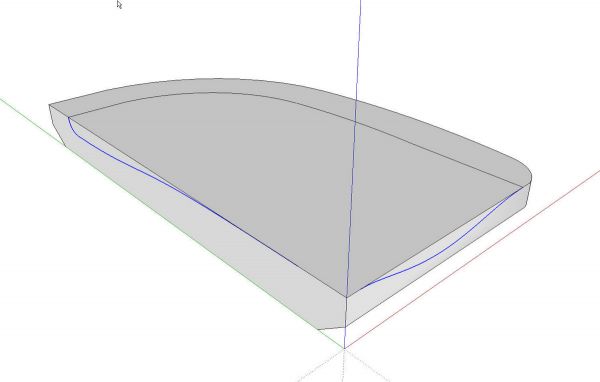
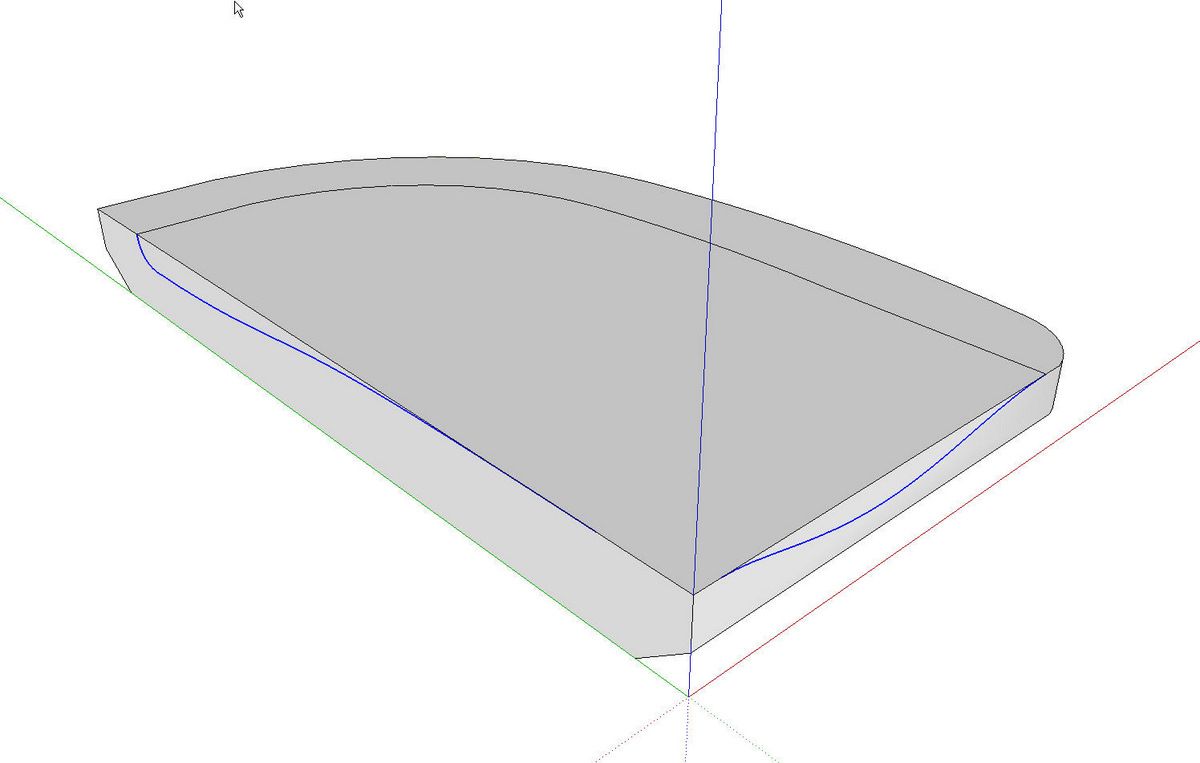
Since the seat is symmetrical, we’ll just work on one half and then copy and flip the copy to make the other half. The half of the seat blank is drawn and the chamfer added to the bottom edges using Follow Me. The outline of the sculpting is then drawn on the top, front and center face. I used the Bezier plugin for this but you could also use the Bezier Spline plugin for this. I then used the Weld plugin to weld the segments used to make up the each of the different curves.

Then we’ll delete the top face and the faces above the curves on the front and the centerline. The three selected curves are going to be used by the Curviloft plugin to create the sculpted surface of the seat.
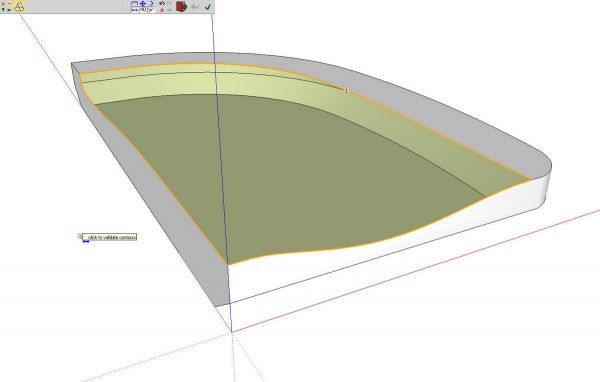
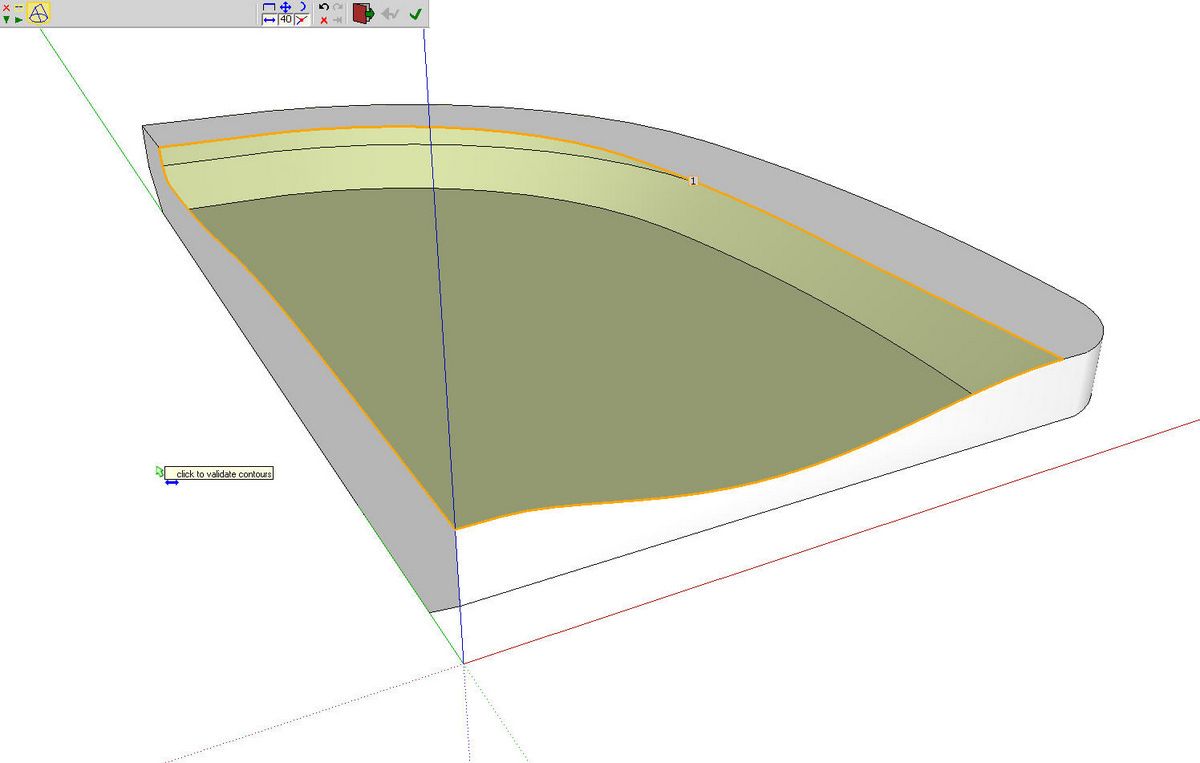
After activating the Skinning function of the Curviloft plugin, we’ll click on each of those edges in turn. They’ll turn orange when they’ve been selected.

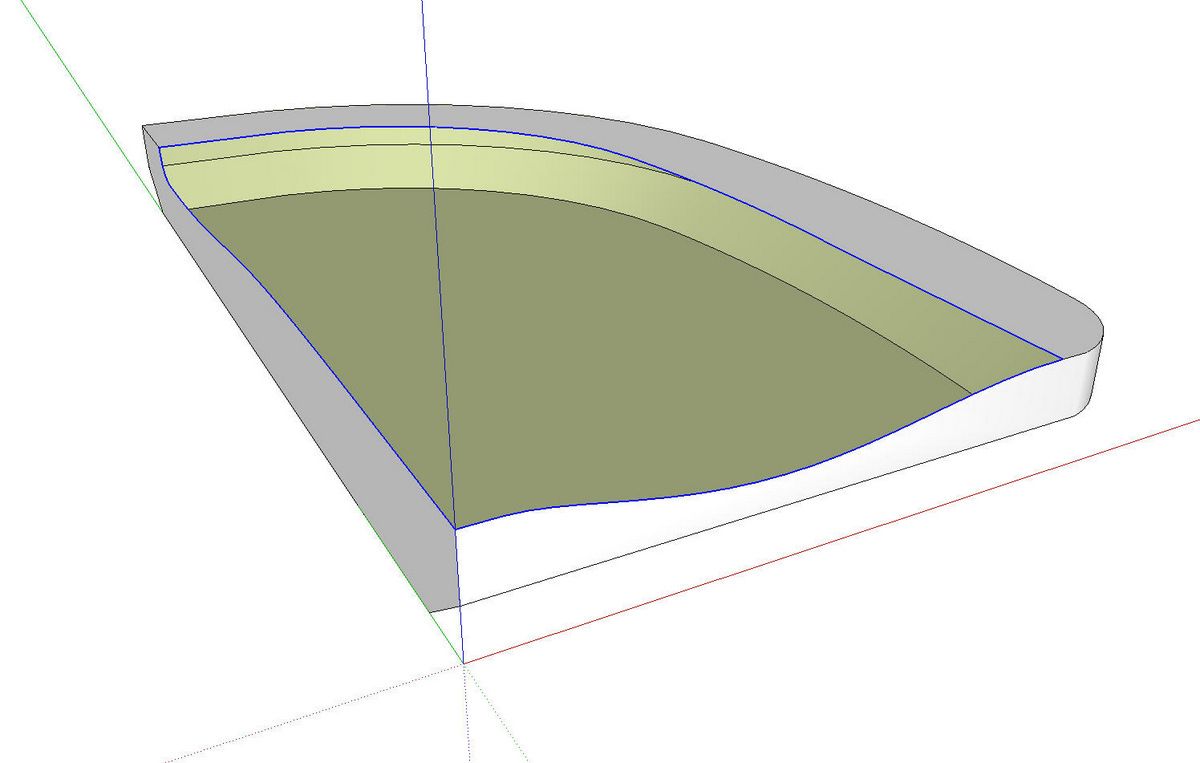
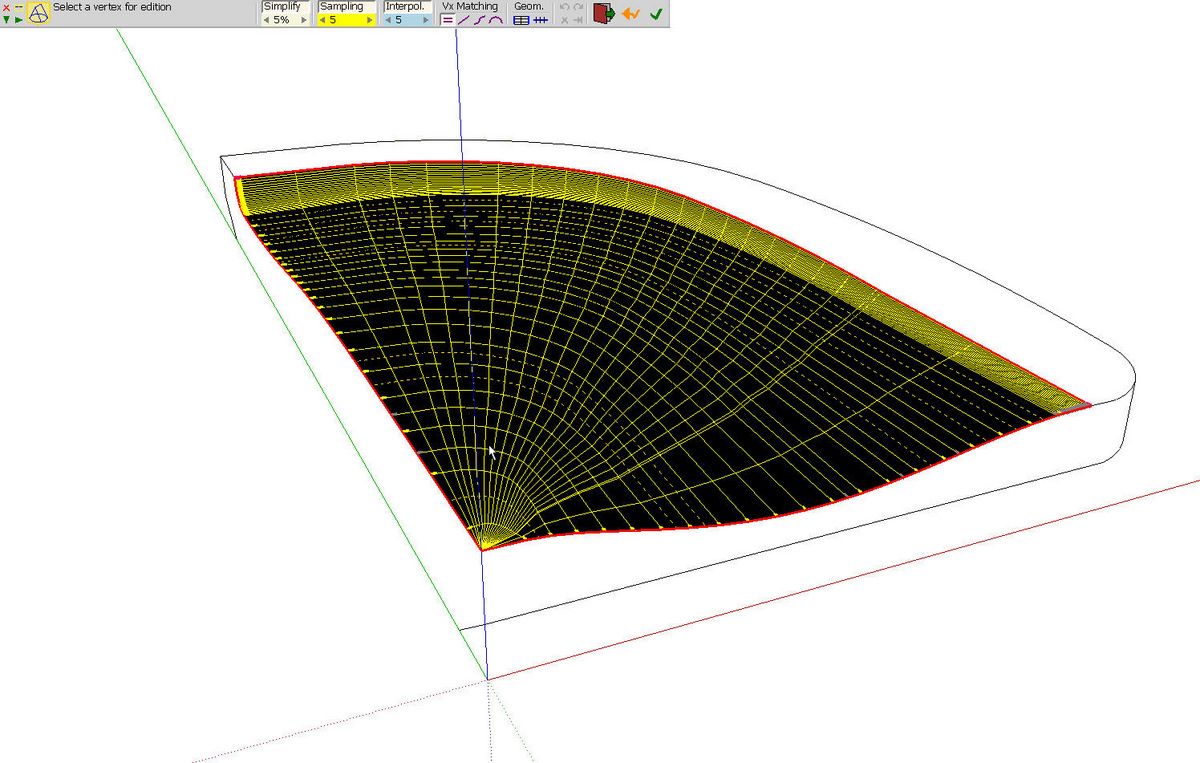
Next hit Enter once. You’ll see the tentative faces shown in black. You can make some adjustments to it if desired but I think this works out quite well for the seat.
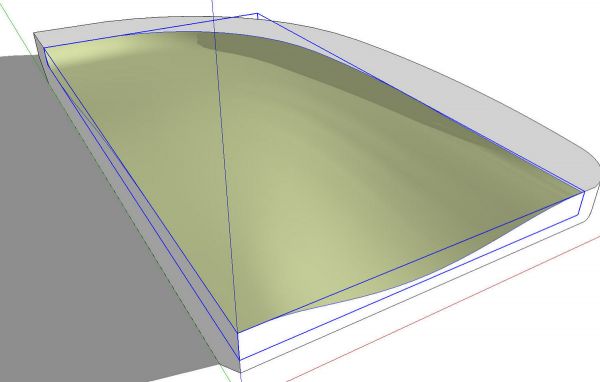
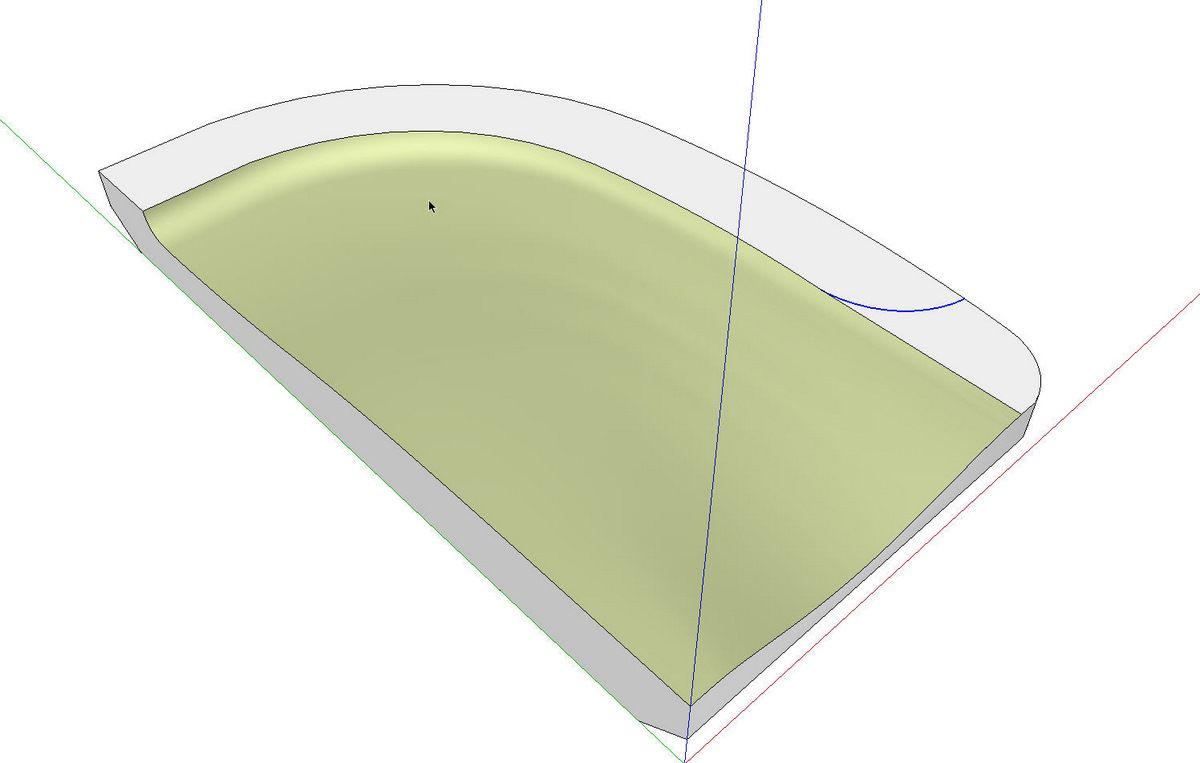
Hit Enter again and the surface will be created as a group. In this case it was created with the back face up. We’ll fix the face orientation and explode the group later.

The original seat has a curve along the side where the sculpted part of the seat runs out. We’ll draw that curve in…
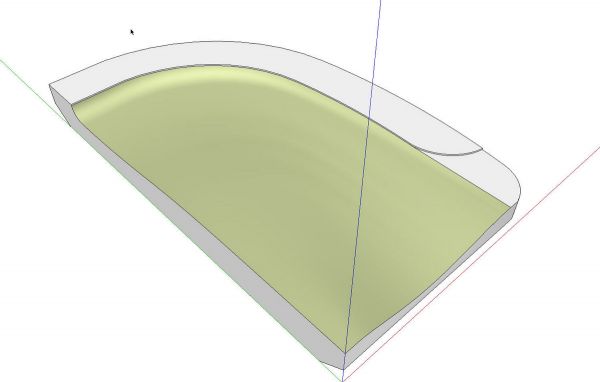
…and pull the face up a little bit. I only pulled it up 1/16 in. to just create that detail where the curve is.
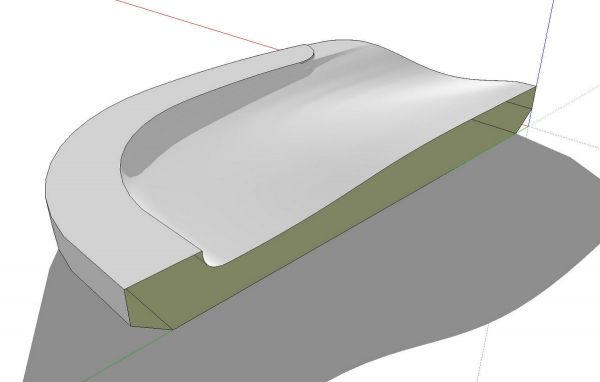
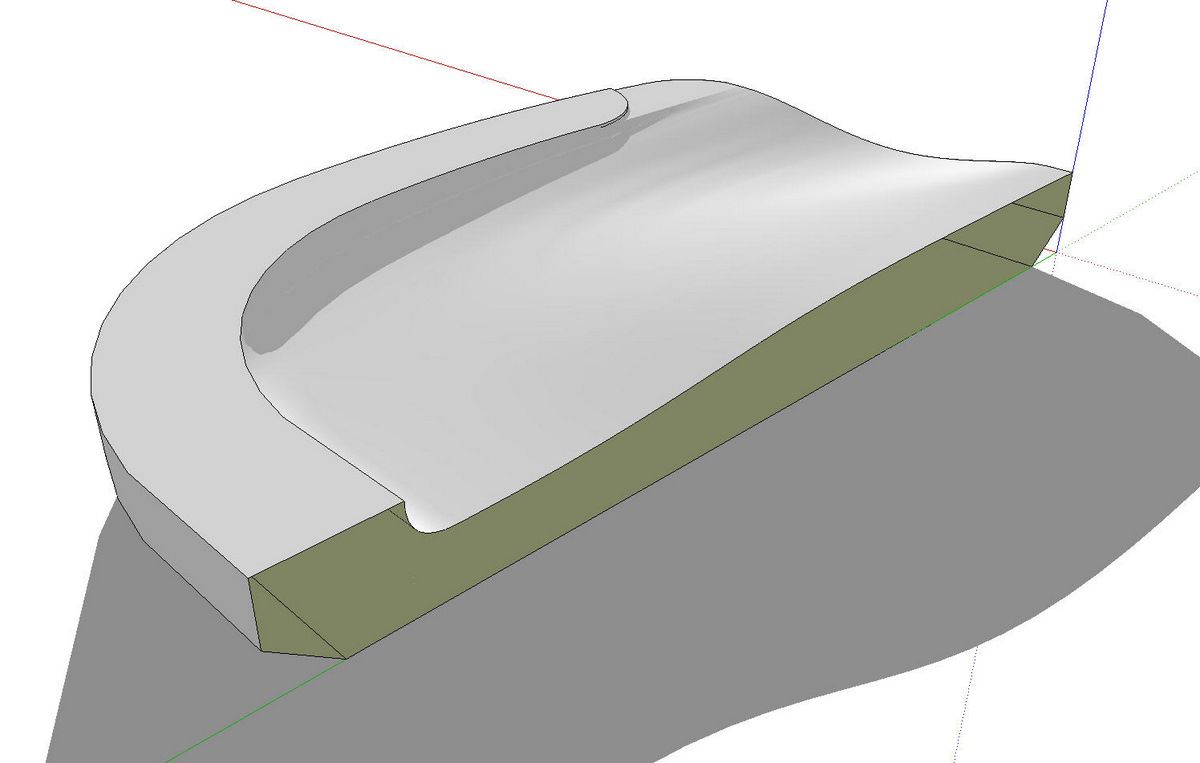
Now we’ll open the group created by the Curviloft plugin, select the surface and reverse them. Just right click on the selected surface and choose Reverse Faces from the Context menu. Then close the group for editing, select it and explode it with another right click to get to the Context menu. You can see in the image above that I’ve also deleted the face on the centerline. This is to make the seam line harder to see once the two halves are placed next to each other. At this stage, we’ll make a component of the half of the seat.
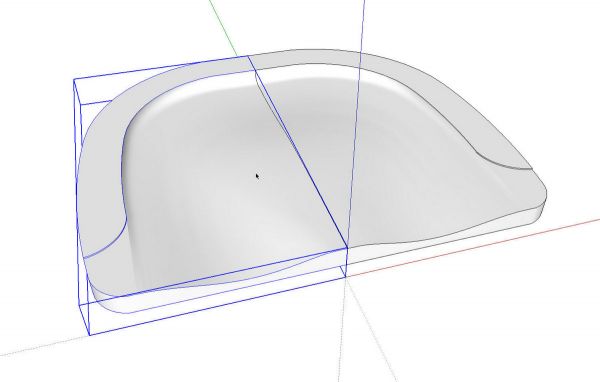
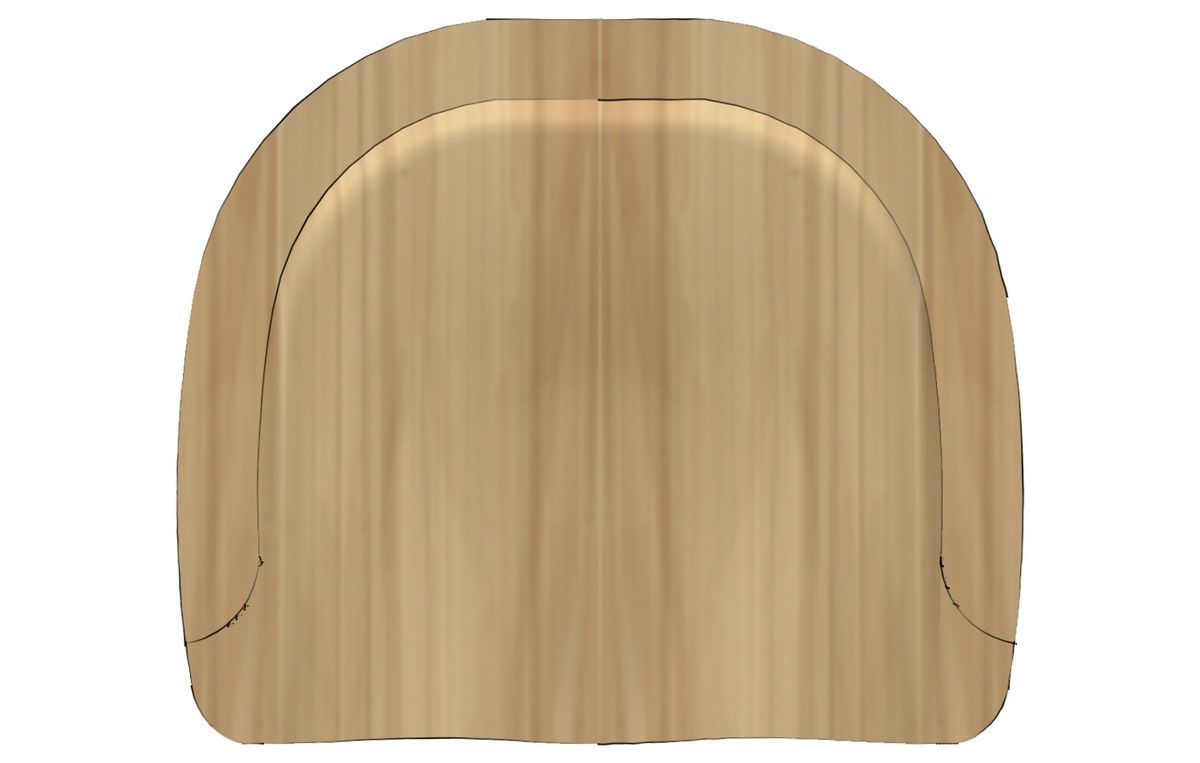
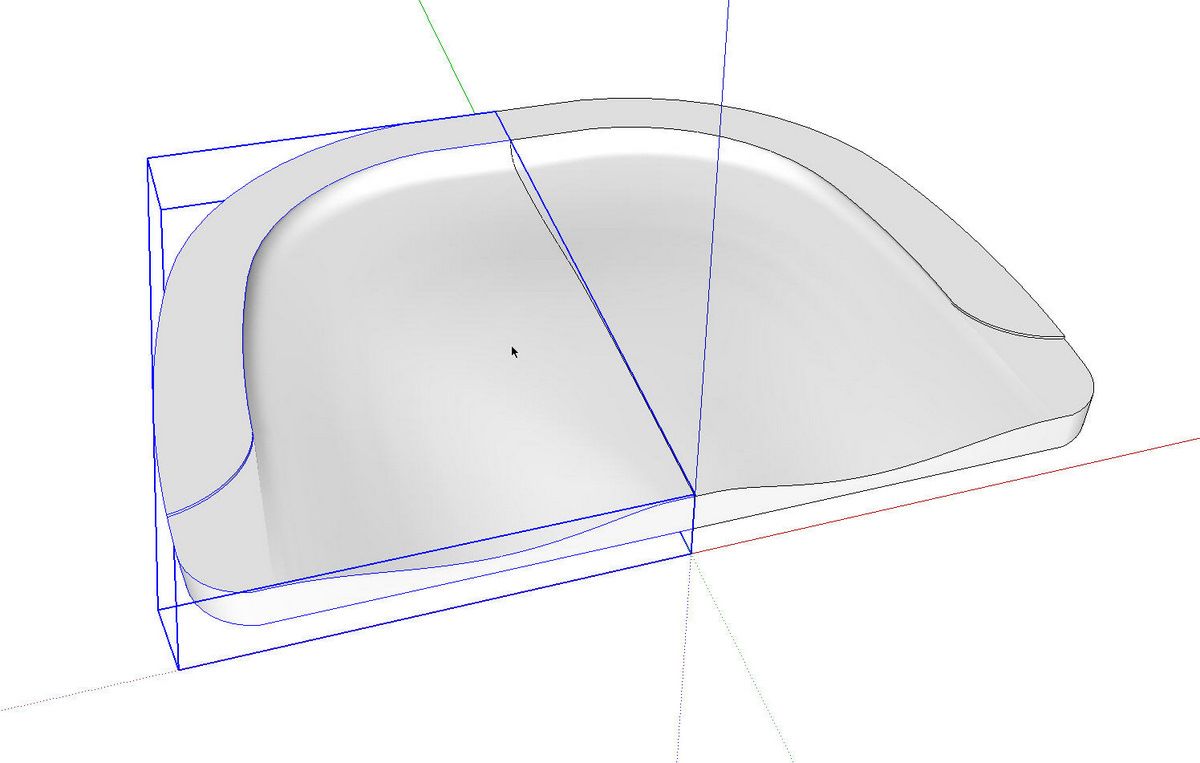
Use the copy function of the Move tool to copy the component. Right click on it and choose Flip Along>Component’s Red. Then move the copy into place. Open one of the copies for editing and get the Eraser tool. While holding Shift and holding the left mouse button, run the cursor along the seam line all the way around the seat to hide the seam line.

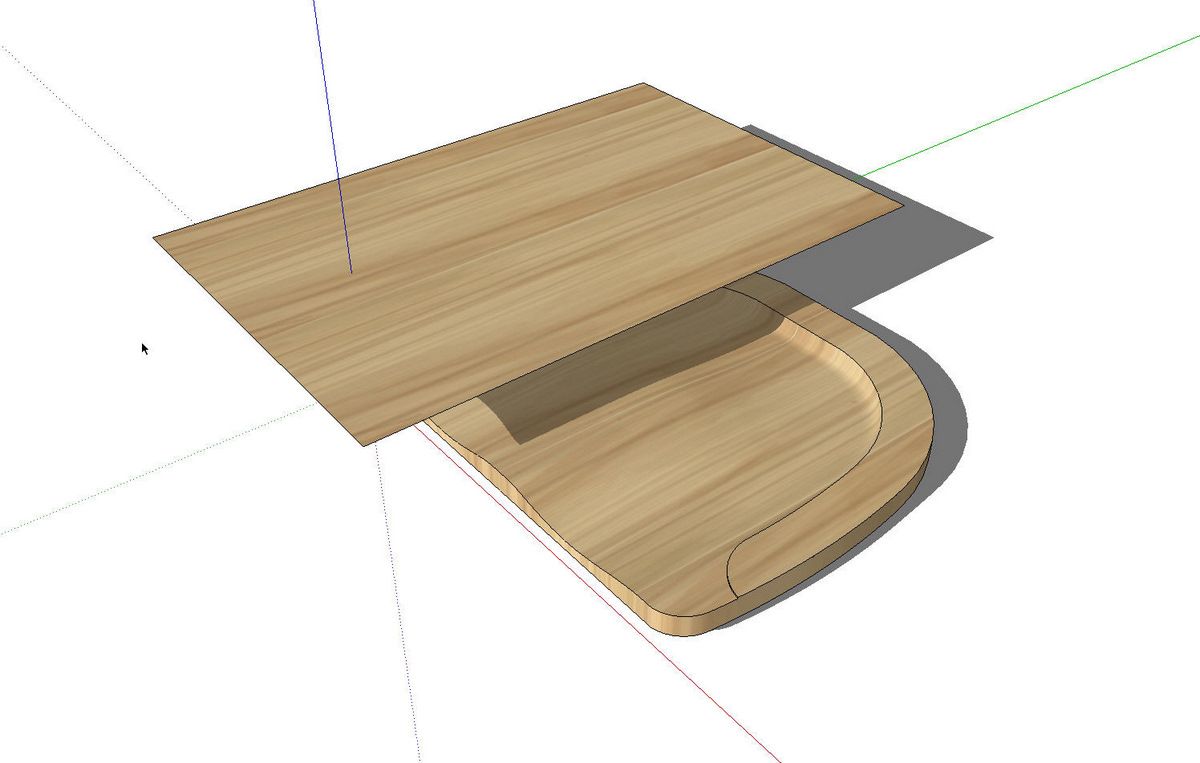
Here’s a quick trick for applying a wood grain material to the seat. Start by placing a face above one of the components. Place one edge so it is directly above the center line. Apply your wood grain material to that rectangle. Right click on the face and choose Texture>Position to rotate it as needed and perhaps slide it around to get a nice part of the board. The material I used for this illustration is the equivalent of 8 feet long so I can pick a nice section out of it.
After you get the material placed as desired, right click on the face again and choose Texture>Projected. Then open the seat component for editing. Sample the material on the rectangle with the eyedropper and then click on the faces of the seat.
If you have an end grain material to use, you could make a vertical face in front of the seat component and repeat the process of making the projected material. Once the materials are applied, delete the rectangle(s).
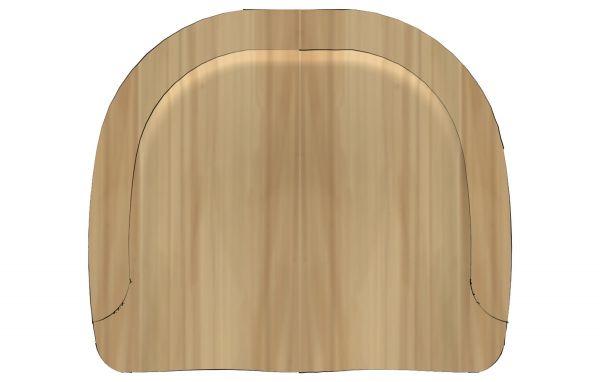
Since the halves of the seat are mirrored instances of the same component and the material is applied to the faces of the component, you’ll end up with the material being book matched. If you don’t care for that, you can use Make Unique on one of the components so that you can apply the material separately on each side. If you choose to use Make Unique, you might wait until after you’ve drawn in the holes for the spindles and the legs.

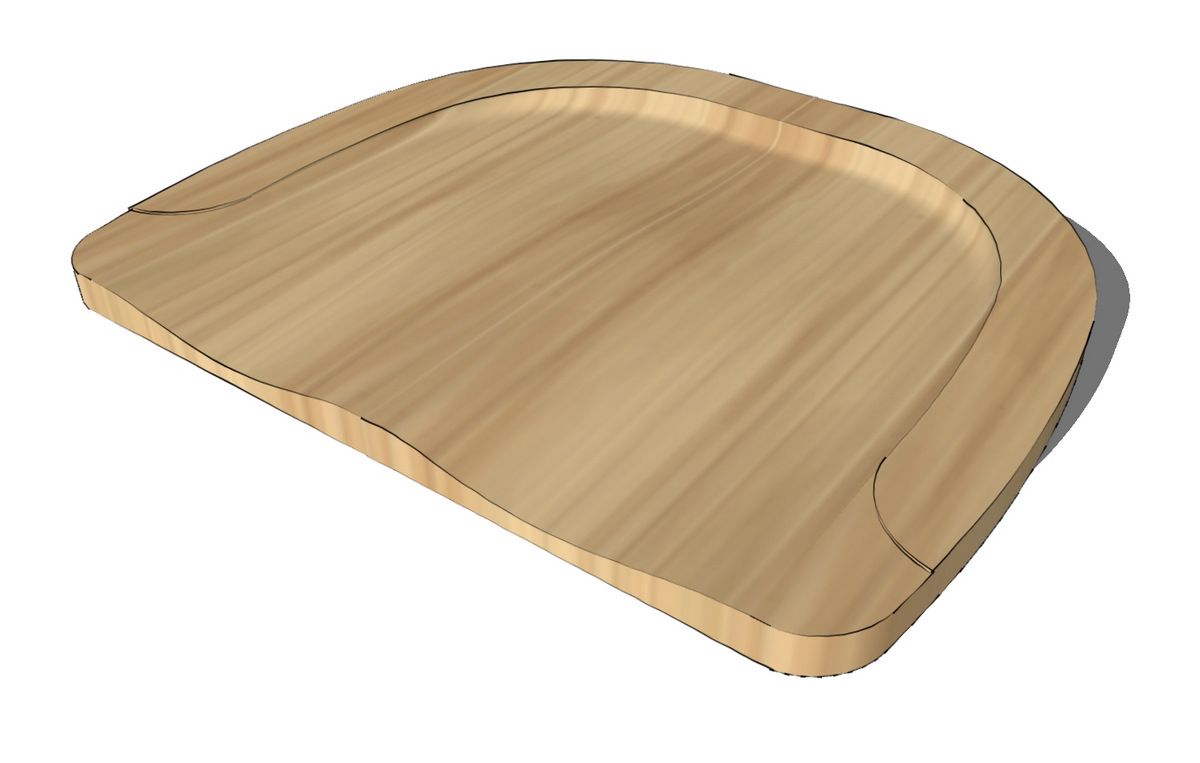
When you get all finished, select both components and make a nested component of the seat. This will make it easier to handle if you need to move it around in the model.





Comments
very cool! simple and effective.
Dave,
I am sculpting a seat and have a couple of questions. First when selecting a curve does it require a bunch of clicks while you are really zoomed in. I seem to be clicking on separate paths. and 2, When I generate a preview I have a bumb outside of the model, seems it is picking up other vortecies, can you edit them out?
Thanks
Rick
Rick,
1. I expect you have exploded curves for whatever reason. If your curve consists of a bunch of shorter curves or you performed some other operation that exploded the curves, you could end up in a situation where you have multiple small sections to select. You could use the Weld plugin to weld each of the curves needed for the seat shape. This will make them behave as a polyline and you'll be able to select each one in turn in single clicks.
2. I'm not sure exactly what you mean but if you are getting extraneous stuff in your selection, you could try a couple of things. Welding the curves may help because you'll do less clicking to select the edge. You could also switch to X-ray view so you can assure you aren't getting segments that you don't want included. If that geometry you are selecting is not part of the seat, you might find it helpful to move either the seat or the other stuff.
I hope that helps.
-Dave
Thanks Dave,
Welding did the job. Thanks again.
I'm trying to follow this technique but I can't find the Weld plugin you mention. Is that still available? If so, where? Thanks.
My apologies. I've added the link to the blog post now. You can get the plugin here: http://www.smustard.com/script/Weld
-Dave
Log in or create an account to post a comment.
Sign up Log in