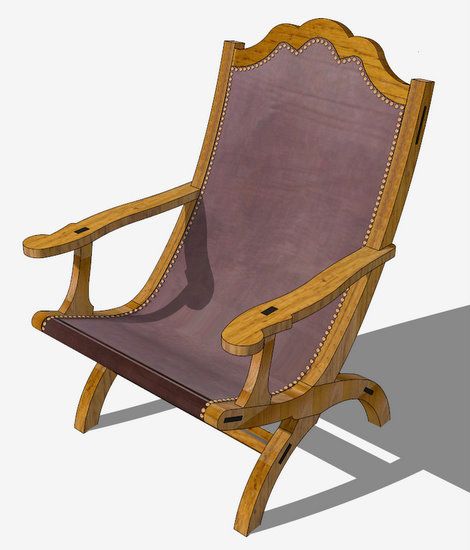
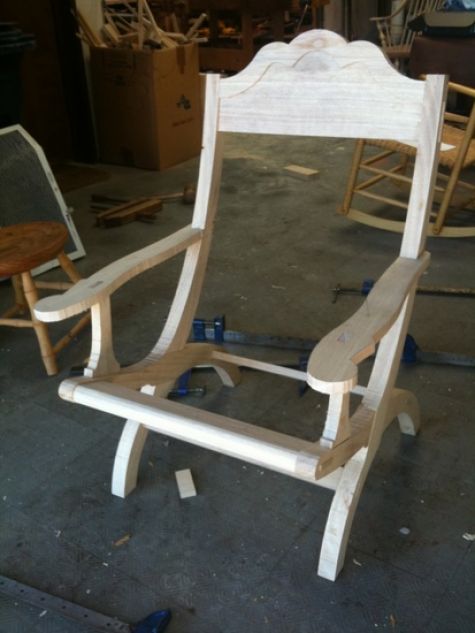
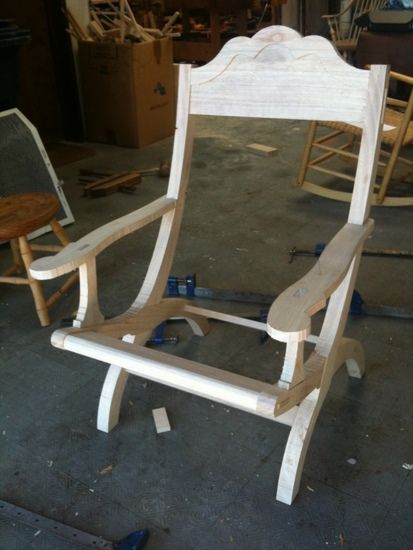
I’m progressing with the construction of the Campeche Chair. All of the components are dry-fitted, so glue-up, shaping, finishing, and finally leather fastening are yet to do. I found a large piece of thick cow hide in San Francisco. It is more than 3/16″ thick and strong enough to handle seating stresses without accompanying webbing or other upholstery support.
Here is a status picture of the construction.
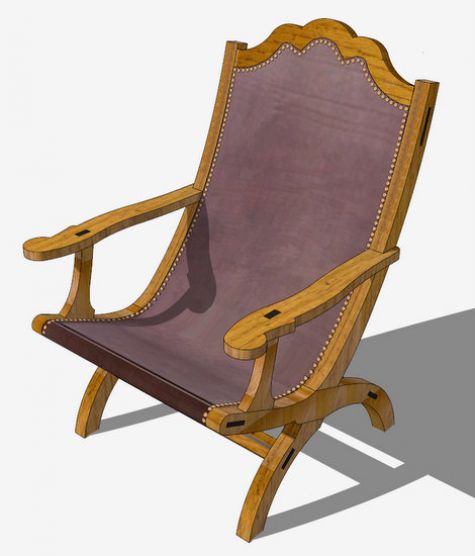
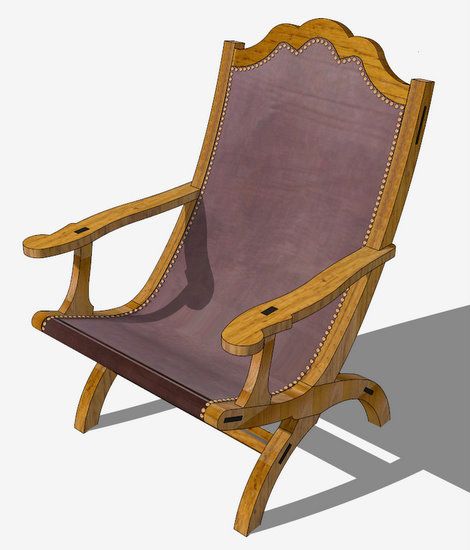
I’ve also progressed with the SketchUp modeling to show the leather sling, tacks, and finish. I’ll show you how I’ve embellished the model in the following steps.
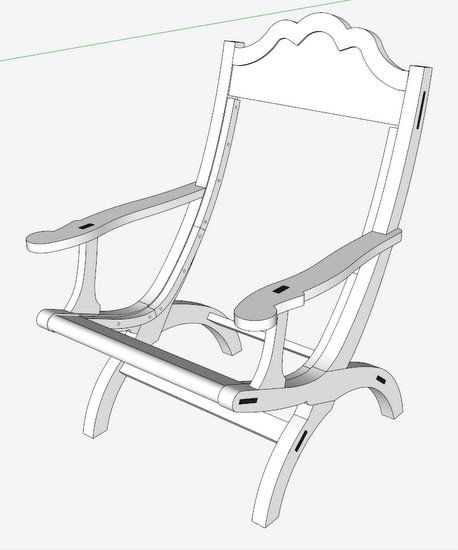
Here is a picture of the model before adding the leather sling and other embellishment.
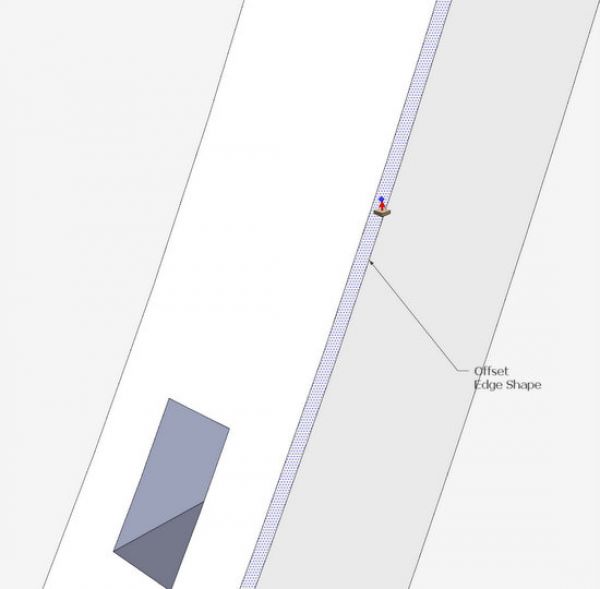
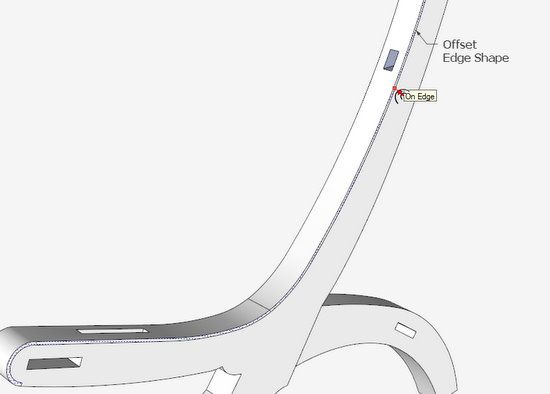
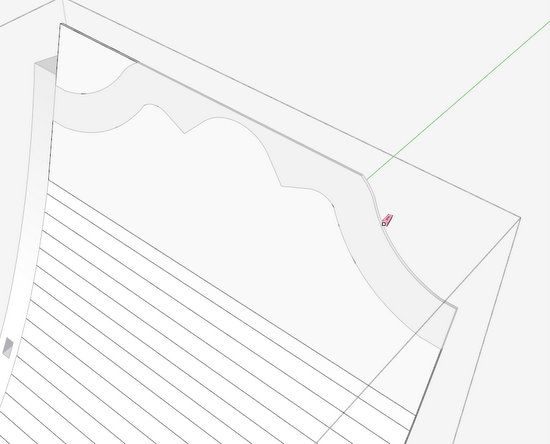
Step 1: To create the leather sling, I needed a shaped edge face to Push/Pull. I used the edge shape created in my last blog entry to make the upholstery cleat (which has been hidden in this view). The edge shape was made with the Offset Tool. I used the Offset Tool a second time to create another parallel edge shape coincident with the stile edge.
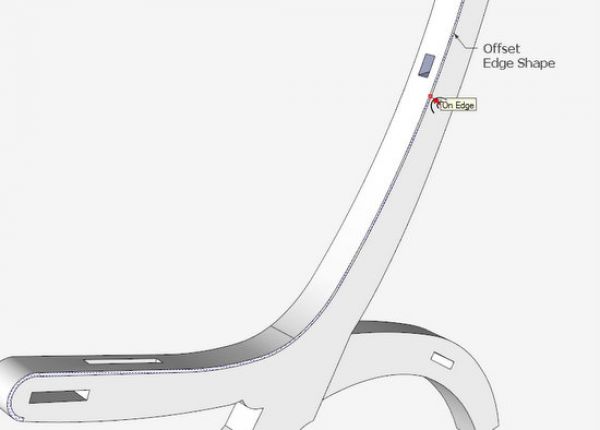
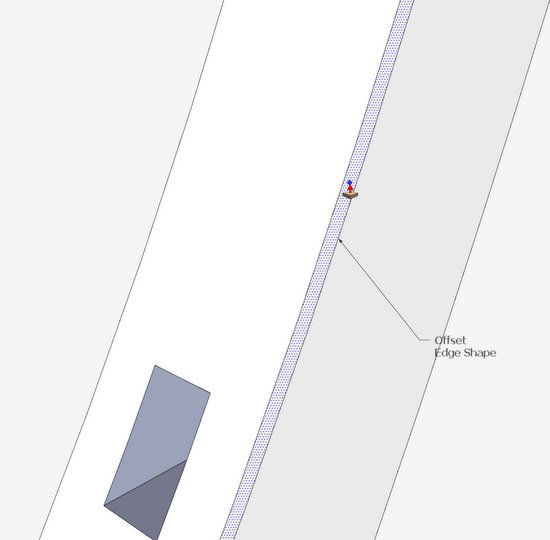
Step 2: With this close-up view, you can see the face (equal to the thickness of the leather – about 3/16″) that is now available for the Push/Pull Tool. This face will be the left hand edge of the leather sling.
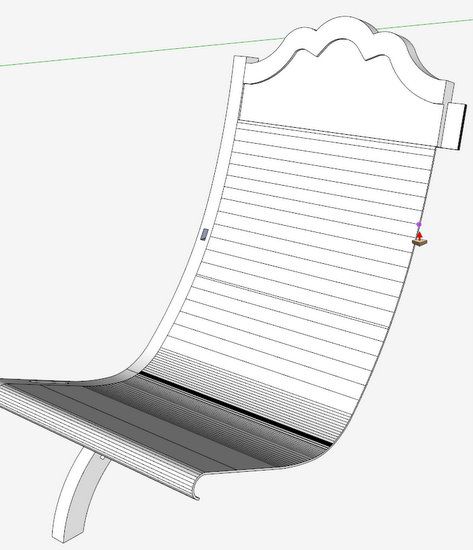
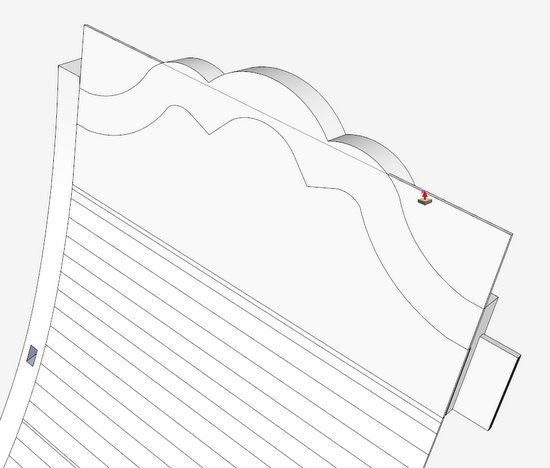
Step 3: Here I’ve pulled out the leather sling with the Push/Pull Tool, however the top edge of the leather is square rather than fitted into the crown recess shape. Also, the parallel lines exist on the surface of the leather that will be removed later with the Soften/Smooth Edges Tool.
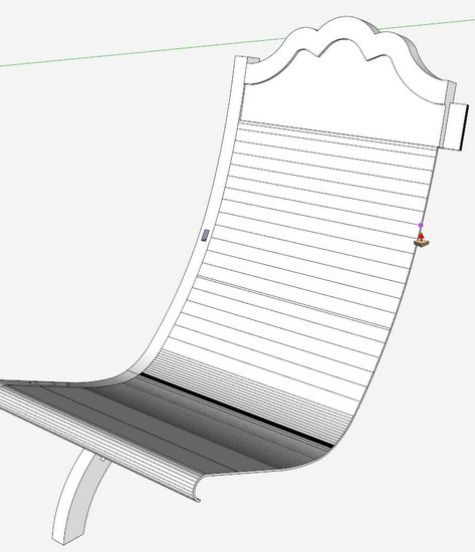
Step 4: In this step, I’ve used the Push/Pull Tool to raise up the leather sling beyond the top edge of the recess shape.
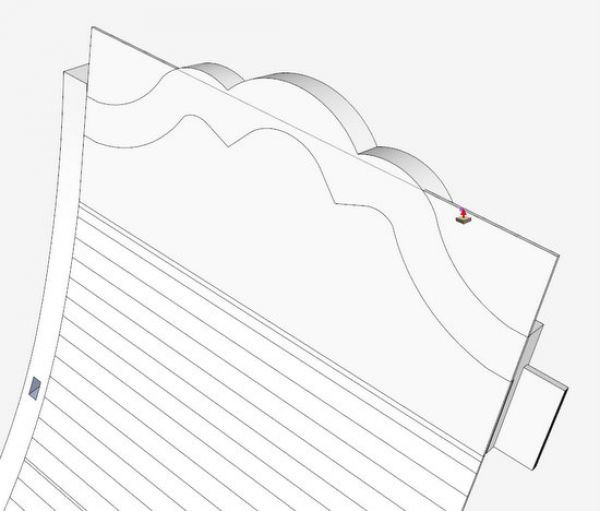
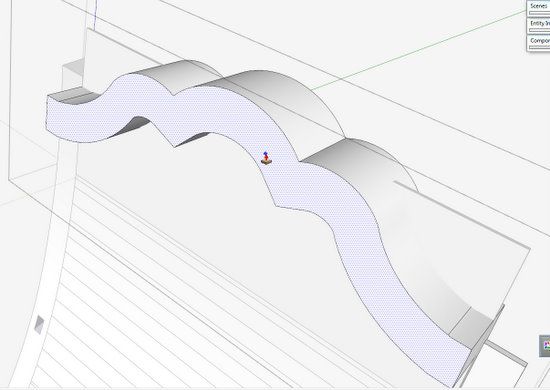
Step 5: I’ve also used the Push/Pull Tool to raise up the arc shape of the crest rail. This creates an ability to use Intersection to “cut” the leather for a perfect fit within the crest recess.
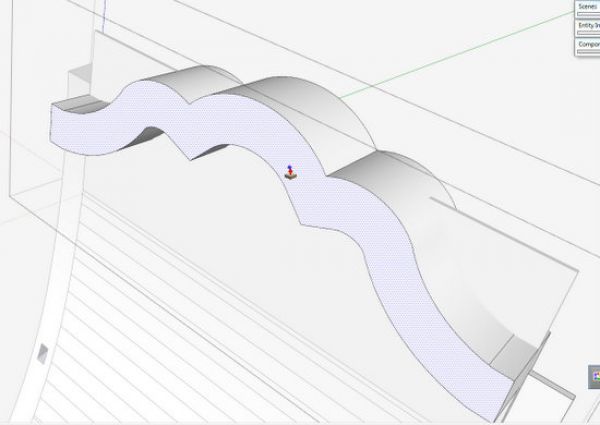
Step 6: Here I am deleting the waste after the Intersection with Selected function. The leather will just fit within the coved-out area of the crest rail, and will be flush with the upper portion of the crest front face.
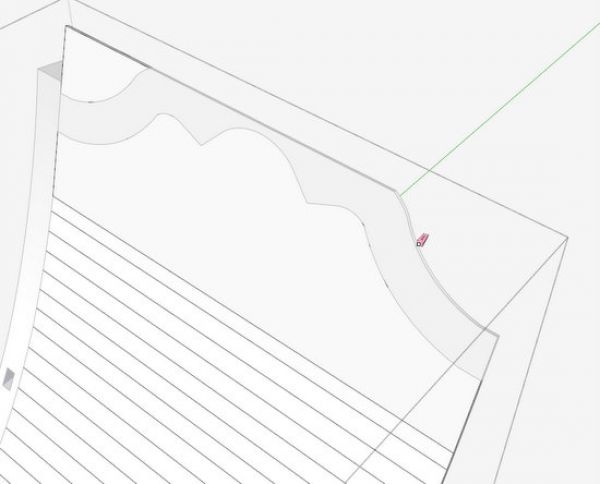
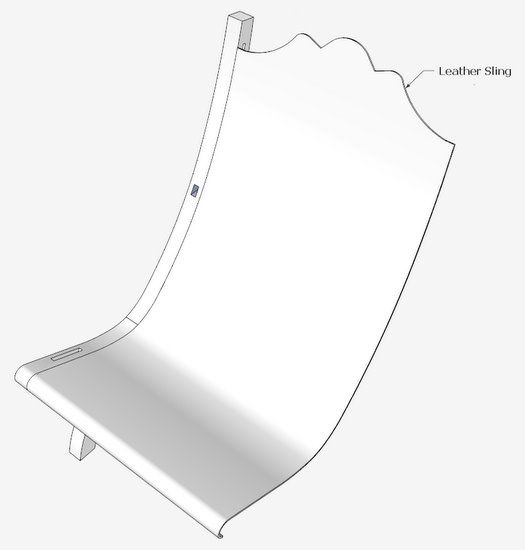
Step 7: Here you can see the final shape of the leather sling after clean-up and softening/smoothing.
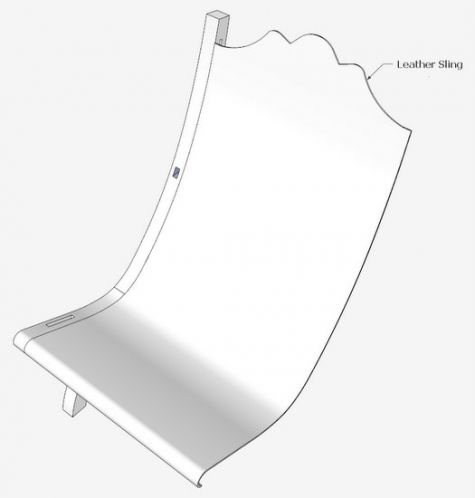
Step 8: I took a picture of the leather I will be using and used this picture to place a texture onto the leather sling. I’ve also applied an ash grain to the wood structure. I created a metal tack and manually copied them along the perimeter for fastening the leather to the cleats, crest rail, and nose rail. There probably is a plug-in that would help with the placement of the individual tacks, but I ended up placing them by brute force.
Tim Killen
http://killenwood.com




Comments
Where can I find a measured drawing/templates for the Campeche chair?
To Templeporter:
We can discuss your request via email......
Tim
[email protected]
Tim--
Your craftsmanship is remarkable. The Campeche chair is about the most beautiful thing I've seen. I'd really like to make one,and have the shop to do it in, but lack the computer facility to generate the drawings. Hence my desire to acquire measured drawings.
Thanks for your help.
Temple
(Temple Porter)
Log in or create an account to post a comment.
Sign up Log in