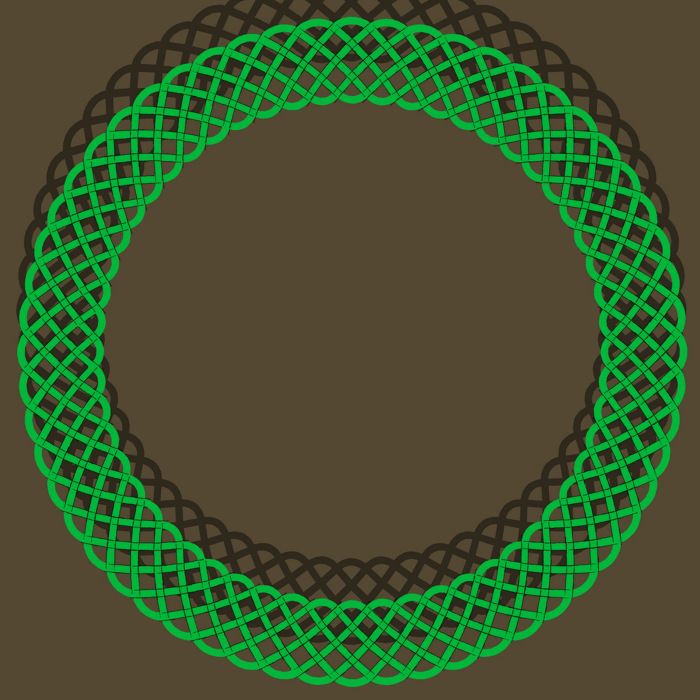
One of our readers and a new SketchUp user was looking for a way to create a curved pattern for the rim of a bowl he has turned. He has a straight Celtic knotwork border to start with and wondered if SketchUp could do something like this. Thanks to Fredo6, A master of Ruby plugin scripts, this is actually quite simple using the Radial Bend function in the Fredoscale Extension. Here’s a quick demonstration.
For this example I started with a free-for-use raster image I found somewhere. I used WinTopo to create a vector file in DXF format which I then imported into SketchUp. The import can be done directly in the Pro version and in the free version 7.1 with a plugin. According to the SketchUp website, the plugin will not work in the free version of SketchUp 8though I haven’t tried it to find out.
You could draw your pattern manually as well. Use guidelines for laying out the pattern and a combination of the Line, Arc and perhaps Bezierspline tools.
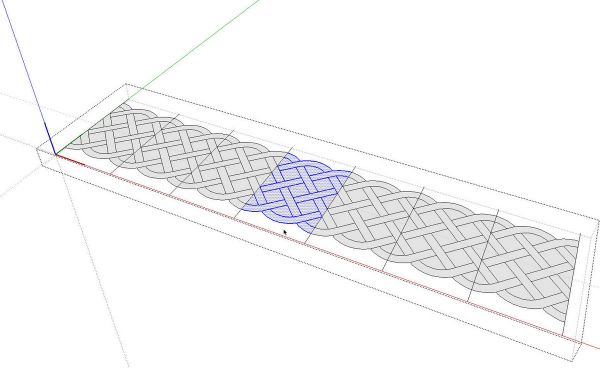
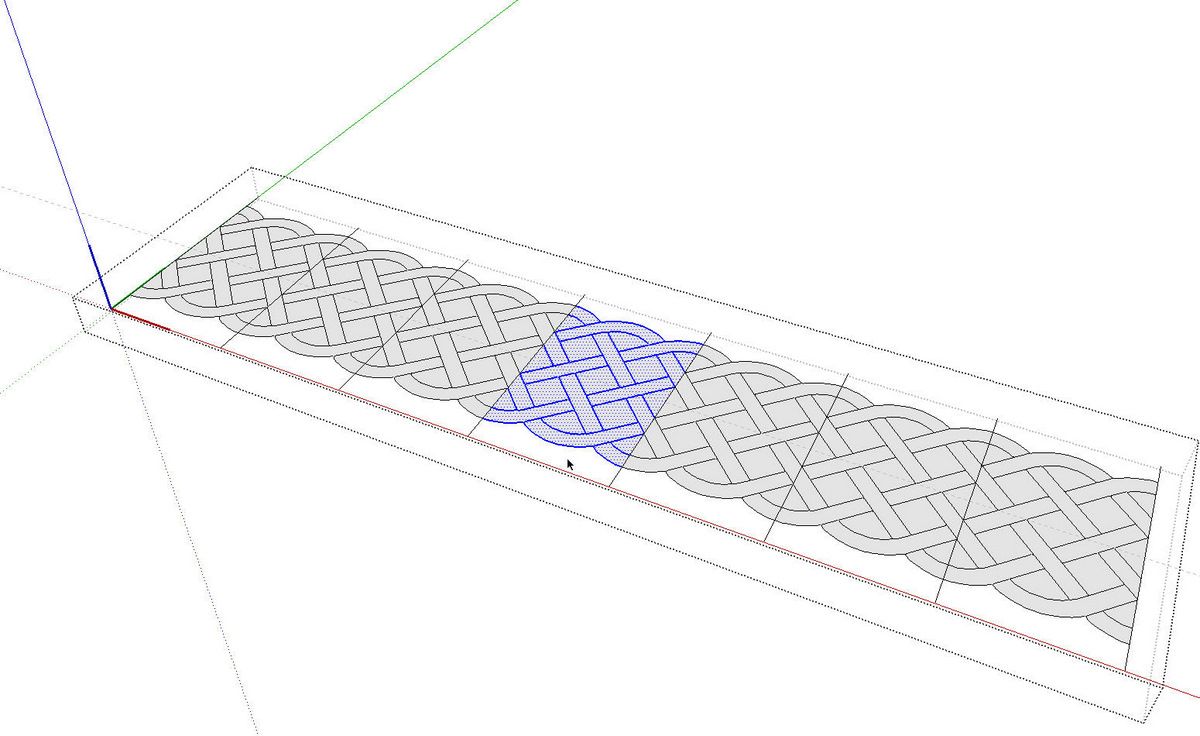
The original pattern consisted of one segment as shown in the selection and ends to continue the lines. I trimmed off the ends since they won’t be needed in this case. I also added the lines crossing the pattern to use for reference. Then, using Copy/Move (Ctrl+Move on the PC or Option+Move on the Mac, I copied the section over by the length of the section and hit Enter followed by *6, Enter to make 6 additional copies in a linear array. Then I made the whole thing into a component.
If you are drawing your own pattern, keep in mind that you need only draw one section of it. then you can create the repetition as I did above.
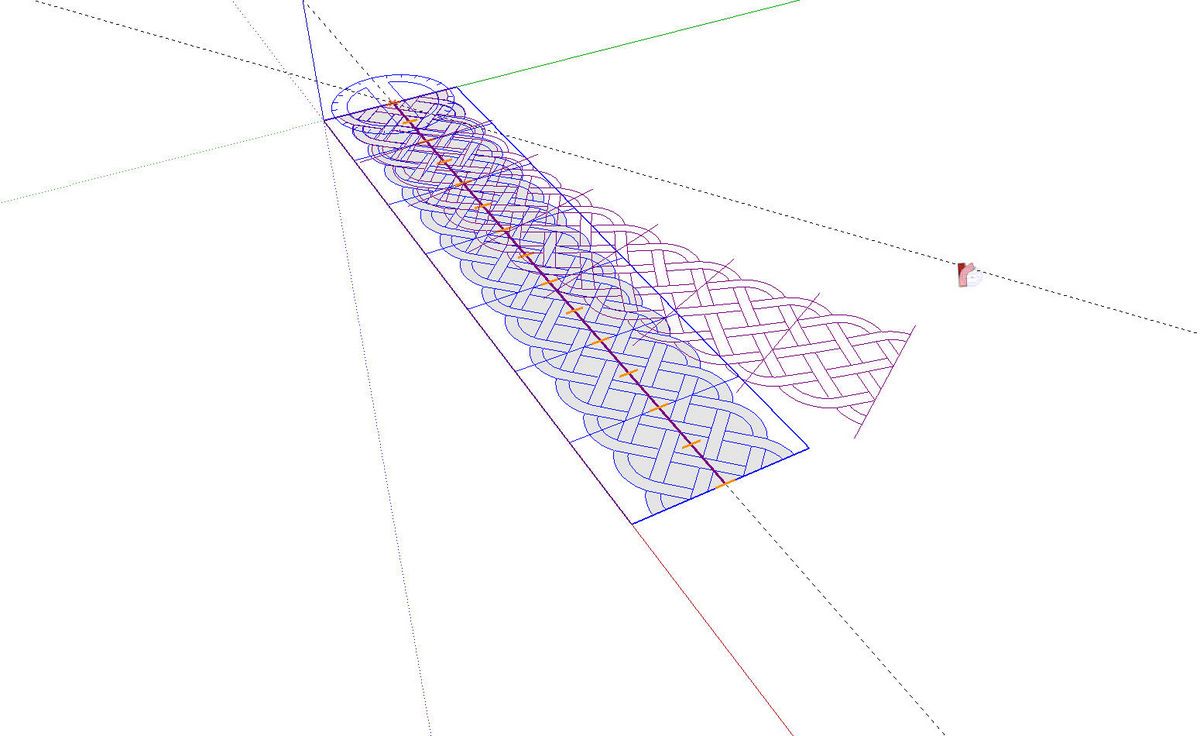
It’s a little hard to see in the screen shot but I placed a guideline down the center of the pattern as a guide for setting up the Radial Bend tool.
The number of copies was arbitrarily chosen. 7 segments seemed like a reasonable number for 90° of arc. You could certainly experiment with other numbers of copies depending on the pattern.

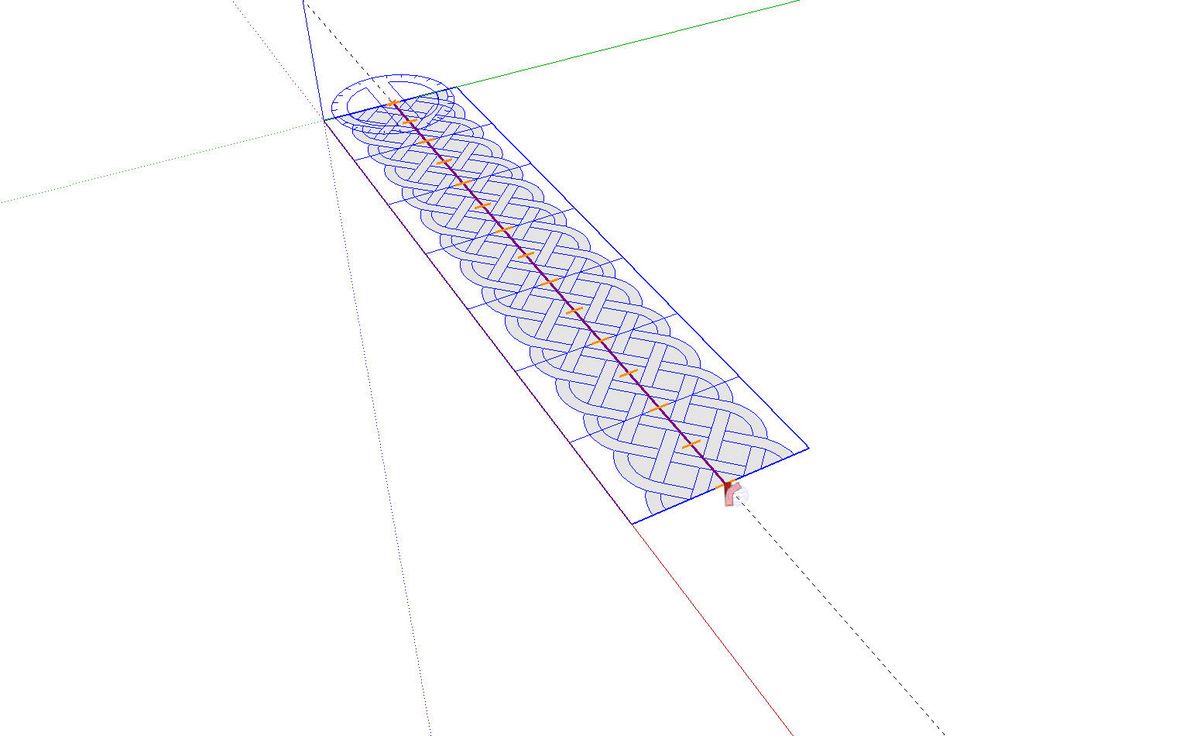
I selected the pattern component and then chose the Radial Bend tool ![]() and then hit the Tab key to open the settings box. the only setting that needs to be changed here is Number of Slices. I set that to 14. The higher this number the smoother the bend. I chose 14 just because I had 7 sections of the pattern and figured splitting them into two slices each made sense. Hit OK and you’re ready to start the bending process.
and then hit the Tab key to open the settings box. the only setting that needs to be changed here is Number of Slices. I set that to 14. The higher this number the smoother the bend. I chose 14 just because I had 7 sections of the pattern and figured splitting them into two slices each made sense. Hit OK and you’re ready to start the bending process.
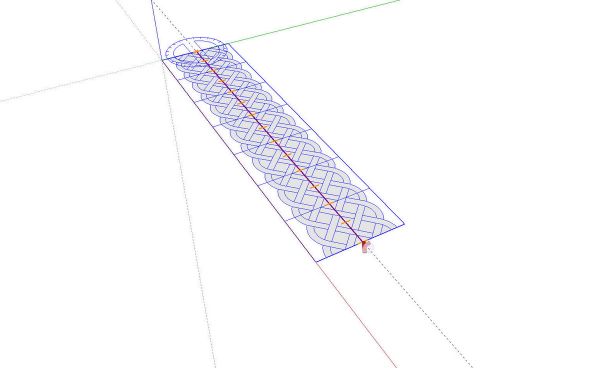
I set the start point of the bend on the center line at the left end of the pattern. Click and release the mouse there. Then I dragged the bend line out along that guideline until I got to the opposite end. If you look closely, you can see the red tick marks along the red line indicating where the slices are. Click at the right end and let go.
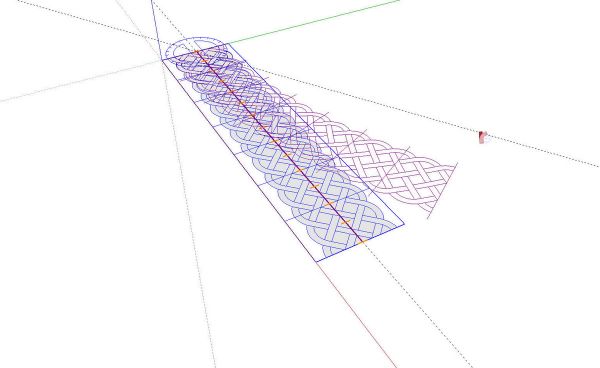
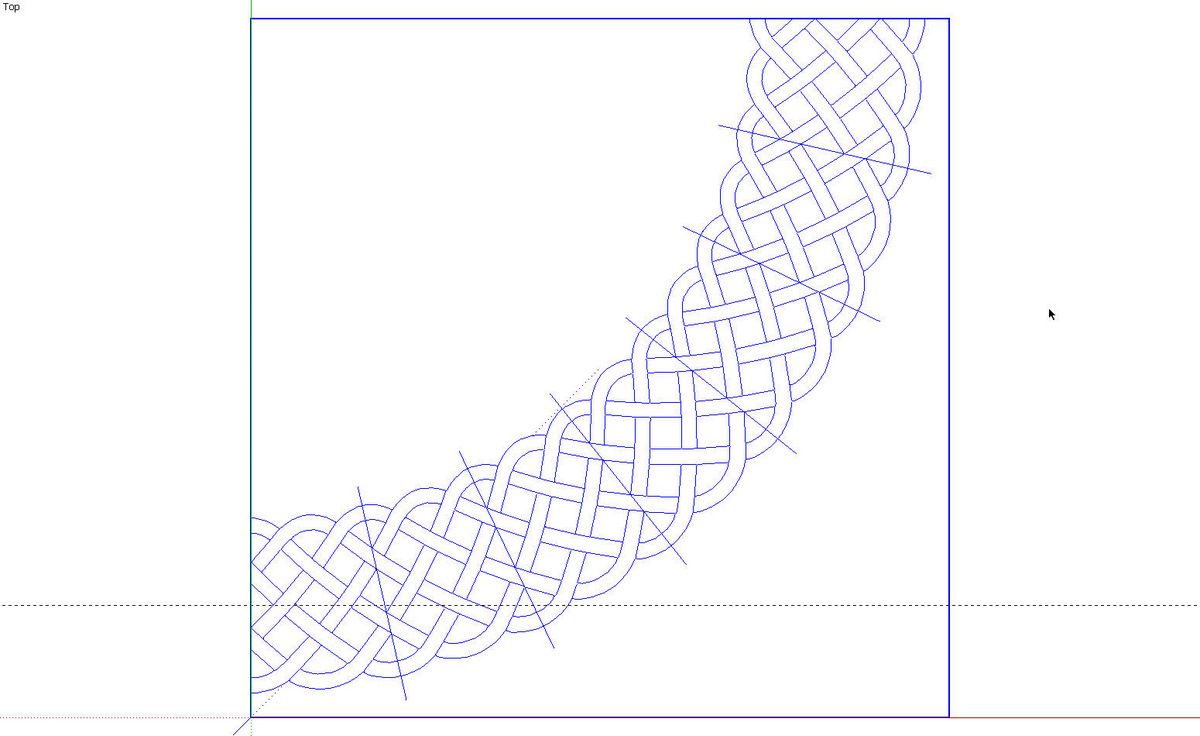
Then start dragging the cursor in the desired direction of the bend. The Measurements box will display the bend angle. Type 90 and hit Enter to get a 90° bend. Depending upon the number of entities you have to bend, it may take your computer a little time to process. There are progress indications shown at the bottom of the screen.
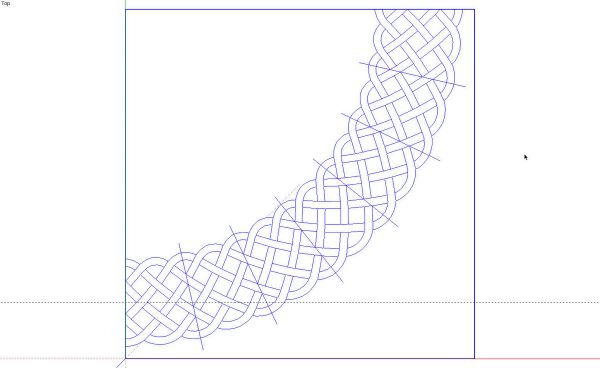
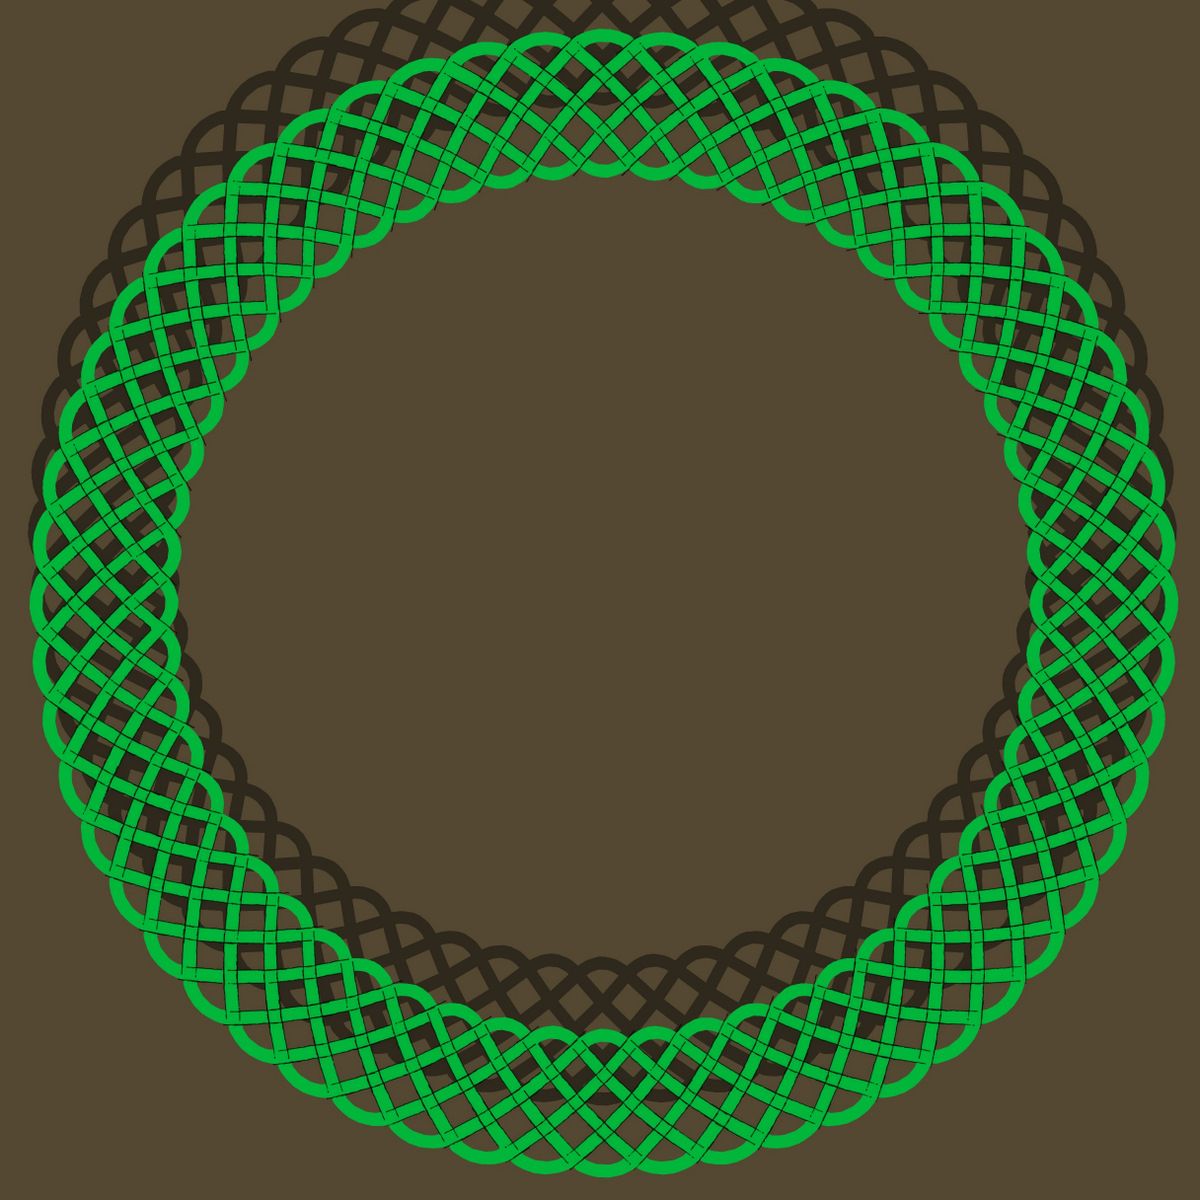
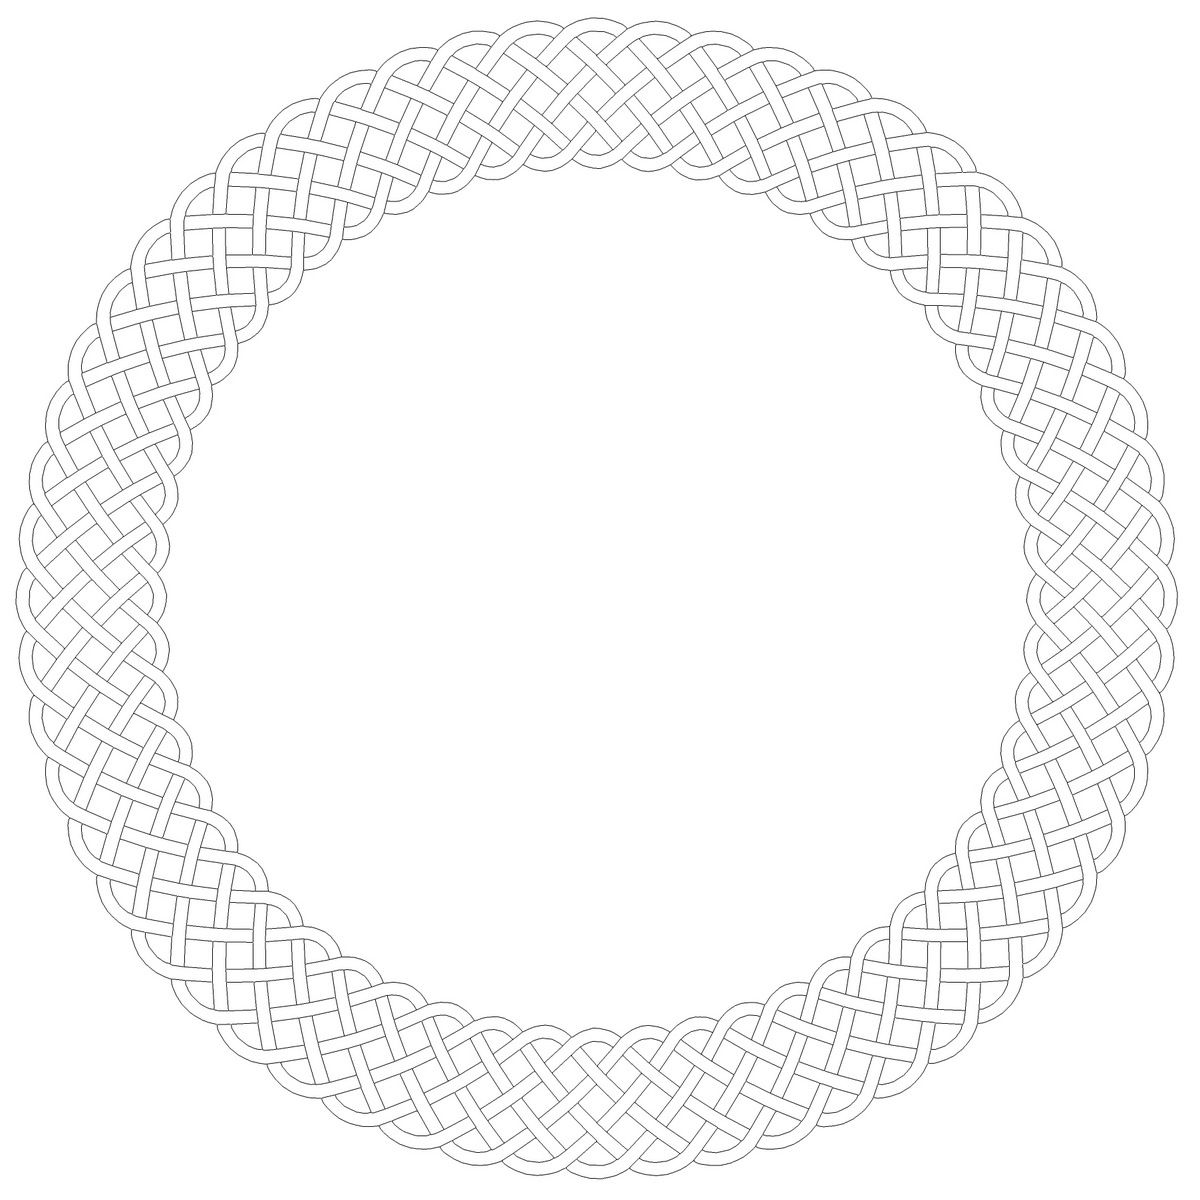
Now we have one quarter of a full circle of the pattern. We could stop at this stage and print the pattern. If you want to have a pattern for the entire rim of the bowl you can quickly complete the circle.
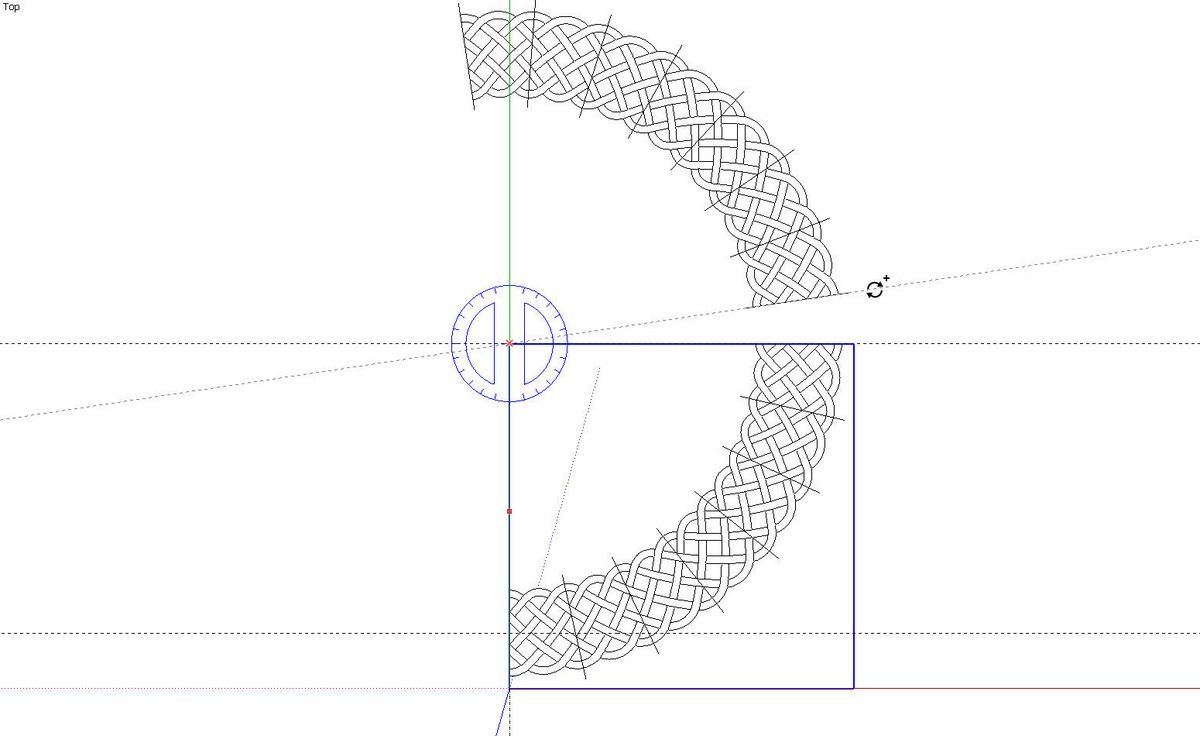
Set out a couple of crossing guidelines along the ends of the bend. They’ll intersect at the center of the circle.
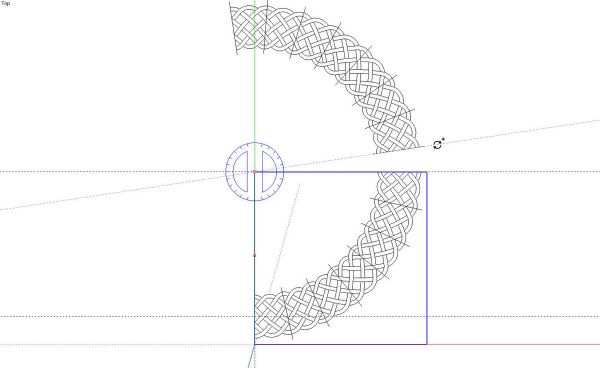
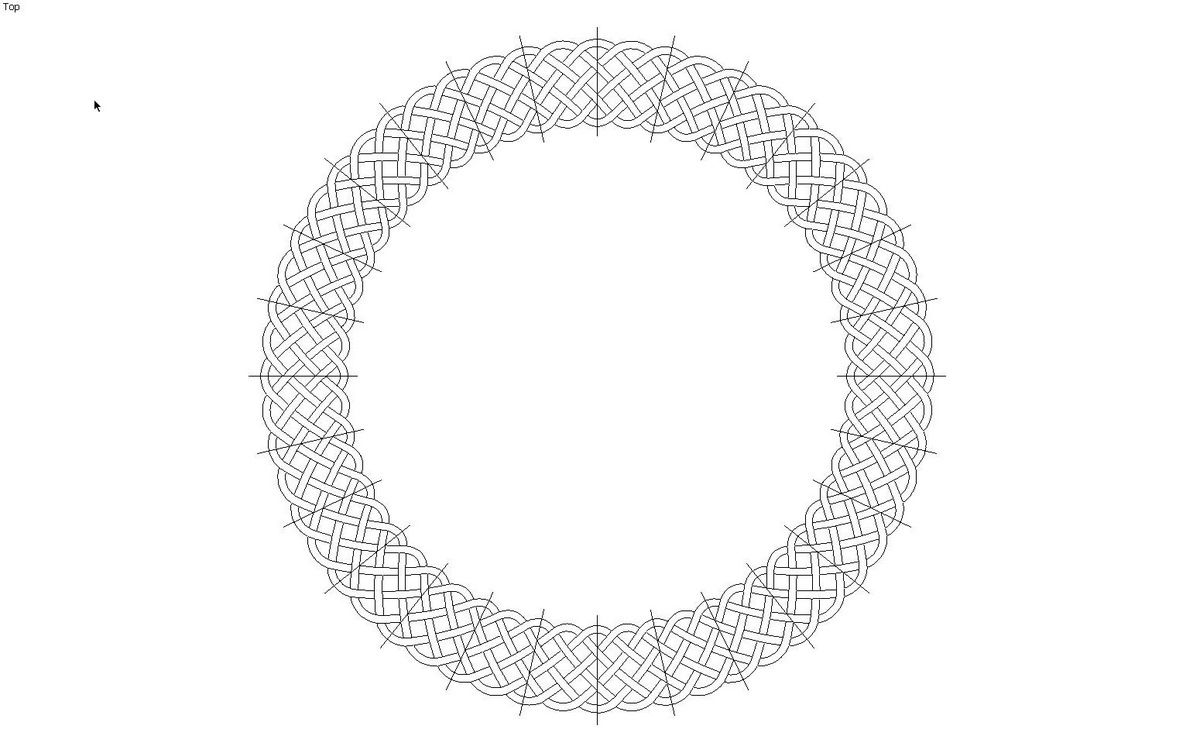
With the component selected, get the Rotate tool and invoke its copy function by hitting Ctrl (Option on Mac). Click on the intersection of the guidelines at the center of the circle. Click along one guide line and drag the cursor around the center. A copy of the component will be created. type 90, Enter and then *3, Enter to make three copies of the original to complete the circle.
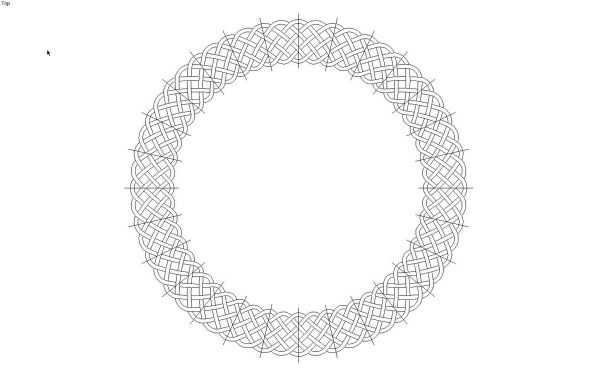
The now radial lines may be useful for laying out the pattern on the wood especially if you only use a part of the complete pattern.
At some stage you’ll probably want to scale the pattern to the proper size. You could do that at any of several points in the process. if you know the desired width of the pattern, you could resize on that dimension before or after bending the component. If you know the overall diameter, you can resize the pattern after completing the circle. In any case, get the yellow Tape Measure tool and measure the known dimension making sure to click at each end of the measurement. The Measurements box will display the current dimension. Type the desired dimension and hit enter. You’ll be asked if you want to resize the entire model. Click on Yes and then use Zoom Extents to zoom in on the model as needed.
For display purposes here, I deleted those radial lines
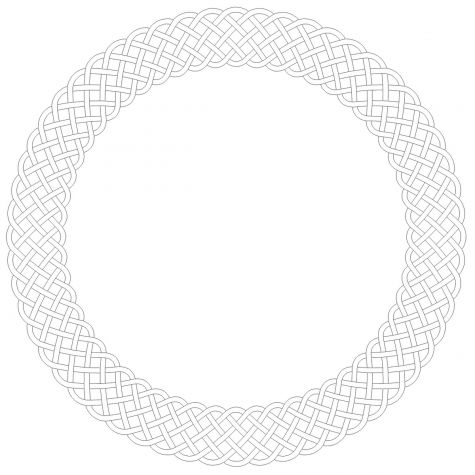
As far as printing goes, it will depend on the size of the pattern. You can print the pattern directly from SketchUp if you want or you could send the file to LayOut if you have it and print to scale from there. Or you can export the image and use your favorite image editor or even a word processor program. No matter which way you choose to get the image out set the camera to Parallel Projection and choose the standard view that allows you a straight on view. In my example I drew the pattern on the ground plane so I used the Top view.
Give it a try. You might find another use for SketchUp.




Comments
..."yellow Tape Measure tool and measure the known dimension making sure to click at each end of the measurement. The Measurements box will display the current dimension. Type the desired dimension and hit enter. You'll be asked if you want to resize the entire model. Click on Yes and then use Zoom Extents to zoom in on the model as needed."....
If only I had known that one sooner!! Thanks for the tip.
Yes. That is a very useful thing in SketchUp. You can quickly scale a model or, if it is open for editing, a component/group to so the measured distance is a known size. It is also handy when you import an image to trace over it. You can bring in the image and then draw a line over a line of know length in the image. Maesure that line and type the correct dimension to quickly scale the imported image to size.
Dave
Log in or create an account to post a comment.
Sign up Log in