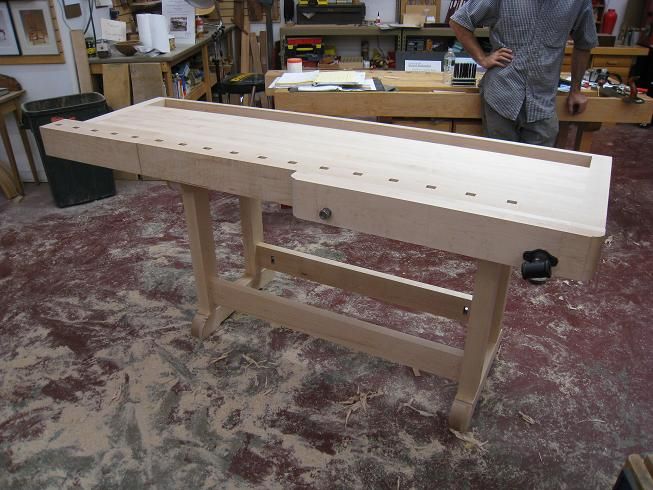
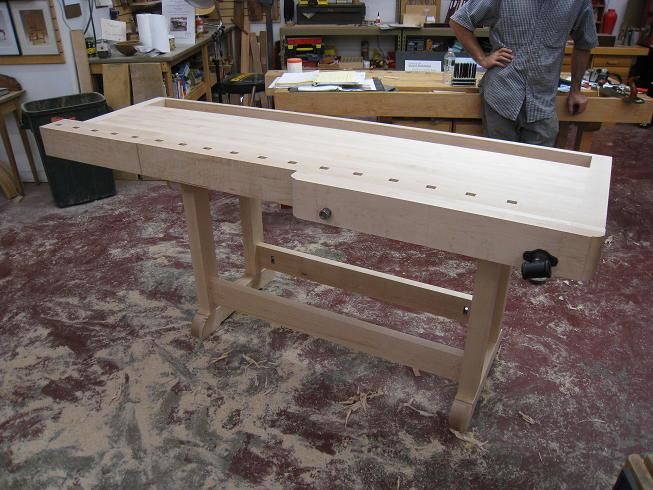
The finished workbench! This is the left handed one with 24 inches between the twin screws on the front vise.
Bill Peck is blogging his way through building a workbench at the Connecticut Valley School of Woodworking.
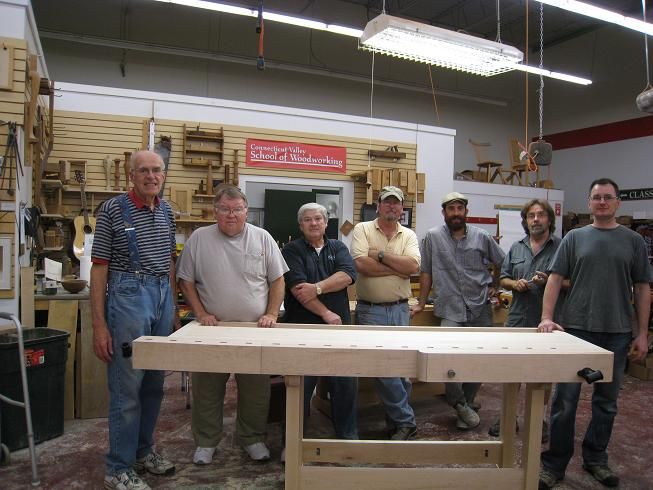
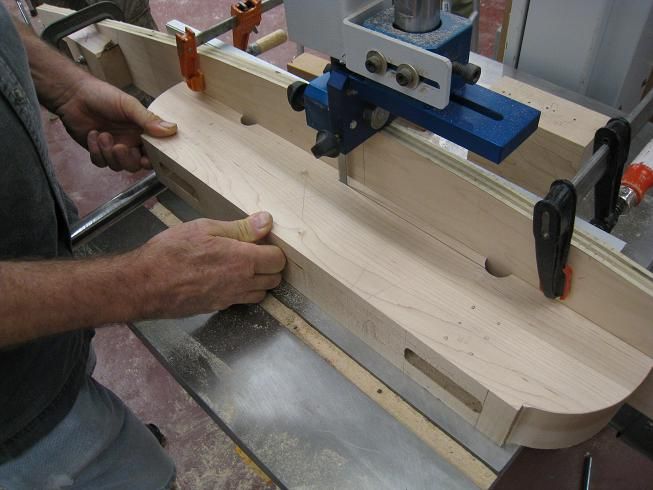
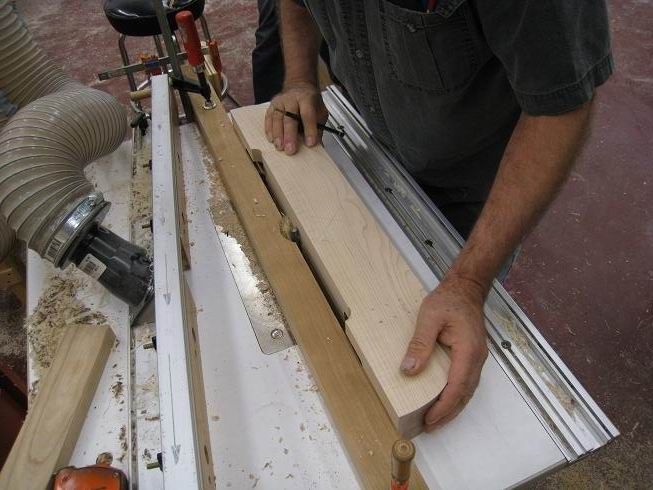
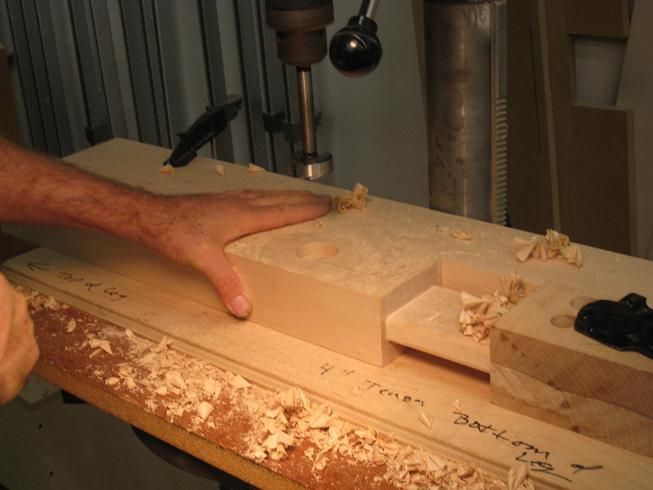
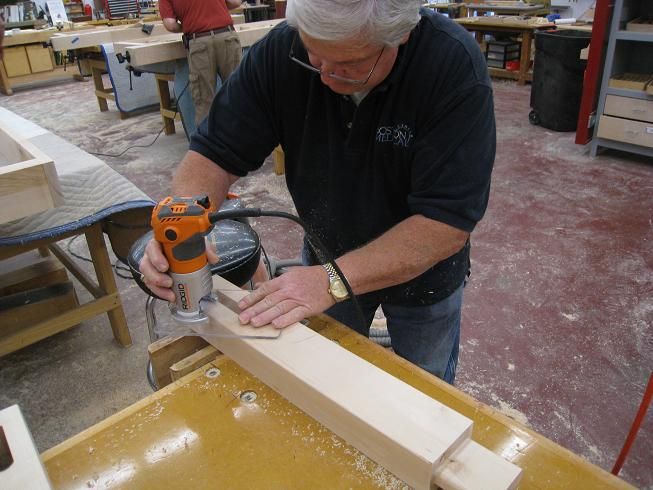
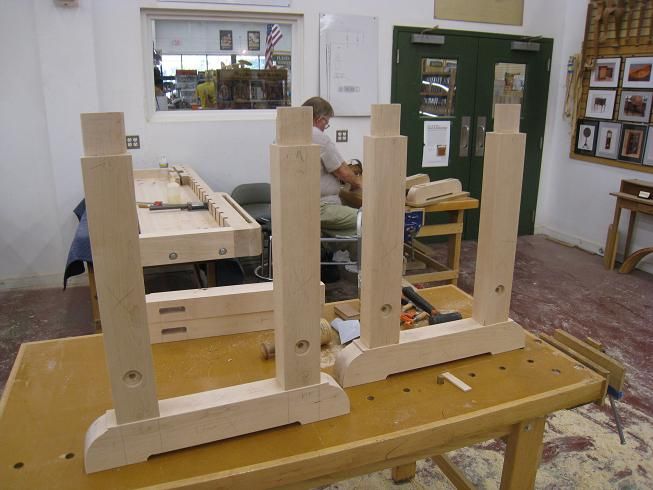
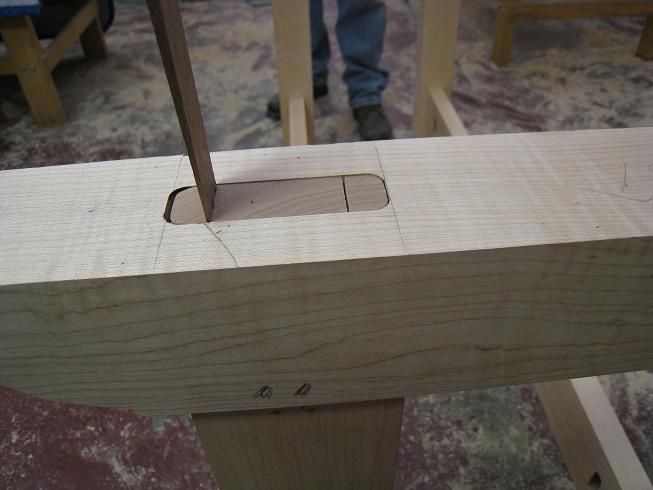
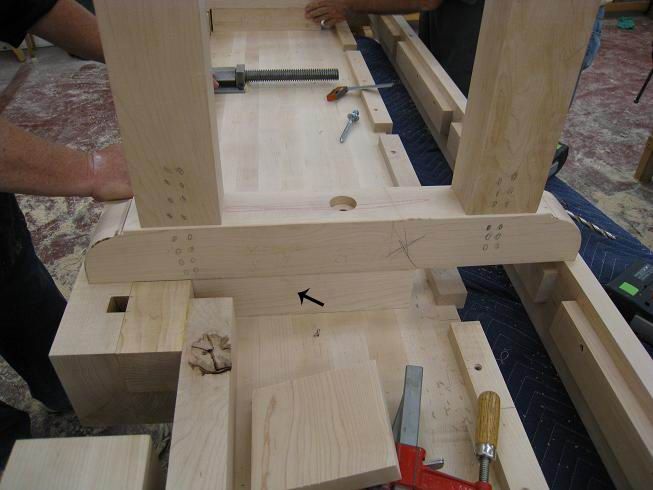
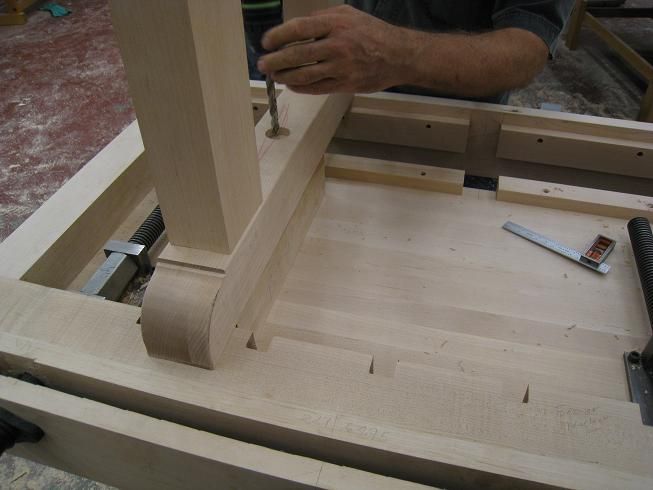
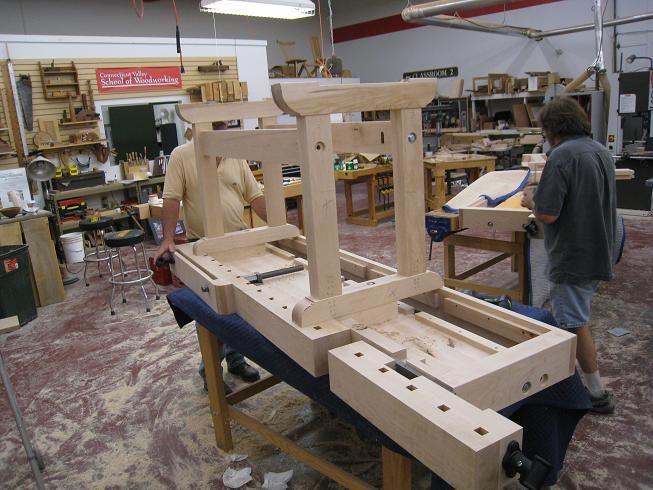
On the last day we made the wedged tenons, glued up the base and assembled it to the workbench. We took our workbenches home with us to be put to good use in our workshops. I am looking forward to using it for many years to come.
Applying a finish coat was left as an exercise for the student after we get it home. Bob recommended at least 3 to 4 coats of Waterlox Original Sealer/Finish. Lie Nielsen uses a 50/50 mixture of turpentine and boiled linseed oil which tends to amber more. What is your favorite workbench finish?
Our workbenches tops have been sanded to 80 grit while the other surfaces are planed and much smoother. I know there is debate about the right degree of smoothness for the workbench top- smoother or leave it as is for a better grip. What do you recommend?
I will provide a wrap-up and some observations of the whole workbench class in a day or two, so come back then. In the meantime I look forward to your comments.



Comments
Just wanted to clarify a few things- The bench top was sanded to 80 grit thru the Timesaver- it still needs to be planed/ scraped and /or sanded smoother- I would clean off the bench very well with a brush and then use a smoothing plane to bring the top to final surface.
Roundover of parts is up to you. We actually used a 1/16" and a 1/8" roundover bit- not 1/4" which would be way too much.
It was a fun class- lots of work but lots of reward. I am planning on doing the class agian next summer- keep an eye out at http://www.schoolofwoodworking.com for the complete schedule of summer classes - should be posted by the beginning of December
Bob Van Dyke
Dots! Lots of BVDots!
I cannot comprehend getting so much work done in such a short period of time - let alone setting up the camera work.
Where do you put the vase and Chinese takeout menus?
I know... sounds like an intense challenge eh? After a full day of work, Bill came hope to type up all his blog posts. He even blogged one night after a birthday dinner! Now that's dedication (and stamina!). I'm just glad no muscles were pulled/backs thrown out hauling around all that lumber! -gina, FW
This class was very complete. It was more than a 9 AM to 5PM class and every piece is heavy. The final results were great and the two teachers were great and very helpful. They worked harder than we did setting up machines and helping all six of us keep up with the schedule to complete the benches on time. The Hardware (vices by Lie-Nelson) were of the highest quality that I have ever seen. I for one had a great time and all 8 of us helped each other. I will enjoy using my Bench for many years. Thank you both Bob & Tim for all your help.
Log in or create an account to post a comment.
Sign up Log in