
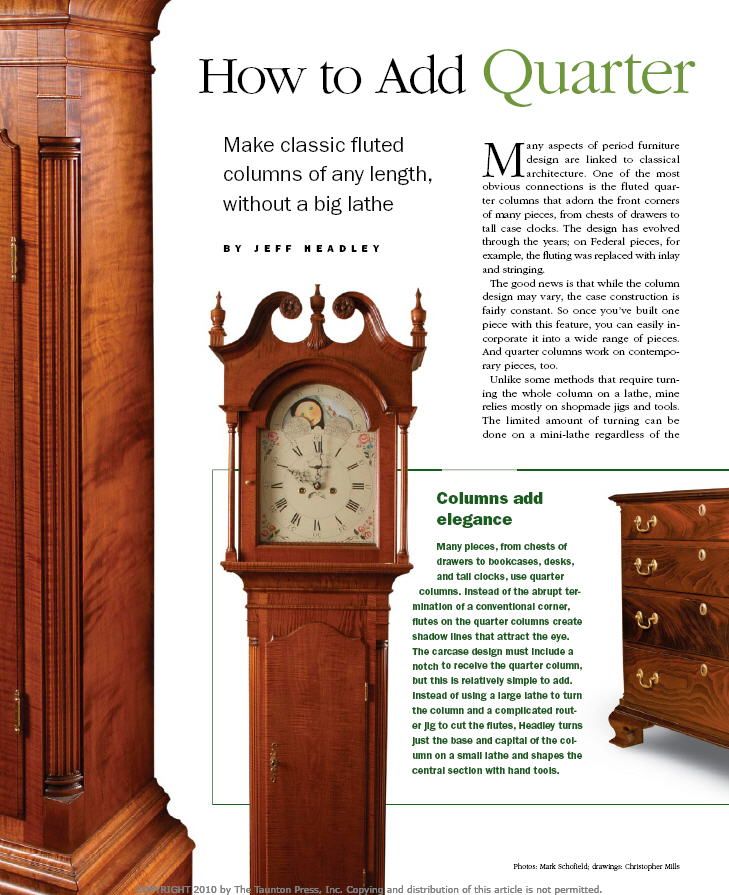
I was working on a SketchUp project recently that required some small fluted quarter columns. Conveniently, the March/April 2010 issue of Fine Woodworking has a great article by Jeff Headley on how to make columns like this in real wood. The method he used is very much like the method I would use to draw complex components in SketchUp. That is, I break the component into smaller portions and then assemble them. Here’s how I approached drawing the column.
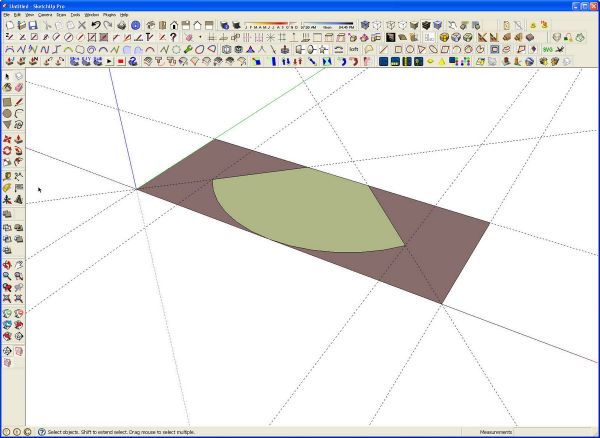
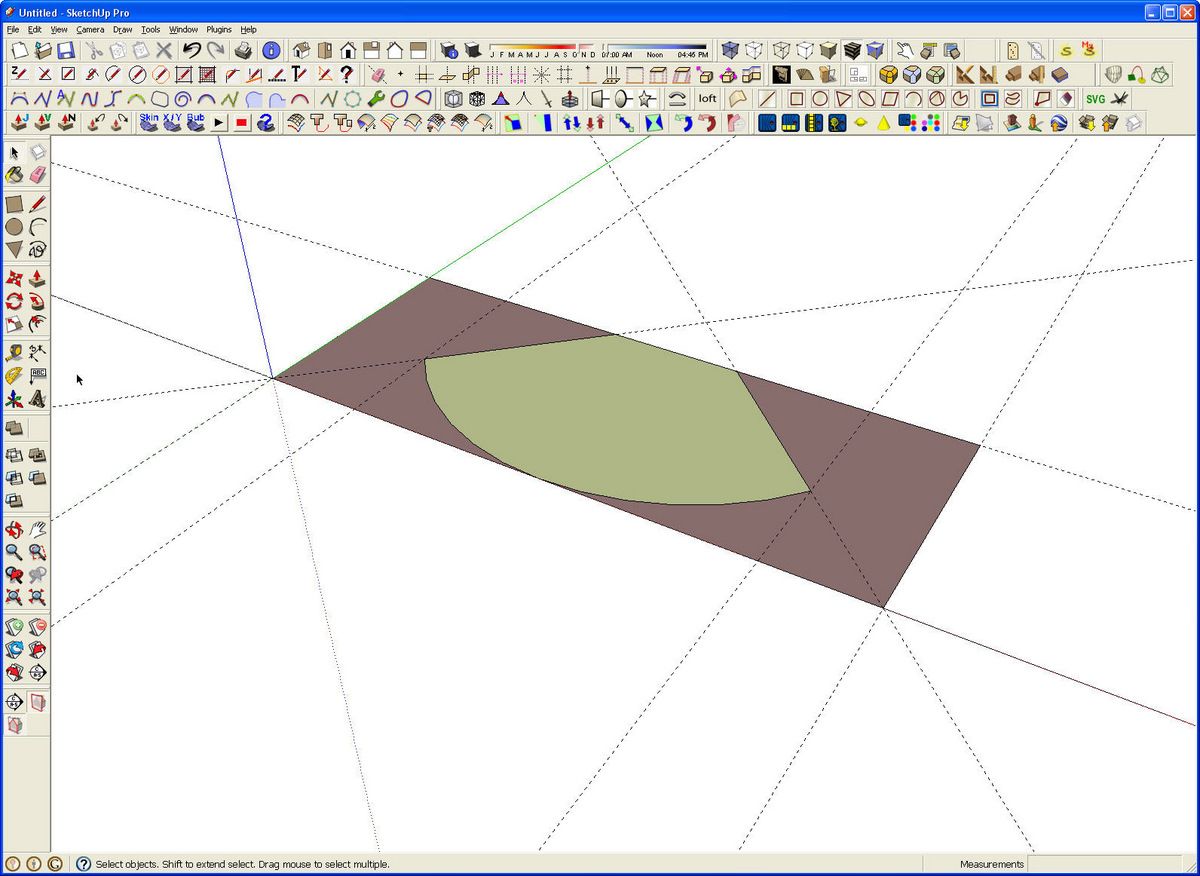
I started by doing some layout with the Tape Measure tool and then drew in the profile shown in green. Since I worked from Mr. Headley’s instructions as the basis of my column, I used a similar process for laying out the profile. The brown rectangle shows the overall dimensions of the blank although drawing it isn’t necessary.
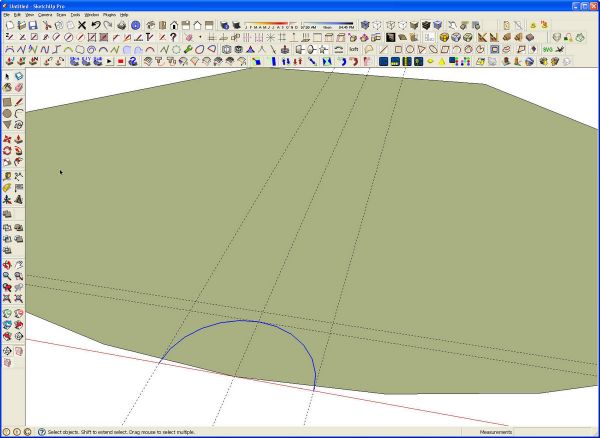
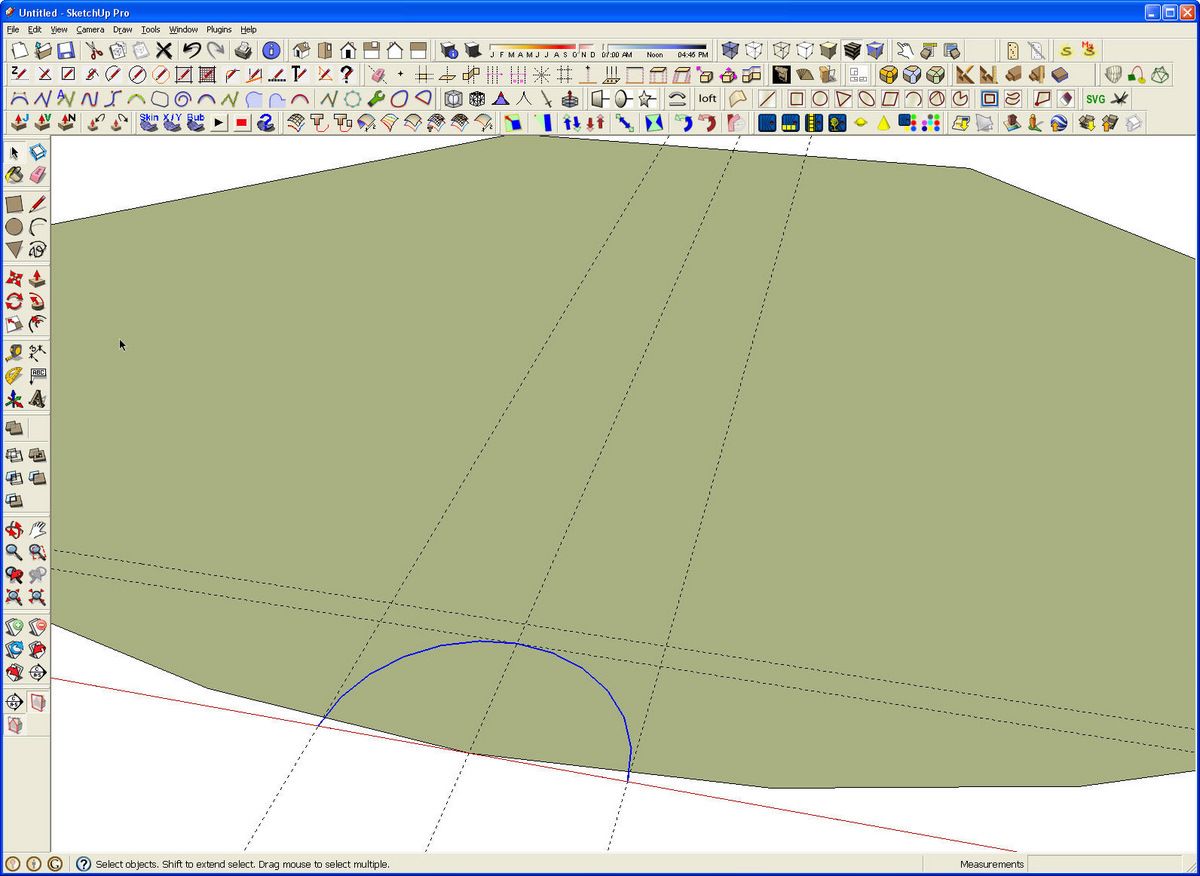
I deleted the guides and made a temporary component of the profile. A group would also work here but I don’t have a keyboard shortcut for making a group so I made a component. Then I laid out for a flute on the apex of the arc.
The flute needs to be slightly deeper than half its width. If I just drew the arc to that depth, the sides would be undercut a little bit so I made a half-circle are as shown above.
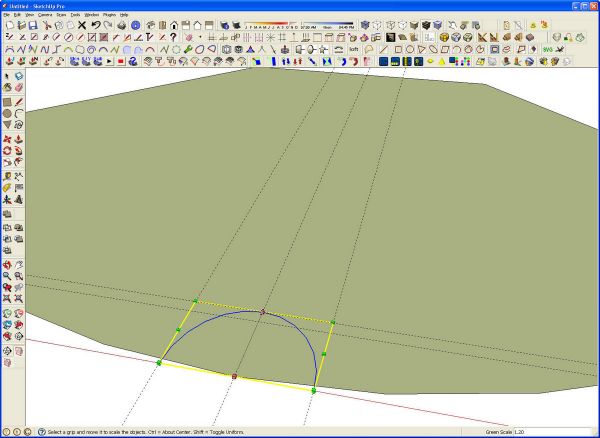
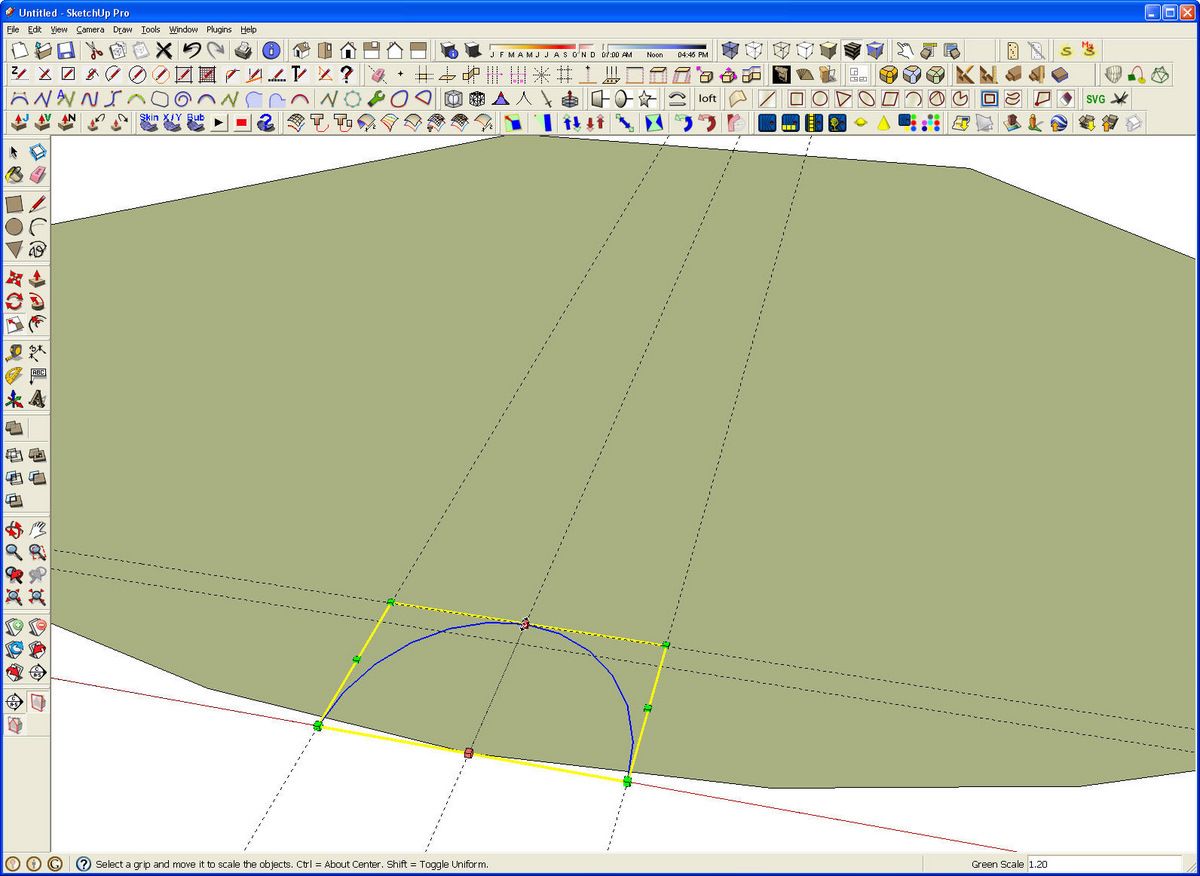
Then I scaled the arc to make it deeper. I made a component of this arc. The reason for making these components (or groups) is to prevent inadvertent intersections. They’ll all get exploded shortly.
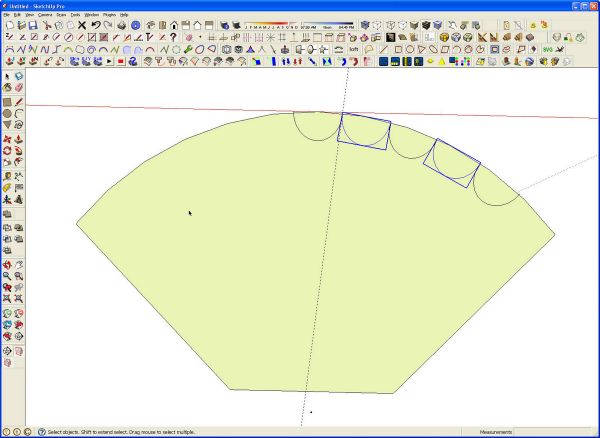
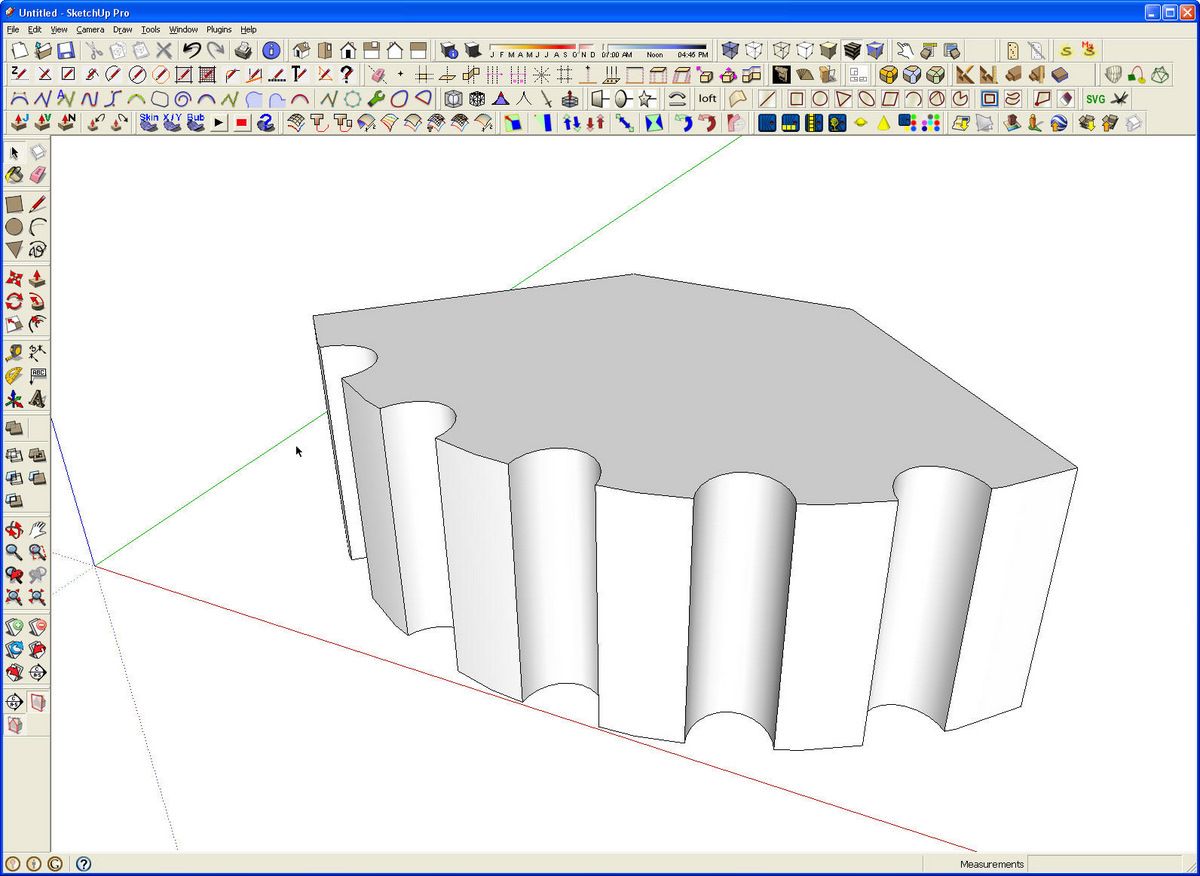
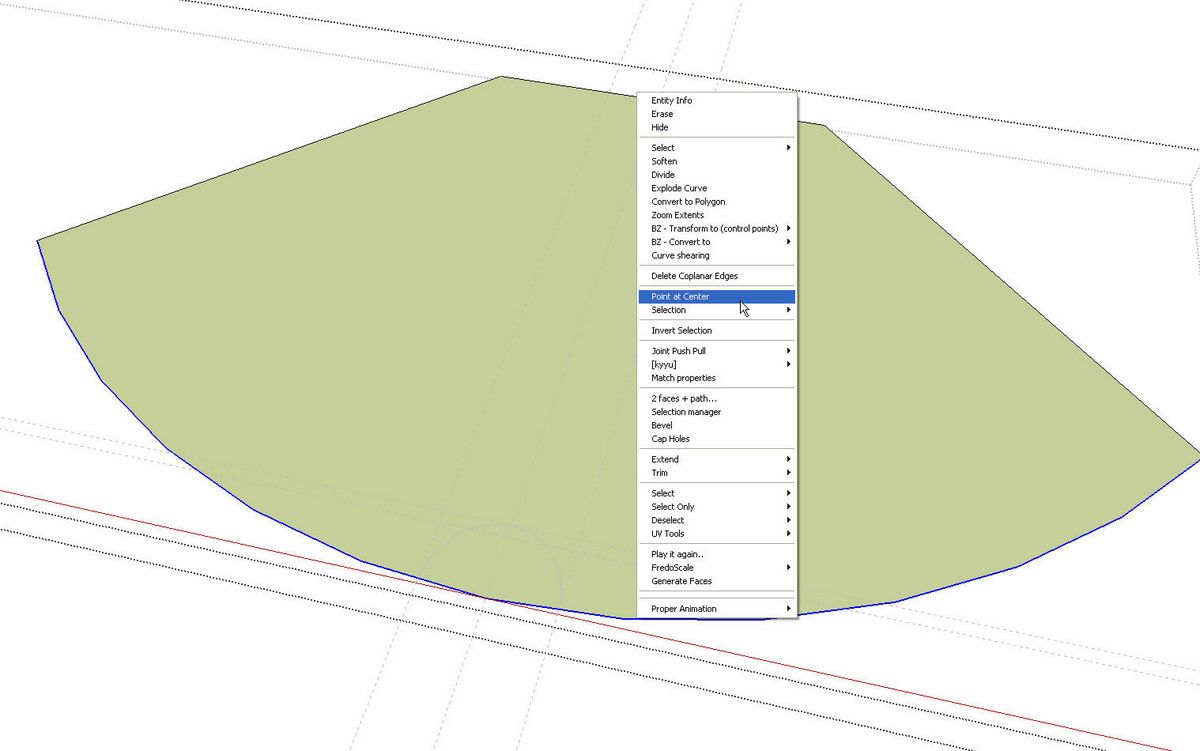
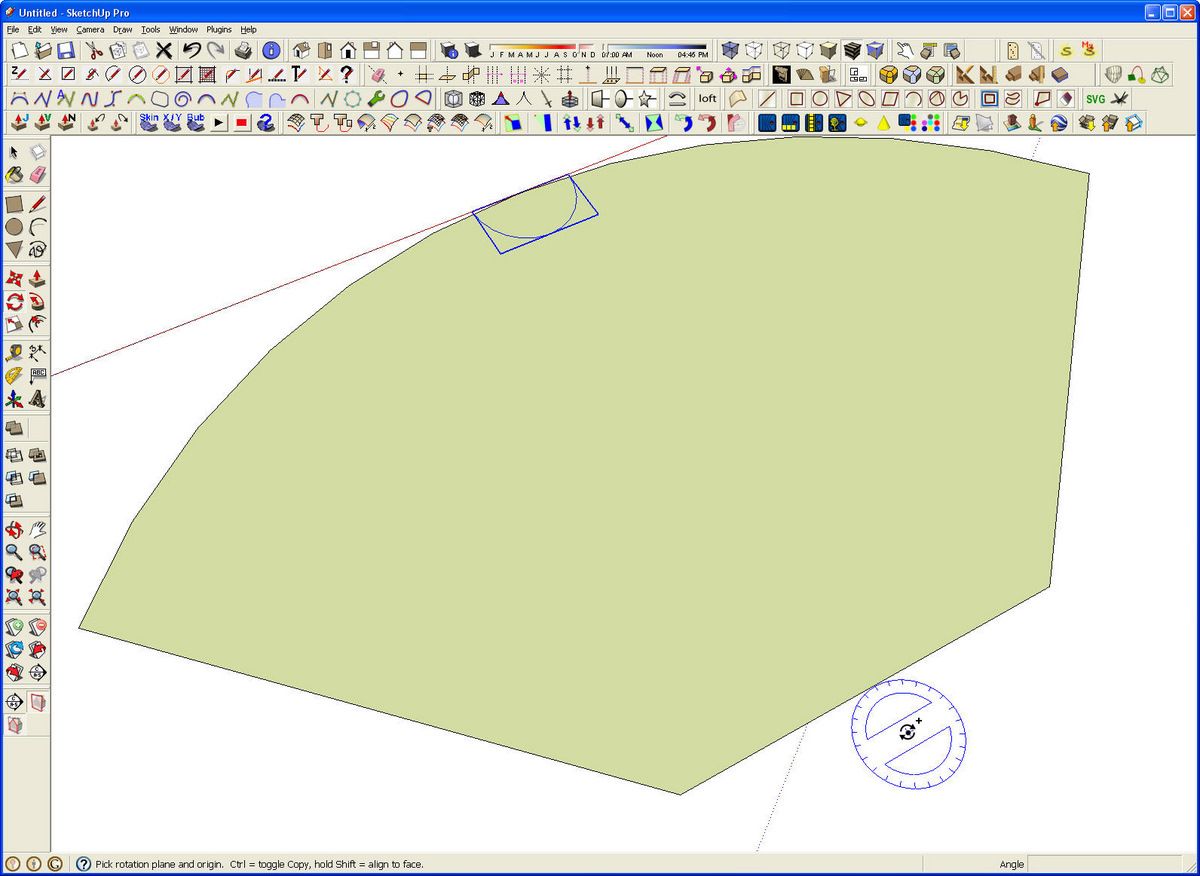
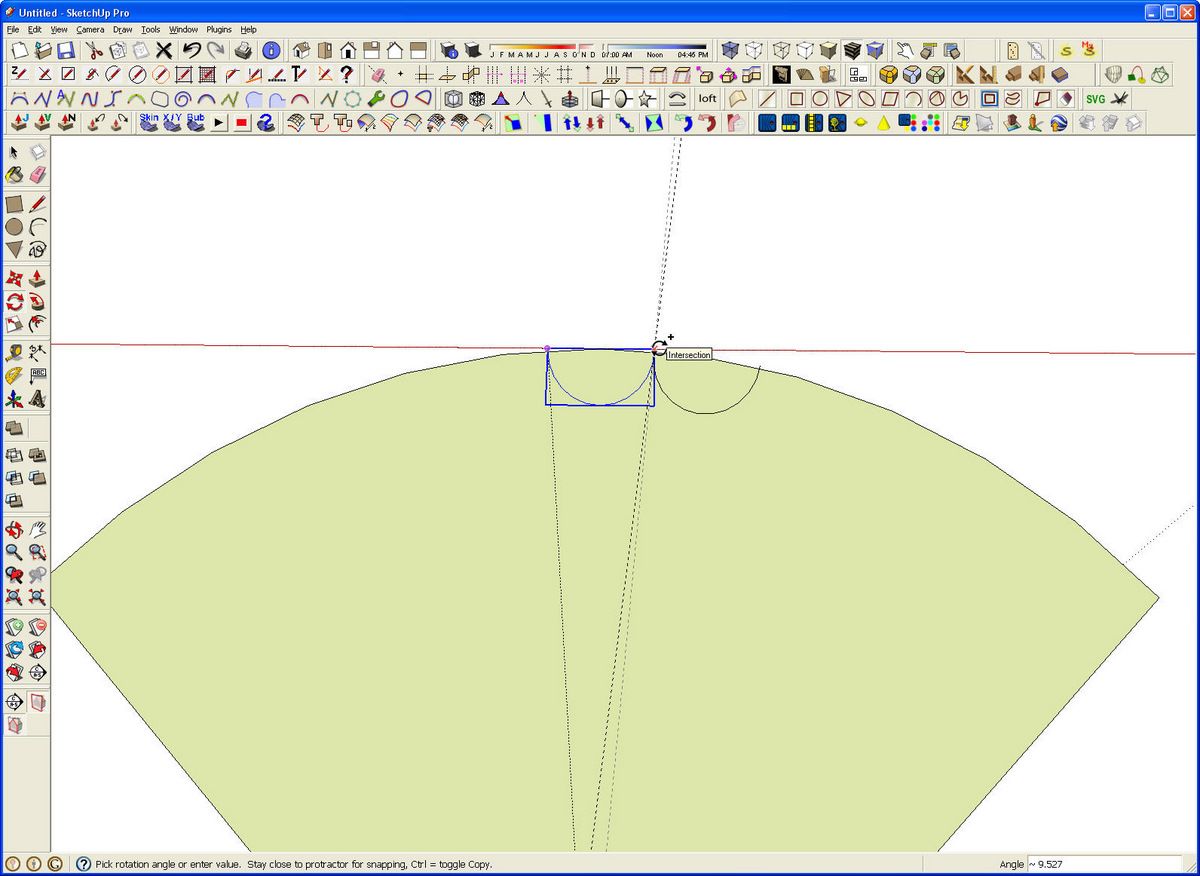
Next I made a radial array of this flute component. the article shows the space between flutes as the same width as the flutes so I Rotate/Copied the arc as shown above. then I deleted the selected arcs. I could have calculated the angle or measured it but it was quicker to just do it the way I did.
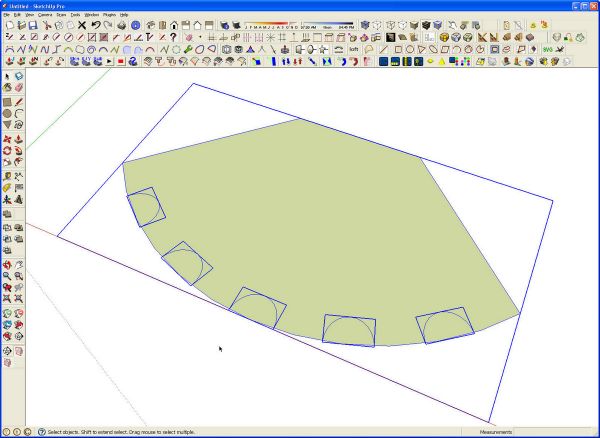
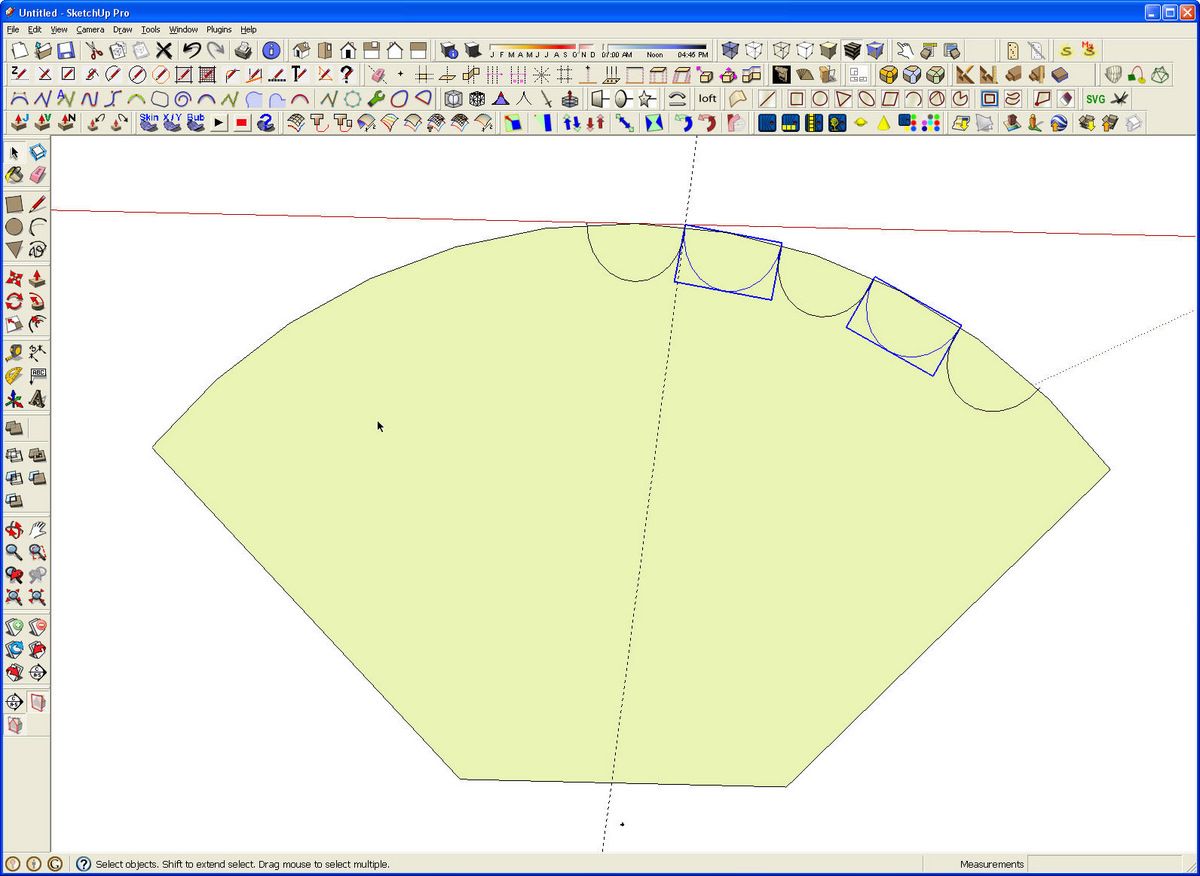
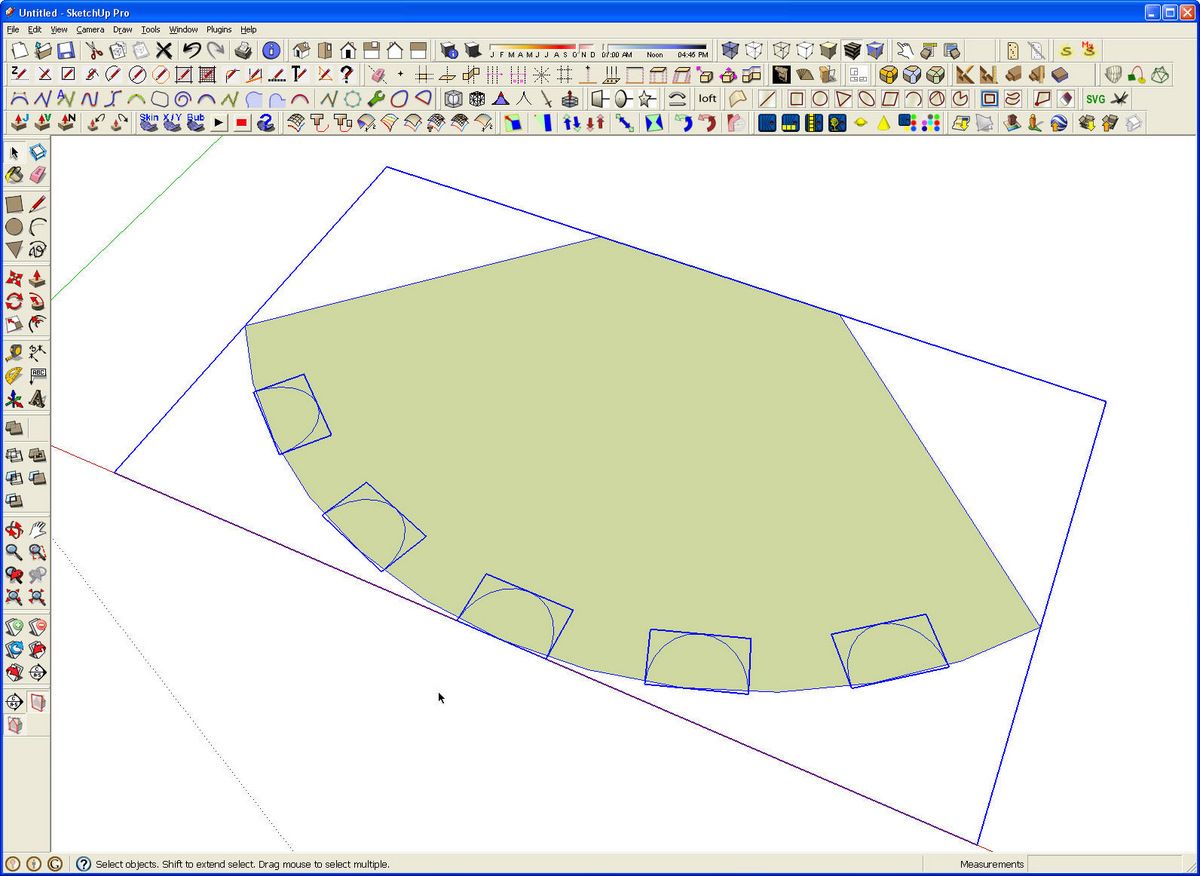
I repeated the process for the flutes on the other side of the apex. Then I selected all of the components and exploded them.
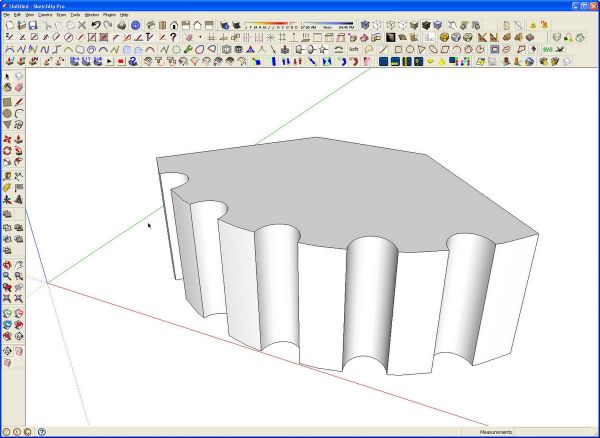
The unwanted line segments were deleted and then Push/Pull used to make it 3D. I made this section a component and moved on to the base and capital.
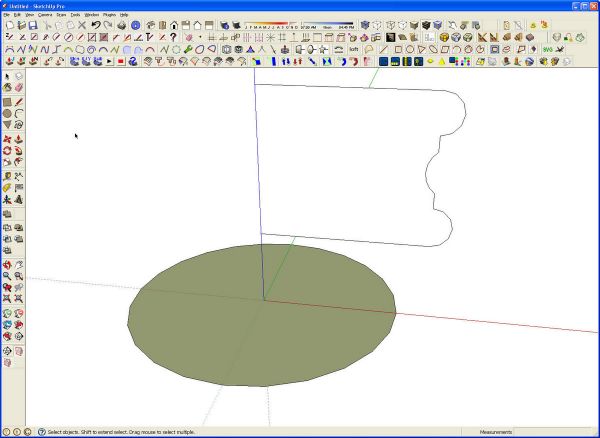
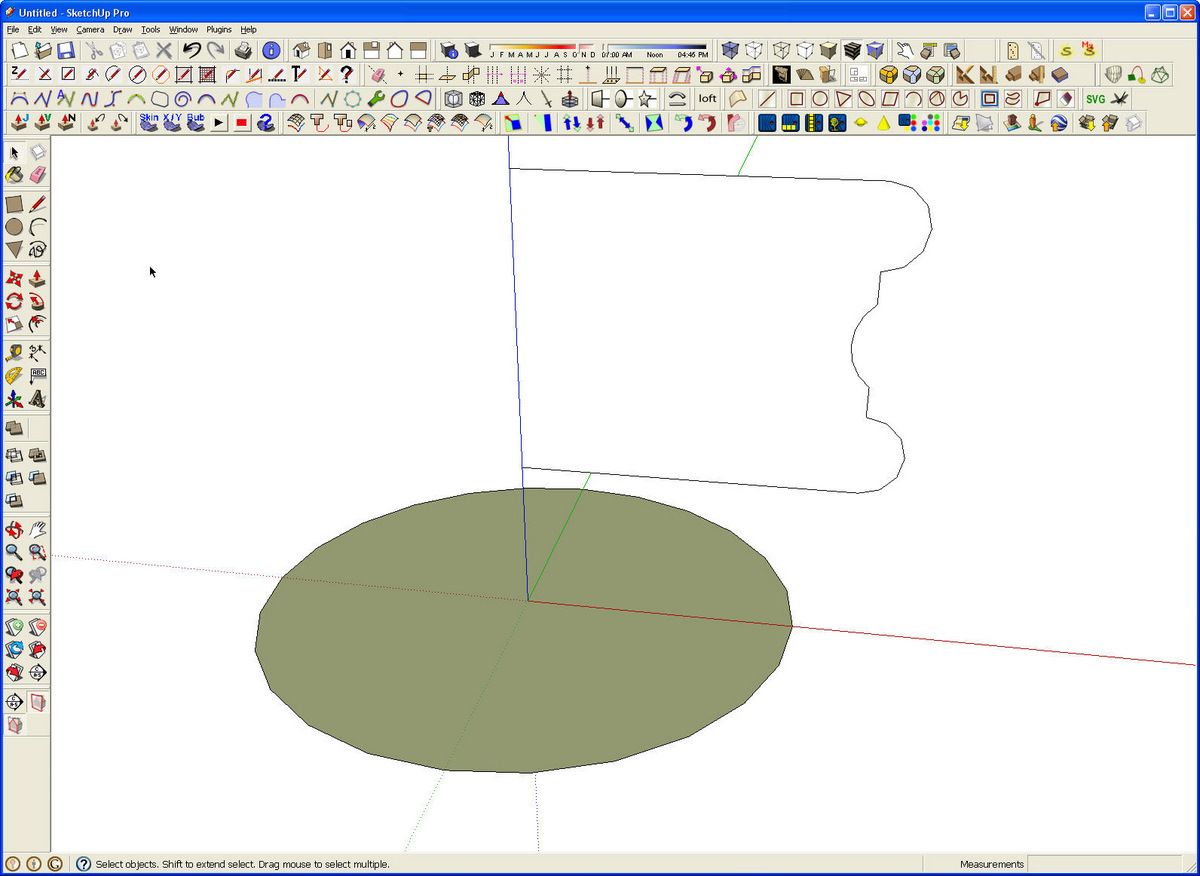
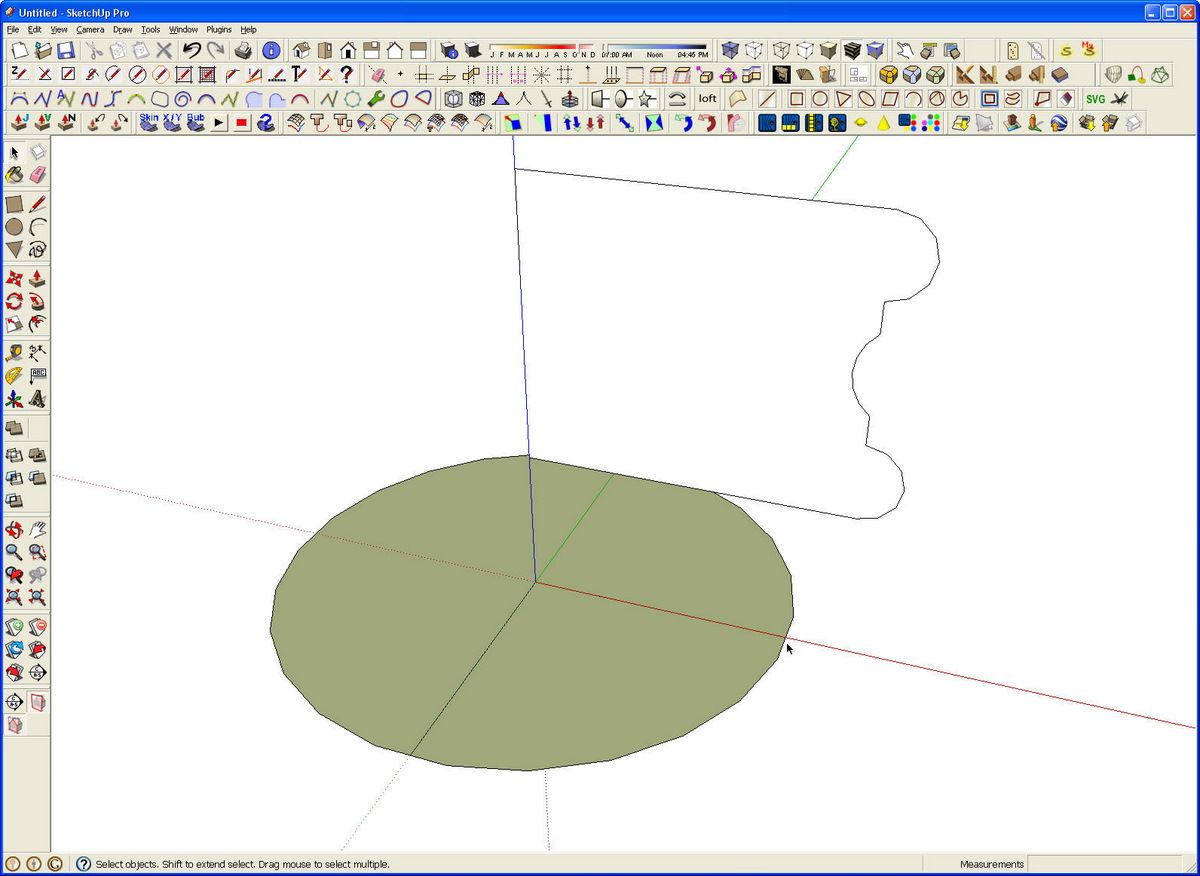
I drew the profile for the turned portion of the base and, centered below it, a circle. The radius of the circle is not important. It’ll be used only as the path for Follow Me.
I’ll only use a quarter of the circle for the path. It might seem like drawing an arc would be easier but it would actually create problems that would take longer to fix than using a circle. Follow Me wants the profile to be perpendicular to the first segment in the path. If it isn’t, the tool will rotate the profile so it is. The start and end faces of the swept profile won’t be perpendicular to each other, either.
I drew the circle with the radius on axis and then rotated it 7.5° which is half the angle between vertices.
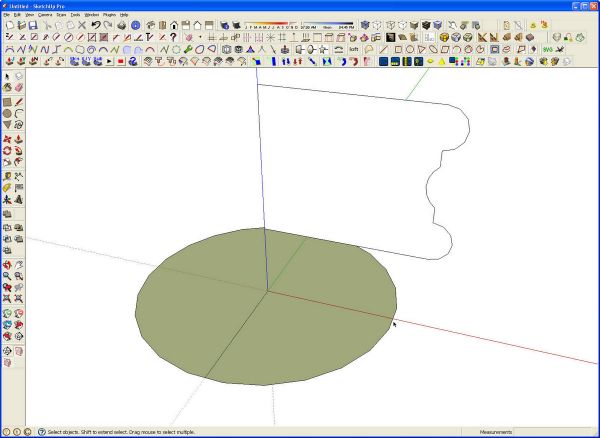
You can see that there is a line on the red axis instead of a vertex. Then I drew some lines along the red and green axes to cut the circle. I deleted all but the quarter circle sector.
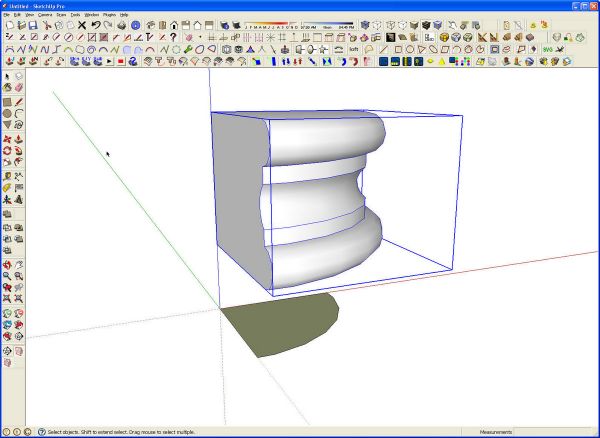
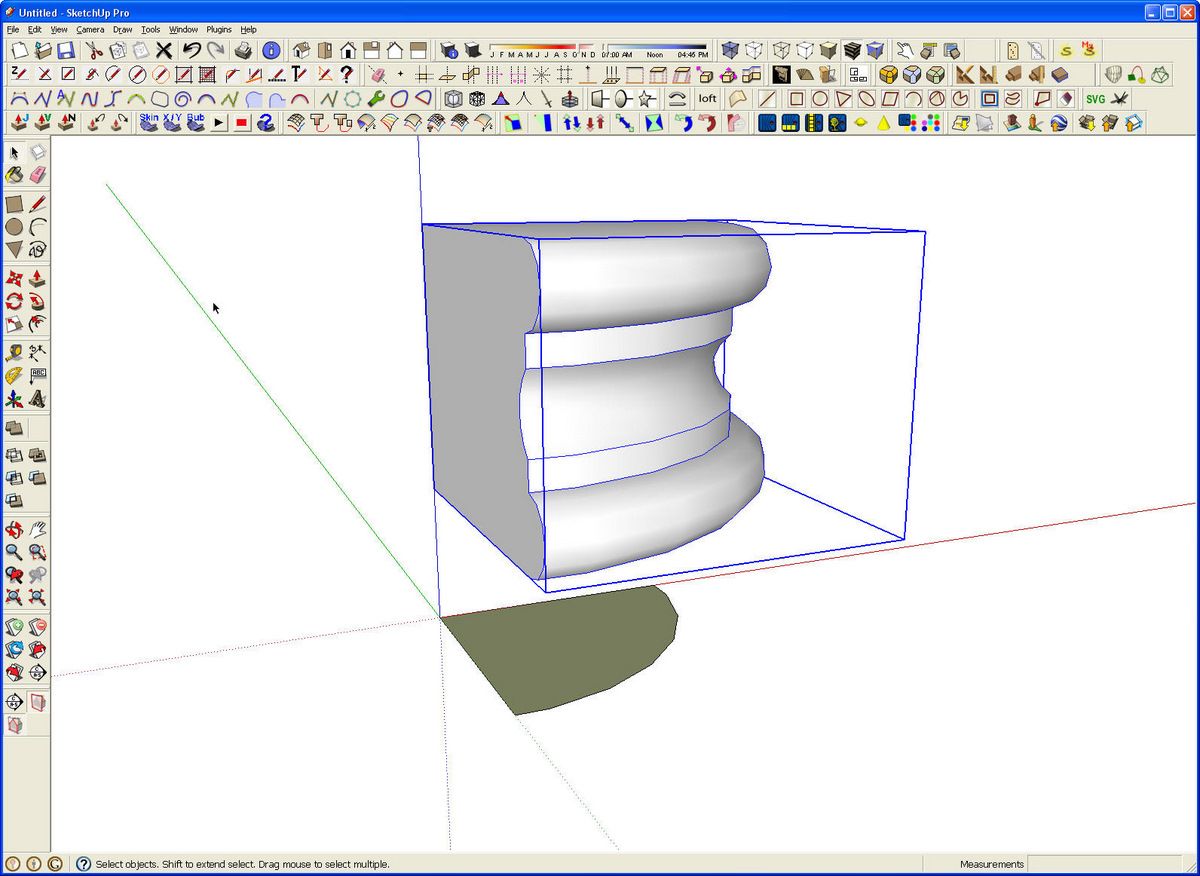
After selecting the arc, I ran Follow Me on the profile. I corrected the face orientation as needed and made the turned portion into a component.

The same process was used for the capital using the same arc for the path. The square portions of the base and capital were added to those components and the entire column made into a component.
The length of the column can be changed by moving the capital up or down as needed. The fluted portion of the column can be edited with Push/Pull to correct its length.




Comments
David,
AT LAST!
My foggy old brain gets it!
FollowMe wants a perpendicular line.
That's why you rotate you circular paths half a segment.
I got it!
At last!
db
Hi Don,
You are absolutely correct that Follow Me wants the first segment of the path to be perpendicular to the profile. If it isn't the profile actually gets changed. Another reason I do this for turnings is one I've mentioned in the past although didn't this time. If I want to use the capital or base components for fully turned pieces in the future, I can copy/rotate them and successfully hide the seam lines between them. That won't be possible if you use a path drawn with the Arc tool or break the circle at the vertices. You can hide the edge lines but the surfaces won't look smooth.
Dave
Log in or create an account to post a comment.
Sign up Log in