Limbert-Style Round Coffee Table
Learn to cut perfect ellipses and tight bridle joints.
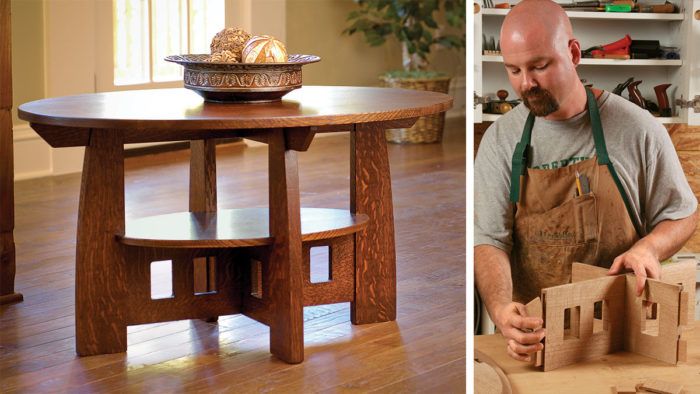
Synopsis: An elliptical top, arched legs, and decorative piercings add grace and beauty to this Craftsman-style table modeled after a library table by Charles Limbert. This scaled-down version preserves the original’s overall proportions, as well as elliptical top and shelf, gently curved legs, and decorative piercings in the stretchers. Bridle joints hold the legs and aprons together, and a notched bridle joint is used where the stretchers intersect. The legs and shelf are notched where they meet, and slip tenons join the stretchers to the legs.
There are many well-known designers of Arts and Crafts furniture, like the Stickleys and the Greenes. But a lesser-known designer, Charles Limbert, has always held a special appeal for me. I’m especially fond of his oval library table. That’s why I jumped at the chance to design and make a scaled-down version, to be used as a coffee table.
I’ve preserved the elliptical top and shelf, the gently curved legs, the decorative piercings in the stretchers, and Limbert’s choice of wood—quartersawn white oak. I kept the overall proportions as well, so the parts come together just as harmoniously as they do in the original table.
A variety of joints are used. Bridle joints hold the legs and aprons together, and a half-lap joint is used where the stretchers and aprons intersect. The legs and shelf are notched where they meet, and slip tenons join the stretchers to the legs. Some of those joints can be tricky, but I’ll show you some techniques to help you get flawless results. I’ll also show you how to draw an accurate ellipse to take the mystery out of the top and shelf.
Pattern-rout the top and shelf
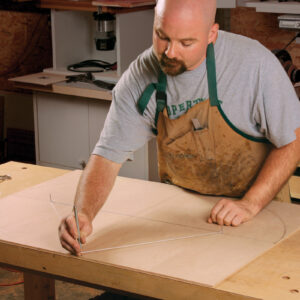
Begin by gluing up panels for the top and shelf and milling all of the parts. Then make full-size patterns for them. You’ll need to draw two ellipses, which is easy to do with string, a pencil, and two small nails. To begin, draw the ellipse’s axes on a piece of plywood 1 in. longer and wider than the ellipse and mark its length and width. Next, locate the foci, drive a nail into both foci, and tie a loop of string around them. When you stretch out the loop, it should just reach the side of the ellipse (see drawing, above left). Put a pencil inside the loop and draw, keeping the string taut.
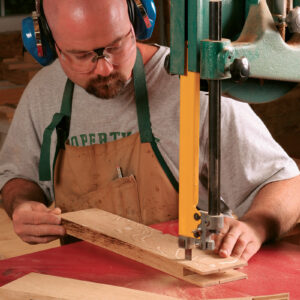
With both ellipses drawn, cut them out at the bandsaw. Use 100-grit (CAMI) sandpaper, glued to a thin strip of wood, to remove the saw marks and fair the curves. Then trace the patterns on the panels for the top and shelf. Before cutting out the top and shelf, cut the notches in the shelf that join it to the legs. This is far easier to do now, when the sides and ends are square, than after cutting the shelf into an ellipse. Lay out the notches by placing the legs on the shelf and transferring their thickness onto it. Then cut them at the tablesaw, using a crosscut sled. The width of the notches is critical, so cut the notch sides first and then nibble away the inside. Cut the notches a bit tight and fit them with a chisel later.
After all four notches have been cut, head to the band-saw and cut out the elliptical top and shelf. The top is heavy and unwieldy, so cut away the bulk of each corner first. Then make a second pass close to the line. I use a flush-trimming bit to rout the top and shelf flush to their patterns.
Join legs and aprons
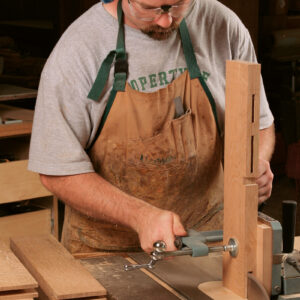
With the top and shelf done, you can get started on the joinery. The stretchers are joined to the legs with slip tenons. Be-cause the stretchers are 7 in. wide and could expand as much as 1⁄16 in., break the mortise into two. The tenon will fit tight in the upper mortise but loose in the lower one, forcing the stretcher’s movement downward and away from the shelf. I make the slip tenons by milling some white oak to the correct thickness and width, rounding over the edges at the router table, and then crosscutting the tenons to length. Now cut a notch in each leg. Paired with the notches in the shelf, they form a strong joint that holds the shelf in place and prevents the base from twisting or racking. Cut them just as you did the notches in the shelf. While you’re at the tablesaw, go ahead and cut the slot for the bridle joint into the top of each leg. I use a tenoning jig, starting at the center of the slot and working outward. As you get close to the sides of the slot, use the apron to test the fit.
A half-lap joint is used to connect the aprons where they intersect. For this joint, I cut a slot halfway through each apron. Unlike the notches in the legs and shelf, which were cut from the sides in, cut this joint from the center out. That will keep the joint centered on the aprons.To complete the legs, cut the curve on the outside edge. I made a pattern out of 1⁄4-in.-thick plywood and traced it on the legs. Save the offcuts to use as cauls during glue-up.
Slot and rout the stretchers
As with the aprons, a half-lap joint is used where the stretchers intersect. However, cut a shallow dado on both sides of the shorter stretcher to conceal the joint and reinforce it against racking.
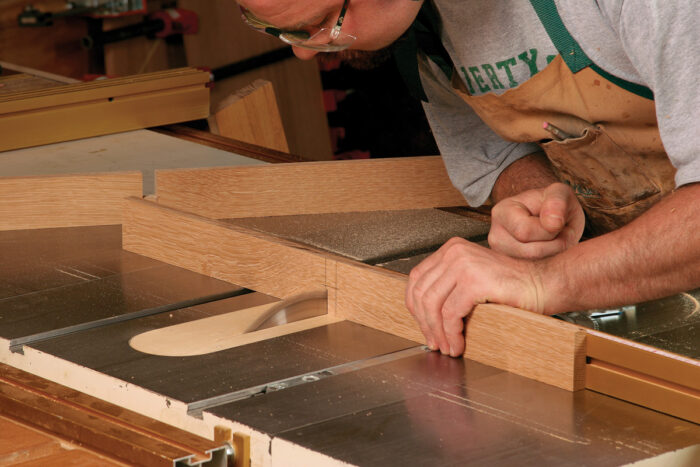
After cutting the dadoes, raise the blade and cut a slot on the bottom edge of the stretcher. You won’t be able to get the full depth with a 10-in. sawblade, so cut as deep as you can and finish up the slot with a handsaw and chisel. With the short stretcher done, cut the slot in the longer stretcher.Now it’s time to rout mortises in the ends of the stretchers to accept the slip tenons that join them to the legs. Do this the same way you routed the mortises in the legs, with a router and spiral bit.After routing the mortises, use a template, plunge router, guide bushing, and spiral bit to rout the decorative piercings in the stretchers. Make the template from a piece of plywood and lay out the piercing on it, taking the bushing’s offset into account. Head to the router table and cut out the opening. Attach a fence to the bottom side, lay out the location of the piercings on the stretchers, and you’re ready to rout the openings (see “A Guide to Guide Bushings,” FWW #207, p. 67).
Hog out most of the waste with a Forstner bit at the drill press. With most of the waste removed, clamp the template to the stretcher and the stretcher to the bench. Make a clockwise pass around the opening, increase the bit’s depth, and make a second pass. Make a third pass to complete the piercing.
Dry-fit, stain, and glue up
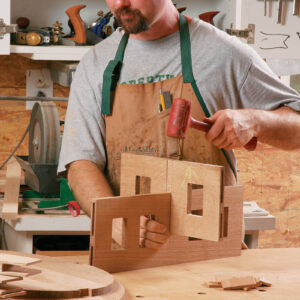
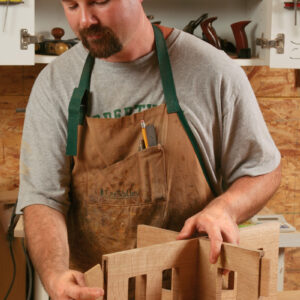
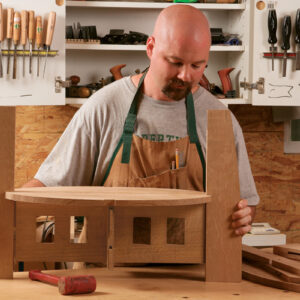
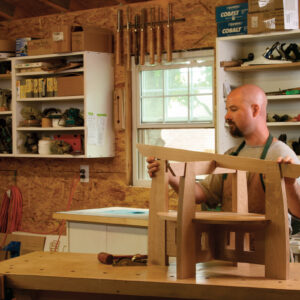
This little table is kind of like a puzzle, in that there are pieces that interlock and must be assembled in a particular order for the table to come together. Dry-fitting the table will help you not only learn and get comfortable with that puzzle, but also find any joints that need to be tweaked.
Begin by putting the stretchers together and adding one leg. Fit the shelf into that leg and add the opposite leg. Then add the last two legs. Now add the aprons and put the top in place. Before you take the table apart, use a pencil to mark the joint where the aprons intersect and where they pass through the legs. The marks will remind you not to sand those areas, which would cause the joints to become loose. Also, as you take off the legs, number the inside of the notches—I use a felt-tipped marker—and number the corresponding legs to match. Numbering the aprons on the top edge also is a good idea.
After disassembling the table, break the edges with a block plane and then use a random-orbit sander to sand all of the parts up to P180 grit. Do not sand the areas you marked earlier: the half-lap joint where the aprons intersect and the area where the aprons pass through the bridle joint in the legs. Next, wipe all of the parts with a damp rag to raise the grain, then use a sanding block and P220-grit paper to remove the raised grain.
I finish the table before the glue-up. The advantage of finishing first is that any glue squeeze-out will not soak into the grain and become a problem when you try to finish over it. And squeeze-out doesn’t stick to the finish, so it just peels away without fuss. To stain the table, I used the same finishing recipe that I used on my bow-arm Morris chair (“Build a Bow-Arm Morris Chair,” FWW #205). Tape off any area where glue will be applied, like the bridle and half-lap joints on the aprons, and use caution when staining around them and the slots.
Now you’re ready for the glue. You can do it in stages or, if you’re feeling lucky, all at once. Repeat the assembly order from the dry-fitting and use the leg cutoffs as cauls for the clamps. After the glue is dry, peel away any squeeze-out. Then rub out the finish with 0000 steel wool and paste wax, and buff the wax with a shoe-shine cloth or brush. Finally, attach the top with four screws, driving through the aprons and into the top. Slot the holes on the short apron to allow for wood movement.
From Fine Woodworking #215
Download the plans for this table from the Digital Plans Library. Plus, browse 100+ other plans available for members only.
For the full article, download the PDF below:
Fine Woodworking Recommended Products

Blackwing Pencils

Drafting Tools

Dividers



Log in or create an account to post a comment.
Sign up Log in