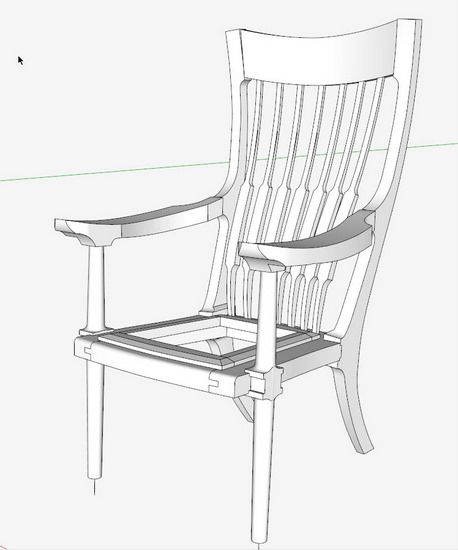
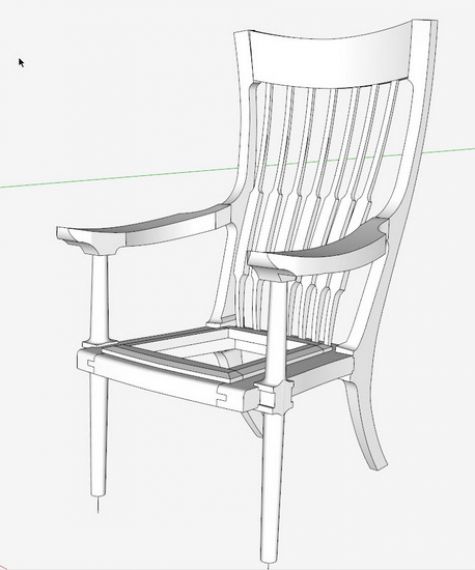
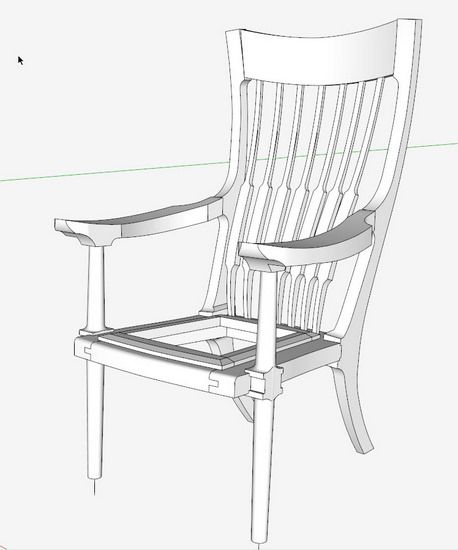
Some of my students and I are reproducing a Maloof Occasional Chair that has a tufted leather seat. I don’t have information on Sam’s design, and particularly whether he used a solid or a traditional seat frame. I’ve decided to use a seat frame along with the Maloof traditional joinery for the front and back legs. Here is the rough model of the chair. I’ll show steps I used to create the model and particularly the seat frame. I also plan on using a slip seat insert that includes the upholstery, and this requires a second removable frame that sits in a rabbet on the main seat as shown below.
Step 1: Develop the shape of the back leg
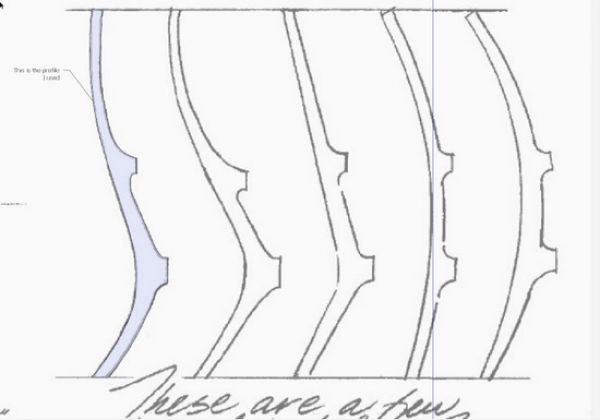
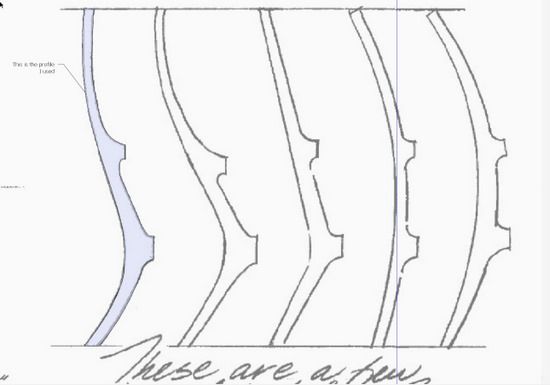
In an early Fine Woodworking Magazine, Sam wrote about his process for building a rocker. In this same article he provided a sketch showing various back leg shapes. This is shown below. I picked the most left-hand option for the occasional chair as this seemed to fit with the picture of the chair. Using the Line and Arc Tools, I traced over the shape of the leg and created a face as shown in blue color.
Step 2: Develop the side view shape of the chair.
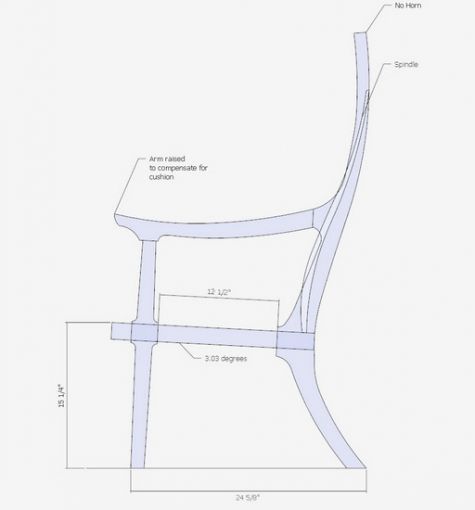
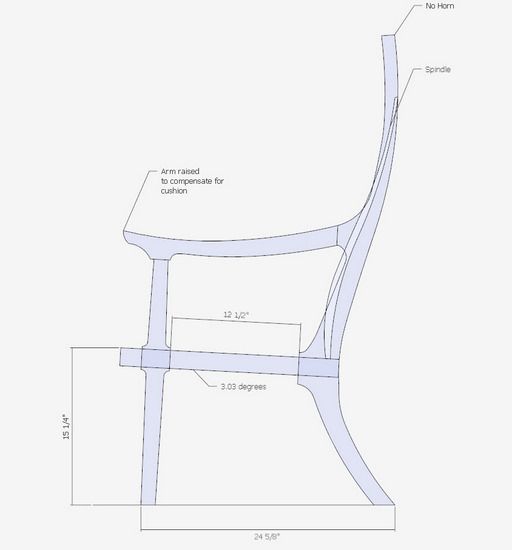
Using a photograph of the chair and other information in the Fine Woodworking magazine article, I developed the side shape of the chair including seat, arm, spindle, and front leg as shown below.
Step 3:Begin the creation of the Seat Frame
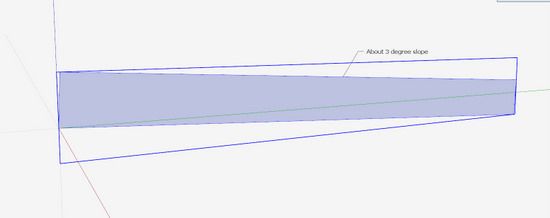
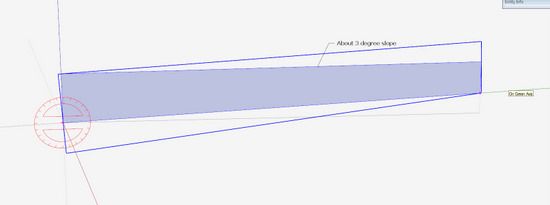
Note that the seat is sloped from front to back as shown by the seat face in the following illustration. Before detailing the model of the seat, I prefer aligning this face with the red, green, and blue axis. This will make the modeling and detailing much easier.
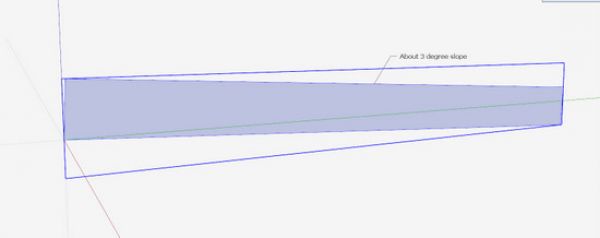
Step 4: Re-align the seat face with SketchUp axes.
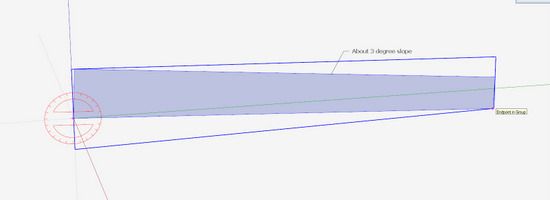
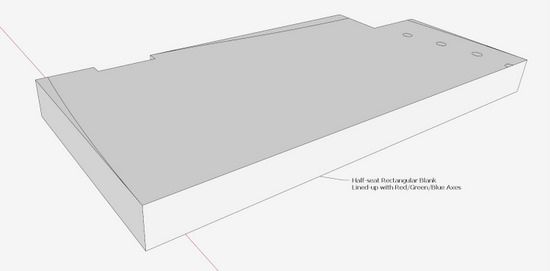
To align the seat with the axes, select the seat face and choose the Rotate Tool. Click the mouse icon (the protractor shape) on a corner of the face. Make sure the protractor is the proper color (in this case red) since the rotation will be around the red axis. Click the mouse on the other end of the face, then begin the rotation (upward in this case). Rotate until you get a flag that you have reached the green axis as shown in the second illustration below.
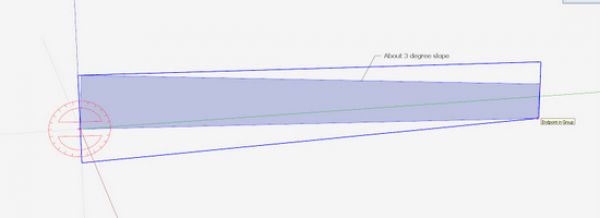
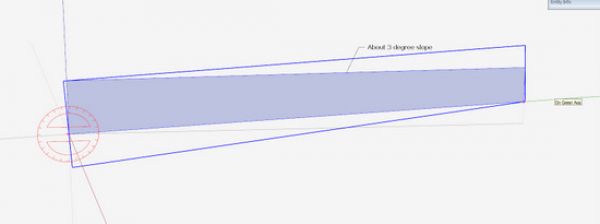
Step 5: Use the Push/Pull Tool to create the half size shape of the seat. Also, you can begin to add cuts and arcs to represent the shaping of the seat perimeter.
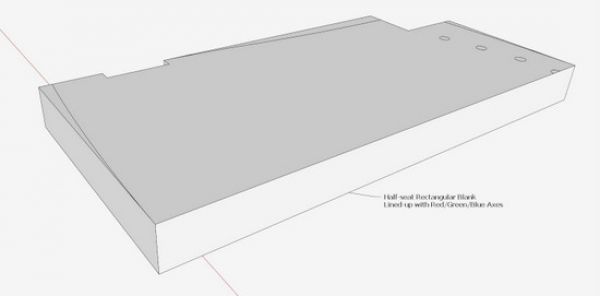
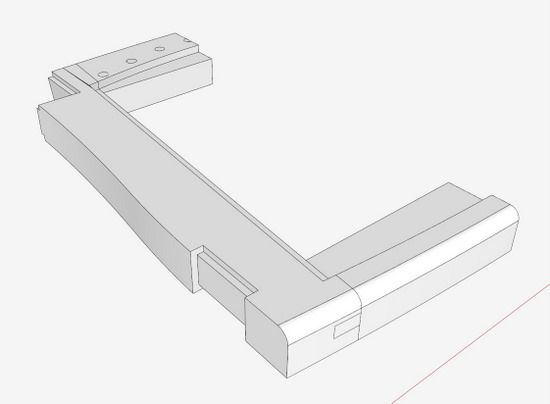
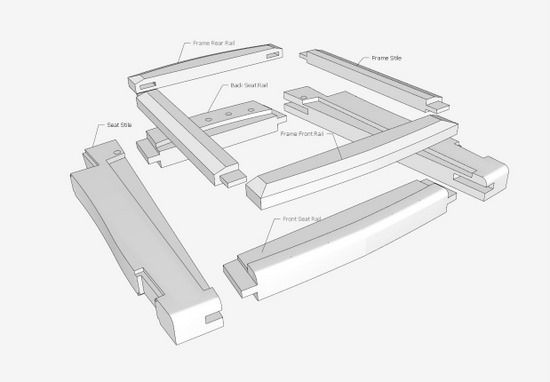
Step 6: Now determine the size of the seat opening which determines the width of the frame stiles and rails. You can also add more details of joinery and shaping. Note that we still are working with only 1/2 of the symmetrical model.
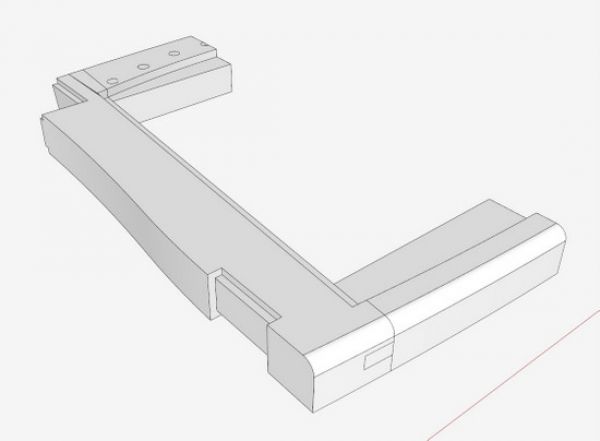
Step 7: Make components of the frame parts. Then make a copy of the half shape, flip and connect to the original half. I’ve also adjusted the width of the stiles and the shaping of the rabbets for insertion of the slip seat frame.
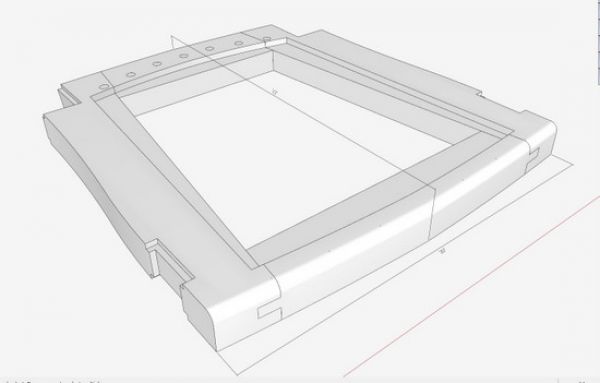
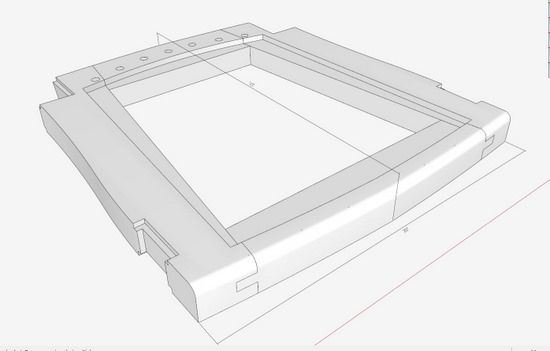
Step 8: Make a slip seat frame to fit into the rabbets.
The first step in making the slip seat frame, is to create a face within the opening of the seat frame including the rabbets. This sets the boundary for the slip seat frame, which is then used to develop the stiles and rails as shown below.
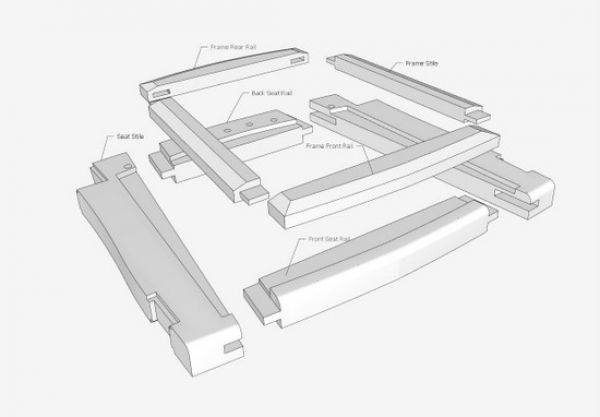
I plan to upholster the slip frame similarly to the article in the most recent copy of Fine Woodworking. There will be webbing then the remaining layers, including the top layer of leather. I will also introduce the tufting with buttons and string.




Comments
I hope some day to get this good with SketchUp. Thankfully, I am getting better with it.
I notice that your exported images seem to be better quality than mine. Typically, I export in .jpg format. Do you have any tips?
Jeff
JeffB, I get very good quality in exporting JPGs or PNGs from SketchUp. After clicking on File/Export/2D Graphic, a dialog box appears. In my Pro Version I have an Options button that is set by default to:
Image Size is checked
Anti alias is checked
JPG Compression slider set to highest quality
However, in this blog I'm not exporting with SketchUp, rather capturing screen images with SnagIt. This allows me to include the mouse icon and tool icons in the images. Quality of these images is dependent on the size of screen and number of pixels per inch (which is usually around 90, I think). I'm capturing on a 24-in. flat panel, then reducing to 550 pixels of size, a limitation of the blog.
Tim
Log in or create an account to post a comment.
Sign up Log in