Original Arts and Crafts Finish Without Fuming
Learn how to apply an authentic-looking Arts and Crafts finish that simulates age and doesn't require harsh ammonia fumes.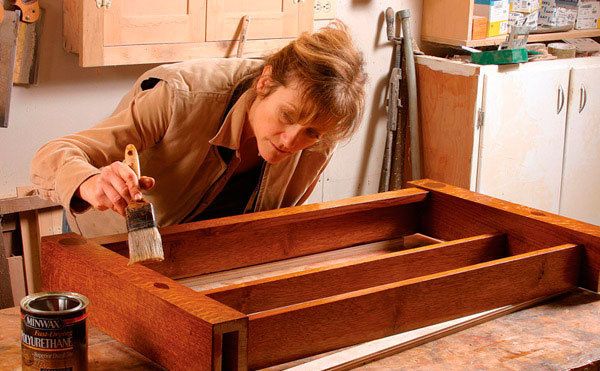
Whenever clients want cabinets to look original to a late-19th- or early-20th-century-style home, I use this finish. I have borrowed techniques from two well-known finishers to create a period look. While the five steps to this Arts and Crafts finish may seem daunting, the execution is actually quite painless.
Dye and stain increase color and contrast
Before applying any finish, sand all parts to P180-grit, then use water to raise the grain and gently sand again with P180-grit. Jeff Jewitt introduced me to using dyes under oil-based stains to bring out the contrast between the basic grain and the rayfleck patterns of quartersawn oak (Safe and Simple Arts and Crafts Finish, FWW #157, pp. 42-45).
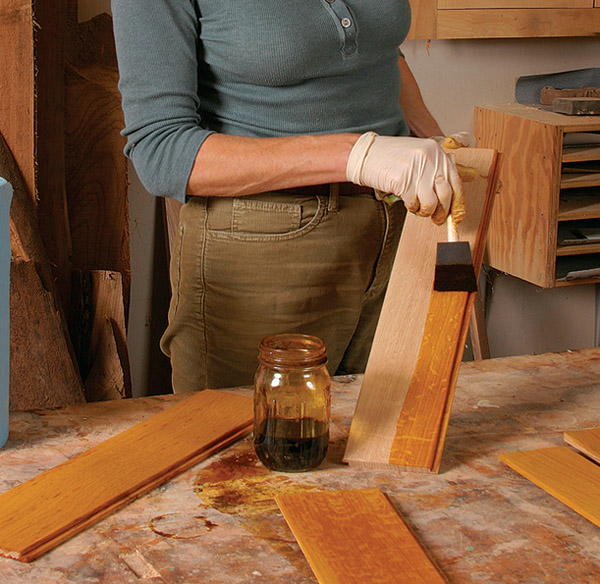 First, dye the oak with a water-based dye solution (I use TransTint’s honey amber, dissolved in water at the ratio of1 oz. to 1 qt.), applying it quickly and liberally with a foam brush, wiping off the excess with a lint-free cloth. During this step and the next (depending on the woods used), it may be necessary to block out and/or stain any inlays your piece might have, to maintain contrast. In this case, I carefully placed a sealer coat of clear shellac over the inlay after it had been glued in place and sanded, but before applying the amber dye. To knock back any raised grain, lightly sand with P320-grit paper.
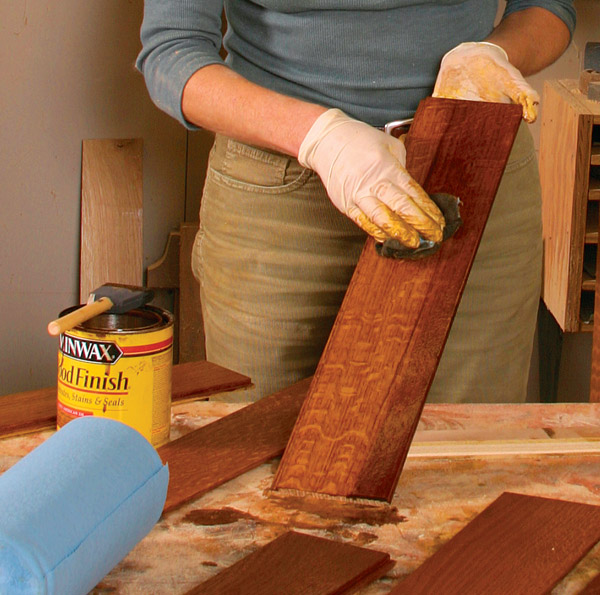 Next, use an oil-based stain (in this case, Minwax’s Early American) to bring out the wood’s full figure. Apply the stain generously using a foam brush and leave it on for 5 to 10 minutes. Wipe off any excess stain using a clean, lint-free cloth and allow the piece to dry overnight. Make sure to check periodically for stain weeping out of the oak’s open pores, removing any you find.
Seal in the previous steps with shellac
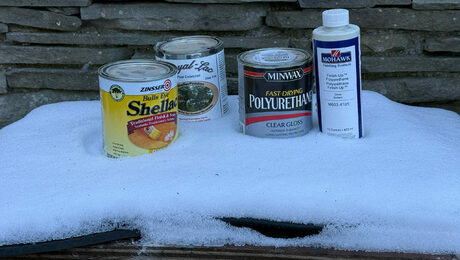
A professional floor finisher once advised me that I could get an old look on pine floors by adding amber shellac. So once the stain has dried, I brush on a thin coat of Zinsser’s premixed amber shellac to achieve a look similar to the shellac-based varnish that was used in many older houses.
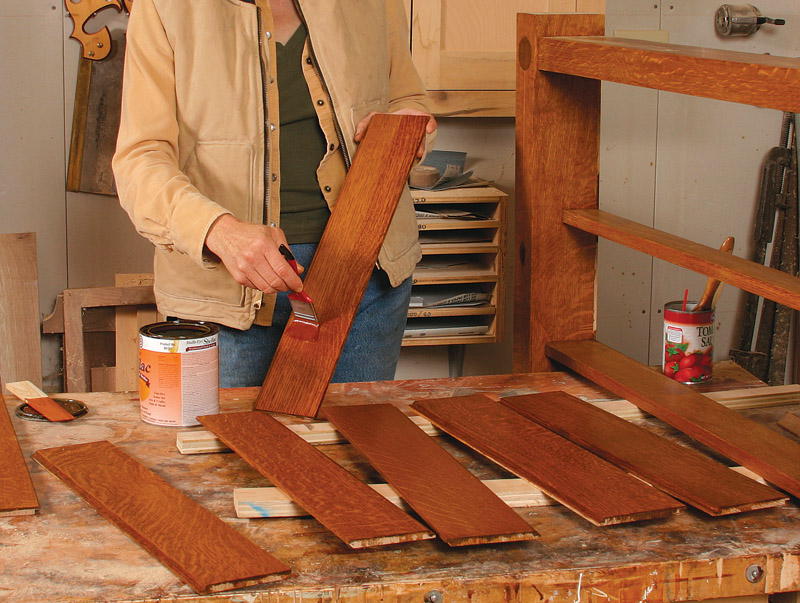 The shellac also seals the piece before the aging steps. When the shellac has dried, scuff-sand with P320-grit paper and wipe off the dust with a tack cloth. Now you can judge the final tone of the finish and fill any holes with matching wood putty. Scuff-sand again.
Simulate signs of aging
Teri Masaschi’s suggestion to use gel stain for shading (Three Finishes for Bird’s-Eye Maple, FWW #163, pp. 44-47) enables me to mimic signs of age without heavy-handed distressing, and make built-ins look like part of the original fabric of the home.
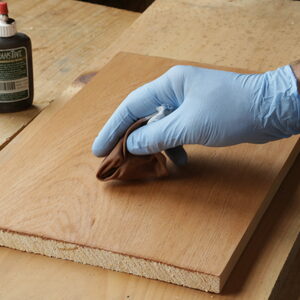
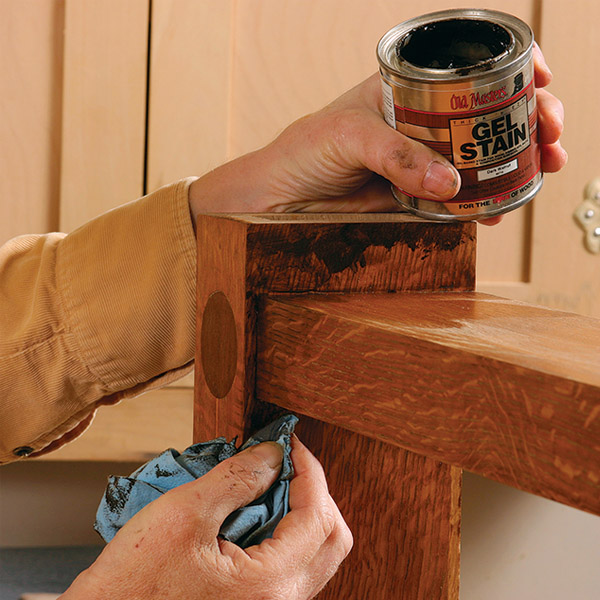 Using a rag, apply gel stain in a compatible color (for this application, I used Old Masters’ dark walnut) to areas where dirt would typically have built up, such as joints, crevices, and around hardware.
For more information on using gel stains, be sure to check out Teri Masaschi’s article from FWW #158.
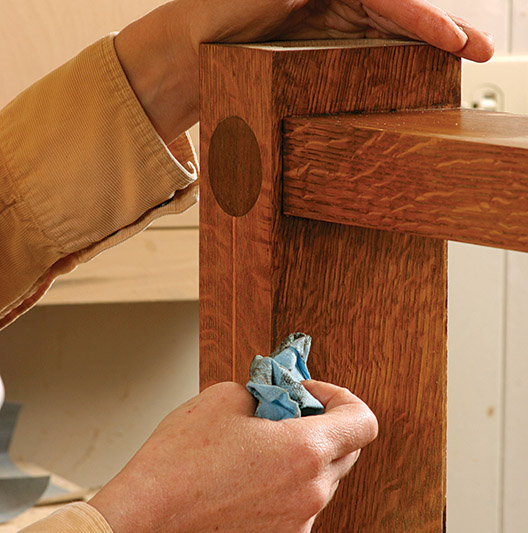 Let the gel stain set for 10 minutes or so, then with a lint-free cloth, gently rub and feather out the shading to create a natural-looking patina. Allow the gel stain to dry overnight.
For more information on distressed wood finishes, be sure to check out Jeff Miller’s article from FWW #127.
Two coats of oil-based polyurethane finish the piece. You can follow it with a generous application of paste wax, applied with 0000 steel wool and buffed out with a soft, lint-free cloth.
Download Nancy Hiller’s original article in PDF format.
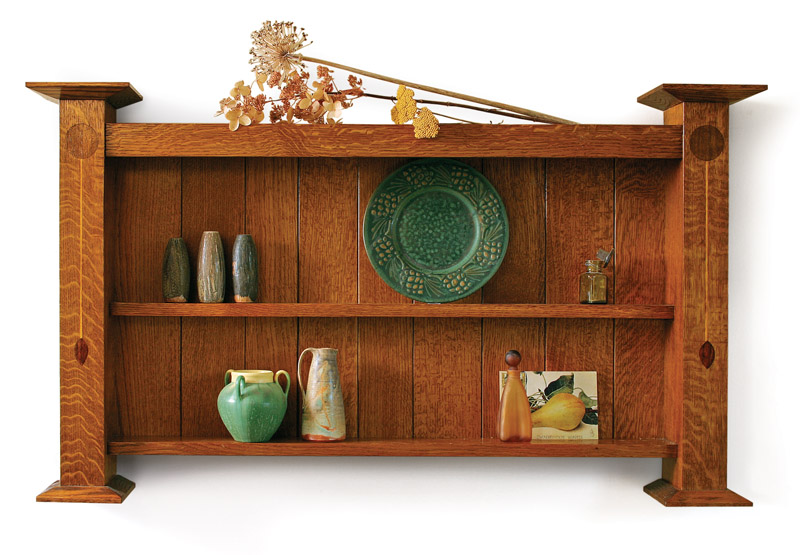 |
| Learn how to build the wall shelf featured in this article. |
Fine Woodworking Recommended Products
Osmo Polyx-Oil
Foam Brushes
Diablo ‘SandNet’ Sanding Discs






Log in or create an account to post a comment.
Sign up Log in